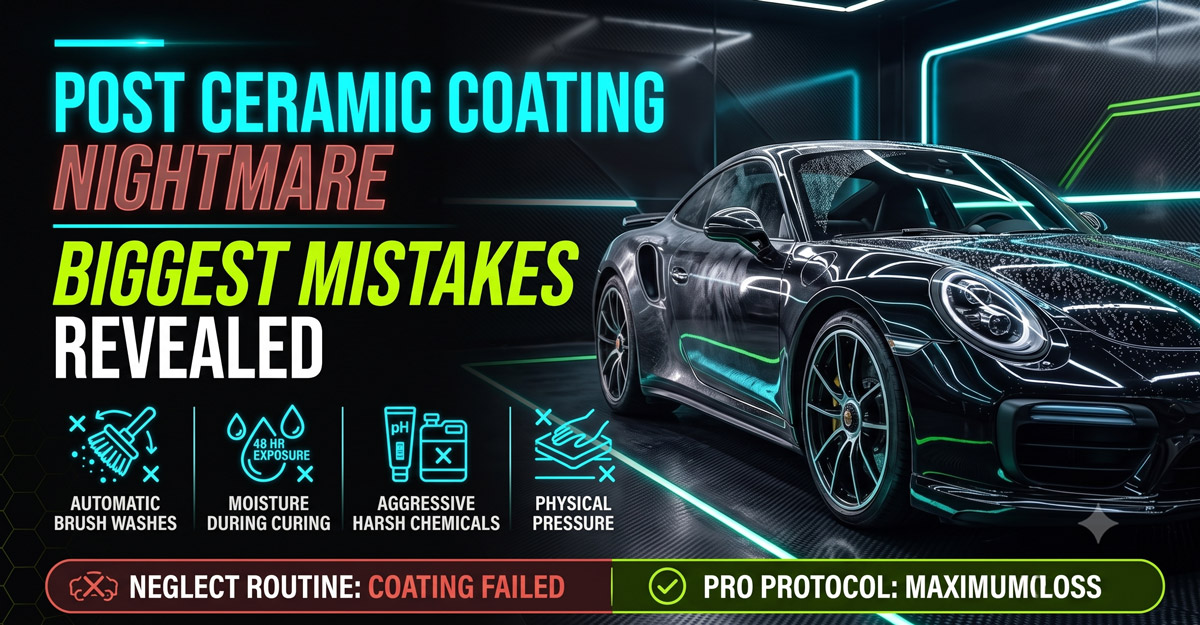
Investing in a high performance ceramic coating is one of the most effective decisions you can make to protect your vehicle clear coat, enhance paint depth, and enjoy insane water beading properties. Whether you spent upwards of two thousand dollars for a multi year professional nano ceramic installation or dedicated your entire weekend to applying a high grade silica coating in your garage, the expectations are understandably high. You expect your car to stay cleaner longer, resist environmental contamination, and look as though it was just freshly polished every single day.
However, a dangerous misconception exists among vehicle owners: the belief that ceramic coatings make a vehicle completely maintenance free.
While liquid quartz or silicon dioxide coatings form a semi permanent chemical bond with your factory clear coat, creating an ultra hydrophobic surface, ceramic coatings are not unscratchable suits of metal armor. They do not make your car immune to swirl marks, mineral etching, or improper washing techniques. In fact, failing to follow strict post application care protocols is the single leading cause of premature ceramic coating failure across the automotive detailing industry.
If you treat your coated vehicle like an ordinary car, you can quickly degrade its chemical structure, clog its microscopic pores, strip away its hydrophobic top layer, and ruin hundreds or thousands of dollars of paint protection within just a few months.
This comprehensive guide breaks down the biggest mistakes people make after ceramic coating their car, revealing the exact chemical mechanisms behind coating failure, step by step instructions on how to maintain ceramic coated car surfaces, and practical methods to revive a clogged or failing coating.
The Critical Curing Phase: Errors Made in the First 7 Days
The first week following a ceramic coating application is the most vulnerable period in your paint protection lifespan. When a liquid ceramic coating is applied, solvents evaporate, and silicon dioxide or quartz particles undergo a complex chemical process called cross linking. This reaction allows the liquid formula to harden into a rigid, glass like matrix bonded directly to your clear coat.
While the surface may feel slick and dry to the touch within a few hours, full chemical crystallization requires anywhere from seven to fourteen days depending on ambient humidity, temperature, and whether infrared curing lamps were utilized. Interrupting this delicate process is a primary cause of ceramic coating aftercare mistakes.
Exposing the Vehicle to Moisture Within 48 Hours
The single most destructive initial error is allowing water, rain, dew, or morning frost to settle on the vehicle during the first 24 to 48 hours of curing. Water introduced while the nano matrix is still active reacts chemically with unbonded siloxanes.
This moisture exposure causes white streaks, cloudiness in the finish, uneven spots, and permanent high spots where the coating cures unevenly. Hard water droplets sitting on a curing coating will etch straight into the soft layer, creating mineral deposits that cannot be washed away.
If your vehicle unexpectedly catches rain during the initial 48 hour window, do not rub the paint aggressively. Gently blow the water off using a touchless leaf blower or lightly dab the droplets with a plush microfiber towel without applying downward pressure.
Washing with Soap or Chemicals Before the 7 Day Mark
Even if your car accumulates a light layer of dust, pollen, or road grime during the first week, using car shampoo, detail sprays, or any cleaning chemicals before seven full days have passed will permanently damage the finish.
During these early days, the underlying molecular structure remains chemically active. Detergents introduce surfactants and alkaline or acidic compounds that dissolve un-crosslinked polymers, breaking the chemical bond between the coating and the clear coat.
Patience is mandatory during this stage. Keep the vehicle parked inside a clean garage whenever possible. If dust accumulates, leave it alone until the seven day curing period concludes safely.
Tactile Impatience and Heavy Surface Pressure
It is natural to want to touch your car and experience the legendary slickness of a fresh nano ceramic layer. However, heavy hand pressure, leaning against panels, or wiping down dry dust with a quick detailer within the first few days can imprint fingerprints or micro scratches into the semi soft curing matrix.
Allow the surface tension to stabilize completely before subjecting the panels to physical contact.
Ceramic Coating Curing Matrix & Hardness Progression
Visual representation of coating hardness and chemical stability over the initial 14 day period.
Destructive Washing Methods That Ruin Ceramic Coatings
Once the curing window closes safely, regular maintenance is required to keep your ceramic layer performing at its peak. However, using improper wash techniques is the fastest way to turn a high gloss finish into a dull, swirl covered disaster. Learning how to maintain ceramic coated car paint starts with mastering wash safety.
The Automatic Brush Car Wash Trap
Taking a ceramic coated vehicle through an automated friction car wash featuring heavy spinning nylon brushes or felt curtains is automotive suicide. These automated systems collect dirt, rocks, mud, and heavy road salt from hundreds of trucks and cars daily.
When those high speed brushes slam into your vehicle panels, they act precisely like coarse sandpaper. While ceramic coatings add measurable hardness up to 9H on the pencil scale, they are microscopic layers measuring only 1 to 3 microns thick. Heavy friction brushes will instantly scour millions of micro scratches into your coating, destroying its surface slickness and causing severe swirl marks.
Always avoid automatic brush car wash facilities under every circumstance.
Touchless Car Washes with Aggressive Harsh Chemicals
Some car owners attempt to avoid physical brush damage by taking their vehicles to automatic touchless car washes. While touchless bays remove the risk of mechanical scratching, they present a hidden chemical hazard.
To break down road film without physical scrubbing, touchless facilities rely on extreme chemical pH levels, utilizing ultra aggressive alkaline presoaks often with a pH of 12 or higher followed by acidic neutralizing rinses with a pH of 2 or lower.
Repeated exposure to high pH industrial detergents strips away silica polymers, degrades hydrophobic topcoats, and creates unsightly chemical etching over time.
The Single Bucket Cross Contamination Flaw
When hand washing at home, using a single bucket with a sponge or wash mitt is a massive mistake. As you dip your wash mitt into a single bucket, wash a dirty fender, and dunk it back into the same water, suspended dirt particles reattach to your mitt fibers.
You then drag those abrasive particles straight back across your delicate clear coat, grinding grit into the ceramic barrier.
Vehicle owners must adopt the professional two bucket wash method equipped with grit guards. One bucket contains clean water and dedicated car shampoo, while the second bucket holds pure rinse water. Grit guards sit at the bottom of both buckets to trap heavy debris underneath, preventing grit from re-entering your clean wash mitt.
Household Detergents and Dish Soap Disasters
Using household dish washing liquid, laundry detergent, or aggressive all purpose cleaners is another common ceramic coating wash mistake. Products like dish soap are chemically engineered to strip petroleum greases and oils from cookware.
When applied to automotive paint protection, these high surfactant detergents break down the hydrophobic bonds of your coating, leave behind sticky chemical films that attract dust, and drastically dull the high gloss reflection.
Always use a dedicated pH neutral soap for ceramic coating maintenance that contains zero added waxes or artificial gloss enhancers.
| Washing Method | Scratch Risk | Chemical Risk | Coating Impact | Recommendation |
|---|---|---|---|---|
| Automatic Brush Wash | EXTREME | HIGH | Severe swirl marks, physical stripping | NEVER USE |
| Touchless Automated Bay | LOW | EXTREME | Chemical degradation of hydrophobic topcoat | Emergency Only |
| One Bucket Hand Wash | HIGH | LOW | Micro scratching via grit re-introduction | AVOID |
| Dish Soap / Household Cleaners | MEDIUM | EXTREME | Strips hydrophobic layer, leaves heavy residue film | NEVER USE |
| Two Bucket Wash with Grit Guards | VERY LOW | ZERO | Preserves surface smoothness and coating integrity | GOLD STANDARD |
Mismanaging Environmental Contaminants and Hard Water
While nano ceramic paint protection offers remarkable chemical resistance against acid rain and environmental fallout, it is not impervious to prolonged organic destruction. A major ceramic coating post care error is assuming that contaminants can sit harmlessly on the paint for weeks.
Letting Bird Droppings and Tree Sap Sit Under the Sun
Bird droppings, crushed bug guts, and organic tree sap are highly acidic chemical compounds. Bird mess in particular contains uric acid with pH levels fluctuating between 3 and 4.
When your vehicle is parked in direct sunlight, the heat causes clear coat paint layers to expand. Concurrently, the acidic contamination bakes directly onto the surface.
While the ceramic coating delays the time it takes for uric acid to burn through to the base coat, extreme solar heat will eventually force the acid past the ceramic shield, creating deep circular etchings.
Car owners should keep a dedicated quick detailer and ultra plush microfiber towel inside their vehicle at all times. Spot clean bird droppings and tree sap immediately upon discovery by soaking the area with detail spray for sixty seconds and lifting the contamination straight off without scrubbing.
Allowing Water to Air Dry Naturally
Because ceramic coatings create tight, tall water beads with high contact angles, vehicle owners often love watching rainwater bead on their hood. However, letting water evaporate naturally on a warm panel is extremely dangerous.
Tap water, sprinkler runoff, and even rain contain dissolved mineral salts, calcium carbonates, and magnesium compounds. As the pure water molecule evaporates into the air, the heavy mineral minerals remain concentrated in tiny circular spots.
These hard water spots act like micro magnifying glasses under hot sunlight, burning calcium deposits deep into the coating matrix. Removing etched water spots on ceramic coating often requires acidic mineral removers or light polishing that strips away protection.
Always dry your vehicle completely after every wash or heavy rainstorm using a dedicated high GSM microfiber drying towel for coated cars or an electric leaf blower.
Parking Under Trees for Shade
Seeking shade under large trees during hot summer months seems like a smart way to keep interior temperatures cool. However, parking under foliage subjects your car paint protection to a continuous shower of acidic pollen, organic tree sap droplets, insect honeydew, and falling leaves.
When morning dew combines with leaf tannins and pollen, it creates a sticky acidic bath that clogs the microscopic structure of your ceramic layer.
Choose structured garage parking or open parking spots away from trees whenever possible.
Applying Incorrect Toppers, Waxes, and Abrasive Products
Another widespread mistake after ceramic coating involves using incompatible surface care products that actively degrade hydrophobic performance or physically remove the coating altogether.
Layering Traditional Carnauba Paste Waxes
Car enthusiasts spent decades applying traditional carnauba waxes to achieve a deep, warm gloss. Naturally, many vehicle owners assume that putting paste wax over a ceramic coating will add even more gloss and protection.
This assumption is completely false and counterproductive.
Carnauba waxes and petroleum sealants do not bond chemically with silicon dioxide. Instead, paste wax sits on top of the ultra slick ceramic shell as a greasy sticky film.
This organic wax layer suffocates the underlying ceramic coating, masking its hydrophobic capabilities, reducing water beading, and attracting ambient dust and road grime.
Never apply traditional paste waxes, organic sealants, or petroleum glaze products over a ceramic coating.
Machine Polishing and Using Abrasive Rubbing Compounds
If a vehicle owner notices light micro scratches or swirl marks on their coated paint, a common mistake is taking out a rotary polisher with abrasive compounding paste to buff out the mark.
Mechanical polishing relies on micro abrasives designed to shave away a tiny layer of clear coat to smooth out scratches. Because a ceramic coating is only 1 to 3 microns thick, even light polishers applied with a foam pad will completely strip the ceramic coating away from the panel.
If your vehicle suffers scratch damage requiring paint correction, understand that the ceramic coating on that specific panel must be completely stripped, the paint polished, and a brand new ceramic coating reapplied to restore protection.
Skipping SiO2 and Graphene Booster Sprays
While traditional waxes ruin coatings, neglecting dedicated maintenance toppers is equally damaging over the long haul. Environmental abrasion, road salt, and dirt friction gradually wear down the sacrificial top layer of your ceramic protection over six to twelve months.
To maintain maximum slickness and hydrophobicity, vehicle owners should apply a silica based or Graphene infused ceramic booster spray every three to six months.
An SiO2 booster spray application replenishes microscopic low spots in the quartz matrix, acts as an additional sacrificial barrier, and keeps water beading angles sharp and responsive.
| Product Category | Compatibility | Water Beading Impact | Recommended Usage |
|---|---|---|---|
| Traditional Carnauba Wax | INCOMPATIBLE | Masks hydrophobic effect, attracts dirt | Never apply to coated paint |
| Abrasive Polishing Paste | DESTRUCTIVE | Completely strips coating off clear coat | Only when recoating is intended |
| Wash & Wax Car Soaps | POOR | Leaves cloudy surface film | Avoid wax containing shampoos |
| Pure pH Neutral Car Soap | PERFECT | Cleans safely without altering matrix | Every 1 to 2 weeks |
| SiO2 / Graphene Ceramic Booster | OPTIMAL | Enhances slickness & restores water beading | Every 3 to 6 months |
How to Diagnose and Restore a Clogged Ceramic Coating
One of the most frustrating experiences for a vehicle owner is noticing that after six months, their expensive ceramic coating seems to have lost its hydrophobic water beading properties. Water sheeting slows down, water sits flat on lower door panels, and the surface feels slightly rough.
In nine out of ten cases, the ceramic coating has not failed or worn away. Instead, the coating is clogged.
Because ceramic coatings feature porous microscopic structures, embedded industrial iron particles, brake dust, road tar, and organic oils build up inside these pores over time. This layer of contamination sits on top of the coating, preventing water from reaching the hydrophobic silicon dioxide surface underneath.
Step by Step Ceramic Coating Hydrophobic Recovery Process
If your vehicle suffers from lost water beading, follow this professional decontamination workflow to bring your coating back to life without damaging the surface.
The 4 Step Coating Decontamination Protocol
Expected Lifespan vs Maintenance Habits Comparison
How long your ceramic coating lasts depends almost entirely on your post installation care routine. A professional five year ceramic coating can fail in less than twelve months under poor maintenance, whereas a two year DIY coating can easily stretch beyond three years when washed correctly.
Real World Coating Lifespan Based on Maintenance Routine
Comparing longevity across different owner care habits for a rated 5 Year Coating.
Essential Post Ceramic Coating Care Checklist
To ensure your vehicle paint protection delivers wet look reflections, intense self cleaning hydrophobic traits, and multi year clear coat defense, follow this summary maintenance protocol:
- Respect the Curing Window: Keep the vehicle completely dry for the first 48 hours. Do not use any cleaning soaps or chemical detailers for seven full days after coating application.
- Adopt the Two Bucket Hand Wash: Wash your car every two weeks using dedicated grit guards, ultra soft microfiber wash mitts, and pure pH neutral car shampoo.
- Throw Away Dish Soaps and Waxes: Never use household detergents, abrasive rubbing polishes, or traditional carnauba paste waxes on coated panels.
- Dry Immediately and Touchlessly: Eliminate water spot etching by drying panels immediately with a high GSM plush microfiber towel or electrical air blower.
- Wipe Contaminants Right Away: Keep quick detailer and plush microfiber towels in your trunk to clean bird droppings and tree sap within minutes of contact.
- Apply SiO2 Boosters Seasonally: Top off your baseline coating every three to six months using a quality silica or Graphene ceramic booster spray.
- Perform Decontamination Checkups: If water stops beading, perform a chemical decontamination wash using iron removers and mild acidic shampoos to unclog surface pores.
Conclusion: Protecting Your Paint Protection Investment
A high grade ceramic coating is one of the most rewarding investments you can make for your vehicle exterior. It transforms ordinary paint into a glass like, mirror reflective surface while providing unmatched chemical resistance against environmental degradation.
However, ceramic coatings are not magic shields. They rely heavily on intelligent post care maintenance.
By avoiding critical curing phase mistakes, eliminating abrasive car wash facilities, staying vigilant against hard water mineral spots, and maintaining the quartz matrix with proper pH neutral soaps and silica boosters, you ensure your vehicle retains its showcar gloss and hydrophobic performance for years to come.
Next Step
Want to ensure your ceramic coating lasts as long as possible without risking swirl marks or coating degradation?
Explore our professional automotive detailing maintenance programs or schedule a comprehensive ceramic coating health inspection with our certified paint protection specialists today! Contact us now to book your consultation and keep your car looking brand new.