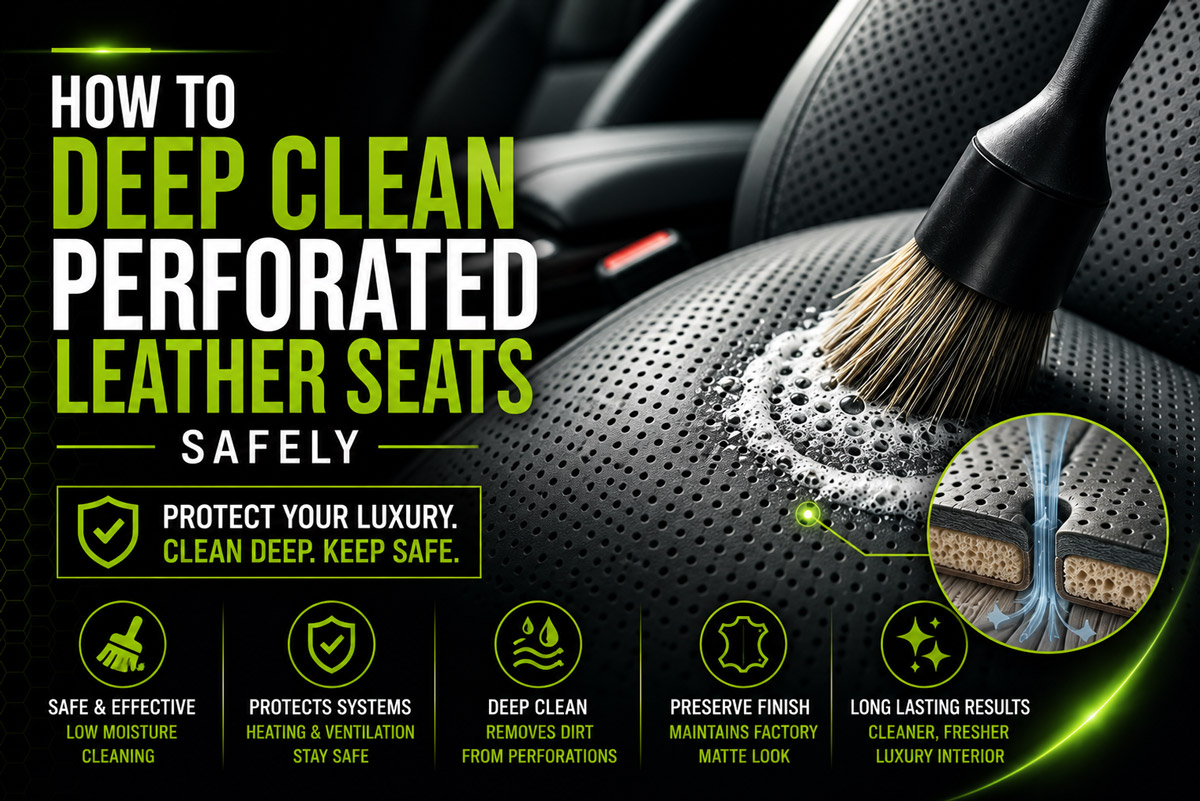
Luxury vehicle owners and auto detailing enthusiasts love the aesthetic and comfort of perforated leather seats. Modern luxury cars feature these precision perforated hides to allow integrated seat ventilation fans and heating grids to regulate temperature. However, maintaining these specialized surfaces presents a unique challenge. Unlike solid leather upholstery, perforated seats contain thousands of microscopic openings that easily trap food particles, body oils, dust, and dried liquid residue.
If you apply traditional liquid interior cleaners directly to perforated leather, liquid flows straight through the ventilation holes. Moisture saturates the polyurethane cushion foam beneath, creating an ideal breeding ground for foul odors, mold, and mildew. Even worse, excessive moisture can short circuit delicate heating elements and cooling blowers, resulting in thousands of dollars in interior repair costs.
This definitive guide provides an authoritative, step by step protocol to deep clean perforated leather car seats safely. By utilizing low moisture suds, strategic dry extraction, and a clog free conditioning transfer technique, you can restore factory matte leather beauty while protecting your vehicle climate control investments.
Perforated Leather Detailing: Quick Overview
- Golden Rule: Never spray cleaning liquids directly onto perforated upholstery.
- Primary Technique: Use pre-lathered horsehair brush suds and low-moisture foam.
- Conditioning Rule: Apply product onto applicator pads first and transfer onto solid bolsters before touching perforations.
- Electronics Protection: Keep moisture out of foam to safeguard heating and ventilation units.
SEO Target Strategy and Keyword Architecture
To ensure complete clarity for car owners and professional detailers, this guide targets high intent search queries focused on safe leather restoration.
Target Audience: Luxury automobile owners, classic vehicle collectors, auto detailers, and car care enthusiasts who want professional level results without risking internal seat damage.
Search Intent Alignment: Readers searching for this topic seek an authoritative step by step tutorial that eliminates fear of damaging climate controlled seats while effectively clearing trapped grime from upholstery pores.
Understanding the Anatomy of Perforated Leather Seats
To clean perforated leather car seats safely, one must first understand how modern luxury automotive seating is engineered. Automotive leather is coated at the factory with a protective top coat polyurethane layer. In perforated designs, thousands of tiny holes are punched through both the clear protective top coat and the underlying hide.
Beneath the leather hide lies a layer of open cell polyurethane foam, followed by heating grids, cooling ductwork, and electric ventilation fans. When liquid penetrates the perforation holes:
- The open cell foam absorbs liquid rapidly like a sponge.
- Trapped liquid cannot evaporate quickly due to limited air passage beneath the dense leather cover.
- Damp foam generates persistent sour odors and promotes bacteria growth.
- Excess fluid migrates into electrical connections, causing heated seat failure or fan motor failure.
Understanding this interior seat construction highlights why traditional spraying methods fail and why low moisture protocols are essential for safe cleaning.
Required Tools and Detailing Materials
Preparing the correct detailing equipment before starting is essential for safe execution. Never substitute recommended items with harsh household cleaners, aggressive wire brushes, or heavy paste waxes.
Step 1: Dry Debris Extraction and Pores Unclogging
Before applying any cleaning agent or foam, you must remove dry particulate matter from inside the perforations. Introducing moisture to dry dust, sand, or food crumbs creates a mud like slurry that sinks deeper into the holes and hardens like concrete.
Vacuuming Technique for Perforated Surfaces
Standard vacuuming requires refined technique when dealing with perforated hides.
- Inspect the seating surface under bright light to locate trapped crumbs and debris.
- Attach a soft bristle brush tool to your vacuum hose.
- Hold the vacuum nozzle at a slight thirty degree angle to the leather surface.
- Move the nozzle gently across the seat while lightly flexing the leather cushion with your free hand. Flexing open the perforations releases trapped grit.
- Avoid pressing down flat with a hard plastic nozzle. Flat pressure acts like a plunger, forcing surface debris deeper into the cushion foam.
Dislodging Stubborn Cavity Blockages
For persistent blockages where old wax, candy, or dried food plugs individual holes, execute targeted extraction.
- Select a soft wooden toothpick or a flexible synthetic interdental toothbrush.
- Insert the tip into the clogged perforation at a shallow angle.
- Gently flick upwards to pop the blockage out onto the leather surface.
- Immediately vacuum up the dislodged particle.
- Never force sharp metal needles or safety pins into holes. Metal tools can tear perforated edges and puncture delicate heating elements located directly below the hide.
Air Blower Extraction Technique
If you have access to a pneumatic air blower or an electronic detailing blower, blow compressed air across the seating surface. Position the air nozzle approximately four inches away from the seat and direct air across the pores at an angle. The high velocity airflow creates a venturi effect, lifting dry grit directly out of the perforations.
Step 2: Low Moisture Deep Cleaning Protocol
The golden rule when cleaning perforated leather car seats safely is controlling moisture levels. Never spray liquid cleaners directly onto the upholstery. Instead, generate a rich low moisture foam on your brush bristles before touching the leather.
The Low Moisture Suds Advantage
Low-moisture foam suspended on brush bristles lifts surface body oils and dirt without gravity pulling free-flowing water down into open perforations. The thick suds trap grime on top of the hide, allowing instant wipe extraction with a dry microfiber towel.
Creating Controlled Cleaning Foam
- Take your soft horsehair leather brush and spray two or three pumps of pH balanced leather cleaner directly onto the brush bristles.
- Gently rub the bristles against your palm or a clean foam pad to activate suds.
- Verify that the brush holds a rich, airy suds foam rather than dripping liquid.
Agitation and Dirt Suspension
- Work on one seating section at a time, such as the lower cushion panel or upper backrest bolster.
- Place the sudsy brush onto the perforated section and agitate using light, circular motions.
- Allow the suds to work into the textured grain and around perforation rims. Do not press hard; let the soft bristles and active suds lift embedded grime naturally.
- Work quickly so the foam remains on the surface for no longer than thirty to forty five seconds per panel.
Instant Wipe Extraction Method
- Immediately follow behind your brush agitation with a folded high density microfiber towel.
- Press the towel onto the cleaned section and wipe with firm, straight passes to capture dirty suds.
- Flip the towel to a clean, dry side and perform a final wipe pass.
- Ensure no suds residue remains sitting on top of or inside the perforation holes.
Step 3: Clog Free Leather Conditioning Technique
Leather requires hydration to prevent drying, cracking, and premature wear. However, traditional cream conditioners applied improperly fill perforation holes like wet cement, drying into unsightly white plugs across your entire seat.
Follow the safe transfer technique to achieve deep leather hydration without clogging a single perforation hole.
The Applicator Prime and Transfer Technique
- Take a foam applicator pad or a microfiber applicator block.
- Apply three small pea sized drops of liquid leather conditioner onto the pad.
- Fold the pad in half and massage it together so the conditioner completely absorbs into the applicator material. There must be zero visible blobs or wet pools of product on the pad surface.
- Touch the primed applicator pad to an unperforated section of the seat first, such as the solid leather side bolsters or headrest.
- Buff the solid area to transfer and shear out excess conditioner into a micro thin glaze film.
Coating Perforated Panels Safely
- Once the applicator pad holds only a light, evenly distributed glaze of conditioner, move over to the perforated center panels.
- Wipe the pad across the perforated leather in broad, sweeping motions.
- The micro thin film will nourish the leather surface without pooling inside or bridging across the perforation holes.
- Inspect the holes under strong lighting. If any hole accidentally receives product, immediately blow compressed air across the area or use a dry microfiber towel wrapped over a soft brush to draw out the excess cream.
Achieving a Factory Matte Finish
Modern luxury car leather comes from the factory with a sophisticated matte finish. Excessive shine or greasy gloss indicates leftover oil, dirt, or improper conditioning products.
- Allow the micro thin layer of conditioner to absorb into the hide for five minutes.
- Take a fresh, completely dry microfiber towel and buff the entire seating surface using light circular passes.
- The buffing action removes residual surface oils and reveals a supple, rich, factory matte appearance.
Emergency Protocol: Handling Liquid Spills on Perforated Seats
Accidental liquid spills such as coffee, soda, juice, or milk demand immediate, specialized action. Liquid that sits on perforated leather quickly drains into internal seat cushion foam.
If organic liquids like milk or coffee with sugar penetrate deep into seat foam, treat the area with an enzymatic interior cleaner applied lightly via a foam sponge to neutralize odor producing bacteria before thorough drying.
Critical Errors to Avoid When Cleaning Perforated Leather
To protect your vehicle interior value and avoid expensive electronic repairs, avoid these dangerous practices.
Dangerous Practices That Cause Permanent Damage
- Never Use Steam Cleaners: High-temperature pressurized steam forces water vapor deep into inner seat foam and destroys climate control wiring.
- Never Use Heavy Petroleum Paste Wax: Petroleum pastes and thick furniture waxes permanently fill and seal perforation holes.
- Never Use Sharp Metal Objects: Pins, paperclips, or sewing needles score clear coats, tear leather hides, and puncture heating grids.
- Never Spray Cleaner Direct to Leather: Direct liquid streams flood perforations instantly, causing internal mildew and foul smells.
- Never Use Harsh Chemical Solvents: Acetone, alcohol, or bleach strips protective top coat paint, leading to color loss and cracking.
Recommended Leather Care Schedule and Performance Ratings
Regular routine maintenance prevents heavy soil accumulation and eliminates the need for aggressive cleaning. Below is a safety comparison of safe low moisture methods versus hazardous wet cleaning techniques.
DIY Maintenance vs Professional Detailing Matrix
Deciding whether to clean your perforated leather car seats at home or hire a professional automotive detailer depends on soil severity and available tools.
Frequently Asked Questions
Can you use steam on perforated leather car seats?
No, you should never use steam directly on perforated leather car seats. High pressure steam drives moisture deep into perforation holes, soaking open cell cushion foam and risking damage to internal seat heating and cooling wiring.
How do I get white wax residue out of perforated leather seat holes?
To remove dried white wax or conditioner from perforation holes, take a soft wooden toothpick or an interdental brush and flick out individual plugs at a shallow angle. Alternatively, warm the area slightly with a fan and use a compressed air blower to push the wax out, then wipe with a clean dry microfiber towel.
Why do my perforated leather seats look shiny after cleaning?
Shiny or glossy leather indicates leftover body oil, dirt, or heavy conditioning residue. Factory automotive leather features a subtle matte finish. To restore the factory matte look, wipe the seats thoroughly with a sudsy pH balanced leather cleaner and buff dry with a high density microfiber towel.
How often should I clean and condition perforated leather seats?
Perform dry extraction vacuuming every two weeks to prevent dust accumulation in holes. Deep clean and condition perforated leather seating every three to six months depending on climate, daily vehicle usage, and exposure to sunlight.
Are ventilated and heated seats safe to clean at home?
Yes, ventilated and heated leather seats are completely safe to clean at home as long as you follow a strict low moisture cleaning method. Always apply suds to your horsehair brush rather than spraying liquid onto the leather surface.
Conclusion and Summary
Deep cleaning perforated leather seats safely requires patience, proper tools, and strict adherence to low moisture cleaning protocols. By understanding the sensitive anatomy of perforated hides and internal cushion electronics, you can avoid costly errors like cushion saturation, mold growth, or electrical short circuits.
Always start with thorough dry extraction using a brush vacuum and air blower. Work with rich leather cleaner suds rather than direct liquid sprays, and apply conditioner using the smart applicator transfer technique to prevent clogged pores. Consistent, low moisture care will maintain your luxury vehicle upholstery in pristine, factory matte condition for years to come.
Take Action: Upgrade Your Car Care Routine Today
Ready to give your luxury vehicle interior the professional care it deserves? Explore our complete line of premium pH balanced leather cleaners, natural horsehair brushes, and ultra soft microfiber towels. Download our free Interior Detailing Checklist today and keep your perforated leather seats looking flawless and clog free!