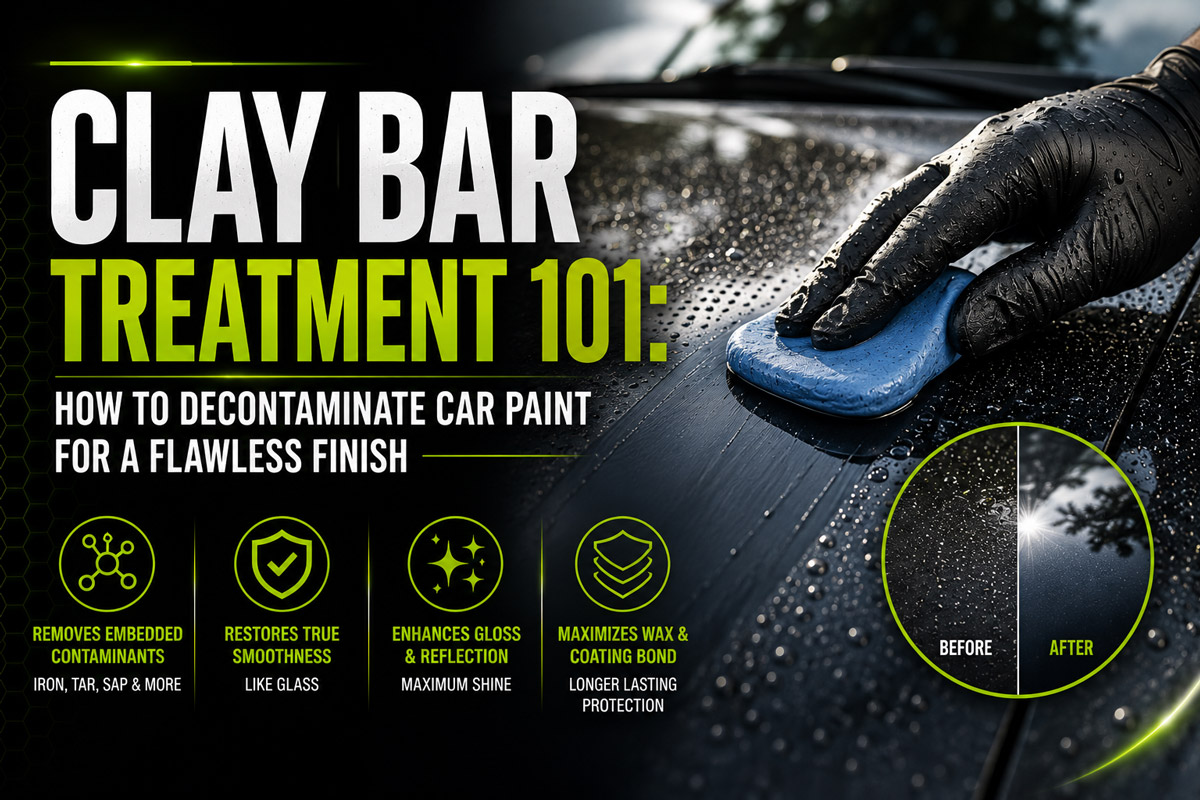
Maintaining a pristine automotive exterior requires far more than a routine wash with soap and water. Over time, every vehicle driven on highways or parked outdoors accumulates microscopic surface impurities that wash buckets simply cannot dislodge. Environmental pollutants such as industrial fallout, brake dust, rail dust, tree sap, and asphalt tar become physically embedded inside the upper layers of your clear coat.
If left untreated, these tiny metallic and organic specks catalyze premature paint oxidation, dull your finish, ruin light reflection, and prevent waxes or ceramic coatings from bonding correctly. Clay bar treatment is the essential mechanical paint decontamination process that lifts these embedded particles away, leaving your paint finish smooth as glass.
This comprehensive master guide explores the science behind automotive paint decontamination. You will discover how to select the right clay grade, prepare your surface with chemical fallout removers, execute flawless mechanical claying techniques, and protect your freshly restored clear coat.
Why Car Paint Decontamination Is Essential for Long Term Finish Protection
Automotive paintwork consists of multiple layers engineered to protect raw metal and plastic panels. Modern vehicles feature a primer base, a color coat, and a transparent top layer known as clear coat. Clear coat acts as a shield against ultraviolet radiation and moisture. However, clear coat is surprisingly porous and flexible under changing ambient temperatures.
As you drive, high velocity particles strike your vehicle. Metallic specks originating from brake rotors, railway transit, and nearby industrial facilities penetrate deep into these clear coat pores. Once lodged inside, exposure to rainwater and oxygen triggers corrosion of the metal particle itself. The expanding rust dot creates microscopic tears within the surrounding paint structure.
Types of Embedded Surface Contaminants
Understanding what resides on your paint surface highlights why washing alone is insufficient:
- Industrial Fallout: Airborne emissions containing sulfur, heavy metal dust, and microscopic concrete dust generated by manufacturing centers and construction sites.
- Sintered Iron Brake Dust: Superheated iron shards shed by braking vehicles. These sharp metallic particles slice into clear coat and rust rapidly when exposed to humidity.
- Railway Dust: Highly abrasive iron dust produced by metal wheels grinding against steel train tracks, common on vehicles shipped via rail.
- Tree Sap and Organic Droppings: Sticky resin secretions that harden on paint surfaces, etching into clear coat layers if exposed to hot sunlight.
- Asphalt Road Tar: Petroleum based road grime kicked up by tires that bonds firmly to lower vehicle rocker panels and doors.
- Mineral Hard Water Spots: Calcium and magnesium mineral deposits left behind when unfiltered water evaporates under direct heat.
What Happens When Embedded Contaminants Are Ignored
Neglecting embedded surface grit leads to several cascading paint issues:
- Rapid Loss of Reflection: Embedded grit scatters light rays in multiple directions instead of bouncing them cleanly, making gloss finishes look dull.
- Premature Paint Oxidation: Corroding iron particles cause micro blistering within clear coat, weakening structural integrity.
- Compromised Protective Bond: Waxes, sealants, and ceramic coatings cannot anchor directly to clear coat when dirty particles create a barrier, reducing product longevity by up to eighty percent.
- Paint Scratching During Polishing: Attempting to polish paint containing embedded grit will drag those hard particles across your vehicle, creating deep swirls and scratches.
Understanding Detailing Clay Grades and Modern Synthetic Alternatives
Detailing clay is a flexible resin compound formulated with ultra fine micro abrasives designed to shear off bonded surface impurities without removing clear coat material. Choosing the correct clay grade ensures maximum efficiency while minimizing potential paint marring.
Traditional Detailing Clay Grades
- Fine Grade Clay: The safest option for new vehicles, soft paintwork, or routinely maintained cars. Fine clay removes light surface grit while preserving soft clear coat finishes with zero marring risk.
- Medium Grade Clay: The industry standard choice for vehicles parked outdoors, moderate industrial fallout, or cars that have gone one to two years without decontamination. Requires careful light hand pressure.
- Heavy Duty Clay: Engineered for severe contamination cases, heavy paint overspray, or long neglected vehicles. Heavy clay possesses aggressive pulling power but often leaves mild surface haze that requires light machine polishing afterward.
Traditional Clay Bars vs Synthetic Clay Mitts and Towels
Modern detailing technology introduced synthetic clay alternatives made from specialized rubberized polymer coatings bonded to microfiber towels, mitts, or foam pads.
Essential Tools and Chemical Prep Checklist
Executing a professional grade decontamination process requires specialized equipment designed to protect clear coat integrity.
- Dedicated Clay Lubricant: High slickness synthetic formula designed to reduce friction between clay resin and paintwork. Prevents sticky residue transfer and surface marring.
- Chemical Iron Fallout Remover: A pH neutral spray containing ammonium mercaptoacetate that chemically reacts with iron particles, turning purple as it dissolves metal specks.
- Asphalt Tar Solvent: Specialized citrus or solvent based spray formulated to dissolve stubborn sticky bitumen and asphalt without harming clear coat finish.
- High Quality Car Wash Shampoo: Free from gloss enhancers, added waxes, or silicones. Ensures a pure surface inspection.
- Borderless Microfiber Towels: Ultra soft, 400 plus GSM plush towels dedicated to wiping away excess lubricant without scratching clear coat.
- Plastic Sandwich Bag: Used for performing the tactile baggage inspection test.
The Complete Four Step Car Paint Decontamination Process
To achieve maximum surface smoothness while keeping paint safe, follow this professional detailing workflow.
Step 1: Deep Wash and Surface Rinse
Never attempt claying on a dirty vehicle. Begin by placing the car in a shaded garage or under a shaded canopy away from direct sunlight to prevent products from drying prematurely.
- Rinse the entire vehicle thoroughly with high pressure water to remove loose road dirt, sand, and mud.
- Prepare two buckets equipped with grit guards. Fill one bucket with soapy water and the other with clean rinse water.
- Wash the car top to bottom using a clean plush microfiber wash mitt.
- Rinse off all soap suds completely with clean water. Keep the vehicle wet for the chemical decontamination stage.
Step 2: Chemical Decontamination (Iron and Tar Removal)
Using chemical fallout removers before mechanical claying dramatically reduces physical work and minimizes clear coat scratching risks.
- Spray a chemical iron fallout remover generously over wet vehicle panels, focusing heavily on lower doors, trunk lids, and rear bumpers where brake dust accumulates.
- Allow the liquid to dwell for two to four minutes. Watch as the clear liquid turns deep purple, signaling an active chemical reaction with embedded iron specks.
- Do not let the product dry on paintwork. Rinse the vehicle thoroughly with pressure water before the chemical flashes.
- Apply a dedicated tar solvent onto lower rocker panels to dissolve sticky asphalt spots. Wipe gently with a dedicated microfiber towel and rinse thoroughly.
Step 3: Mechanical Clay Bar Treatment Technique
Once chemical decontamination is complete, proceed with mechanical claying to remove non metallic bonded grit.
- Break off a small piece representing roughly one third of a full 100 gram clay block. Store the remaining portions safely inside a clean plastic case.
- Flatten the clay piece between your hands to form a circular disc approximately two to three inches wide and half an inch thick.
- Generously mist a manageable two foot by two foot section of wet paint with dedicated clay lubricant. Mist the face of your clay disc as well.
- Place the clay disc lightly against the lubricated panel. Using zero downward pressure, glide the clay across the paint using straight linear motions side to side or up and down. Never scrub in circles.
- Pay close attention to tactile and audio feedback. Initially, you will feel dragging resistance and hear a faint scratchy sound like fine sandpaper. As the clay lifts embedded grit, the sound will vanish, and the movement will turn completely silent and slick.
- Once the panel feels effortless and silent, stop claying that section.
Step 4: Surface Wipe Down and Painstaking Inspection
- Immediately wipe away residual clay lubricant using a clean, dry, plush microfiber towel.
- Inspect the face of your clay bar. You will observe dirty brown or gray specks trapped across its surface.
- Fold the clay disc in half inward, trapping the dirty face inside, and knead the clay between your warm palms to reveal a fresh, clean working surface.
- Move methodically to the next adjacent panel, repeating the lubrication and gliding process until every exterior painted surface is treated.
Visualizing Surface Smoothness and Contamination Reduction
Paint Surface Roughness Index Across Detailing Stages
Pro Detailing Hacks and Critical Paint Safety Rules
Master detailers follow strict safety protocols to eliminate risks of clear coat marring or swirl marks during mechanical decontamination.
The Sandwich Baggie Inspection Test
Human fingers possess cushion skin that can easily miss microscopic surface roughness. The baggie test is an industry trick that amplifies tactile sensitivity:
- Wash and dry a vehicle test section thoroughly.
- Place your hand inside a thin, clean plastic sandwich baggie.
- Lightly slide your baggie covered fingertips across the painted surface using gentle hand motions.
- If the paint feels bumpy, gritty, or rough like fine sandpaper, embedded contaminants are present, indicating your car requires clay bar treatment.
- Perform the baggie test again after claying. The surface will feel completely smooth and frictionless.
The Zero Tolerance Drop Rule
Traditional detailing clay operates by embedding hard particles inside its sticky resin body.
If a piece of clay touches the ground, garage floor, or driveway, throw it into the trash immediately without hesitation. Dropping clay causes it to pick up microscopic sand grains and sharp gravel rocks from the floor. Attempting to knead dropped clay will press those sharp rocks against your car, inflicting severe scratches into clear coat layers.
Preventing Micro Marring and Paint Haze
- Ample Lubrication: Never let clay touch dry paint. If lubricant begins flashing off, mist more spray immediately.
- Light Pressure: Allow the micro abrasives in clay resin to pull grit out naturally. Never press down hard against paintwork.
- Knead Frequently: Re folding your clay bar keeps sharp grit away from the working face, reducing surface hazing risks.
- Temperature Control: Avoid working on hot metal panels or under direct sunlight. Work inside shade where lubricants remain slick.
Post Clay Protection: Locking In Your Smooth Finish
Clay bar treatment is a deep cleaning operation that strips away old wax coatings, road grime, and sealant layers, leaving naked clear coat pores exposed to environmental elements. Leaving paint unprotected after claying will accelerate oxidation and fresh fallout bonding.
Protection Options After Clay Bar Treatment
- Carnauba Car Wax: Provides a deep, warm glow with natural water beading. Best for show cars or garage kept vehicles. Lasts four to eight weeks.
- Synthetic Polymer Paint Sealant: Formulated with advanced cross linking polymers that bond tightly to bare clear coat. Offers durable protection against heat and UV rays for four to six months.
- Ceramic Coating or SiO2 Spray: Provides ultra hard, hydrophobic silica protection that repels water, dirt, and UV damage. Ceramic coatings require bare, clayed paint to establish chemical bonds, offering protection lasting twelve to thirty six months.
Paint Correction Considerations
If your vehicle exhibits light swirl marks, scratches, or hazing, the ideal window for machine polishing is immediately after claying. Polishing smooth, decontaminated paint allows polishing pads to work evenly without loading up with dirt grit, maximizing gloss restoration.
Frequently Asked Questions About Clay Bar Decontamination
How often should you clay bar your vehicle?
For daily driven cars parked outdoors, performing clay bar treatment two times per year, typically in spring and autumn, is ideal. Vehicles kept inside garages or protected with ceramic coatings may only require clay decontamination once every twelve to eighteen months.
Can claying damage or scratch your car clear coat?
When executed correctly using generous lubrication, light pressure, and clean clay resin, claying will not damage clear coat. However, using dirty clay, inadequate lubricant, or heavy hand pressure can cause light micro marring on soft paint finishes, which easily buffs out with mild polish.
Can you use water or car soap as a clay lubricant?
Plain water lacks sufficient slickness to cushion clay resin, leading to clay drag and surface marring. While soapy water can work in emergency situations, car soap can break down traditional clay bars over time, causing them to deteriorate into sticky residue. Dedicated synthetic lubricants yield far safer and smoother results.
Does clay bar treatment remove scratches or swirl marks?
No. Clay bar treatment physically removes raised, embedded surface contaminants resting above or inside clear coat pores. Scratching and swirl marks represent sub surface gouges carved into the paint itself. Removing scratches requires paint correction using abrasive polishes and compounding pads.
Master Paint Decontamination for a Flawless Finish
Clay bar treatment remains one of the most effective detailing practices for transforming rough, neglected car paint into a smooth, reflective masterpiece. By pairing chemical iron fallout removers with mechanical clay bar techniques, you eliminate embedded fallout, protect your clear coat from corrosion, and establish the ultimate surface foundation for long lasting wax, sealant, or ceramic coating protection.
Transform Your Vehicle Surface Today
Elevate your automotive care routine by testing your paintwork with the sandwich baggie inspection today. Equipping yourself with premium clay bars, dedicated synthetic lubricants, and protective sealants ensures your car maintains showroom level shine and long term finish value for years to come.