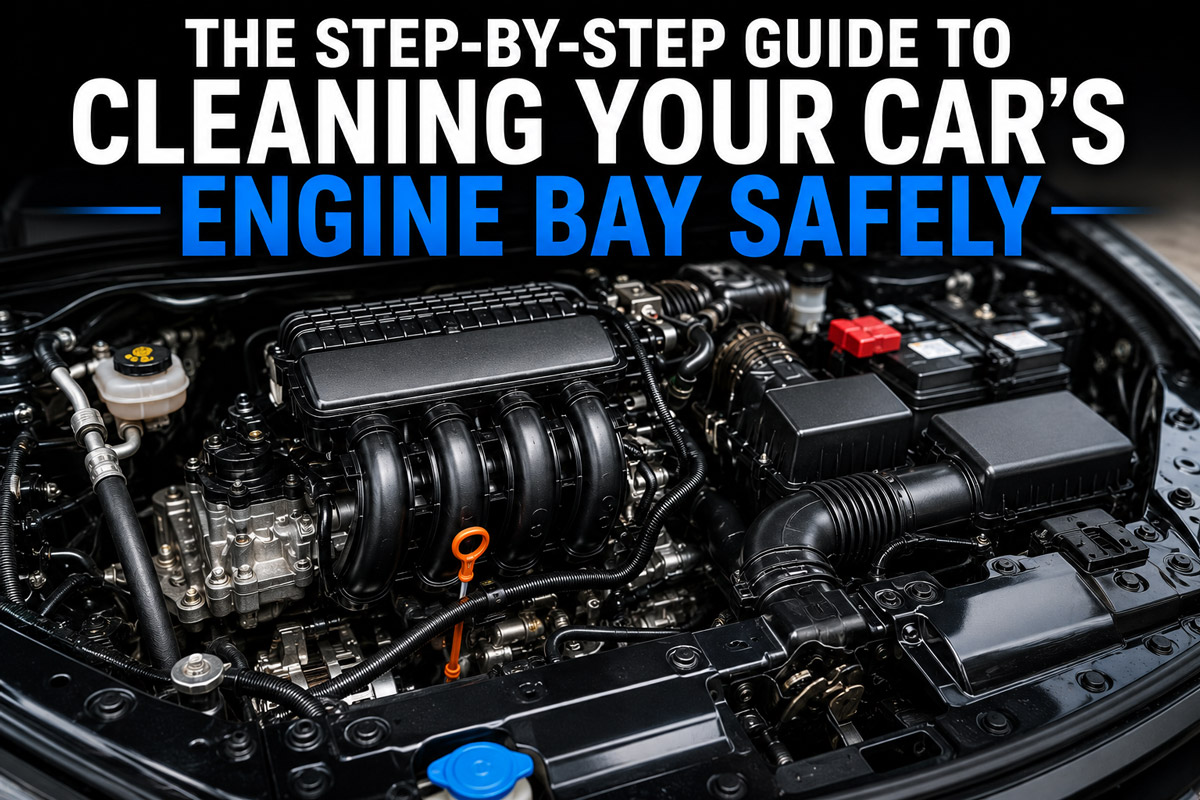
The step-by-step guide to cleaning your car’s engine bay safely requires isolating sensitive electronics, dissolving heavy hydrocarbons with an alkaline or citrus degreaser, and utilizing low-pressure water to flush away the emulsified grime. Executing this process correctly prevents catastrophic electrical failures while restoring thermal efficiency and extending the lifespan of rubber hoses and plastic components.
Key Facts / At a Glance
- DIY Time Investment: 1 to 2 hours of active cleaning; 1 to 3 hours of drying time.
- DIY Cost: $20 to $40 for degreasers, brushes, and protective materials.
- Professional Cost: $75 to $200 for commercial steam detailing.
- Frequency: Twice a year for daily drivers; strictly spot-cleaning for vintage models.
- Primary Risk: Water intrusion into the air intake or unsealed electrical connectors.
Before You Start: Tools, Costs, and Prerequisites
Successfully executing an engine bay detail depends entirely on proper preparation and chemical selection. Gather these materials before opening the hood.
- Difficulty: Intermediate (Requires basic mechanical awareness).
- Total Time: 2.5 to 5 hours (including drying).
- Required Tools:
- Plastic wrap and electrical tape (for waterproofing).
- Automotive-specific engine degreaser (citrus-based for light dust, alkaline for heavy oil).
- Long-handled stiff nylon brush (for metal components) and soft boar’s hair detailing brushes (for plastics).
- Leaf blower, air compressor, or shop vacuum.
- Low-pressure garden hose with a shower-setting nozzle.
- 5-10 clean microfiber towels.
- Water-based plastic and rubber dressing.
- Prerequisite Condition: The engine must be cool to the touch (ideally under 100°F/38°C) to prevent thermal shock and chemical flash-drying.
Which Engine Bay Cleaning Method Should You Choose?
Selecting the correct cleaning approach depends on the vehicle’s age, condition, and electrical shielding.
Quick Verdict: If you drive a modern vehicle with a factory airbox and sealed wiring harnesses, use the DIY Low-Pressure Rinse. If you own a classic car with exposed carburetors and unsealed distributors, strictly utilize DIY Hand Detailing.
How to Clean Your Engine Bay Safely (The 8-Step Process)
Step 1: Cool the Engine and Inspect
Thermal shock occurs when cold water hits hot cast iron or aluminum, potentially warping or cracking the engine block. Open the hood and allow the vehicle to sit for at least two hours if recently driven. While cooling, inspect the engine bay for frayed electrical wires, loose vacuum lines, or active oil leaks.
- Specifics: Surface temperatures should not exceed 100°F (38°C).
- Success Checkpoint: You can comfortably hold your bare hand against the exhaust manifold heat shield.
- Common Mistake: Spraying degreaser onto warm components, causing the chemical to bake into the aluminum and leave permanent white stains.
Step 2: Prep and Protect Sensitive Electronics
Water intrusion destroys engine control modules (ECMs) and sensors. Disconnect the negative battery terminal and tuck it away from the post. Wrap sensitive components tightly in plastic wrap and secure the edges with electrical tape.
- Specifics: You must cover the alternator, exposed air intake filters, fuse boxes, distributor caps (on older vehicles), and coil packs/spark plug wells.
- Success Checkpoint: All copper coils, open intake tracts, and primary electrical junctions are sealed in plastic.
- Common Mistake: Forgetting to cover the aftermarket conical air filter, allowing water directly into the intake manifold.
Step 3: Remove Loose Debris
Organic material traps moisture and promotes rust. Use a vacuum, compressed air, or a leaf blower to extract dry leaves, pine needles, and dust from the cowl (near the windshield wipers) and deep engine crevices.
- Specifics: Blow air at 40-60 PSI to dislodge debris without damaging nearby wire looms.
- Success Checkpoint: The engine bay is free of all loose, dry organic matter.
- Common Mistake: Wetting the engine before this step, which turns dry dust into stubborn mud that is difficult to extract from tight spaces.
Step 4: Apply the Engine Degreaser
Chemical degreasers break the hydrocarbon bonds in oil and grease. Spray a dedicated automotive engine degreaser generously over the engine block, firewall, and plastic covers. Work systematically from the bottom of the engine bay upward to prevent streaks.
- Specifics: Allow the chemical to dwell for exactly 3 to 5 minutes. Do not let it dry. If working in dry climates, mist the area lightly with water to keep the degreaser active.
- Success Checkpoint: The heavy grease begins to turn brown and run down the metal surfaces.
- Common Mistake: Using highly acidic wheel cleaners or undiluted all-purpose cleaners, which will instantly oxidize and corrode bare aluminum components.
Step 5: Agitate the Grime
Chemicals require mechanical agitation to release bonded road film. Scrub heavily soiled metal brackets and valve covers with a stiff nylon brush. Switch to a soft boar’s hair detailing brush for plastic engine covers and rubber hoses to avoid introducing micro-scratches.
- Specifics: Use a 1-inch round detailing brush to work the degreaser into the textured plastics and around bolt heads.
- Success Checkpoint: The foam from the degreaser turns dark brown or black as it lifts the contaminants.
- Common Mistake: Brushing too aggressively on rubber vacuum lines, which can unseat them or cause brittle, aged rubber to crack.
Step 6: Execute a Safe Low-Pressure Rinse
Flushing the degreaser requires volume, not pressure. Attach a shower-setting nozzle to a standard garden hose. Rinse the engine bay gently, directing the water stream from the rear of the firewall forward toward the radiator.
- Specifics: Keep water pressure below 40 PSI. Never use a commercial pressure washer inside the engine bay.
- Success Checkpoint: All suds and brown runoff are completely flushed from the engine compartment, leaving clean surfaces.
- Common Mistake: Pointing the water stream directly at electrical connectors. Even sealed gaskets can fail under direct water pressure.
Step 7: Dry Thoroughly
Standing water corrodes bolts and causes electrical shorts if left to slowly seep into connectors. Remove all protective plastic wrap and tape immediately. Use a leaf blower or compressed air to force water out of deep pockets, particularly the spark plug galleys and intake manifold crevices.
- Specifics: Blow air continuously for 5 to 10 minutes, then wipe down all accessible flat surfaces with clean, dry microfiber towels.
- Success Checkpoint: No visible pooling water remains anywhere in the upper engine bay.
- Common Mistake: Closing the hood and letting the engine air-dry, which creates severe water spots on black plastics.
Step 8: Apply Dressing and Protection
Engine bay plastics fade and oxidize due to extreme heat cycling. Spray a water-based plastic and rubber dressing onto the dried hoses and engine covers. Wipe away any excess product with a microfiber towel to level the finish.
- Specifics: Use strictly water-based dressings. Silicone-based dressings leave a greasy, sticky film that acts as a magnet for road dust.
- Success Checkpoint: Plastics and rubber hoses feature a rich, dark, satin finish that is dry to the touch.
- Common Mistake: Spraying dressing onto the serpentine belt, causing the belt to slip and squeal.
Common Mistakes and How to Fix Them
Even careful detailers occasionally encounter issues when cleaning an engine bay. Address these failure modes immediately:
- White Residue on Plastics: The degreaser flashed and dried before rinsing. Fix: Reapply the degreaser, agitate gently with a wet brush, and rinse immediately to reactivate and flush the chemical.
- Oxidized Aluminum: Acidic cleaners etched the bare metal. Fix: Metal polish and a microfiber applicator can restore the finish on smooth aluminum, but porous cast aluminum will require professional vapor blasting to correct.
- Dressing Streaks: Product pooled in the textured plastic valleys. Fix: Respray the area lightly and aggressively level the product with a dry microfiber towel.
Troubleshooting Post-Wash Engine Issues
If your vehicle exhibits mechanical issues after the step-by-step guide to cleaning your car’s engine bay safely, water intrusion is the likely culprit.
Why won’t my engine start after cleaning?
Water has likely bypassed the ignition coil boots and entered the spark plug wells, causing a misfire or grounding out the spark. Pull the ignition coils or spark plug boots, blow the wells completely dry with compressed air, and allow them to sit open for an hour.
Why is there a loud squealing noise from the engine?
The degreaser stripped the necessary friction or lubrication from the serpentine accessory belt, or dressing was accidentally applied to the pulleys. Apply an automotive belt conditioner to restore grip. If the squeal persists, the belt must be replaced.
Why is my check engine light on?
A sensor connector (often the Mass Airflow Sensor or an O2 sensor harness) is wet. Disconnect the affected sensor (scan the OBD2 port for the specific code), spray the terminals with a dedicated electronic contact cleaner, let it evaporate, and reconnect.
Frequently Asked Questions
Can I use a pressure washer to clean my engine bay?
No. Pressure washers exceed 1,500 PSI, which effortlessly forces water past factory weather-sealed electrical gaskets (hydrostatic pressure), destroying ECMs and sensors. Always use a standard garden hose on a low-pressure shower setting.
How often should I clean my engine bay?
For a daily driven vehicle, detail the engine bay twice a year—once in the spring to remove corrosive winter road salt, and once in the autumn to clear accumulated summer dust. Show cars and off-road vehicles require more frequent attention.
What is the best chemical to degrease an engine?
A dedicated, alkaline-based automotive engine degreaser is best for heavy oil leaks and caked grime. For routine maintenance and light dust, a milder citrus-based all-purpose cleaner diluted 10:1 is safer for delicate aluminum and rubber components.
Do I need to cover the battery before washing the engine?
Yes. While 12-volt automotive batteries will not electrocute you through water, bridging the positive and negative terminals with a stream of water or chemical degreaser can cause rapid discharging, blown fuses, or damage to the alternator circuit.
Is it safe to clean the engine bay of a hybrid or electric vehicle (EV)?
Cleaning an EV or hybrid requires specialized caution. While their high-voltage orange cables are heavily insulated, you must never use a hose or running water under the hood of an EV. Restrict cleaning strictly to the DIY Hand Detailing method using lightly dampened microfiber towels.
The Bottom Line: Executing the step-by-step guide to cleaning your car’s engine bay safely is an exercise in preparation. By covering vital electronics, respecting temperature limits, and relying on chemical agitation rather than water pressure, you can maintain a pristine engine bay without risking mechanical failure.