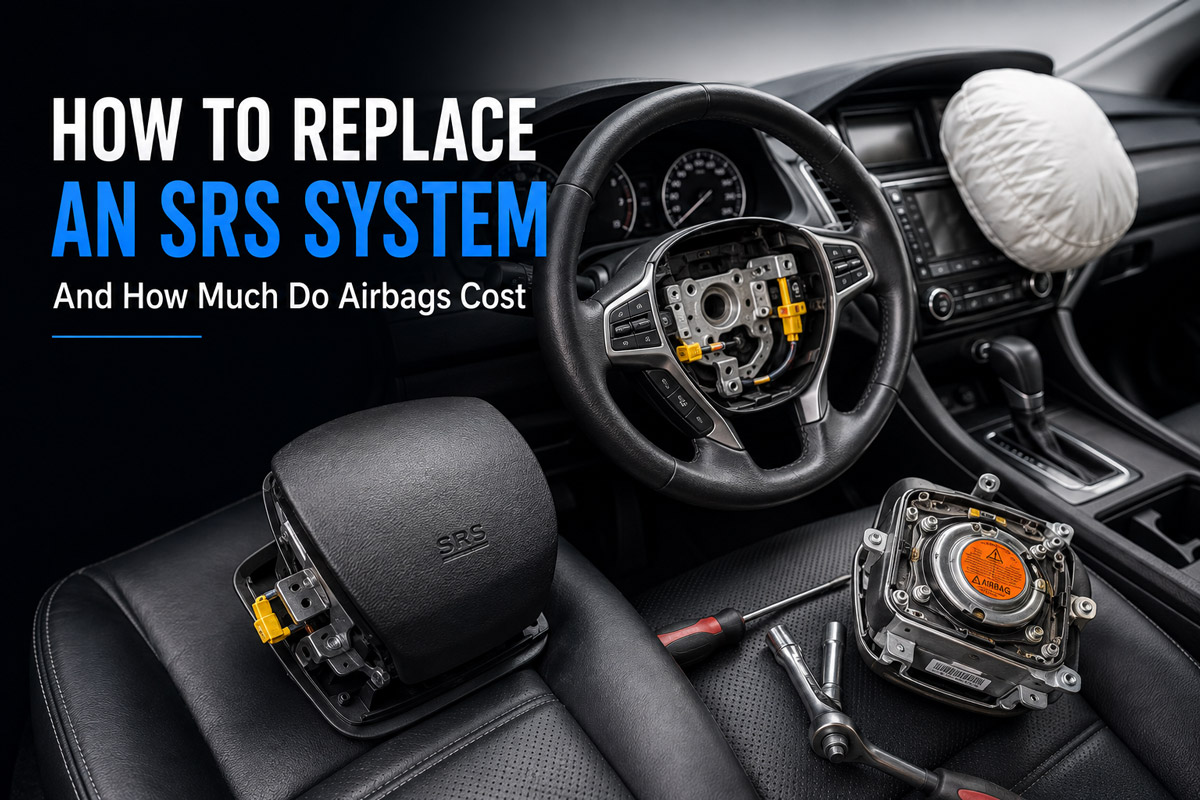
Wondering how much do airbags cost to fix after a collision? Replacing a deployed airbag costs between $1,000 and $4,000 per unit, while completely restoring a full Supplemental Restraint System requires six precise steps taking roughly two hours. Your safety depends entirely on completely discharging the SRS capacitor before handling these pyrotechnics.
Before You Start
- Time Required: 2 to 3 hours
- Difficulty Level: Advanced / Professional
- Total Estimated Cost: $3,000 to $6,000+ (for full system restore)
- Tools Required: 10mm insulated wrench, T30 Torx bit driver, steering wheel puller, bidirectional OBD2 scanner with SRS programming, small pick tool.
- Materials Required: 1 New OEM Airbag Module, 1 New Clock Spring, 1 New Impact Sensor, Replacement Seatbelt Pretensioners, dielectric gloves, anti-static wrist strap, polycarbonate safety glasses.
- Prerequisites: Vehicle must be parked on flat ground with the front wheels locked perfectly straight.
Step 1: Depower the SRS System and Discharge the Capacitor
Disconnect the negative battery terminal and wait exactly 30 minutes to eliminate all residual electrical charge. Using a 10mm insulated wrench, loosen the negative cable clamp, pull it off the battery post, and secure it away from the terminal so it cannot spring back. Set a timer for 30 minutes to allow the SRS backup capacitor to drain completely.
You’ll know it worked when the vehicle has zero electrical power and the horn does not sound when pressed.
Common mistake: Rushing the 30-minute wait time. A residual charge in the capacitor can instantly detonate the new pyrotechnic module the second you plug it in.
Step 2: Remove the Deployed Airbag Module
Unbolt the deployed steering wheel module and disengage the safety locks on the squib wiring harness. Locate the access holes on the sides or back of the steering wheel. Insert your T30 Torx driver and loosen the two retaining bolts evenly until the module pops forward. Using a small pick, gently pry upward on the small locking tabs integrated into the center of the yellow and orange squib connectors, then lift the connectors straight out.
You’ll know it worked when the deployed module separates freely from the wheel without any snapping plastic sounds.
Common mistake: Laying the removed module face-down on a workbench. If a static charge triggers it, the metal backing transforms the unit into a dangerous, high-velocity projectile. Always store it face-up.
Step 3: Replace the Clock Spring and Inspect the Column
Remove the steering wheel to swap out the melted clock spring without spinning the new unit. Take off the center steering wheel retaining nut and use a puller tool to slide the wheel off the splines. Unclip the damaged clock spring from the steering column. Snap the new clock spring into place, ensuring you do not pull its factory locking pin until the steering wheel is entirely reinstalled; this keeps the internal ribbon perfectly centered.
You’ll know it worked when the new clock spring sits flush on the column and the yellow wiring harness aligns perfectly with the top gap.
Common mistake: Spinning the new clock spring before attaching the wheel. If the internal ribbon is off-center, it will snap the first time you turn the wheel to full lock, requiring another replacement.
Step 4: Install New Impact Sensors and SRS ECU
Unbolt the crushed external impact sensor and swap the locked SRS control unit (ECU). Locate the triggered sensor behind the front bumper trim, remove it, and bolt the new sensor down, using a torque wrench to set it to exactly 7–9 Ft-lbs. Next, locate the SRS ECU (usually mounted under the center console). Unbolt it, disconnect the master harnesses, and bolt in either a new ECU or your original ECU that has been professionally reset by a mail-in service.
You’ll know it worked when all sensor harnesses click firmly into place and the ECU is bolted rigidly to the floor pan (it relies on this rigid grounding to detect g-forces).
Common mistake: Failing to torque the impact sensor to the manufacturer’s spec. A loose sensor vibrates, which can either trigger a false deployment or fail to trigger during a real collision.
Step 5: Mount the New Airbag Module
Ground yourself, connect the new squib harnesses, and bolt the module into the steering wheel hub. Put on your anti-static wrist strap. Hold the new OEM airbag module near the wheel and push the color-coded squib connectors strictly into their matching ports until you hear a distinct click, then press down the safety locking tabs. Push the module into the wheel cavity—ensuring no wires are pinched behind the metal plate—and tighten the T30 Torx bolts to 6–8 Ft-lbs.
You’ll know it worked when the horn pad springs back smoothly when pressed, and the panel gaps around the module are perfectly even.
Common mistake: Forcing a connector in without checking the color coding (yellow to yellow, orange to orange), which bends the fragile gold pins inside the module.
Step 6: Repower, Program, and Clear Crash Data
Stand outside the vehicle, reconnect the battery, and use a bidirectional scanner to program the new hardware. Reconnect the negative battery terminal with your 10mm wrench. Stand outside the open driver’s window (do not sit in the seat) and reach in to turn the ignition to the “ON” position. Plug your bidirectional OBD2 scanner into the port, navigate to the SRS menu, write the vehicle’s VIN to the new module, and command it to clear any stored hard codes.
You’ll know it worked when the red airbag light on the dashboard illuminates for roughly six seconds, then permanently turns off.
Common mistake: Skipping the seatbelt pretensioners. If the scanner refuses to clear the airbag light, it is almost always because it detects a blown, unreplaced seatbelt retractor.
Common Mistakes and How to Fix Them
- Airbag light stays illuminated after resetting: This almost always indicates an undetected code or an unreplaced component. Hook up your OBD2 scanner and read the exact SRS fault code. If it reads “Seatbelt Pretensioner Open Circuit,” you must remove the B-pillar trim and replace the locked seatbelt assembly.
- Scanner reads “Crash Data Locked”: Most modern ECUs can only record a deployment once and permanently lock you out. To fix this, you must physically remove the SRS module from under the center console and send it to a mail-in specialist who will rewrite the EEPROM chip, or buy a virgin ECU from the dealer.
- Code for “Driver Airbag Squib Open Circuit” on a new bag: You likely failed to fully depress the secondary locking tabs on the connectors. Turn off the car, disconnect the battery, wait 30 minutes, and push the small locking tabs down until they are perfectly flush.
- Steering wheel sits crooked after installation: The clock spring or steering column was damaged in the crash. You must inspect the column for collapsed shear pins and re-align the steering shaft splines perfectly top-dead-center.
Process Variations for Different Situations
- Passenger Dash Airbags: Unlike the steering wheel, replacing a passenger dash airbag often requires removing the entire dashboard assembly. The exact steps change: you must evacuate the AC refrigerant, drain the engine coolant (to disconnect the heater core), and pull the entire dashboard out of the vehicle to unbolt the passenger module from underneath.
- Side Curtain Airbags: If a side curtain deploys, the replacement process requires removing the A, B, and C pillar plastics, as well as dropping the vehicle’s headliner entirely. You will also need to replace the side-impact crash sensors located inside the doors or rocker panels, rather than the front bumper sensors.
Exactly How Much Do Airbags Cost? (Detailed Breakdown)
To answer the core question of how much do airbags cost, you have to look at the entire system, because one bag never deploys alone.
- The Airbag Module itself: $200 to $700 for an OEM driver-side unit. Passenger and side-curtain modules usually run $400 to $1,000.
- The Clock Spring: $100 to $250. This melts during deployment and must be replaced.
- Impact Sensors: $70 to $350 each.
- Seatbelt Pretensioners: $150 to $300 per seatbelt.
- SRS Control Module (ECU): $50 to $100 for a mail-in reset, or $400 to $1,200 for a brand new unit.
- Labor: Professional installation at a certified body shop ranges from $500 to $1,500.
In total, fixing a minor deployment will set you back roughly $1,500, while a major collision requiring multiple bags, a new dashboard, and headliners quickly pushes the total bill past $4,000 to $6,000. This steep cost is exactly why insurance adjusters frequently total older vehicles after a deployment.
Frequently Asked Questions
Can I reuse a deployed airbag by packing it back in?
No. An airbag is a one-time-use pyrotechnic device. Once the sodium azide propellant has been ignited to inflate the nylon bag, the chemical reaction is permanently spent and the housing is warped by the heat.
Do I have to replace the seatbelts if the airbags deployed?
Yes, in almost all modern vehicles. The seatbelt retractors contain their own micro-explosive charges (pretensioners) that fire simultaneously with the airbags to pull you tightly against the seat. Once fired, they are permanently locked.
Can I clear an airbag light with a cheap $20 code reader?
No. Basic code readers only communicate with the Engine Control Module (ECM) to read emissions codes. You need a bidirectional scanner (typically $150+) equipped with dedicated SRS diagnostic software to communicate with the airbag module.
Why does my car horn no longer work after replacing the airbag?
The horn ground circuit runs directly through the clock spring and the metal backing plate of the airbag module. If the horn fails, either the clock spring ribbon is broken, or the module’s grounding strap wasn’t seated against the steering wheel frame.
In summary, when evaluating how much do airbags cost to replace, you must account for the strict safety protocols, specialized diagnostic tools, and the hidden secondary components like clock springs and seatbelts that are vital to a safe and successful SRS restoration.