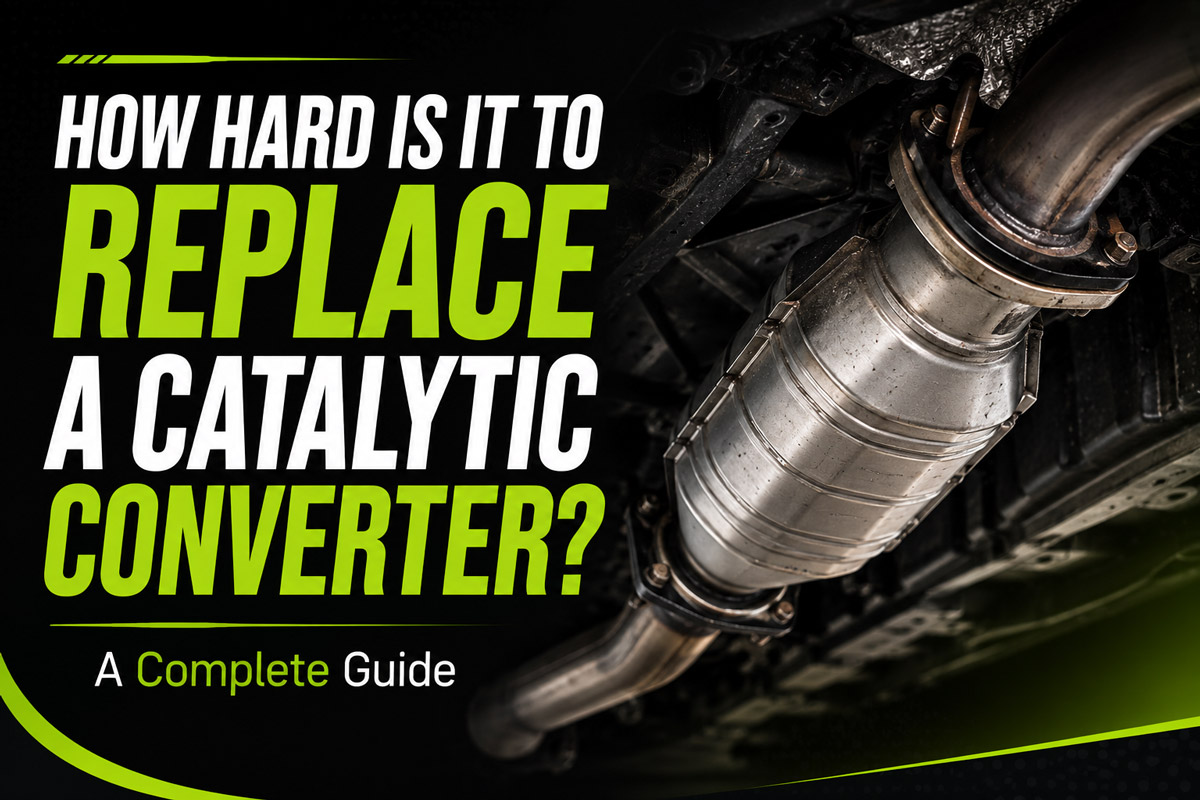
Wondering how hard is it to replace a catalytic converter? It is a moderately difficult 8-step process that takes two to five hours, depending entirely on rust severity. If your vehicle uses a direct-fit unit, you can succeed using basic hand tools, heavy-duty penetrating oil, and leverage.
Before You Start
- Total Time Required: 2.5 to 5 hours.
- Difficulty Level: Mechanical Skill 3/5 | Patience Level 5/5.
- Expected Cost: $200 to $1,500+ (parts only, heavily dependent on OEM vs. aftermarket).
- Prerequisites: Your vehicle must use a “direct-fit” (bolt-on) catalytic converter, not a “universal” (weld-in) unit.
- Tools and Materials Needed:
- Hydraulic floor jack (minimum 2-ton capacity) and heavy-duty jack stands (4)
- Wheel chocks (2)
- Mechanix safety glasses and heavy-duty mechanic gloves
- 1/2-inch drive ratchet and 1/2-inch drive breaker bar (18 to 24 inches long)
- Metric/standard deep exhaust sockets (usually 14mm, 15mm, or 9/16″)
- Specialized 7/8-inch (22mm) oxygen sensor socket and torque wrench
- PB Blaster Penetrating Catalyst (1 can) and MAPP gas torch (optional, for stuck bolts)
- Anti-seize lubricant (copper-based) and high-temp exhaust sealant
- Wire brush or emery cloth
- Exact-fit replacement catalytic converter, new gaskets (2), and exhaust-grade hardware
The 8-Step Replacement Process
Step 1: Lift and Support the Vehicle
Park on a flat, level concrete surface and secure the rear wheels with chocks. Lift the front of the vehicle using a hydraulic floor jack at the factory-designated jacking point, then lower the vehicle onto four jack stands placed under the structural frame rails.
- Specifics: Raise the vehicle high enough to give yourself at least 24 inches of clearance to operate a long breaker bar safely.
- Success Checkpoint: You will know it is secure when you can physically shake the bumper and the vehicle does not shift on the stands.
- Common Mistake: Never crawl under a vehicle supported only by a hydraulic jack; a hydraulic failure will cause the car to drop instantly.
Step 2: Soak Hardware with Penetrating Oil
Spray a heavy coat of penetrating oil onto all exhaust flange bolts, nuts, and the oxygen sensor threads. Let the oil soak for an absolute minimum of 20 minutes to dissolve rust binds.
- Specifics: Target the gap between the nut and the bolt threads. Reapply a second coat halfway through the waiting period.
- Success Checkpoint: You’ll know it worked when the oil turns brown and wicks into the microscopic gaps of the threads.
- Common Mistake: Rushing this step guarantees snapped exhaust studs, turning a simple bolt-on job into a multi-hour drilling ordeal.
Step 3: Remove the Oxygen Sensors
Disconnect the electrical wiring harnesses for the upstream and downstream oxygen sensors before attempting to unscrew them. Slide your 7/8-inch oxygen sensor socket over the sensor body and use a ratchet to break it loose.
- Specifics: Trace the wire from the sensor to the plastic plug and unclip it first. Once unclipped, rotate the sensor counter-clockwise to remove it. Place the sensors on a clean rag.
- Success Checkpoint: You’ll know it worked when the sensor comes out smoothly without the attached wires twisting or binding.
- Common Mistake: Unscrewing the sensor without unplugging it first will twist and shred the delicate internal wires, requiring a $100+ replacement.
Step 4: Unbolt the Exhaust Flanges
Apply deliberate, counter-clockwise pressure using a 1/2-inch drive breaker bar and a deep socket to loosen the nuts securing the converter to the exhaust pipe. Work the nuts back and forth slowly to preserve the threads.
- Specifics: Loosen the nut a quarter turn, then tighten it an eighth of a turn. This clears rust out of the threads. If the nut refuses to move, apply heat using a MAPP gas torch directly to the nut for 60 seconds to expand the metal, then try again.
- Success Checkpoint: You’ll know it worked when the nuts spin freely off the studs without the bolt snapping.
- Common Mistake: Using an impact wrench on dry, severely rusted exhaust bolts will instantly shear the heads off.
Step 5: Detach Isolators and Remove Unit
Support the weight of the middle exhaust pipe with a bungee cord or spare jack stand, then pry the metal hanger prongs out of the vehicle’s rubber exhaust isolators. Carefully lower the old catalytic converter away from the chassis.
- Specifics: Spray a squirt of penetrating oil or silicone spray directly into the hole of the rubber isolator; this lubricates the metal prong, allowing it to slide out easily with a pry bar.
- Success Checkpoint: You’ll know it worked when the converter is completely free of the vehicle and the remaining exhaust pipe remains supported.
- Common Mistake: Letting the remaining exhaust pipe hang freely can stress and crack the woven metal flex-pipe located closer to the engine.
Step 6: Clean Flanges and Place Gaskets
Scrape the mating flanges on the vehicle’s existing exhaust pipes using a wire brush or emery cloth until you reach bare metal. Place your new gaskets onto the freshly cleaned surfaces.
- Specifics: Remove every trace of black carbon buildup, flaky rust, and crushed remnants of the old metal gasket. Apply a paper-thin smear of high-temp exhaust sealant to both sides of the new gasket if the flanges are heavily pitted.
- Success Checkpoint: You’ll know it worked when the flanges are smooth to the touch and uniform in color.
- Common Mistake: Reusing the old compressed gaskets guarantees an exhaust leak and a triggered Check Engine Light.
Step 7: Mount and Torque the New Converter
Lift the new catalytic converter into position, slide the metal hangers into the rubber isolators to support its weight, and insert the new exhaust-grade nuts and bolts through the flanges. Tighten everything using a torque wrench in an alternating star pattern.
- Specifics: Torque the flange bolts to 25 to 35 lb-ft. Apply a tiny dot of copper anti-seize to the threads of your oxygen sensors (avoiding the perforated tip) and torque them to 30 lb-ft. Reconnect the electrical harnesses.
- Success Checkpoint: You’ll know it worked when the exhaust system feels entirely rigid when shaken by hand.
- Common Mistake: Installing the unit backward. Always check the catalytic converter body for an embossed arrow—it must point toward the rear muffler (the direction of exhaust flow).
Step 8: Perform a Leak Test and Warm Up
Lower the vehicle safely to the ground and start the engine to check for exhaust leaks. If you used exhaust sealant, wait 60 minutes before starting the engine to allow the silicone to cure.
- Specifics: Let the car idle. Safely pass your hand about two inches away from the flange joints (do not touch the hot metal) to feel for rhythmic puffs of escaping air.
- Success Checkpoint: You’ll know it worked when the exhaust sounds quiet and steady, with no ticking or hissing noises near the flanges.
- Common Mistake: Revving the engine immediately after startup can blow out uncured exhaust sealant or damage a cold, brand-new converter mat.
Common Mistakes and How to Fix Them
- Snapped Flange Bolts: If you break a rusted stud off in the flange, you must drill it out. Start with a 1/8-inch cobalt drill bit and step up in size until the hole is clear. Replace the destroyed stud with a heavy-duty grade-8 nut and bolt combination.
- Code P0420 Returns on a New Unit: If your check engine light illuminates shortly after installation, the engine computer’s ECM memory is likely retaining old data. Clear the codes using an OBD2 scanner. If it returns after 50 miles, verify that you do not have microscopic exhaust leaks upstream of the sensors.
- Contaminated Oxygen Sensors: If you accidentally get penetrating oil or anti-seize on the perforated tip of the oxygen sensor, the internal element is ruined. You cannot clean it; you must buy and install a new sensor to correct the resulting fuel-mixture errors.
- Ignoring the Root Cause: Catalytic converters rarely die of old age; they are killed by engine problems. If your old converter was melted or clogged with soot, you have an unburned fuel (misfire) or oil-burning issue. You must fix the engine misfire, or your new converter will melt within a few months.
Process Variations
- Weld-In (Universal) Converters: If you purchased a universal converter to save money, Step 4 and Step 7 change entirely. You must use a reciprocating saw to cut the old converter out of the exhaust pipe, and you will need a MIG welder to fuse the new unit in place. This elevates the difficulty to a 5/5 and is not recommended for beginners.
- CARB-Compliant States: If your vehicle is registered in California, Colorado, Maine, or New York, you cannot legally install a standard aftermarket converter. You must verify that the replacement unit has an executive order (EO) number stamped on the shell indicating CARB compliance, or you will fail your state emissions inspection.
How Long It Takes and What It Costs
Replacing a direct-fit catalytic converter takes between 2.5 and 5 hours. A professional shop can do it in an hour using a hydraulic lift and an oxy-acetylene torch, but DIYers working on their backs with hand tools need to budget a whole afternoon.
The job costs between $200 and $1,500. Direct-fit aftermarket units generally cost $200 to $400. However, if your vehicle requires an OEM (Original Equipment Manufacturer) unit from the dealership, parts alone can exceed $1,500. Doing it yourself saves roughly $150 to $300 in labor fees.
Frequently Asked Questions
Can I drive with a bad catalytic converter?
You can physically drive with a failing converter, but doing so will result in reduced engine performance, poor fuel economy, and a continuous Check Engine Light. If the converter is entirely clogged, exhaust gases will back up, causing the engine to stall or refuse to accelerate.
Is it worth cleaning a catalytic converter instead of replacing it?
Fuel additives claiming to clean catalytic converters can remove mild carbon deposits and temporarily turn off a P0420 code. However, if the internal ceramic honeycomb is melted, cracked, or severely coated in burned oil, no liquid cleaner can repair it; replacement is the only option.
What should I do with my old catalytic converter?
Do not throw it in the trash. Old catalytic converters contain precious metals like platinum, palladium, and rhodium. You can sell your old unit to an auto recycler or scrap yard, often recovering $50 to $200 depending on the size and make of the vehicle.
Do I need to unhook the battery to replace a catalytic converter?
While not strictly required for the mechanical unbolting process, disconnecting the negative battery terminal is highly recommended. It prevents accidental short circuits when unplugging the oxygen sensors and forces the engine computer (ECM) to reset its fuel trims and clear old error codes.