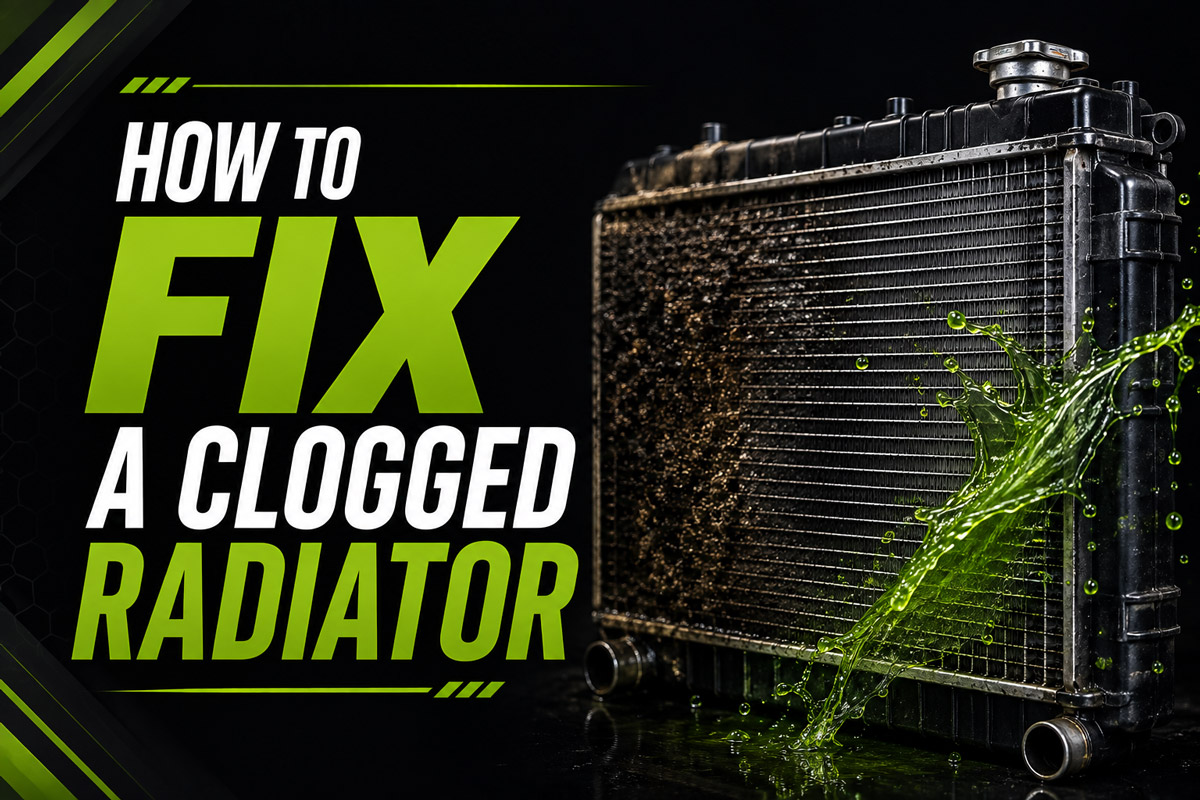
To fix a clogged radiator, you must drain the degraded coolant, run a chemical descaling agent through the system for 30 to 60 minutes to dissolve mineral scale, and perform a pressurized reverse-flush with water through the lower radiator hose. Once the water runs clear, refill the system with a 50/50 blend of distilled water and manufacturer-specified coolant, then run the engine without the radiator cap to purge trapped air.
Key Facts / At a Glance
- A clogged radiator is caused by internal corrosion, calcium precipitation from tap water, or chemical sludge from mixing incompatible coolants.
- Opening a hot radiator cap immediately drops the system’s 15–20 PSI pressure, causing explosive 250°F flash-boiling and severe burns.
- Chemical flushing removes mild to moderate mineral scale but cannot dissolve completely calcified blockages.
- Reverse-flushing forces water upward from the lower radiator hose to dislodge sediment trapped in the top of the ultra-thin cooling tubes.
- Mixing Green Inorganic Additive Technology (IAT) coolant with Orange Organic Acid Technology (OAT) creates a thick gel that destroys radiators.
How Do You Know If Your Radiator Is Actually Clogged?
You diagnose a clogged radiator by mapping the temperature gradient across the radiator core using an infrared (IR) thermometer. A healthy radiator will show a smooth, gradual temperature drop from the upper inlet hose to the lower outlet hose. If the radiator has internal blockages, the IR thermometer will reveal distinct “cold spots” in the center or lower sections of the core where hot coolant cannot penetrate the clogged micro-tubes.
Before attempting a chemical flush, rule out other overheating causes. If the upper radiator hose is completely cold while the engine overheats, you have a stuck-closed thermostat, not a clogged radiator. If you see milky, coffee-colored oil on your dipstick, you have a blown head gasket, and flushing the radiator will not solve the problem.
Which Repair Strategy Should You Choose?
The decision to flush, professionally power-flush, or entirely replace a radiator depends on the severity of the restriction and the age of the plastic end tanks.
| Strategy Type | Ideal Application | Estimated Cost | Required Time | Key Pros & Cons |
| DIY Chemical Flush | Minor preventative scale or light sediment buildup causing mild temperature spikes. | $15 – $40 | 1.5 – 3 Hours | 🟢 Economical. 🔴 Ineffective on solid calcified blocks. |
| Shop Machine Flush | Systemic heavy sludge, usually from mixing incompatible coolants. | $90 – $220 | 1 – 2 Hours | 🟢 High-pressure pulse forces sediment out. 🔴 Can blow out weak water pump seals. |
| Full Core Replacement | Severely degraded core fins, cold spots covering >30% of the core, or cracked plastic tanks. | $250 – $750+ | 2 – 4 Hours | 🟢 Restores absolute system reliability. 🔴 Highest component and labor cost. |
Quick Verdicts
- For routine maintenance: Choose a DIY Chemical Flush. It removes mild scale before it solidifies into a permanent blockage.
- For mixed-coolant sludge: Choose a Shop Machine Flush. A DIY garden hose lacks the pulsating pressure required to clear heavy gel.
- For overheating under heavy load (towing/hills): Choose Full Core Replacement. If a flush does not immediately resolve high-load overheating, the internal tubes are permanently restricted.
Before You Start
Time Required: 1.5 to 3 Hours
Difficulty: Intermediate (Requires basic hand tools and adherence to strict thermal safety protocols)
Cost: $15 – $40 for chemicals and coolant.
Tools and Materials:
- 5-gallon low-profile drain pan (1)
- Radiator chemical flush agent (1 bottle, sodium citrate or oxalic acid base)
- Vehicle-specific concentrated coolant (1-2 gallons)
- Distilled water (4-6 gallons)
- Spill-free radiator funnel kit (1)
- Hose clamp pliers (1)
- Garden hose with an adjustable spray nozzle
Prerequisites:
You must have a safe, level surface to work on. You also need heavy-duty sealable containers to transport the highly toxic spent coolant to an auto parts store or municipal hazardous waste facility for legal recycling. Dumping coolant down a storm drain is illegal and fatal to local wildlife.
How Do You Fix a Clogged Radiator?
Step 1: Safely Depressurize and Drain the System
Park the vehicle on flat ground, turn off the engine, and allow it to cool completely for an absolute minimum of 2.5 hours. Once the upper radiator hose is cool to the touch and easily squeezed, place your 5-gallon drain pan directly beneath the radiator drain valve (petcock). Open the petcock to allow the spent coolant to gravity-drain completely, then safely store this fluid.
Specifics: An operating cooling system sits at 15 to 20 PSI, which raises the boiling point of the coolant.
Success Checkpoint: You will know it is safe when the upper radiator hose has zero internal pressure when squeezed, and the drained fluid flow reduces to a slow drip.
Common Mistake: Attempting to twist a plastic petcock on a vehicle over 10 years old. Old plastic becomes brittle and will snap off in the radiator tank, forcing a complete radiator replacement.
Expert Insight: If the petcock feels seized, do not force it. Instead, use hose clamp pliers to disconnect the lower radiator hose where it meets the radiator. This achieves a faster drain and completely eliminates the risk of breaking the plastic valve.
Step 2: Perform the Initial Distilled Water Purge
Close the petcock or reconnect the lower radiator hose, and fill the system entirely with pure distilled water. Turn the vehicle’s ignition on, set the cabin climate control heater to its absolute maximum temperature setting, and start the engine. Let the engine idle for exactly 10 minutes, shut it down, allow it to cool, and drain the fluid again.
Specifics: Setting the heater to maximum physically opens the heater control valve, allowing your flush water to circulate through the heater core tucked behind the dashboard.
Success Checkpoint: You will know it worked when the fluid draining out is significantly lighter in color than the initial coolant drain, indicating the loose particulate has been purged.
Common Mistake: Using a garden hose and municipal tap water for this intermediate purge. Tap water contains calcium and magnesium ions that immediately begin baking onto hot engine components.
Step 3: Run the Chemical Descaler
Refill the radiator with fresh distilled water, leaving enough room at the top to add your chosen chemical flush agent. Start the engine, ensure the cabin heater remains on maximum, and allow the vehicle to idle or drive normally for 30 to 60 minutes. Shut the engine down, allow the 2.5-hour cooling period, and drain the chemical mixture.
Specifics: Use a sodium citrate-based flush for general maintenance and light sludge. If you have severe rust (the water looks like dark orange mud), use an aggressive oxalic acid-based descaler.
Success Checkpoint: You will know the chemical has done its job if the draining fluid is heavily discolored with dissolved rust and suspended white calcium flakes.
Common Mistake: Leaving an aggressive acid-based descaler in the system for several days. Prolonged exposure to harsh acids will eat through the thin aluminum walls of the heater core, causing a massive interior cabin leak.
Step 4: Execute a Reverse Power Flush
Disconnect both the upper and lower radiator hoses from the engine block, leaving them attached only to the radiator. Insert a garden hose nozzle directly into the lower radiator hose. Turn the water supply on full blast to force fresh water backward through the radiator core, forcing it to exit out of the upper radiator hose and into a catch basin.
Specifics: Debris naturally flows downward from the upper hose and wedges into the tops of the radiator tubes. Normal flow pushes debris deeper. Reverse flow lifts the debris out of the wedge and flushes it out the top.
Success Checkpoint: You will know the reverse flush is complete when the water exiting the upper radiator hose runs completely, perfectly clear without a single speck of debris or tint of rust.
Common Mistake: Sealing the garden hose too tightly into the lower hose with rags. Standard household water pressure can exceed 60 PSI, which is enough to blow the plastic end tanks off a radiator designed for 15 PSI. Allow some water to back-flow around the nozzle to bleed off excess pressure.
Step 5: Refill and Burp the Cooling Loop
Reconnect all plumbing lines and secure the hose clamps. Attach a spill-free funnel kit to the radiator neck, and fill the system with a precise 50/50 mix of your vehicle’s specified concentrated coolant and distilled water. Start the engine with the funnel attached and half-full, allowing the engine to reach operating temperature so the thermostat opens and burps out trapped air bubbles.
Specifics: A spill-free funnel attaches airtight to the radiator neck and acts as the highest point in the cooling system. Because air inherently rises in liquid, trapped air will naturally migrate up and out through the funnel while drawing fresh coolant downward.
Success Checkpoint: You will know the system is fully burped when the engine has reached normal operating temperature, the cooling fans cycle on, and no more air bubbles erupt into the funnel.
Common Mistake: Pouring 100% concentrated coolant directly into the system. Pure antifreeze actually has worse heat-transfer properties than water and will freeze at higher temperatures than a 50/50 mix.
What Are the Most Common Coolant Flush Mistakes?
Using Domestic Tap Water
Tap water is fatal to modern cooling systems. It contains heavy mineral ions. Under high engine temperatures (190°F–220°F), these minerals precipitate out of the water and form hard, insulating calcium scales on the aluminum tube walls. This ruins the heat transfer efficiency of the radiator. Always use distilled water, which has been stripped of all minerals.
Mixing Incompatible Coolant Chemistries
Coolant colors are not universal, but mixing distinct chemical types is always destructive. Mixing an older Green Inorganic Additive Technology (IAT) coolant with a newer Orange/Pink Organic Acid Technology (OAT) coolant triggers a chemical reaction known as “silicate drop-out.” This creates a thick, gelatinous chemical mud that permanently plugs the ultra-thin cooling channels.
Failing to Flush the Heater Core
If you flush the radiator with the cabin heater turned off, the heater control valve remains closed. This traps a quart of degraded, acidic coolant inside the dashboard heater core. When you refill the system and later turn the heater on, that toxic fluid mixes with your fresh coolant, immediately degrading its protective additives.
Frequently Asked Questions
Can you fix a completely clogged radiator without removing it?
No. If a radiator is completely calcified to the point where coolant flow is entirely blocked, a chemical flush cannot penetrate the tubes to dissolve the blockage. In this scenario, the radiator must be physically removed from the vehicle and either re-cored by a radiator shop or entirely replaced.
Does vinegar work to flush a radiator?
While white vinegar (acetic acid) can dissolve mild rust and calcium, it is not recommended for modern aluminum radiators. Automotive-specific chemical flushes use buffered acids and corrosion inhibitors that attack the scale without etching the aluminum block or degrading rubber water pump seals.
How long does a chemical radiator flush take?
A proper DIY chemical radiator flush takes between 1.5 and 3 hours. This includes 30 to 60 minutes for the chemical descaler to circulate, plus mandatory cooling periods between draining and refilling to prevent cracking the engine block with thermal shock from cold water.
What are the symptoms of a blocked radiator?
The primary symptoms of a blocked radiator include the dashboard temperature gauge spiking during highway driving or towing, cooling fans running constantly on high speed, sweet-smelling coolant boiling over into the overflow reservoir, and distinct cold spots on the radiator fins when the engine is hot.