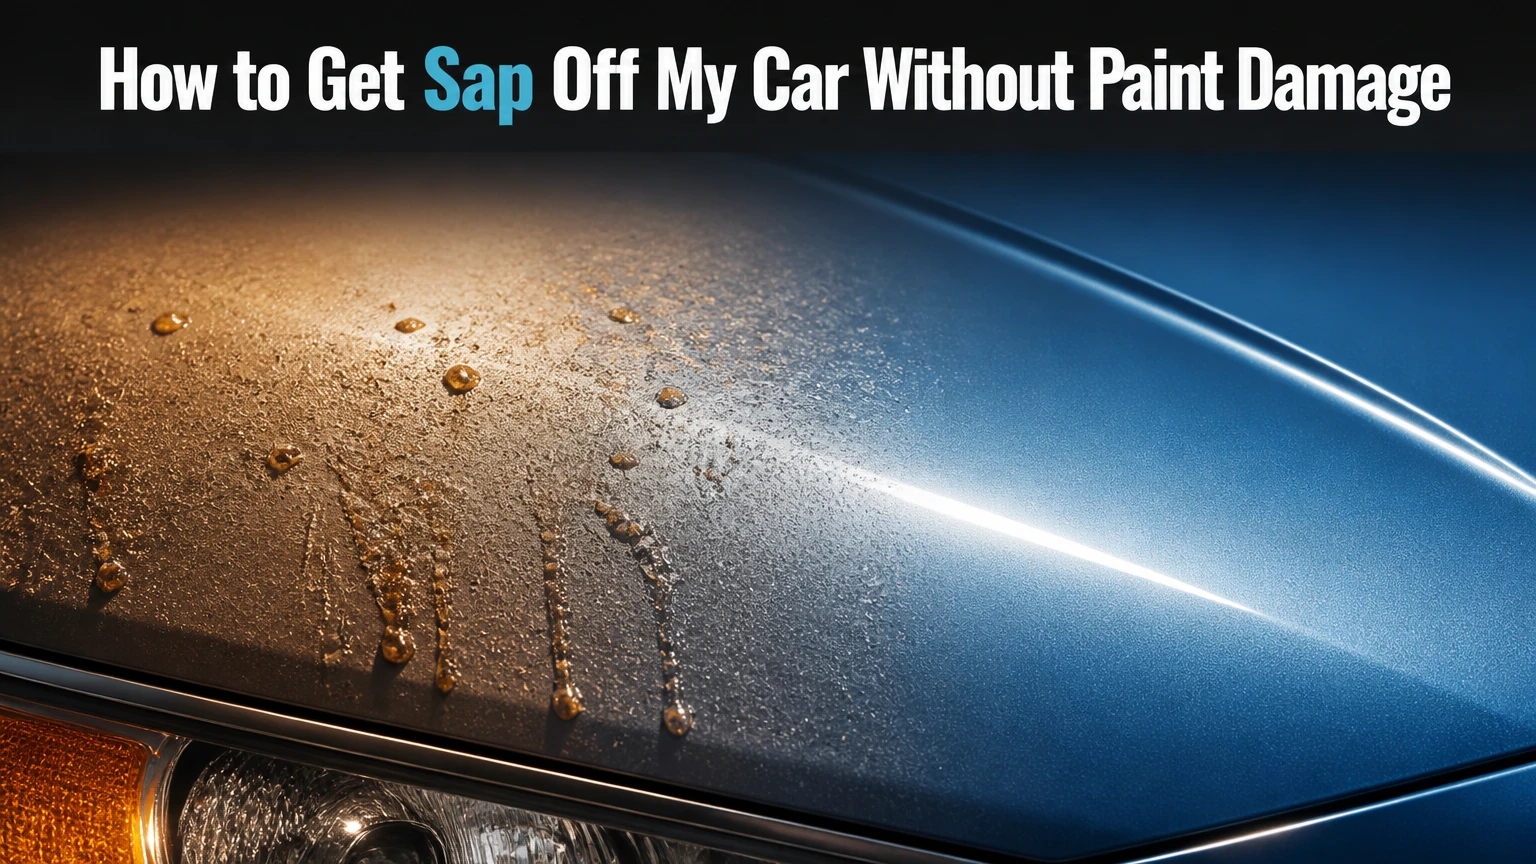
To get sap off your car, wash and dry the affected panel, then soften the deposit with an automotive bug-and-tar remover before gently wiping with microfiber. Use short applications of 70% isopropyl alcohol only when needed, rinse the area afterward, and replace any wax or sealant removed during cleaning.
Key Facts at a Glance
Automotive bug-and-tar remover is usually the safest first chemical choice for cured tree sap on factory paint.
A cool, shaded panel and a clean microfiber towel reduce scratching more effectively than added rubbing pressure.
Isopropyl alcohol can remove sap quickly, but it may strip wax and can damage some plastics, wraps, or fresh refinishing.
Clay bars remove remaining bonded contamination, but clay should follow chemical softening rather than replace it.
Sap removal does not reverse clear-coat etching, staining, cracking, or paint failure beneath the deposit.
A cleaned spot normally needs new wax, paint sealant, or compatible coating maintenance afterward.
Before You Start
Tree sap is a resinous plant secretion containing water, sugars, minerals, and organic compounds. Sunlight and heat evaporate its moisture, leaving a sticky deposit that hardens against the clear coat. The deposit may remain above the surface, or acidic compounds may etch the clear coat and leave a permanent-looking mark after the sap is gone.
Work on one cool panel in shade. Heat makes sap softer, but it also causes solvents to evaporate too quickly and increases the chance of streaking or staining. The first wash removes grit that could become an abrasive between the towel and paint.
Tools and materials
| Item | Typical quantity | Purpose | Replacement rule |
|---|---|---|---|
| pH-neutral car shampoo | 15-30 milliliters in 4-5 liters of water | Removes road film and loose dirt | Use fresh solution for each vehicle |
| Clean microfiber towels | 4-8 towels | Washing, solvent wiping, drying, final buffing | Retire a towel after visible grit or heavy resin |
| Automotive sap or tar remover | 5-15 milliliters per area | Softens resin | Follow the product label |
| 70% isopropyl alcohol | 5-10 milliliters per spot | Backup solvent for stubborn residue | Keep contact time below 60 seconds |
| Clay bar and lubricant | 15-30 grams of clay | Removes bonded remnants | Fold clay after each contaminated section |
| Wax or paint sealant | 5-10 milliliters per panel area | Replaces removed protection | Apply only to clean, dry paint |
Inspect the surface before cleaning. Note whether the sap is on painted metal, glass, textured plastic, rubber, paint-protection film, or a ceramic-coated panel. Test any solvent on an inconspicuous section first, particularly on repainted panels and aftermarket vinyl.
How to Get Sap off My Car
The safest process has six stages: cool the surface, wash it, soften the sap, lift it without abrasion, inspect the paint, and restore protection. A small fresh deposit often takes 5-10 minutes; several baked-on spots usually take 20-45 minutes. The determining factor is not the solvent alone, but whether the towel stays clean and the sap is softened before wiping.
Step 1: Move the car into shade
Park away from direct sun and allow the panel to reach a cool, comfortable-to-touch temperature. Do not clean immediately after driving if the hood, roof, or upper door skin is hot.
Use a canopy or garage with ventilation. Avoid windy locations because airborne dust can settle into the solvent film.
You’ll know it worked when: the product remains wet for at least 30 seconds instead of flashing dry immediately.
Common mistake: using a cold-water rinse on a hot panel and assuming the paint has cooled throughout. Wait several minutes and check the panel again.
Step 2: Wash and dry the affected panel
Mix pH-neutral car shampoo according to its label, commonly 15-30 milliliters in 4-5 liters of water. Rinse the panel first, wash with a clean microfiber mitt, rinse again, and dry with a separate drying towel.
Do not scrub the sap during the wash. Dragging hardened resin across paint can create a narrow scratch or smear that is harder to dissolve.
You’ll know it worked when: loose dirt is gone and the sap remains as a distinct raised spot rather than a gritty film.
Common mistake: using a household dish detergent as the regular wash. Dish soap can remove protection aggressively, but it does not make cured sap safer to wipe.
Step 3: Perform a solvent test
Apply a small amount of automotive sap remover to a folded microfiber towel or directly to the deposit, depending on the label. Test a hidden painted area for 60-90 seconds, then wipe and inspect for color transfer, whitening, softening, or gloss change.
Factory clear coat normally tolerates products formulated for automotive paint when used briefly. Freshly refinished paint, matte finishes, vinyl wraps, PPF, and older oxidized finishes need separate product approval.
You’ll know it worked when: the test area remains uniform in color and gloss after the residue is wiped away.
Common mistake: testing on an obvious hood section with a product intended only for cured factory paint.
Step 4: Soften and dissolve the tree sap
Apply enough dedicated bug-and-tar remover to wet the sap without flooding adjacent trim. Let it dwell for the label-specified time, typically 1-3 minutes, while preventing the product from drying.
For thick deposits, place a product-dampened microfiber towel over the sap for 30-60 seconds. Lift the softened resin with a straight, light pass. Refold the towel to an uncontaminated face before each pass.
Repeat the application once or twice rather than increasing pressure. Petroleum-based and citrus-based formulas work by reducing the resin’s adhesion, while the towel provides only light lifting force.
You’ll know it worked when: the sap changes from a hard bump to a soft smear that transfers onto the towel with minimal pressure.
Common mistake: scrubbing a dry deposit. Scrubbing spreads resin and embeds dirt into the clear coat.
Step 5: Rinse and clean the residue
After the sap lifts, wipe the area with a fresh damp microfiber towel, then wash it with car shampoo and clean water. Dry the panel completely before deciding whether a mark remains.
If a thin tacky outline persists, repeat the dedicated remover for another short cycle. Do not immediately switch between several solvents on a wet surface because mixed residues make diagnosis difficult.
You’ll know it worked when: the surface feels clean, the towel glides without stickiness, and no oily halo remains under angled light.
Common mistake: leaving solvent residue beneath wax or sealant. Remaining oils can cause bonding failure and create a patchy finish.
Step 6: Inspect and protect the paint
View the dry panel from several angles under diffuse light. A raised or sticky residue indicates incomplete removal. A flat dull ring, dark stain, or shallow outline indicates possible etching or staining rather than remaining sap.
Apply a light polish only if the paint is clean and the mark is clearly superficial. Finish with the manufacturer-approved wax, synthetic sealant, or ceramic-coating maintenance product.
You’ll know it worked when: the surface has uniform gloss and water behavior matches the surrounding protected paint.
Common mistake: polishing before removing all resin. Heat and friction can smear sap across a larger area and load the polishing pad.
Which Sap Remover Works Best?
A dedicated automotive bug-and-tar remover is the best first choice for most sap on factory paint because its formula targets resin while its instructions define safe contact time. IPA is a useful backup for small, stubborn residue, clay handles remaining bonded contamination, and WD-40 is an emergency substitute that requires a thorough wash.
| Method | Typical time | Typical cost | Best surface or situation | Main limitation |
|---|---|---|---|---|
| Automotive sap remover | 5-15 minutes | $8-$20 | Factory clear coat and cured sap | Must not dry on the panel |
| 70% or 91% IPA | 1-5 minutes | $3-$8 | Small stubborn residue | Strips wax and can affect trim |
| Clay bar with lubricant | 15-30 minutes | $15-$35 | Flat bonded remnants after solvent | Can cause marring without lubrication |
| WD-40 | 10-20 minutes | $6-$12 | Roadside emergency on painted metal | Leaves oily residue |
| Cooking oil | 10-25 minutes | $1-$5 | Very small fresh deposits | Slow cleanup and poor surface control |
Can You Use Isopropyl Alcohol?
Isopropyl alcohol can remove a small, hardened sap spot when applied to a microfiber towel for 30-60 seconds, followed by an immediate car-soap wash. IPA is not the preferred first treatment for large areas because repeated exposure removes wax and may dry or discolor sensitive plastic, vinyl, rubber, or aftermarket coatings.
Use 70% IPA first. A 91% solution may act faster, but higher concentration increases evaporation and leaves less working time. Do not pour alcohol onto the whole panel. Dampen the towel, hold it against the deposit, and wipe in one direction.
Hand sanitizer is less predictable because gels contain moisturizers, fragrances, thickeners, and sometimes dyes. If used during an emergency, choose a clear alcohol-based gel, limit contact to the sap, and wash the area immediately.
Verdict: IPA suits isolated, resistant residue after a dedicated remover has been tried, not routine whole-panel cleaning.
Are WD-40 and Cooking Oil Safe?
WD-40 or a small amount of cooking oil can loosen light sap on cured automotive paint, but neither is a complete detailing solution. Both leave an oily film that must be removed with car shampoo, and cooking oils can become sticky or rancid if residue remains in seams.
Spray WD-40 onto a towel rather than broadly onto the vehicle. For cooking oil, use only a few drops on the deposit, wait approximately five minutes, and lift the softened sap with a clean towel. Keep oil away from brake components, windshield-wiper rubber, sensors, porous trim, and convertible-top fabric.
WD-40 is not automatically safe for every surface. Product formulas and vehicle materials vary, so a hidden-area test remains appropriate.
Verdict: household lubricants are acceptable roadside backups, but a purpose-made automotive remover gives better control and easier cleanup.
When Should You Use a Clay Bar?
Use a clay bar after chemical cleaning when the paint is smooth but still has tiny bonded bumps. Clay does not dissolve sap; it shears and captures contamination while sliding over a heavily lubricated surface.
Break off a 15-30 gram piece, flatten it, and apply generous clay lubricant or quick detailer. Glide with light pressure over a small section, then inspect the clay. Fold contaminated material inward before continuing.
Never clay a dry panel or use a clay bar to attack a thick resin blob. Abrasive particles trapped in the clay can create micro-marring, especially on black paint and soft Japanese clear coats.
Verdict: clay is a finishing decontamination step, not the safest primary sap-removal method.
What If Sap Is on Glass or Trim?
Glass tolerates stronger mechanical cleaning than automotive paint, while textured plastic, rubber, vinyl, and paint-protection film require more conservative treatment. Identify the material first, then use a surface-compatible product and keep solvent away from edges, seals, sensors, and porous textures.
| Surface | Preferred approach | Avoid | Inspection checkpoint |
|---|---|---|---|
| Windshield or side glass | Glass-safe sap remover, IPA, microfiber | Dry scraping and dirty blades | No sticky drag under a fingertip |
| Painted metal | Automotive sap remover, short dwell | Abrasive pads and prolonged solvent | Uniform gloss under angled light |
| Textured plastic | Plastic-safe citrus cleaner, soft brush | Strong IPA and aggressive clay | No whitening in the texture |
| Rubber seal | Mild soap, approved cleaner, towel | Oil soaking and strong solvent | No swelling or greasy transfer |
| PPF or vinyl wrap | Film-maker-approved cleaner | Unapproved petroleum solvent | No edge lifting or gloss change |
| Ceramic-coated paint | Coating-safe remover, rinse | Strong polishing before diagnosis | Water behavior remains consistent |
Removing sap from windshield glass
Apply a glass-safe remover or IPA to a towel, hold it against the sap for 30-60 seconds, and wipe gently. For a tiny remaining ridge, a new razor scraper can be used only on wet, flat glass at a shallow angle, with no contact against painted borders, tint film, ceramic coating, or rubber seals.
Do not use a razor on paint. Glass is hard, but contamination trapped beneath a blade can still scratch it.
Removing sap from unpainted plastic
Use a cleaner labeled safe for exterior plastic, allow a short dwell, and agitate textured areas with a soft nylon brush. Rinse thoroughly and dry. Alcohol can leave white residue on some plastics because it extracts or disturbs surface additives.
Avoid treating plastic with cooking oil as a finishing step. Oil darkens trim temporarily but attracts dust and can migrate onto paint.
Removing sap from PPF or ceramic coating
Read the film or coating manufacturer’s care instructions before using petroleum, citrus, or alcohol products. A coating can resist chemical contamination while still showing an etched mark, and PPF can soften, stain, or lift at an edge when solvent dwells too long.
Use the mildest approved remover first. Never use a clay bar on a film surface unless the film manufacturer permits it.
What If the Sap Left a Mark?
A flat dull or dark mark after sap removal usually indicates clear-coat etching, staining, or pre-existing paint damage rather than leftover sap. Cleaning can remove surface resin, but it cannot replace missing clear coat or reverse cracking, peeling, or deep discoloration.
Use this diagnostic sequence:
- Wash and dry the area again.
- Feel the surface with clean fingertips through a thin plastic bag.
- Inspect under angled daylight or a bright inspection lamp.
- Apply a mild finishing polish to a small test spot.
- Stop if the mark remains unchanged or the coating becomes thinner or patchy.
| Visible condition | Likely cause | Safe next action | Professional threshold |
|---|---|---|---|
| Sticky raised bump | Remaining sap | Repeat short solvent cycle | More than 3 cycles fail |
| Flat dull ring | Clear-coat etching | Test mild polish | Ring remains after polishing |
| Dark brown shadow | Staining or deep etch | Detailer assessment | Color penetrates below clear coat |
| Peeling or cracked finish | Coating failure | Stop chemical work | Immediate body-shop evaluation |
| White haze on plastic | Solvent residue or plastic reaction | Rinse and use plastic cleaner | Haze remains after drying |
A dual-action polisher and fine finishing compound may reduce shallow etching, but machine polishing removes a small amount of clear coat. Hand polishing is slower and less aggressive. Wet sanding, aggressive compound, and clear-coat repair belong with an experienced detailer or body shop.
Common Mistakes and How to Fix Them
Scrubbing with a kitchen sponge
A green scouring pad or stiff household sponge can scratch clear coat in seconds. Stop, wash the area, and inspect under light. Light micro-marring may respond to finishing polish, but deep linear scratches require professional correction.
Letting solvent dry
Dried solvent can leave streaks, haze, or concentrated residue. Add a small amount of the same product to re-wet the area, wipe promptly, then wash with car shampoo. Do not add stronger chemicals immediately.
Using one towel for the whole vehicle
A towel carrying resin or grit can spread contamination across multiple panels. Use separate towels for washing, solvent removal, drying, and final buffing, with at least one fresh face for each short section.
Applying pressure instead of dwell time
Pressure increases friction but does not reliably dissolve resin. Reapply the remover, cover the spot with a damp towel for 30-60 seconds, and use a light straight wipe.
Polishing too early
Polishing over sap loads the pad with sticky resin and can spread the defect. Complete chemical removal, wash the area, dry it, and then perform a test polish.
Using a razor on painted panels
Metal blades can cut through clear coat, paint, and even thin vinyl. Reserve a new scraper for suitable flat glass only, and use a plastic razor only when the surface manufacturer permits it.
How Much Time and Money Does Removal Take?
A small DIY job usually costs $8-$35 and takes 5-30 minutes, depending on whether a dedicated remover, IPA, or clay kit is already available. Professional detailing commonly becomes sensible when sap covers several panels, has baked for weeks, or has left visible etching.
| Job size | DIY time | Typical DIY cost | Likely professional service |
|---|---|---|---|
| 1-5 fresh spots | 5-15 minutes | $0-$12 | Usually unnecessary |
| 6-20 cured spots | 20-45 minutes | $8-$20 | Spot treatment if paint is delicate |
| Roof and hood covered | 45-90 minutes | $15-$35 | Decontamination and protection |
| Months-old baked sap | 1-3 hours | $20-$50 | Paint correction assessment |
| Etched or peeling finish | 2-6 hours or more | $50-$200 DIY materials | Correction or body-shop repair |
These are typical consumer ranges, not fixed prices. Regional labor rates, vehicle size, product brands, paint condition, and the presence of PPF or ceramic coating change the final cost.
How Can You Prevent New Tree Sap Deposits?
Parking beneath dense branches is the largest controllable exposure. When shade parking is unavoidable, a breathable fitted car cover can reduce deposits, but placing a cover over dusty paint can create abrasion.
Use a wax, sealant, or coating approved for the vehicle’s finish. Protection does not make sap harmless, but it can reduce adhesion and shorten cleanup time. Remove fresh deposits during the next wash rather than allowing repeated heat cycles to cure them.
Practical prevention rules include:
- Park several car lengths from conifers, maple trees, and other sap-producing species when possible.
- Inspect the roof, hood, windshield, mirrors, and upper doors after parking under trees.
- Carry two clean microfiber towels and a small automotive sap remover for road trips.
- Never wipe a dry deposit with a paper towel.
- Wash bird droppings and sap promptly because combined contamination can increase staining.
- Reapply wax or sealant according to its product interval, commonly every 2-6 months.
FAQ
Does hot water remove tree sap from a car?
Hot water can soften fresh sap, but it rarely dissolves cured resin by itself. Use lukewarm water during washing, not boiling water, because extreme temperature changes can stress glass, trim, wraps, and repaired paint. Follow with an automotive sap remover while the panel remains cool and shaded.
Can rain wash tree sap off automotive paint?
Rain usually does not remove bonded tree sap. Water may soften the outer layer temporarily, while minerals and heat can spread the residue into a larger stain. Wash the panel after rain, dry it, and use a dedicated remover rather than rubbing the softened deposit across the paint.
Will tree sap damage a ceramic coating?
Tree sap can stain or etch a ceramic coating if it remains exposed to heat and sunlight for an extended period. Ceramic coatings improve chemical resistance but do not create an indestructible surface. Use the coating manufacturer’s approved remover and avoid aggressive clay or polishing without confirmation.
Can I remove tree sap from a car seat?
For leather, vinyl, or cloth seats, remove excess sap with a plastic card edge, then test a material-specific cleaner in a hidden area. Avoid automotive paint solvents and IPA on upholstery because they can strip dyes, oils, or protective finishes. A professional upholstery cleaner is safer for large or old deposits.
Should I wax the car after removing sap?
Yes, apply wax or a compatible paint sealant after the area is clean and dry because solvent treatment and washing can remove localized protection. If the vehicle has a ceramic coating, use its maintenance spray or approved topper instead of conventional wax unless the coating manufacturer allows wax.
When should a detailer remove tree sap?
Contact a detailer when sap covers multiple panels, remains after three controlled solvent cycles, sits on PPF or fresh paint, or leaves a flat etched mark. A professional can measure the defect, perform a controlled test polish, and avoid removing excessive clear coat during correction.
The Bottom Line
The safest answer to how to get sap off my car is to wash the panel, cool it, use a dedicated automotive sap remover with a short dwell time, and wipe with clean microfiber. Reserve IPA for stubborn spots, use clay only for bonded remnants, and replace the wax or sealant after cleaning. If a flat mark remains, the problem is likely paint etching rather than sap, so stop escalating chemicals and obtain a paint-correction assessment.