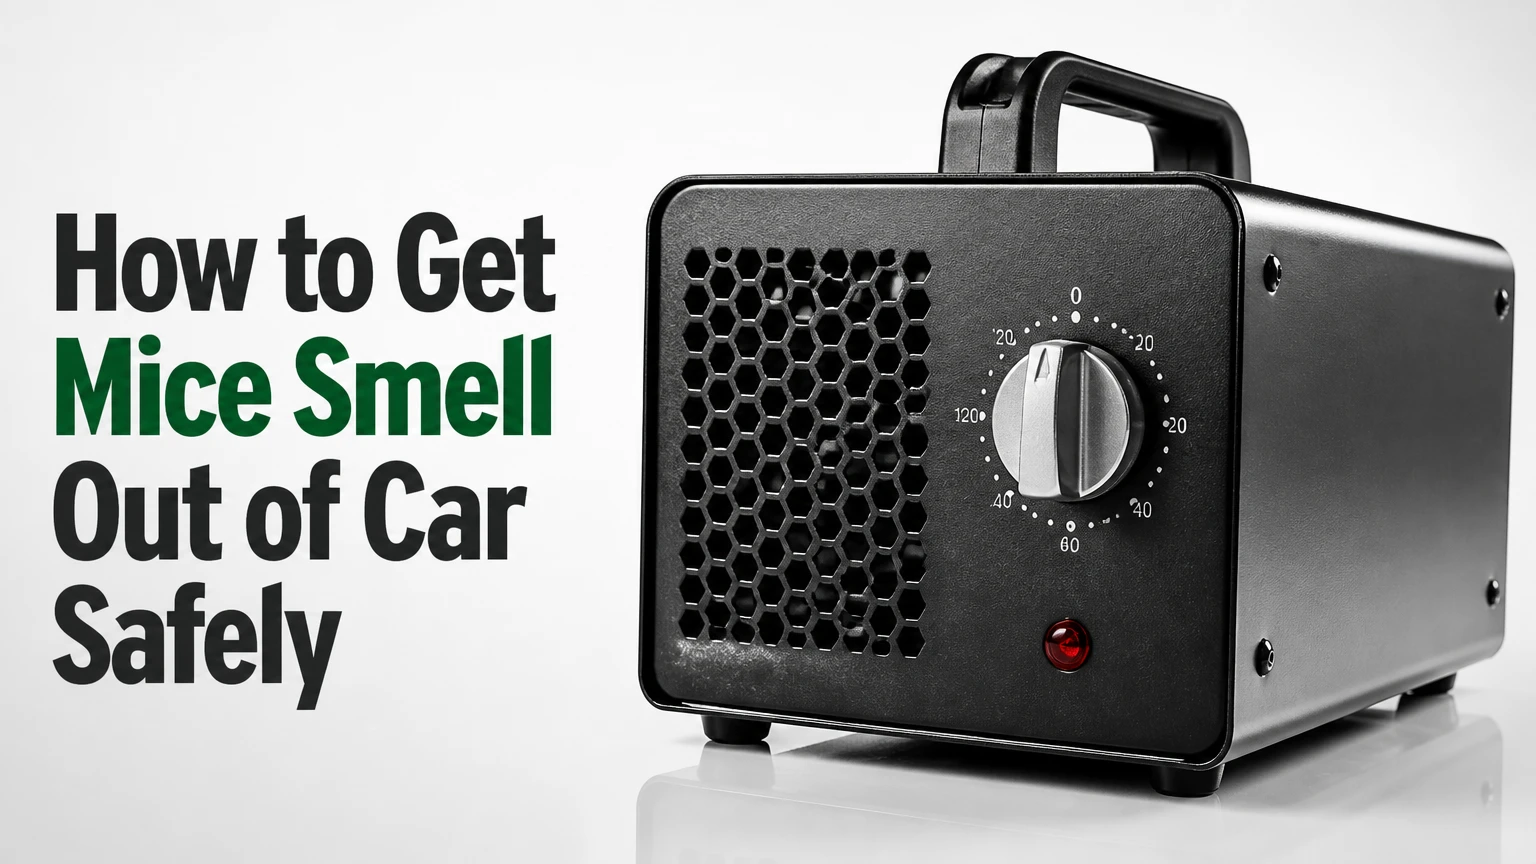
To get mice smell out of a car, remove every nest and droppings source, disinfect contaminated hard surfaces, enzyme-clean urine-soaked fabric, replace the cabin air filter, and dry the interior completely. The odor usually returns when residue remains in the HVAC intake, blower housing, carpet padding, or a hidden dead mouse.
Key Facts at a Glance
- Rodent odor removal takes typically 2-6 hours of active work for light to moderate contamination, plus 12-48 hours of drying.
- Never sweep or dry-vacuum mouse droppings because disturbed material can become airborne.
- A new cabin air filter is necessary when the old filter contains nesting material, droppings, urine staining, or a persistent odor.
- Enzyme cleaner removes biological residue from compatible fabric; fragrance spray only covers the smell temporarily.
- Ozone and chlorine dioxide require an empty vehicle, controlled exposure, and complete ventilation before anyone enters.
- A smell that appears only when the blower runs usually indicates contamination in the cowl, cabin filter housing, blower motor, or HVAC case.
Before You Start
Prepare the vehicle outdoors or in a well-ventilated covered area, not inside a closed garage. Park on a stable surface, remove the key, switch off all accessories, and allow the engine and exhaust components to cool before inspecting the engine bay.
| Requirement | Typical specification | Why it matters |
|---|---|---|
| Active cleaning time | 2-6 hours | Covers inspection, removal, wiping, and extraction |
| Drying time | 12-48 hours | Prevents mold and recurring damp odor |
| Gloves | 2 pairs of nitrile or rubber gloves | Separates dirty removal from final cleaning |
| Respiratory protection | N95 or better, properly fitted | Limits inhalation of disturbed particles |
| Disinfectant | EPA-registered product or fresh 1:10 bleach solution for compatible hard surfaces | Inactivates pathogens on nonporous surfaces |
| Cleaning supplies | Paper towels, plastic bags, detergent, enzyme cleaner | Supports wet removal and biological cleanup |
| Equipment | Flashlight, trim tool, wet/dry vacuum with HEPA filtration | Finds concealed material and extracts moisture |
| Replacement parts | Correct cabin air filter, typically $10-$40 | Removes a frequent odor reservoir |
The Centers for Disease Control and Prevention advises, “Do not vacuum or sweep” rodent urine, droppings, or nesting material before disinfection. That instruction applies to vehicles as well as buildings because dry disturbance can spread contaminated dust into the breathing zone.
Stop the job and use a professional remediation service if the vehicle contains extensive droppings, a strong decomposition odor, visible mold, soaked insulation, or chewed wiring near fuel, battery, or ignition components. Pregnant people, children, and anyone with significant respiratory vulnerability should stay away during cleanup.
How to Get Mice Smell Out of Car: Safe Process
The reliable sequence is ventilation, wet decontamination, source removal, material cleaning, filter replacement, drying, and only then optional odor treatment. Deodorizing before removing the nest creates a temporary improvement because the original urine, feces, nesting fibers, and carcass remain chemically active.
The most important success factor is source control. A powerful gas or odor product cannot compensate for a mouse nest inside the cowl, a dead rodent behind a door panel, or urine trapped beneath carpet padding.
Step 1: Ventilate and Protect Yourself
Open all doors, the trunk, and the hood for at least 20 minutes before disturbing the interior. Wear gloves, an N95 respirator, eye protection, long sleeves, and disposable footwear covers when contamination is visible.
Do not start the blower, heater, or air conditioner during the initial inspection. Fan operation can move contaminated dust from the cabin filter housing or blower compartment into the passenger compartment.
You will know this step worked when: the cabin has exchanged air and your protective equipment is fitted before any nest or dropping is touched.
Common mistake: working in a closed garage. Carbon monoxide is not the only concern; contaminated dust and disinfectant vapor also accumulate in an enclosed space.
Step 2: Locate and Remove the Rodent Source
Inspect the cabin in a fixed order: front footwells, under seats, seat rails, glovebox, center console, trunk, spare-tire well, jack compartment, rear quarter panels, and the area beneath floor mats. Then inspect the engine bay, cowl intake, cabin air filter, and accessible blower housing.
Look for shredded paper, insulation, fabric, seeds, droppings, greasy rub marks, urine staining, and chewed foam. Rodents often choose warm, protected areas, but a dead mouse can lodge in a door cavity, HVAC case, dashboard void, or body pillar.
Use disinfectant to thoroughly wet droppings and nesting material. Allow the product label’s contact time, commonly 5-10 minutes, then lift the material with paper towels and place it into two plastic bags. Do not use a household vacuum at this stage.
After visible contamination is removed, use a HEPA-filtered wet/dry vacuum for remaining damp debris. Empty and disinfect the vacuum according to its manufacturer’s instructions.
You will know this step worked when: no nest, droppings, urine-soaked debris, or carcass remains in the inspected compartments.
Common mistake: checking only the passenger compartment. A cowl nest can smell inside the car even when the seats and carpets look clean.
Step 3: Replace the Cabin Air Filter and Inspect the Cowl
Remove the cabin air filter using the vehicle service instructions, usually behind the glovebox or beneath the windshield cowl. Replace the filter if it contains nesting fibers, droppings, staining, insects, or any persistent rodent odor.
Clean the empty filter housing with a compatible disinfectant on a cloth. Remove leaves and nest material from the cowl screen and water drains, but do not flood the blower motor, electrical connectors, airbag wiring, or control modules.
If the filter is clean but the smell appears as soon as the fan runs, inspect the blower wheel and accessible HVAC case. A rodent can enter through an air intake and leave urine, fur, or nesting material on the fan or evaporator case.
You will know this step worked when: the replacement filter is odor-free and the cowl drains are clear without liquid entering electrical components.
Common mistake: spraying cleaner directly into the vents with the fan running. That can push liquid into electronics and spread contamination deeper into the ductwork.
Step 4: Disinfect Hard Surfaces Without Damaging Them
Wipe plastic trim, rubber mats, metal seat rails, painted door sills, and other nonporous surfaces after wet removal. Use an EPA-registered disinfectant labeled for the surface, or use a fresh bleach solution only on bleach-compatible hard surfaces.
A commonly cited dilution is one part household bleach to nine parts water, producing a 1:10 mixture. Do not mix bleach with ammonia, vinegar, acids, or other cleaners. Bleach can discolor upholstery, damage leather coatings, corrode metal, and weaken some plastics.
Clean high-contact areas that are easy to miss, including seat adjusters, door pockets, pedal surrounds, trunk trim, child-seat anchors, and the underside of removable mats. Use separate cloths for contaminated and finished surfaces.
You will know this step worked when: hard surfaces are visibly clean, free of residue, and have dried without a strong biological smell.
Common mistake: treating disinfection as deodorizing. Disinfectant reduces biological contamination, but it does not extract urine from foam or carpet backing.
Step 5: Treat Carpets, Upholstery, and Other Porous Materials
Use an enzyme-based urine and odor cleaner on washable carpet, cloth upholstery, and removable floor mats. First test an inconspicuous area, then apply enough product to reach the depth of the contamination without saturating seat electronics or wiring.
Let the enzyme product remain wet for the label’s stated dwell time, often 10-30 minutes, then agitate gently with a soft brush. Extract the liquid with a wet vacuum and repeat on severe staining. Place mats outside the vehicle to dry, and use fans with the doors open.
Do not soak seat cushions containing occupancy sensors, heating elements, side-airbag modules, or wiring. For leather, vinyl, Alcantara, and suede, use a cleaner approved for that material and control moisture carefully.
You will know this step worked when: the fabric smells neutral after drying, not merely while the cleaner’s fragrance is present.
Common mistake: applying enzyme cleaner only to the visible top surface. Urine often reaches carpet padding, so a recurring odor may require carpet lifting and professional extraction.
Step 6: Dry the Vehicle Completely
Drying is part of odor removal, not an optional finishing step. Leave doors and the trunk open in a secure, dry location, use circulating fans, and avoid returning floor mats until the carpet and padding are dry.
A typical interior requires 12-24 hours after moderate extraction and up to 48 hours when padding has been saturated. Do not use a high-temperature heat gun near upholstery, plastic trim, wiring, or adhesive-backed insulation.
After drying, run the HVAC system briefly with windows open. Change between fresh-air and recirculation modes while monitoring whether the odor enters through the vents.
You will know this step worked when: carpet padding feels dry at its deepest accessible point and the odor does not intensify after a short blower test.
Common mistake: closing the car overnight while the carpet is damp. Trapped moisture can replace mouse odor with mold or sour upholstery odor.
Which Odor Treatment Works Best?
Source removal and enzyme extraction should come before any gas or fragrance treatment. Activated carbon is the lowest-risk option for residual airborne odor, while ozone and chlorine dioxide may help severe cases but introduce exposure, material, and application risks.
| Method | Typical cost | Contact or treatment time | Best use | Main limitation |
|---|---|---|---|---|
| Enzyme cleaner | $10-$35 | 10-30 minutes per application | Fabric and carpet urine residue | Cannot reach sealed cavities |
| Activated-carbon bags | $10-$30 | 3-14 days | Mild residual cabin odor | Does not disinfect or remove the source |
| Professional extraction | $150-$500 | 3-8 hours | Saturated carpet and upholstery | Requires drying time and access |
| Ozone treatment | $50-$150 rental or $100-$300 service | 30-120 minutes, product-dependent | Residual odor after cleaning | Toxic during use and may age rubber or plastics |
| Chlorine dioxide treatment | $25-$100 kit or $150-$400 service | 4-24 hours, product-dependent | Persistent odor in enclosed areas | Requires strict gas-safety control |
| HVAC disassembly | $300-$1,500 typical repair range | 1-2 days | Blower, duct, or hidden carcass | Labor-intensive and vehicle-specific |
Is Ozone Safe for a Car Interior?
Ozone is not safe for people or animals during treatment, and an ozone generator should never operate in an occupied vehicle. Ozone can also accelerate oxidation of rubber seals, foam, adhesives, wiring insulation, and some interior finishes when exposure is excessive or repeated.
Use ozone only after physical cleaning, only in an unoccupied vehicle, and only according to the equipment manufacturer’s vehicle-specific instructions. Disconnecting or bypassing safety controls to extend treatment is unsafe. Ventilate the vehicle thoroughly afterward and do not rely on smell alone to determine whether ozone has cleared.
Ozone is poor at solving a hidden carcass or a wet urine reservoir. It changes odor chemistry, but the contaminated material remains in the vehicle and may continue producing odor.
Is Chlorine Dioxide Better Than Ozone?
Chlorine dioxide is not automatically safer than ozone. Chlorine dioxide is an inhalation hazard and must be used only in an empty, sealed vehicle at the labeled concentration, followed by complete ventilation and any required neutralization or clearance procedure.
A professional may choose chlorine dioxide for persistent odor in difficult-to-access cavities, but DIY users should avoid improvising concentrations or combining products. Never mix chlorine dioxide products with acids, bleach, ammonia, or other chemicals.
For most owners, physical removal, enzyme treatment, a new filter, drying, and activated carbon provide a safer first-line approach. Gas treatment belongs after diagnosis, not at the beginning.
How Much Does Mouse Odor Removal Cost?
DIY cleaning typically costs $30-$150, while professional detailing commonly costs $150-$500 and extensive rodent remediation can exceed $1,000 when seats, carpet, blower components, or dashboard panels require removal.
| Situation | DIY materials | Professional range | Typical elapsed time |
|---|---|---|---|
| One small nest, no urine saturation | $30-$80 | $150-$250 | 3-12 hours |
| Several nests and contaminated filter | $60-$150 | $250-$600 | 1-2 days |
| Saturated carpet or seat foam | $100-$250 | $400-$1,000 | 1-3 days |
| Dead mouse inside HVAC or door cavity | $50-$200 before repairs | $300-$1,500 | 1-3 days |
| Chewed wiring or damaged blower | Parts-dependent | $250-$2,000+ | 1-5 days |
Prices vary with vehicle design, local labor rates, and whether a detailer provides biohazard cleanup. Ask whether the quoted service includes source removal, cabin-filter replacement, extraction, HVAC inspection, and odor verification.
Why Does the Smell Return When the AC or Heater Runs?
A mouse smell that returns only when the fan, heater, or air conditioner operates usually comes from the cowl intake, cabin-filter housing, blower wheel, evaporator case, or nearby duct insulation. Airflow releases odor from contaminated surfaces that remain hidden during a stationary inspection.
Use this diagnostic sequence:
- Run the fan at low speed with windows open.
- Select fresh-air mode and note whether the odor appears.
- Switch to recirculation and compare the intensity.
- Inspect the cabin filter after the test.
- Check the blower housing if the design permits access.
- Stop if debris blows from the vents or breathing discomfort occurs.
Fresh-air odor points toward the cowl or filter housing. Recirculation odor points more strongly toward the blower, HVAC case, or cabin-side ductwork. A qualified technician may need to remove the blower motor, glovebox, or selected dashboard panels.
Do not spray household disinfectant into the vents while the blower runs. That approach can spread contaminated liquid and damage electrical components.
What If a Mouse Died Inside the Dashboard?
A persistent sweet, rotten, or decomposing smell with no visible nest may indicate a dead mouse in a door, pillar, headliner, dashboard cavity, blower housing, or behind trim. Flies, localized odor intensity, staining, and increased smell when the cabin warms can help identify the cavity.
Tap removable trim lightly and compare odor near door panels, speaker grilles, vents, seat-belt pillars, and the rear quarter area. Do not pry dashboard panels around airbags, seat-belt pretensioners, or electrical harnesses unless the service procedure supports it.
A carcass inside a sealed cavity usually requires trim removal or professional access. Masking the smell with coffee, dryer sheets, essential oils, or air fresheners will not remove the decomposition source.
What Are the Common Failure Modes?
Using fragrance before cleaning
Air freshener combines perfume with urine and decomposition compounds, creating a stronger odor that returns when humidity rises. Remove and clean the source first.
Dry-vacuuming droppings
A standard vacuum can disturb contaminated particles and spread them through its exhaust. Wet the material with disinfectant, wait for contact time, wipe it up, then use HEPA-filtered equipment for residual debris.
Flooding the seats
Water and cleaner can reach occupancy sensors, heating elements, side airbags, and foam interiors. Apply controlled moisture, extract it, and use a professional for deeply saturated cushions.
Leaving the old cabin filter installed
A contaminated filter can reintroduce odor every time the blower operates. Filter replacement is inexpensive compared with repeated deodorizing.
Running gas treatment too long
Longer ozone or chlorine dioxide exposure does not guarantee better removal and can damage materials or create unsafe residual gas. Follow the product label and ventilate completely.
Ignoring electrical damage
Chewed insulation, exposed copper, warning lights, intermittent accessories, or blown fuses require mechanical inspection. Rodent damage can create a fire risk independent of the smell.
Which Approach Fits Your Situation?
| Vehicle condition | Recommended first action | Avoid | Escalation threshold |
|---|---|---|---|
| Mild smell, no visible droppings | Replace filter, wipe surfaces, use carbon bags | Immediate ozone | Odor remains after 7 days |
| Droppings under seats | Wet-clean with PPE, remove nest, enzyme-clean carpet | Dry sweeping | Large contamination area |
| Smell only with fan | Inspect cowl, filter, blower housing | Spraying into vents | Debris exits vents |
| Rotten odor with no source | Search cavities and door panels | Fragrance masking | No access without airbag or trim work |
| Wet carpet or seat foam | Extract and dry thoroughly | Closing damp vehicle | Odor remains after drying |
| Chewed wires or insulation | Stop and arrange mechanical inspection | Driving with exposed wiring | Any warning light or heat damage |
For a quick temporary reduction, remove all food and debris, replace the cabin filter, ventilate the vehicle, and place activated carbon inside for several days. That measure is useful before a full cleaning appointment, but it does not replace contamination removal.
How Do You Prevent Mice From Returning?
Prevent recurrence by removing food, reducing sheltered parking conditions, and inspecting the vehicle after long periods of storage. Mice can enter through small openings around the cowl, air intake, wiring passages, and body panels.
Use these controls:
- Remove wrappers, pet food, tissues, and cardboard from the cabin and trunk.
- Park away from tall grass, woodpiles, compost, and dense ground cover when possible.
- Open the hood during long storage if the vehicle manufacturer permits it and local conditions make that safe.
- Inspect the cowl screen, drain channels, and cabin-filter housing monthly during rodent season.
- Use approved traps around the parking area, never loose poison inside the vehicle.
- Repair underbody shields, missing grommets, and damaged cowl seals.
- Run the vehicle and HVAC periodically, while inspecting for fresh nesting signs.
- Ask a technician to check wiring harnesses after any rodent infestation.
Peppermint oil, dryer sheets, and ultrasonic devices have inconsistent real-world results and should not replace exclusion, sanitation, or trapping.
Frequently Asked Questions
Can I use baking soda to remove mouse odor from a car?
Baking soda can absorb a small amount of residual surface odor, but it cannot remove urine from carpet padding or a dead mouse from a cavity. Apply it only after cleaning and drying, leave it for several hours, then vacuum with HEPA filtration. Treat it as an odor aid, not a decontamination method.
How long does mouse smell stay in a car?
A light odor may disappear within one day after source removal and drying. Moderate contamination commonly requires 1-3 days, while urine in padding or a carcass inside HVAC components can persist for weeks until the affected material is removed or professionally treated.
Can I drive my car after cleaning mouse droppings?
Drive only after contaminated material has been removed, disinfectant has dried, and no loose debris can enter the cabin. Do not drive if droppings remain, the cabin filter is contaminated, a strong odor enters through the vents, or chewed wiring affects safety systems.
Should I use bleach on car seats?
Do not use bleach on cloth, leather, vinyl, suede, or seat foam unless the vehicle and product manufacturer specifically approve it. Bleach can discolor and weaken these materials. Use a compatible disinfectant on hard surfaces and an appropriate enzyme product on washable fabric.
Will a car wash remove mouse smell?
An exterior car wash will not remove rodent odor from cabin carpet, upholstery, the cabin filter, HVAC housing, or engine-bay insulation. Interior detailing can help only when the service includes source removal, wet sanitation, extraction, filter replacement, and complete drying.
When should I call a professional?
Call a professional when contamination is widespread, the odor indicates a hidden carcass, the HVAC system is affected, carpet padding is saturated, mold is present, or wiring has been chewed. Choose a detailer or remediation company that will describe the inspection and removal steps rather than promise an unspecified “odor bomb.”
The Bottom Line
To get mice smell out of car interiors permanently, remove the nest or carcass first, wet-clean rodent contamination, enzyme-treat compatible fabrics, replace the cabin air filter, inspect the HVAC intake, and dry the vehicle for 12-48 hours. Use ozone or chlorine dioxide only as controlled, optional final treatments in an empty and fully ventilated vehicle.