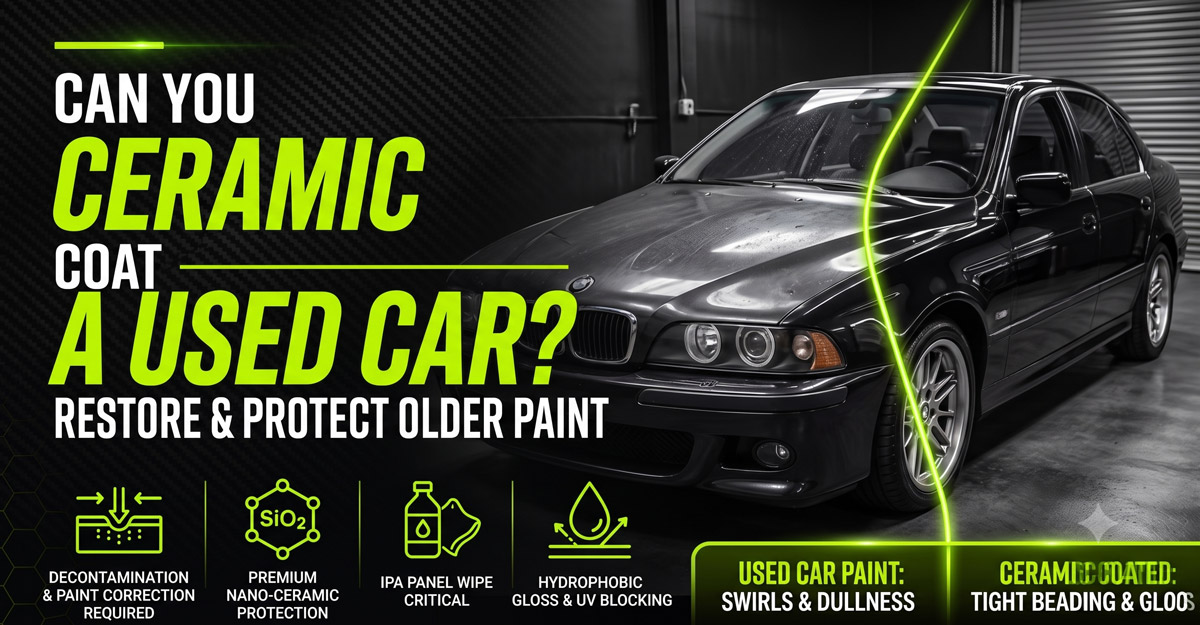
Yes, you can ceramic coat a used car, and doing so is one of the single most effective ways to restore its aesthetic appeal while locking in long-term protection. Whether your vehicle is three years old with mild swirl marks or a decade-old daily driver showing signs of paint oxidation, applying a high-grade liquid nano-ceramic coating can transform dull, weathered clear coat into a glass-like finish.
However, applying ceramic coating to an older vehicle requires a completely different approach compared to a brand-new car straight off the dealership lot. Because ceramic coatings are chemically designed to form a semi-permanent, crystal-clear bond with the underlying surface, they act as a magnifying lens. Whatever condition your paint is in when you apply the liquid silicon dioxide ($SiO_2$) or silicon carbide ($SiC$) formula will be sealed beneath it permanently.
This definitive guide breaks down everything you need to know about ceramic coating used cars: from evaluating your vehicle’s clear coat health to multi-stage paint correction, DIY versus professional costs, and long-term maintenance.
Target Audience & Search Overview
To help you navigate this comprehensive resource, here is a quick breakdown of who this guide is designed for and why these steps are critical:
- Primary Audience: Used car buyers, pre-owned vehicle owners, auto detailing enthusiasts, and daily drivers looking to preserve or restore their vehicle’s resale value and appearance.
- Search Intent: Informational and Commercial Investigation. Readers want a definitive answer on feasibility, an honest breakdown of the prep process, clear pricing expectations, and actionable execution steps.
Primary & Secondary Keyword Strategy
- Primary Target Keyword: Can You Ceramic Coat a Used Car
- Secondary Keywords: ceramic coating for old cars, paint correction before ceramic coating, ceramic coating used vehicle cost, DIY ceramic coating used car, nano ceramic protection pre owned car, liquid glass coating older paint
The Reality of Ceramic Coating Older Paint: Prep Work is Everything
The primary difference between coating a brand-new car and a pre-owned vehicle lies entirely in surface preparation. A new car typically requires light decontamination and a single-stage polish. A used car, having endured years of road grime, automatic car washes, environmental fallout, and UV rays, demands rigorous restoration before a drop of ceramic coating touches the surface.
Why You Cannot Skip Surface Preparation
- Permanent Encapsulation of Flaws: Ceramic coatings do not hide, fill, or smooth out scratches. Because the coating cures into an optically clear micro-layer, any existing swirl marks, water spots, or oxidation will be sealed beneath the shell and amplified.
- Chemical Bonding Interference: Liquid ceramic coatings require a completely bare, chemically clean clear coat to form a covalent bond with the substrate. Waxes, silicones, road tar, embedded iron particles, and polishing oils act as physical barriers. If applied over contaminants, the coating will bond to the dirt instead of the paint, leading to premature flaking and failure within weeks.
Used Car Ceramic Coating Timeline
Breakdown of labor hours and curing stages required for pre-owned vehicle paint restoration.
Chemical & Clay Decontamination
1 – 2 HoursIron remover, tar solvent, and clay bar treatment to pull embedded road pollutants out of aged paint.
Decontamination PhaseMulti-Stage Paint Correction
4 – 10 HoursHeavy machine compounding and finishing polish to remove swirl marks, scratches, and oxidation.
Major Labor PhaseIsopropyl Alcohol (IPA) Wipe
30 – 45 MinutesSterilizing panel surface to strip polish oils, fillers, and lubricants for optimal coating adhesion.
Prep PhasePrecision Ceramic Application
1.5 – 3 HoursApplying liquid SiO2 layer in cross-hatch passes with immediate dual-towel buffing and leveling.
Coating PhaseInitial Curing Window
24 – 48 HoursControlled indoor garage storage away from moisture, rain, and dust while the molecular network hardens.
Curing PhaseEvaluating Your Used Vehicle: Is Your Clear Coat Eligible?
Before purchasing detailing supplies or booking a professional shop, you must determine whether your used car’s paint system can safely undergo the prep work required for ceramic coating.
Understanding Clear Coat Thickness
Automotive factory paint consists of three primary layers over the raw metal panel: the primer, the base coat (color), and the clear coat. The clear coat is approximately 32 to 50 microns thick (roughly the thickness of a Post-it note).
To safely perform paint correction (compounding and polishing) to remove scratches, your vehicle must have sufficient clear coat depth remaining.
Important Warning: Ceramic coating is not a repair product for peeling clear coat. If your used vehicle shows white patches where the clear coat has flaked off, the coating cannot bond, stop the peeling, or restore the color beneath it. Ineligible panels must be repainted and allowed to gas off for 30 days before applying a nano ceramic layer.
Step-by-Step Guide: How to Ceramic Coat a Used Car
Restoring and coating an older car demands patience and attention to detail. Skipping any stage compromises the longevity of the final shell.
5-Step Ceramic Coating Workflow
Complete paint decontamination, correction, and nano ceramic protection process.
Strip Wash & Decon Foam
High-pH foam wash strips old waxes, synthetic sealants, and road grime from clear coat pores.
Iron Remover & Clay Bar
Dissolves embedded iron particles and mechanically extracts bonded contaminants for smooth paint.
Multi-Stage Paint Correct
Machine compounding and refinement polishing to level scratches, swirl marks, and oxidation.
IPA Chemical Panel Wipe
Isopropyl alcohol wipe down strips remaining polish oils and lubricants to ensure raw paint bonding.
Nano Ceramic Application
Precision cross-hatch liquid coating application, flash observation, and dual-towel buffing leveling.
Stage 1: Strip Wash & Chemical Decontamination
- High-pH Strip Wash: Wash the entire vehicle using a high-pH foam shampoo to dissolve old waxes, road films, and synthetic sealants.
- Wheel & Tire Deep Clean: Remove embedded brake dust and metallic debris from the wheels using specialized fallout removers.
- Iron Fallout Removal: Spray a dedicated iron remover over all painted surfaces. This chemical reacts with embedded microscopic brake dust and industrial fallout, bleeding purple as it dissolves contaminants trapped inside the clear coat pores.
Stage 2: Mechanical Clay Bar Decontamination
Even after a chemical bath, bonded surface contaminants remain.
- Using a synthetic clay bar or clay towel accompanied by a dedicated clay lubricant, methodically glide across each panel.
- The clay physically pulls out remaining tree sap, tar, and stubborn environmental grit, leaving the surface smooth as glass.
Stage 3: Paint Correction (The Critical Step)
Paint correction is the process of leveling the clear coat to remove scratches, swirl marks, haze, and oxidation.
- Stage One Correction (Polishing): For mild defects, a dual-action (DA) orbital polisher paired with a medium-cut foam pad and finishing polish removes light haze and restores optical clarity.
- Stage Two Correction (Compounding + Polishing): For heavily swirled older cars, first use a heavy cutting compound with a microfiber or wool pad to level deeper defects, followed by a refining polish to eliminate micro-marring.
Stage 4: Isopropyl Alcohol (IPA) Panel Wipe
Polishing compounds contain lubricating oils that fill tiny pores.
- Spray a 20% to 30% Isopropyl Alcohol solution or a dedicated panel wipe cleaner onto every panel.
- Wipe clean with fresh, high-GSM microfiber towels to strip all residual oils, leaving a 100% bare, virgin clear coat ready for bonding.
Stage 5: Ceramic Coating Application
- Environmental Setup: Work in a temperature-controlled, shaded environment between 55°F and 75°F (13°C to 24°C) with low humidity.
- Cross-Hatch Pattern: Apply a few drops of liquid ceramic coating onto a suede microfiber applicator wrapped around a foam block. Work in small 2ft x 2ft sections using tight vertical and horizontal overlapping passes.
- Monitoring the Flash Time: Wait for the coating to “rainbow” or “flash” (typically 1 to 3 minutes depending on temperature and ambient humidity).
- Buffing & Leveling: Gently buff off the excess residue using a short-pile microfiber towel, followed immediately by a second plush microfiber towel to ensure no high spots or streaks remain.
Benefits of Ceramic Coating an Older Vehicle
Investing time or money into coating a used vehicle delivers distinct advantages that traditional car waxes cannot replicate:
- Showroom Gloss Restoration: By completing paint correction and sealing it under a high-refractive glass layer, older dull paint regains deep depth, clarity, and reflection.
- Resale Value Maximization: Exterior paint condition directly impacts trade-in and private sale appraisals. A sleek, defect-free finish creates an immediate perception of meticulous vehicle care.
- Simplified Maintenance Routine: Hydrophobic coatings repel mud, water spots, grime, and road salt. Washing a coated vehicle takes a fraction of the time, requiring only gentle pH-neutral washing.
Cost Comparison: Professional Installation vs. DIY
Understanding the breakdown between professional installation and doing it yourself helps set realistic budget expectations.
Deciding Which Route Is Right for You
- Choose Professional Detailing if: You lack a garage, do not own polishing machinery, or prefer long-term shop warranties paired with multi-stage paint restoration handled by trained specialists.
- Choose DIY Application if: You have a covered garage, enjoy working on your vehicle, and want maximum gloss and performance at a fraction of shop prices.
Post-Coating Care & Maintenance Guidelines
Once your used vehicle is coated, maintaining the hydrophobic surface is simple if you follow these rules:
- Observe the Initial Curing Period: Keep the vehicle completely dry for the first 24 to 48 hours. Do not wash the car with soap for 7 days to allow the ceramic layer to cross-link and fully harden.
- Use the Two-Bucket Wash Method: Wash using two separate buckets (one with clean rinse water, one with shampoo water) equipped with grit guards to prevent re-introducing dirt swirls.
- Use pH-Neutral Shampoos: Never use harsh dish soaps or acidic cleaners, as they wear down the hydrophobic topcoat prematurely.
- Apply a Ceramic Booster Every 6 Months: Use a sprayable silica sealant during maintenance washes to rejuvenate the slickness and extend the life of the base layer.
Frequently Asked Questions
Can you ceramic coat over deep scratches on a used car?
No. Ceramic coatings do not fill deep scratches. Deep defects that go beyond the clear coat into the primer require touch-up paint or professional body repair before applying a coating.
Is ceramic coating better than wax for older cars?
Yes. While wax melts at high temperatures and lasts only a few weeks, ceramic coatings physically bond to the clear coat, delivering heat resistance, chemical protection, and gloss that lasts for years.
How long does a ceramic coating last on a pre-owned vehicle?
When properly decontaminated, polished, and maintained, consumer ceramic coatings last 2 to 3 years on used cars, while professional-grade formulas can exceed 5 years.
Conclusion & Next Steps
Applying a ceramic coating to a used car is entirely possible and highly rewarding. By committing to proper surface decontamination and paint correction, you can reverse years of paint neglect and lock in a resilient, hydrophobic shield that keeps your vehicle looking like it just rolled off the showroom floor.
Ready to transform your vehicle’s paint finish? Explore our detailing guides to choose the right dual-action polisher and consumer ceramic coating for your DIY weekend project, or contact our team today for a custom consultation and professional paint correction quote!