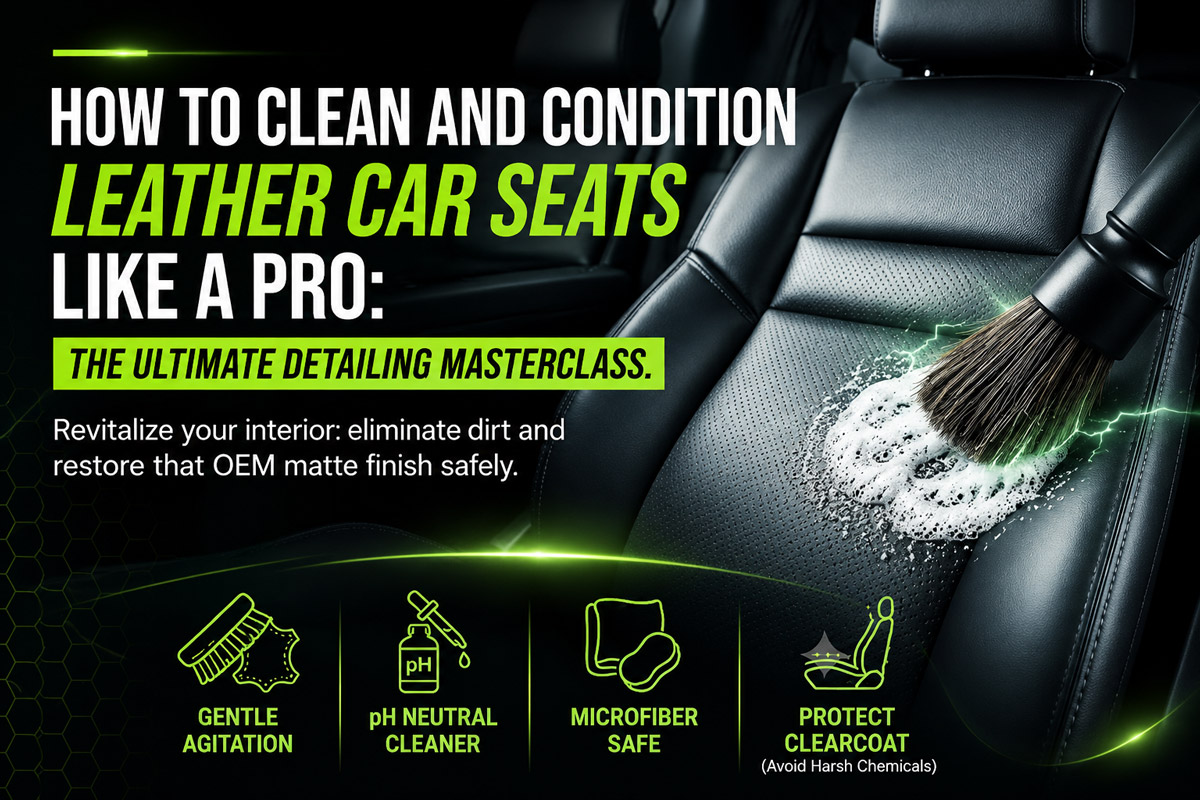
Leather car seats represent the pinnacle of luxury, comfort, and interior sophistication. However, without proper maintenance, daily exposure to friction, body oils, dirt, ultraviolet radiation, and temperature fluctuations will cause leather to age rapidly. Unmaintained leather quickly develops unsightly gloss, deep grime build up, cracks, and premature wear. Many car owners unknowingly ruin their interior by using aggressive household cleaners, stiff brushes, or greasy dressings that clog pores and attract dust.
Learning how to clean and condition leather car seats like a pro requires an understanding of modern automotive leather construction, chemical balance, and technique. This comprehensive detailing masterclass covers everything you need to safely deep clean leather car seats, care for delicate perforated ventilation holes, eliminate stubborn stains, and preserve that coveted factory matte sheen.
Understanding Automotive Leather Science: Why Modern Car Seats Require Specialized Care
Before applying any cleaning product to your vehicle, it is critical to understand the material science behind modern automotive upholstery. Over ninety five percent of vehicles manufactured today use pigmented coated leather. Unlike aniline leather shoes or jackets that absorb liquids directly, automotive leather hide is sealed at the factory with a flexible polyurethane clearcoat top layer.
Automotive Leather Cross-Section
Anatomical breakdown from clearcoat top layer to high-density seat foam
This topcoat acts as a protective barrier against spills, abrasion, and ultraviolet light. When you clean modern car seats, you are actually cleaning and protecting this thin polyurethane clearcoat rather than raw hide.
The Difference Between Leather Types
- Pigmented Coated Leather: Found in standard and luxury vehicles alike. Highly durable, moisture resistant, and requires water based pH neutral maintenance.
- Semi Aniline Leather: Featured in high end luxury vehicles. Features a micro thin pigment layer offering a natural feel with light protection. Requires extreme gentle care.
- Full Aniline Leather: Rare exotic vehicle option. Completely unsealed and highly porous. Absorbs liquids instantly and demands specialized dry foam cleaning.
- Synthetic Leatherette (Vinyl, MB Tex, SensaTec): Non porous synthetic materials. Highly durable but require specialized synthetic protectants rather than traditional leather hydration oils.
Using harsh solvents, isopropyl alcohol, or acidic household cleaners strips the clearcoat top layer. Once this topcoat breaks down, the underlying dye layer becomes exposed to friction and sun fading, leading to permanent leather cracking and discoloration.
Essential Supplies for Professional Leather Car Seat Detailing
Achieving professional results requires using tools designed specifically for automotive upholstery. Avoid improvising with kitchen sponges or stiff household scrubbers.
- Vacuum Cleaner with Soft Brush Attachment: Essential for removing abrasive sand, grit, and food particles before scrubbing.
- Dedicated pH Neutral Leather Cleaner: A specialized, non toxic cleaner formulated to lift dirt and body oils without stripping clearcoat flexible sealants.
- Natural Horsehair Leather Detailing Brush: Soft horsehair bristles provide gentle mechanical agitation that cleans deep into leather grain without scratching the topcoat.
- High GSM Microfiber Towels (Minimum 4 Towels): Ultra soft microfiber towels to lift dissolved dirt and buff the surface dry. Color coded towels prevent cross contamination.
- Microfiber Applicator Pads: Soft foam core pads wrapped in microfiber for smooth, even distribution of leather conditioning cream.
- Professional Leather Conditioner or Serum: Water based formula enriched with UV inhibitors to hydrate the topcoat barrier and restore flexibility.
Comprehensive Leather Upholstery Compatibility and Care Matrix
Step by Step Guide: How to Clean and Condition Leather Car Seats Like a Pro
Follow this systematic professional detailing protocol to achieve deep cleaning without risking moisture damage or topcoat degradation.
Step 1: Pre Inspection and Climate Preparation
Always work in a shaded location or indoor detailing bay. Direct sunlight heats the leather surface, causing cleaning chemicals to evaporate rapidly. Rapid evaporation leaves dried soap residue behind and makes uniform cleaning impossible. Check the surface temperature of the leather with your hand; it should feel cool to the touch.
Step 2: Thorough Vacuuming and Crevice Debris Extraction
Loose sand, dirt, and pet hair act like sandpaper when trapped between your cleaning brush and the leather surface.
- Attach a soft horsehair vacuum brush to your hose.
- Gently spread seat bolster seams open using your fingers to expose hidden grit.
- Vacuum along all stitching lines, seat back joins, and side bolsters.
- Use low suction near perforated breathing holes to prevent pulling foam dust upward.
Step 3: Spot Testing in an Inconspicuous Area
Before applying any product across the entire interior, conduct a spot safety test. Apply a single drop of your pH neutral leather cleaner to a hidden area, such as the lower rear seat flap or bottom side skirt. Agitate gently and wipe dry with a white microfiber towel. Check the towel for pigment transfer. If color transfers to the cloth, stop immediately; the factory topcoat is missing, and the seat requires specialized dye re-touching.
Step 4: Agitation and Deep Clean Leather Car Seats
Never spray liquid cleaning chemicals directly onto leather seats. Spraying creates uneven saturation and allows liquid to run into stitching seams.
- Spray two or three mists of pH neutral leather cleaner onto the bristles of your horsehair brush.
- Work in small sections, focusing on one seat bolster or cushion panel at a time (approximately 12 by 12 inches).
- Agitate the surface using light, overlapping circular motions. Allow the foaming action of the cleaner to suspend oils and grime.
- Do not press hard. Let the tips of the soft horsehair bristles perform the lifting work.
- Immediately wipe away the suspended foam and dirt using a clean microfiber towel. Fold the towel frequently to expose fresh, dry surfaces.
Step 5: Master Technique for Perforated Leather Car Seat Cleaning
Perforated leather seats feature thousands of laser cut ventilation holes that allow heated and cooled air to circulate from internal fans. Moisture entering these perforations passes straight into the open cell polyurethane foam cushion below. Trapped moisture inside foam creates mildew odors, weakens foam structure, and clogs ventilation channels.
Dry Foam Method for Perforated Leather
Prevent liquid saturation and foam mold in heated/ventilated seats
- Dry Foam Method: Spray your pH neutral leather cleaner onto your brush bristles, then massage the bristles against your clean palm to generate a dry lather. Apply only this rich foam to the perforated leather.
- Clogged Hole Fix: If conditioner or cleaner accidentally fills a perforation hole, do not pick at it with sharp metal pins. Use a clean wooden toothpick or short bursts of low pressure compressed air to dislodge the product while holding a microfiber towel over the spot.
Step 6: Deep Hydration with the Best Leather Car Seat Cleaner and Conditioner
Cleaning removes dirt, body oils, and surface grime, leaving the leather topcoat clean but unshielded. Conditioning rehydrates the topcoat layer, preserves flexibility, and protects against cracking caused by sun exposure and dry cabin heat.
- Apply a nickel sized amount of premium water based leather conditioner onto a microfiber applicator pad. Never pour liquid directly onto the seat.
- Massage the conditioner into the leather using gentle circular motions, covering every inch evenly.
- Allow the conditioner to dwell for 15 to 20 minutes. During this period, hydration agents penetrate the topcoat while UV inhibitors bond to the surface.
Step 7: Final Buffing for OEM Matte Finish Leather Seat Restoration
True clean leather in factory condition possesses a smooth, velvety matte finish. A shiny or greasy seat indicates heavy contamination, oil buildup, or low quality silicone dressings.
After the dwelling period, take a clean, dry microfiber towel and buff all seat surfaces thoroughly. Buffing removes unabsorbed excess product and levels the surface to a rich, non greasy factory matte appearance. Touch the surface with clean hands; it should feel supple and dry, not slippery or sticky.
Performance Comparison: Unconditioned vs Conditioned vs Ceramic Protected Leather
Leather Seat Finish and Protection Performance Graph
Stain Removal Protocol: Denim Dye Transfer Removal Leather and Stubborn Spots
Light colored leather seats (beige, ivory, light grey, white) look stunning but absorb blue indigo dye from jeans easily. Treating denim dye transfer removal leather quickly prevents pigment from permanently bonding to the clearcoat.
Critical Mistakes to Avoid to Prevent Leather Cracking and UV Damage
Many common DIY interior cleaning methods do permanent harm to car leather seats. Avoid these dangerous practices:
- Melamine Foam Sponges (Magic Erasers): Melamine sponges act as ultra fine sandpaper (equivalent to 3000 grit). While they remove dirt quickly, they strip the clearcoat sealant off the leather, leading to severe cracking and peel failure within months.
- Isopropyl Alcohol and Bleach: Solvents destroy polyurethane coatings instantly, leaving hide exposed to drying, fading, and chemical burning.
- Household Dish Soaps: Formulated to strip heavy grease from cookware, dish soap strips natural and synthetic moisture barriers, leaving leather stiff and brittle.
- Saddle Soap: Designed for thick, vegetable tanned equestrian leather. Saddle soap is overly alkaline for modern automotive clearcoats and leaves heavy residue that clogs breathing pores.
- Heavy Petroleum or Oil Conditioners: Traditional neatsfoot oil and heavy silicone oils soften clearcoats, attract dust, leave greasy residues, and stain clothing.
- Excessive Water Exposure: Soaking leather causes moisture to pool inside internal cushion foam, rusting seat springs and cultivating mold.
Long Term Maintenance Schedule: Keeping Your Interior Factory Fresh
Maintaining flawless leather requires consistent preventive care rather than infrequent deep cleanings. Follow this professional schedule:
- Weekly Maintenance: Vacuum seats with soft horsehair attachment. Wipe down high touch bolsters with a damp microfiber cloth to remove fresh dust and perspiration salts.
- Monthly Care: Wipe seats with a light spray of pH neutral leather cleaner to remove body oil buildup before it turns glossy.
- Quarterly (Every 3 Months): Perform a full deep clean and apply water based leather conditioner with UV protection.
- Bi-Annual Ceramic Coating: Apply a specialized ceramic leather coating on high wear driver seat bolsters to block denim dye transfer and friction wear.
Frequently Asked Questions About Leather Seat Detailing
Why do leather car seats become shiny over time?
Leather seats become shiny due to accumulated body oils, sweat, dirt, and friction from clothing. As you sit, friction polishes the oil layer against the leather topcoat. A shiny seat is dirty leather; a clean seat always exhibits a smooth, non reflective matte finish.
How often should I clean and condition my leather seats?
Perform light maintenance wiping once a month. Apply conditioner every three months under normal driving conditions. If your vehicle is parked outdoors under intense sunlight, condition seats every two months to prevent leather cracking and UV damage.
Can I use baby wipes to clean leather car seats?
No. Baby wipes often contain alcohol, fragrances, and moisturizers designed for human skin. These additives leave sticky residues on automotive clearcoats and can weaken the protective topcoat over time.
How do I safely clean perforated leather seats without clogging holes?
Never spray liquid cleaners or conditioners directly onto perforated seats. Apply product onto your horsehair brush or applicator pad first, work up a dry foam, apply sparingly, and wipe dry immediately.
Conclusion: Mastering Professional Interior Care
Learning how to clean and condition leather car seats like a pro comes down to respecting the material science of automotive topcoats. By avoiding harsh household chemicals, utilizing dedicated pH neutral leather cleaners, employing soft horsehair brushes, and applying water based conditioners, you preserve your interior in pristine factory matte condition.
Regular care not only elevates your driving comfort and interior aesthetics, but also protects your vehicle resale value for years to come.
Next Step: Elevate Your Interior Detailing Routine
Ready to transform your car interior? Download our free ultimate interior detailing checklist and equipment guide to keep in your garage. If you have questions about specific stain removal or specialized leather finishes, reach out to our detailing expert team today for personalized guidance!