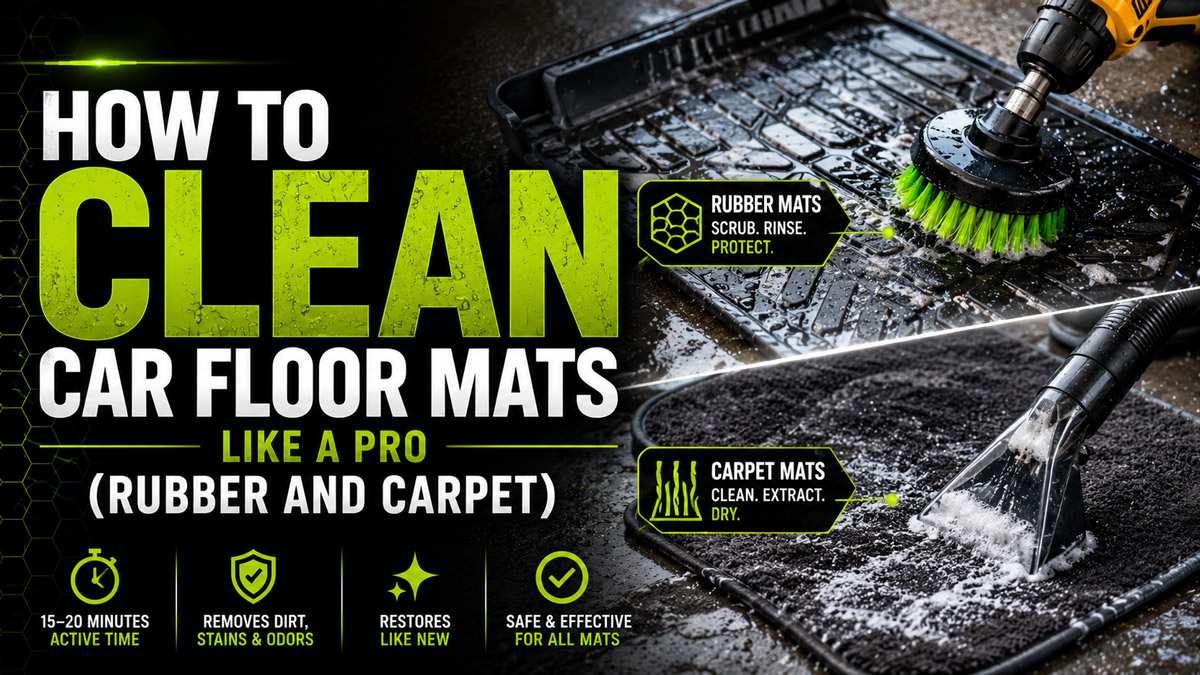
Deep cleaning your vehicle’s interior requires knowing exactly how to clean car floor mats like a pro (rubber and carpet). This dual-path process takes roughly 15 to 20 minutes of active work per set, relying on exact chemical dilutions, mechanical agitation, and absolute moisture removal to prevent dangerous pedal slippage or cabin mold.
Before You Start: The Detailer’s Checklist
- Time Required: 15–20 minutes active time (plus 12–24 hours drying time for carpet).
- Difficulty: Beginner.
- Cost: $15–$40 (assuming you own a vacuum and hose).
- Working Conditions: A shaded outdoor area with a concrete or asphalt surface on a slight incline for drainage. Avoid direct sunlight, which bakes chemicals into the mat.
Master Tools & Materials Matrix:
Rubber Mats: The 5-Step Deep Clean Protocol
Follow these specific steps for WeatherTech, factory all-weather, or heavy-duty rubber floor liners.
Step 1: Perform Dry Extraction and Removal
Remove the mats by carefully depressing the center of the plastic retaining clips to unhook them without snapping the floor anchors. Hold the mat vertically and firmly slap the rubber backing against a solid exterior wall to knock loose packed mud, stones, and surface dust. Run a stiff dry brush over the texturing before adding any liquid to pull hidden sand out of the deep geometric valleys.
- You’ll know it worked when: The mat stops dropping dry grit when struck, leaving only bonded dirt on the surface.
- Common Mistake: Applying water immediately. Wetting loose sand turns it into a concrete-like slurry that is twice as hard to remove.
Step 2: Execute the Initial Rinse-Down
Lay the mat flat on a clean asphalt or concrete incline and spray down the face using a pressure washer (equipped with a 40-degree wide-angle tip) kept exactly 12 inches away from the surface. If using a garden hose, use a jet stream nozzle setting. Never use hot water, as temperatures above 140°F (60°C) can permanently warp custom-molded vinyl or rubber edges.
- You’ll know it worked when: All loose topsoil is gone, and the mat is uniformly wet and ready to receive chemicals.
- Common Mistake: Holding a pressure washer closer than 6 inches, which can gouge the rubber or peel away manufacturer logos.
Step 3: Apply Chemical Dwell and Agitate
Spray your pre-diluted APC liberally across the entire wet face and let it dwell for 2 to 3 minutes to emulsify body oils and grease. Attach a stiff, heavy-duty brush to a cordless drill, set it to a low speed (under 600 RPM), and move systematically in an overlapping cross-hatch pattern (up-and-down, then left-to-right). Reverse your drill’s rotation halfway through the process to scrub the opposing sides of deep, angular channeling.
- You’ll know it worked when: The cleaning suds turn from a dirty brown color to a stark, clean white.
- Common Mistake: Letting the APC dry on the rubber during the dwell phase, which leaves permanent chemical stains.
Step 4: Perform the Final Rinse and Flip
Pressure wash or hose the mat from the top edge down to the bottom, pushing the dirty suds off the lower edge of the mat. Immediately flip the mat over and thoroughly rinse the underside to remove any overspray.
- You’ll know it worked when: The runoff water is crystal clear and the mat feels squeaky, not slimy, to the touch.
- Common Mistake: Forgetting to rinse the bottom. Leftover APC on the underside will migrate straight onto your car’s main interior carpet, degrading the fibers over time.
Step 5: Force-Dry and Apply Dressing
Blast pooling water out of the raised crevices using a cordless leaf blower or compressed air line, then wipe the remaining damp areas dry with a clean 300 GSM microfiber towel. Mist a light, strictly silicone-free rubber detailer across the surface and thoroughly buff it down with a separate dry towel to restore a rich, matte finish.
- You’ll know it worked when: The mat looks factory-new (dark and rich) but feels completely dry and slightly grippy under your hand.
- Common Mistake: Using a standard interior dressing (like Armor All). Silicone makes rubber dangerously slippery, causing your shoe to slide off the brake pedal.
Carpet Mats: The 5-Step Deep Clean Protocol
Fabric mats require moisture control. Excessive water destroys the glue holding the carpet to the rubber backing.
Step 1: Deep Vacuum and Pile Agitation
Remove the mats, beat them against a wall to clear heavy debris, and lay them flat on a clean surface. Vacuum the entire mat thoroughly using a high-suction shop vac equipped with a claw utility nozzle, running a medium-stiff hand brush just ahead of the vacuum head to pull up embedded pet hair and crushed sand.
- You’ll know it worked when: You can run your bare hand across the carpet without feeling any loose grit.
- Common Mistake: Skipping the hand brush. Vacuums alone cannot lift heavy, angular sand particles trapped at the base of the carpet weave.
Step 2: Target and Pre-Treat Stains
Inspect the mat for distinct oil, coffee, or salt stains and apply a concentrated carpet stain extractor directly to the affected spots. Let the treatment sit for 3 to 5 minutes, then gently blot the stain with a clean microfiber cloth, working from the outside edge inward.
- You’ll know it worked when: The distinct stain boundary blurs and transfers color onto your blotting towel.
- Common Mistake: Scrubbing the stain aggressively side-to-side, which frays the carpet loops and permanently damages the pile texture.
Step 3: Shampoo and Drill Scrub
Spray a foam or liquid carpet shampoo evenly across the entire surface until the fibers feel consistently moist but not completely waterlogged (about 3 to 4 sprays per square foot). Equip your drill with a medium-soft nylon brush attachment, run it at a low-to-medium speed, and work the brush in slow, circular motions letting the tool’s weight do the work.
- You’ll know it worked when: A thick, even layer of foam lifts the dirt to the surface of the carpet pile.
- Common Mistake: Applying heavy downward pressure on the drill, which overheats the carpet fibers and causes them to melt or untwist.
Step 4: Extract Fluids and Reset the Pile
Use a dedicated carpet extractor or a wet/dry shop vac to pull out the dirty moisture by dragging the nozzle backward in overlapping, straight lines. Execute multiple slow “dry passes” with the vacuum until you no longer see liquid moving through the clear nozzle tip, then vigorously buff the fibers in one direction with a dry microfiber towel to reset the carpet pile to a uniform look.
- You’ll know it worked when: The mat feels only slightly damp to the touch, and the carpet fibers are all leaning in the same uniform direction.
- Common Mistake: Moving the vacuum nozzle too quickly. You must move at roughly 1 inch per second to give the vacuum time to pull water from the backing.
Step 5: Execute Extended De-Moisturizing
Hang the carpet mats vertically using heavy-duty spring clips on a line, or prop them up at a steep angle against a wall in a well-ventilated area out of direct, intense sunlight. Allow them to dry completely for a full 12 to 24 hours before returning them to the vehicle.
- You’ll know it worked when: You can press a dry paper towel hard into the thickest part of the mat and it pulls away completely dry.
- Common Mistake: Reinstalling carpet mats while slightly damp. This traps moisture beneath them, creating a breeding ground for foul odors, mold, and mildew within 48 hours.
Common Mistakes and How to Fix Them
Even careful detailers run into chemical or environmental issues. Here is how to fix the most common failures.
- Failure: Carpet mats still smell musty after drying.
- The Fix: Deeply embedded organic bacteria remain. Sprinkle a generous layer of pure baking soda evenly over the completely dry mat. Massage it lightly into the fibers with a dry brush and let it sit undisturbed overnight. Vacuum it out the next morning to pull out the neutralized odor molecules.
- Failure: A white, chalky film appears on rubber mats after they dry.
- The Fix: This is either dried soap scum or oxidized rubber. Re-rinse the mat thoroughly with clean water. If the white film persists, apply an advanced, polymer-based exterior trim restorer. Work the product deep into the pores with a soft microfiber towel to permanently re-blacken the surface.
- Failure: White salt crust won’t come out of fabric mats.
- The Fix: Road salt chemically binds to nylon fibers. Mix a solution of 50% warm water and 50% distilled white vinegar. Spray it directly onto the crust, let it dwell for 5 minutes to dissolve the calcium chloride, agitate gently, and immediately extract with your vacuum.
- Failure: The carpet edge binding is fraying.
- The Fix: You held the pressure washer too close or used a stiff drill brush. Stop mechanical agitation immediately. Snip loose threads with sharp scissors (do not pull them), and use only a blotting motion for the remainder of the cleaning.
Variations for Different Situations
- The Apartment Dweller (No Hose Access): If you cannot use a hose, fill a 1-gallon pump sprayer with hot (not boiling) water. Use this to rinse your rubber mats or extract your carpet mats. A pump sprayer provides about 40 PSI—enough to clear suds without flooding your balcony.
- Delicate Vintage or Classic Car Mats: Skip the drill brush entirely. Vintage carpet backing degrades with age. Use a foaming citrus cleaner, agitate exclusively with a horsehair detailing brush, and rely heavily on dry towel blotting rather than high-lift vacuum extraction, which can pull the carpet away from its backing.
How Long Does It Take / What Does It Cost?
- Time: Rubber mats take exactly 15 minutes of active labor. Carpet mats take 20 to 25 minutes of active labor, but mandate a 12 to 24-hour drying period.
- Cost: If you already own a shop vac and cordless drill, the chemical costs are minimal. A gallon of professional APC costs ~$20 (and dilutes to make 5 gallons of cleaner). Drill brush sets cost ~$15, and a dedicated rubber protectant is ~$15.
Frequently Asked Questions
Can I put my car floor mats in the washing machine?
Never put rubber or stiff-backed carpet mats in a washing machine. The agitator will crack rubber liners and permanently crease the rigid fiberglass or plastic backing found inside premium carpet mats, ruining their fitment.
Should I use bleach on heavily stained carpet mats?
No. Chlorine bleach or harsh household dish soaps will permanently strip the factory dye from automotive carpets, leaving irreversible splotches. Stick to dedicated, pH-balanced automotive upholstery shampoos.
Do I need to clean the floor underneath the mats?
Yes. Before reinstalling your perfectly clean mats, vacuum and wipe down the vehicle’s floorboard. Placing clean mats over a dirty, sandy floor introduces grit to the underside of the mat, which acts like sandpaper against your car’s main carpet.
How often should I deep clean my floor mats?
For daily drivers, deep clean rubber mats once a month and carpet mats once every three to four months. However, salt stains should be neutralized and removed within a week of forming to prevent permanent fiber damage.