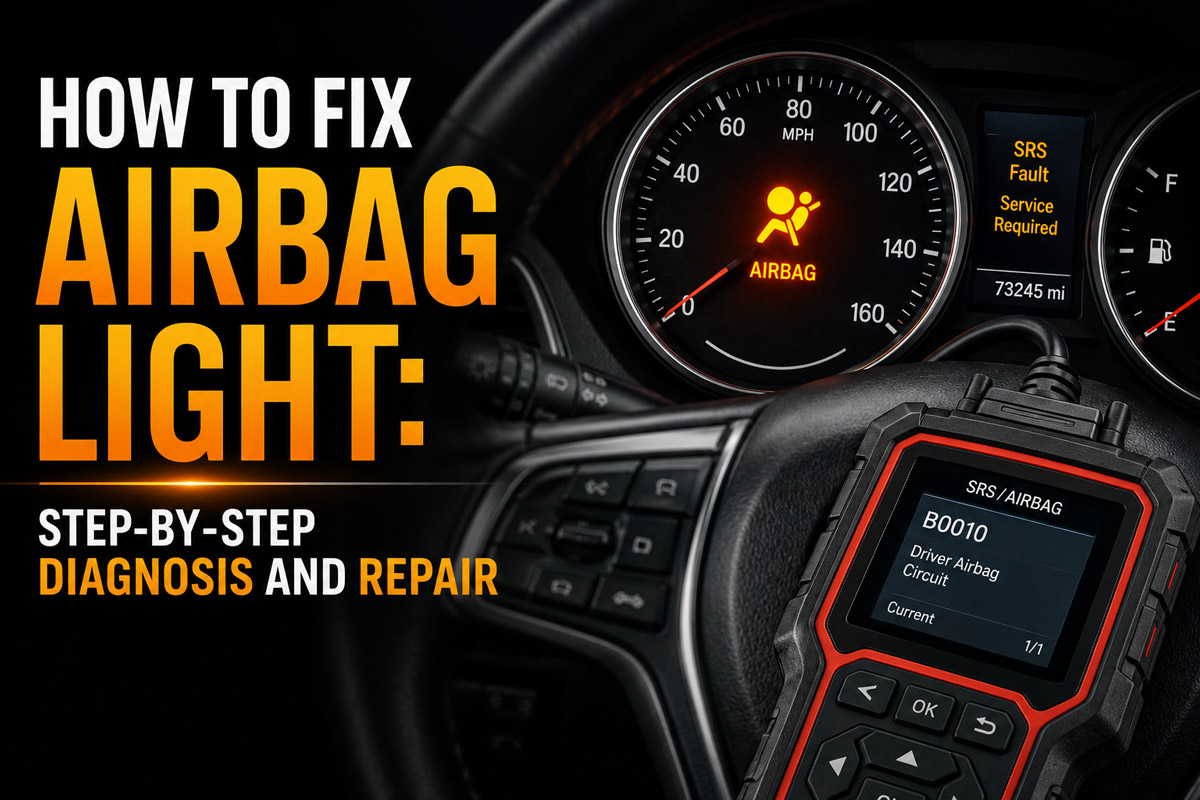
Learn how to fix airbag light warnings by diagnosing the root code, servicing physical connections, and resetting the control module. You can complete these four steps in 35 to 50 minutes with intermediate DIY skills. Success depends entirely on safely discharging the SRS capacitors before touching the wiring.
Before You Start
- Time Required: 35 to 50 minutes
- Difficulty: Intermediate (Requires strict adherence to electrical safety)
- Estimated Cost: $50–$150 (Primarily the cost of an SRS-compatible scanner)
- Tools and Materials Needed:
- OBD2 Scanner with SRS/ABS compatibility (Qty: 1, do not use a basic $20 engine code reader)
- 10mm socket and ratchet wrench (Qty: 1)
- Electrical contact cleaner spray (Qty: 1 can, e.g., CRC brand)
- Dielectric grease (Qty: 1 tube)
- Flashlight or headlamp (Qty: 1)
- Thick rag or zip-tie (Qty: 1, to isolate the battery cable)
- Prerequisites: You must have the physical ability to maneuver under the vehicle’s front seats.
Diagnostics and Power Preparation
Step 1: Scan for SRS Fault Codes
Plug your SRS-compatible OBD2 scanner into the diagnostic port beneath the steering column and turn the ignition key to the “ON” position without starting the engine. Navigate to the “SRS/Airbag System” menu on your scanner and initiate a fault code scan to pinpoint the exact failure. Record the specific alphanumeric code (e.g., B0001 for driver clock spring, B0020 for passenger circuitry) and its description on a piece of paper.
- Success Checkpoint: You will know this step worked when the scanner displays a specific SRS code rather than a “No Communication” error.
- Common Mistake: Using a standard $20 ELM327 code reader. These basic readers only communicate with the Engine Control Unit (ECU) and will report zero codes, even while the airbag light is glaring on the dashboard.
Step 2: Safely Disconnect Battery Power
Turn the ignition off, remove the key, and use your 10mm socket to completely remove the negative (-) cable from the vehicle’s battery. Wrap the metal terminal of the negative cable in a thick rag or secure it with a zip-tie against the vehicle body so it cannot accidentally spring back and make contact with the battery post. You must now wait exactly 15 minutes before proceeding to the next step.
- Success Checkpoint: You will know the power is successfully cut if pressing the brake pedal does not illuminate the rear brake lights.
- Common Mistake: Skipping the 15-minute wait time. The Airbag Control Module (ACM) contains internal backup capacitors designed to fire the airbags even if the battery is crushed in a crash. Failing to let these drain risks a catastrophic accidental deployment while you are holding the wires.
Physical System Repairs
Step 3: Service the Under-Seat SRS Connectors
Slide the front seats completely back to expose the floor wiring, ground your body by touching a bare metal door hinge, and unplug the bright yellow SRS connectors. Yellow wiring universally denotes the airbag and seatbelt pretensioner circuits; press the locking tab firmly and pull the plastic housings apart without yanking on the wires themselves. Spray the metal pins inside both ends of the connector generously with electrical contact cleaner, allowing it to evaporate completely for 60 seconds. Apply a pea-sized dab of dielectric grease around the outer plastic rim of the connector housing to create a moisture barrier, then snap the two halves back together.
- Success Checkpoint: You will know it worked when you feel and hear a distinct, sharp “click” as the two yellow connector halves lock securely into place.
- Common Mistake: Applying dielectric grease directly onto the metal electrical pins. Dielectric grease is an insulator; putting it on the pins will block the micro-voltages used by the SRS system and trigger a permanent fault code.
Module Reset and Verification
Step 4: Clear the Codes and Verify System Readiness
Reconnect the negative battery cable with your 10mm socket, turn the ignition key back to the “ON” position, and use your OBD2 scanner to command a code clearance in the SRS menu. Once the scanner confirms the codes are erased, turn the key completely off, unplug the scanner, and then start the vehicle’s engine normally. Watch the dashboard cluster carefully during startup.
- Success Checkpoint: You will know the repair is successful when the airbag light illuminates for 3 to 6 seconds for its self-check, and then turns off completely and permanently.
- Common Mistake: Attempting to clear the codes without fixing the physical problem first. If the under-seat wires are still dirty or a part is broken, the Airbag Control Module will instantly detect the fault during the 3-second self-check and the light will immediately turn back on.
Common Mistakes and How to Fix Them
- Probing yellow wires with a multimeter: Never use a standard digital multimeter to test continuity on yellow airbag wires. Multimeters send a small electrical voltage down the wire to test resistance, which is enough to instantly detonate the airbag squib. If you did this and triggered a bag, you must replace the deployed airbag, the melted connector, and have the Airbag Control Module professionally reset.
- Scanner reads “No Communication”: If your high-end scanner cannot talk to the SRS module, you likely have a blown SRS fuse or a totally fried module. Locate your cabin fuse box, find the fuse labeled “SRS” or “Airbag” (usually 10A or 15A), and replace it.
- Light blinks rhythmically when turning the steering wheel: This indicates a broken steering clock spring, not an under-seat connector issue. The ribbon cable inside the steering column has snapped. You must rent a steering wheel puller, remove the wheel, and install a new clock spring unit.
- Codes refuse to clear after an accident: If the vehicle was previously bumped or crashed, “Hard Codes” (crash data) are permanently written to the module’s ROM. An OBD2 scanner cannot delete these. You must remove the Airbag Control Module from beneath the center console and mail it to a specialty module-resetting service to be factory-flashed.
Repair Variations for Different SRS Faults
Fixing the Passenger Occupancy Weight Sensor If your scanner pulls a code related to the “Occupant Classification System” (OCS) or weight sensor, the issue is inside the passenger seat cushion. Ensure no heavy items (like laptops or jugs of water) are resting on the seat, as this confuses the sensor. If empty, the sensor pad beneath the upholstery has failed. You will need to remove the seat via the four 14mm base bolts, unhog-ring the bottom fabric, and replace the gelatinous sensor pad.
Fixing Seatbelt Pretensioners Often, the airbag light is actually a seatbelt system warning. If the code specifies a “Pretensioner Circuit High Resistance,” the micro-explosive device inside the seatbelt buckle is failing. The repair process is identical to Step 2, but instead of just cleaning wires, you must unbolt the 14mm nut holding the seatbelt receptacle to the seat frame, disconnect the yellow plug, and bolt in a new OEM receptacle.
How Long Does It Take and What Does It Cost?
- Diagnostic Phase: 5–10 minutes.
- Power Down & Wait Time: 15 minutes (non-negotiable).
- Cleaning Under-Seat Connectors: 10–15 minutes.
- Component Replacement (Clock spring or sensors): 60–120 minutes.
- Cost Range: If the issue is simply a loose connector, your only cost is an SRS scanner ($50–$100) and $10 for contact cleaner. If you must replace a clock spring, expect $75–$150 in parts. Professional module resetting for hard crash data costs between $40 and $80 plus shipping.
Frequently Asked Questions
Will my car pass state inspection with the airbag light on? No. In almost all jurisdictions with mandatory vehicle safety inspections, an illuminated SRS or airbag light is an automatic failure. The system must be fully operational, and the light must perform its 3-second self-check and turn off for the inspector.
Will the airbags deploy while I am driving if the light is on? No, the exact opposite is true. When the Airbag Control Module detects a fault and turns on the warning light, it automatically disables the entire airbag system to prevent unpredictable deployments. Your airbags will not fire in an accident while the light is on.
Can I just remove the bulb from the dashboard to fix it? No. Removing the bulb does not re-enable the disabled airbag system, leaving you unprotected in a crash. Furthermore, modern instrument clusters use soldered surface-mount LEDs rather than removable incandescent bulbs, making physical removal highly destructive.
Can a weak car battery cause the airbag light to come on? Yes. The SRS module requires a highly stable voltage to operate. If your alternator is failing or your battery voltage drops below 10.5 volts during engine cranking, the module will register a “Low Voltage” fault and trigger the light. Replacing the battery and clearing the code resolves this.
Conclusion
Mastering how to fix airbag light warnings ultimately comes down to methodical diagnostics rather than parts-cannon guesswork. By pulling the exact SRS fault code, strictly observing the 15-minute capacitor discharge wait time, and isolating the common under-seat connector failures first, you can safely restore your vehicle’s restraint system. Remember that the SRS is designed to fail-safe; if the dashboard light returns after your repair, the Airbag Control Module is still detecting dangerous electrical resistance or locked crash data. Never bypass these circuits—continue troubleshooting the specific code until the system cleanly passes its 3-second startup self-check.