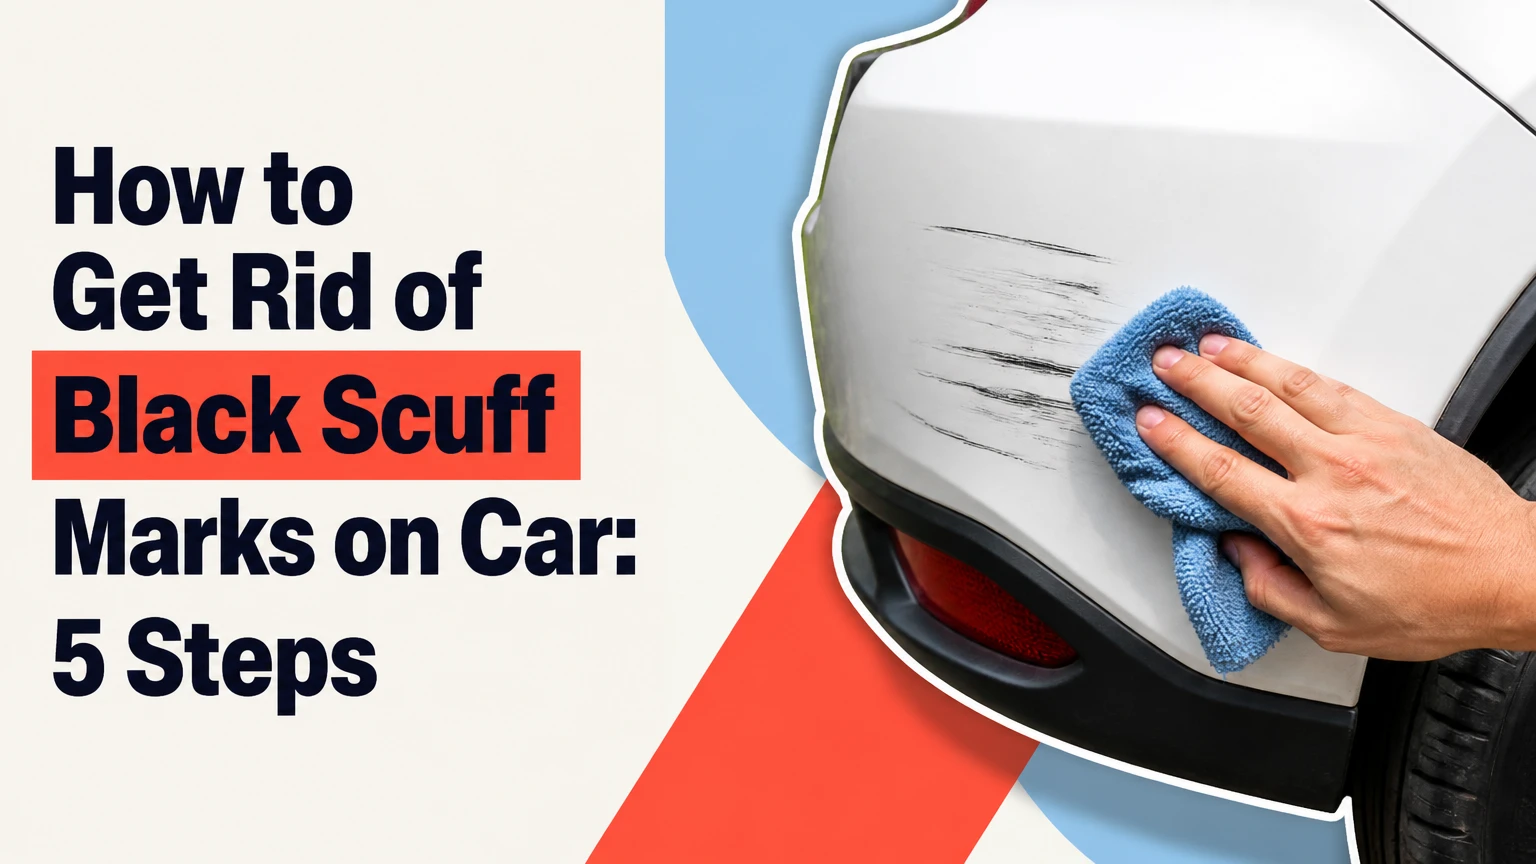
To get rid of black scuff marks on a car, wash and dry the panel, test whether the mark is surface transfer, then use the least aggressive effective method: an automotive-safe solvent, clay lubricant and clay, or a fine polishing compound. Finish by removing residue and replacing the paint’s wax or sealant.
Key Facts at a Glance
A true scuff is usually rubber, plastic, vinyl, or paint transfer sitting above the clear coat.
A fingernail catching in a groove indicates paint damage, although shallow scratches can sometimes be polished.
Automotive adhesive remover is usually safer than household solvents when used on cool paint and tested first.
Melamine foam can dull automotive clear coat and should not be the default treatment for painted panels.
Typical DIY removal takes 10-25 minutes and costs $5-$30, depending on the method.
PPF, vinyl wrap, matte paint, textured trim, and fresh refinished paint require different precautions.
What Is a Black Scuff Mark?
A black scuff mark is usually a transfer layer from another object rather than missing paint from your vehicle. Rubber bumpers, tires, shoe soles, shopping carts, parking barriers, painted posts, and flexible plastic trim can leave dark material on the clear coat during low-speed contact.
The mark may look severe because black transfer contrasts sharply with white, silver, and light-blue paint. Visual contrast does not reveal depth. A broad gray streak can be superficial, while a thin line may have cut through the clear coat into the color layer.
Automotive paint normally consists of a substrate, primer, base coat, and clear coat. Surface transfer sits above that stack. Removing the transfer means dissolving or lifting foreign material while preserving the clear coat underneath.
Why does transfer come off differently from a scratch?
Rubber and plastic transfer can be softened with a compatible solvent or removed with controlled mechanical action. A scratch requires leveling the surrounding clear coat or restoring missing color, so solvent alone cannot repair it.
The distinction matters because aggressive rubbing may remove the black material while creating a larger dull patch. The safest process therefore begins with washing and diagnosis, not with compound or a household cleaning product.
Is the Mark a Scuff or a Scratch?
A scuff is likely when the mark feels smooth, appears raised or smeared, and changes after lubricated wiping. A scratch is more likely when a fingernail catches in a channel, the exposed line follows the impact path, or the panel shows a different underlying color.
The fingernail test is useful but limited. A nail that catches confirms a physical edge, yet it does not identify the exact repair depth. Some shallow clear-coat scratches can be polished, while deeper damage requires touch-up paint, sanding, or refinishing.
Inspect the area in direct shade and then under a bright angled light. Look for a glossy reflection that continues through the mark. If the reflection breaks inside a sharply defined groove, the vehicle has paint damage in addition to possible transfer.
| Observation | Likely condition | First treatment | Stop point |
|---|---|---|---|
| Smooth, raised black smear | Rubber or vinyl transfer | Automotive-safe solvent | Stop when color disappears |
| Rough but color-matched streak | Dirt bonded to wax | Wash and clay lubricant | Stop when surface feels smooth |
| Nail catches in a narrow groove | Clear-coat scratch | Fine polish test | Stop if color is missing |
| White or gray substrate is visible | Deep paint loss | Touch-up or body repair | Do not keep polishing |
| Hazy patch after removal | Abrasion or solvent residue | Fine polish, then protection | Stop if haze remains |
How to Get Rid of Black Scuff Marks on Car
The safest removal process has five steps and normally takes 10-25 minutes. The factor that most determines success is diagnosis: surface transfer can be removed, but missing paint cannot be wiped back into place.
Before You Start
Work in shade with the panel between approximately 60 and 80°F, or 16 and 27°C. Hot paint speeds solvent evaporation and increases the chance of streaking; cold panels make rubber harder and can encourage excessive rubbing.
| Item | Typical quantity | Purpose | Typical cost |
|---|---|---|---|
| pH-neutral car shampoo | 1-2 teaspoons in 2 gallons of water | Removes grit and road film | $8-$18 |
| Clean microfiber towels | 3-5 towels, 300-500 GSM | Washing, wiping, and drying | $8-$25 |
| Automotive adhesive or tar remover | 1-3 teaspoons | Softens transfer | $8-$18 |
| Clay bar and lubricant | 1 small bar, 4-8 ounces lubricant | Removes bonded residue | $12-$30 |
| Fine polish or finishing compound | Pea-sized amount | Levels light remaining marks | $10-$25 |
| Wax or paint sealant | 1 teaspoon for a small panel | Replaces protection | $10-$30 |
Avoid working on recently repainted bodywork unless the refinishing shop confirms that the paint has cured. Fresh clear coat can remain solvent-sensitive for longer than a normal factory finish.
Step 1: Wash and Dry the Panel
Wash the marked panel and at least 12 inches around it with car shampoo, clean water, and a soft microfiber wash mitt. Rinse from the top downward, then dry with a separate clean towel rather than allowing water spots to form.
Do not scrub the black mark aggressively during the wash. The purpose of washing is to remove loose grit, road salt, and sand that could become abrasive under the towel.
You will know the surface is ready when the panel feels clean and the towel glides without dragging. If the mark still feels gritty, wash again before using a solvent or clay.
Common mistake: Using a dry towel on an unwashed panel. Abrasive particles can create circular micro-scratches around a mark that would otherwise have needed only one solvent wipe.
Step 2: Test a Hidden Area and Confirm the Material
Test the selected product on an inconspicuous painted area, such as the lower edge of a bumper. Apply a small amount to a towel, wipe for 5-10 seconds, and inspect for color transfer, gloss change, or softening of the surface.
Choose an automotive adhesive remover or tar-and-glue remover first. Follow the product label. WD-40 may loosen rubber or adhesive transfer, but its oily residue requires thorough washing afterward, and the product should not be treated as a universal paint-care solution.
Use isopropyl alcohol only as a limited test for certain adhesive residues, diluted according to the product and paint manufacturer’s guidance. Never assume that acetone, lacquer thinner, gasoline, brake cleaner, or nail-polish remover is safe on automotive paint.
You will know the test passed when the gloss and color match the surrounding panel after wiping. If the area becomes sticky, cloudy, or visibly dull, stop and remove the product with car shampoo.
Common mistake: Testing only whether the mark disappears. A solvent can remove transfer and damage a weak, repainted, wrapped, or matte surface at the same time.
Step 3: Remove Loose Transfer With Lubricated Wiping
Put the solvent on a microfiber towel rather than spraying a broad cloud directly onto the vehicle. Press the damp section against the scuff for 15-30 seconds, then wipe in one direction with light pressure.
Fold the towel to a clean section after each pass. Repeat up to three times, using a fresh small amount of product instead of increasing pressure. Soft rubber and adhesive transfer often release within two or three short applications.
Wipe the treated area with a clean damp microfiber towel immediately after the transfer lifts. This removes dissolved residue and prevents an oily film from hiding the remaining damage.
You will know the solvent stage worked when the black color transfers to the towel and the original paint appears beneath it. Stop when additional wiping produces no improvement. Continued solvent exposure cannot repair a scratch.
Common mistake: Letting the product dry on the panel. Dried residue can leave streaks, and extended dwell time provides little benefit once the transfer has softened.
Step 4: Use Clay or Fine Polish for the Remaining Film
Use a clay bar only after the panel has been washed and lubricated generously. Knead a clean section, spray lubricant over a small area of roughly 12 by 12 inches, and glide the clay with almost no downward pressure.
Clay removes bonded particles and thin surface residue. Clay does not remove a deep rubber ridge, restore missing clear coat, or erase a groove that catches a fingernail. If the clay drags, add lubricant rather than pressing harder.
For a mark that remains after solvent treatment, apply a pea-sized amount of fine polish or a mild finishing compound to a clean foam or microfiber applicator. Work an area no larger than 12 by 12 inches for 20-30 seconds, wipe it clean, and inspect under angled light.
You will know the polishing stage is sufficient when the transfer is gone and the reflection looks continuous. Stop after two or three cycles on one spot unless you have paint-thickness knowledge and professional equipment.
Common mistake: Starting with heavy rubbing compound. Coarse compound removes clear coat faster and may create haze even when a fine polish would have removed the final discoloration.
Step 5: Clean, Inspect, and Protect the Paint
Clean the panel with car shampoo or a manufacturer-approved panel wipe, then dry it with a clean microfiber towel. Inspect from several angles because solvent residue can temporarily make a mark appear removed.
Apply a thin layer of wax, paint sealant, or compatible ceramic spray to the treated area. Follow the cure time on the product label, which commonly ranges from 5 minutes for a wipe-on spray sealant to several hours for some liquid sealants.
A removal method does not automatically remove every protective layer, so the correct rule is to replace protection when the surface no longer beads water or when the solvent or polish manufacturer says it can affect existing protection. The goal is protection, not a ritual assumption that all wax has vanished.
You will know the job is complete when the panel is glossy, smooth, and free from solvent streaks under angled light. A slight difference in water behavior from neighboring paint is a reason to protect the section, not to keep abrading it.
Common mistake: Applying sealant over residue. Trapped oil can reduce bonding and create patchy gloss.
Which Removal Method Should You Choose?
Choose an automotive-safe solvent for soft transfer, clay for bonded contamination, and fine polish for faint residue or a shallow clear-coat mark. Avoid choosing by speed alone because the least aggressive method that works removes less surrounding clear coat.
| Method | Best surface or mark | Working time | DIY cost | Main risk |
|---|---|---|---|---|
| Automotive adhesive remover | Adhesive, rubber, tar, vinyl residue | 2-10 minutes | $8-$18 | Streaking or finish damage if left wet |
| WD-40 followed by washing | Soft rubber or shoe transfer | 2-5 minutes | $6-$12 | Oily residue and reduced protection |
| Clay bar with lubricant | Thin bonded film and roughness | 5-15 minutes | $12-$30 | Marring if used dry or on dirty paint |
| Fine polish | Light transfer plus shallow haze | 5-15 minutes | $10-$25 | Clear-coat thinning from repetition |
| Heavy compound | Severe surface defect with paint intact | 10-25 minutes | $12-$30 | Haze, over-polishing, or burn-through |
| Melamine foam | Small unpainted hard-plastic trim test | 1-3 minutes | $1-$5 | Dullness and visible micro-marring |
Why is a Magic Eraser risky on painted panels?
A Magic Eraser is melamine foam, an abrasive material that can remove the mark while dulling automotive clear coat. The often-repeated comparison to a specific sandpaper grit is not a reliable specification because foam density, pressure, moisture, paint hardness, and contact time change the result.
Use melamine foam only as a last-resort test on hard, unpainted plastic trim, and keep it away from glossy paint, PPF, vinyl wrap, piano-black trim, and matte finishes. A solvent or fine polish gives better control on factory-painted panels.
What Should You Avoid?
Never use a green kitchen scouring pad, steel wool, dry abrasive sponge, razor blade, or dry sandpaper on automotive paint. Those materials can create scratches deeper and wider than the original transfer within seconds.
Avoid household degreasers with unknown solvents, gasoline, acetone, lacquer thinner, and brake cleaner. Some products soften clear coat, stain plastic, attack rubber seals, or leave a gloss mismatch that becomes visible only after the panel dries.
Do not use a rotary polisher on one small spot without experience. A machine concentrates heat and abrasion, particularly on panel edges, body lines, and thin repainted areas.
Expert rule of thumb: if a towel stops gaining black residue, more pressure is usually the wrong response. Change the method, inspect the surface, or stop.
What If the Black Mark Will Not Come Off?
A black mark that does not change after three short solvent applications may be heat-bonded transfer, embedded contamination, a deep scratch, or paint loss. Switch to a clay test only if the surface is rough, then try a fine polish on a small section before considering stronger compound.
Paint transfer from a high-friction impact can partially melt into the clear coat. Solvent may remove the loose upper layer while leaving a thin bonded shadow that requires controlled polishing. A mark that has changed color but still follows a groove is mixed damage, not a failed cleaning process.
Stop DIY removal when the exposed area is lighter than the surrounding paint, the clear coat looks thin, the panel becomes hot, or repeated polishing creates haze. A body shop can measure, polish, touch up, or refinish the area according to the actual depth.
| Failure symptom | Probable cause | Recovery | Escalation point |
|---|---|---|---|
| Black mark remains unchanged | Scratch or hardened transfer | Fine polish test on 2-inch area | No change after two cycles |
| Paint looks cloudy | Abrasive haze or residue | Fine finishing polish and clean towel | Haze remains after cleaning |
| Gloss differs around spot | Over-polishing or solvent reaction | Stop, protect, request inspection | Visible halo under direct light |
| Surface feels sticky | Product residue or softened coating | Wash with car shampoo | Sticky finish remains after wash |
| Color is missing | Base coat damage | Touch-up or refinishing | Immediate body-shop assessment |
| Mark returns after wiping | Oil is masking transfer | Panel wash and angled-light inspection | Persistent defect after degreasing |
How Much Does Scuff Removal Cost and Take?
A small surface scuff typically takes 10-25 minutes to remove at home and costs $5-$30 if you already have towels and shampoo. A professional detailer commonly charges about $50-$150 for a small isolated correction, while bodywork for paint loss can cost $150-$600 or more depending on panel size and finish.
These are typical consumer and detailing ranges, not fixed prices. A large bumper, metallic or tri-coat paint, difficult access, ceramic coating, PPF, and prior poor repairs can increase labor or require a specialist.
| Repair situation | Typical time | Typical DIY cost | Typical professional cost |
|---|---|---|---|
| Small rubber scuff on clear coat | 10-15 minutes | $5-$15 | $50-$100 |
| Adhesive or paint transfer across bumper | 20-40 minutes | $15-$35 | $75-$175 |
| Light scuff with shallow clear-coat scratch | 30-60 minutes | $20-$45 | $100-$250 |
| Deep scratch with missing color | 1-3 days including cure time | $25-$80 | $150-$600 |
| Damage across PPF or vinyl wrap | 30 minutes to replacement | $15-$40 for inspection products | $100-$800 |
| Textured black plastic trim | 5-20 minutes | $5-$25 | $50-$150 |
Does the Surface Material Change the Process?
Painted metal and plastic panels can follow the five-step process, but PPF, vinyl wrap, matte paint, and textured trim cannot be treated identically. Surface material determines which solvents, abrasives, heat levels, and protective products are safe.
Factory gloss paint
Use the least aggressive sequence: wash, test solvent, lubricated wipe, clay if needed, then fine polish. Keep compound away from sharp edges unless you can control pad pressure and inspect frequently.
Paint protection film and vinyl wrap
Do not use abrasive compound or melamine foam on PPF or vinyl unless the film manufacturer specifically permits it. Use a wrap-safe cleaner, a soft microfiber towel, and minimal pressure; a scuff that penetrates or stretches the film may require partial replacement rather than polishing.
Matte and satin paint
Avoid polish, compound, waxes that add gloss, and spot correction that changes texture. A matte panel can develop a shiny patch even when the mark disappears. Follow the vehicle or coating manufacturer’s care instructions, and use a specialist for transfer that does not release with gentle cleaning.
Textured or glossy plastic trim
Textured black trim can tolerate products that are unsuitable for paint, but product compatibility still requires a hidden-area test. Gloss-black trim scratches easily, so treat it like clear-coated paint and avoid melamine foam.
When Should You Use a Professional?
Use a professional when the fingernail catches deeply, the color coat is missing, the panel is matte or wrapped, the paint was recently refinished, or the mark covers a large bumper area. Professional correction is also appropriate when you lack a controlled way to inspect gloss and surface temperature.
A detailer is suitable for transfer, light marring, and shallow clear-coat defects. A collision or body shop is more appropriate for dents, cracked paint, exposed primer, exposed metal, or a scratch that reaches through multiple paint layers.
Take photographs before treatment, especially on a leased vehicle or an insurance-related incident. Aggressive home correction can make a repair more expensive if it creates a halo or burns through an edge.
Common Questions About Black Scuff Marks
Can toothpaste remove a black scuff from a car?
Toothpaste is an inconsistent mild abrasive and is not formulated for automotive clear coat. It may reduce a faint mark, but it can leave haze, dry residue, or uneven gloss, so automotive polish provides better particle control and a more predictable finish.
Can I use acetone on car paint?
Acetone should not be a first-choice cleaner for car paint. Acetone can soften or stain clear coat, touch-up paint, plastic trim, rubber seals, and aftermarket coatings; use an automotive-safe adhesive remover and follow its label instead.
Will a car wash remove black scuff marks?
A normal car wash can remove loose dirt and some fresh rubber transfer, but it usually will not remove bonded adhesive, paint transfer, or a clear-coat scratch. Washing is preparation for safe correction, not a replacement for diagnosis and controlled removal.
How do I remove a black scuff from a white car?
A white car usually shows transfer clearly, so wash first and use an automotive-safe solvent on a towel in several short passes. Inspect for gray shadowing afterward, because contrast can make a shallow scratch appear to be remaining dirt.
Can a black scuff be removed from a bumper?
A bumper scuff can often be removed when the black material sits on glossy painted plastic. If the bumper has a dent, torn paint, exposed primer, or textured unpainted plastic, cleaning may improve the appearance without restoring the damaged finish.
Should I wax the car after removing a scuff?
Apply wax or paint sealant after removing a scuff when the treated area has been cleaned and dried. Protection helps restore water repellency, but it will not fill a deep scratch or conceal missing base coat permanently.
The Bottom Line
To get rid of black scuff marks on car paint, wash the panel, perform the fingernail and angled-light checks, and begin with a tested automotive-safe solvent. Use clay for bonded residue and fine polish for the remaining haze, then clean and protect the area. Stop when the defect reveals missing paint, deep grooves, or material-specific risk.