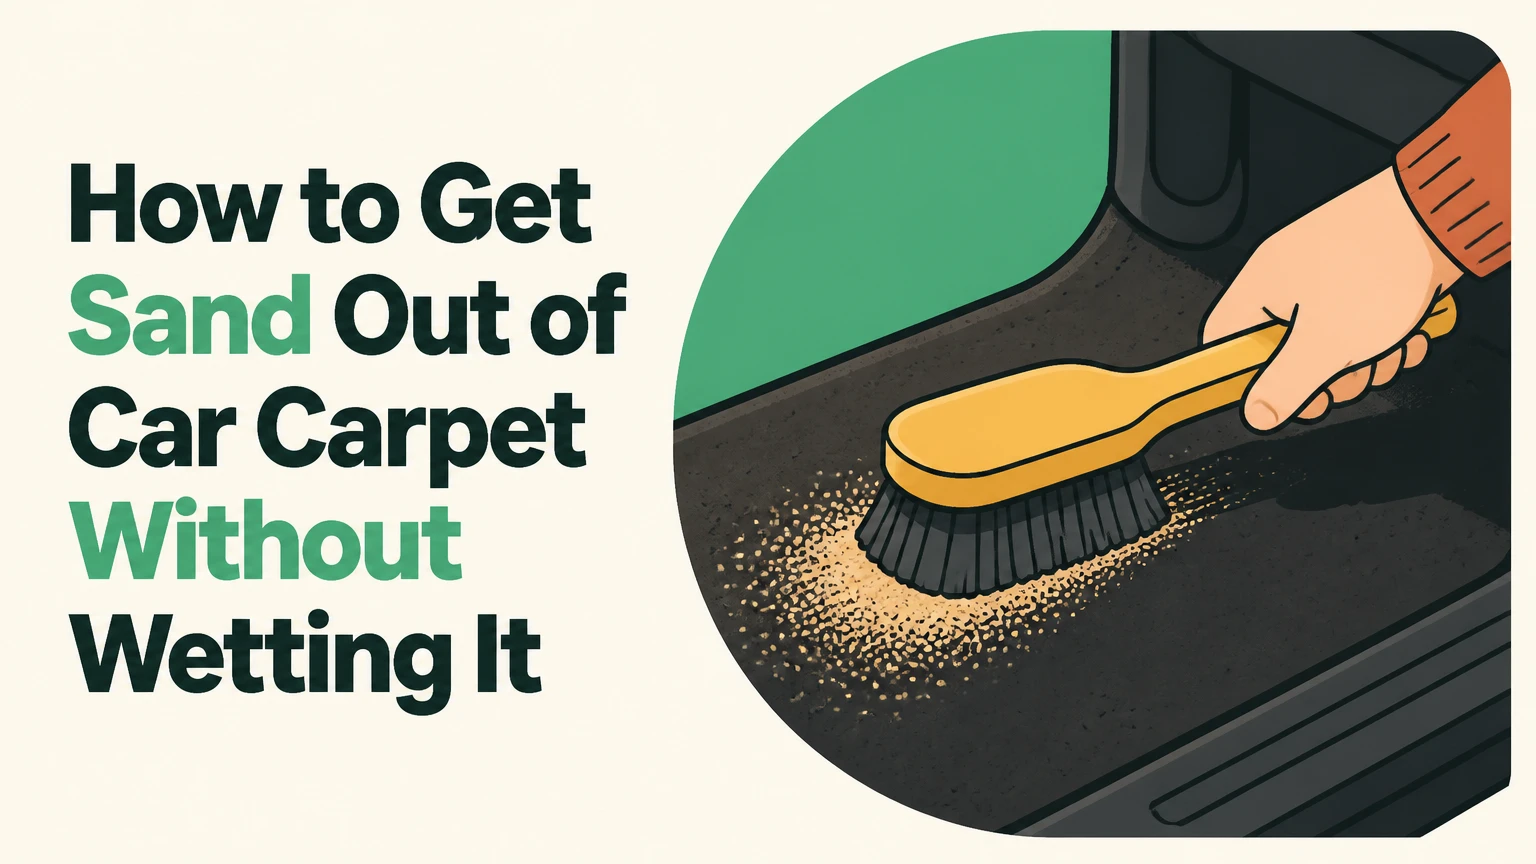
To get sand out of car carpet, remove the mats, dry any moisture, loosen embedded grains with a stiff brush or controlled hand agitation, then vacuum slowly with a shop vacuum in overlapping passes. Finish with a rubber squeegee or lint roller, and use cleaner only after the dry sand is gone. The process usually takes 20-30 minutes for a moderately affected vehicle.
Key Facts
Dry sand should be vacuumed before water or carpet shampoo is applied.
A shop vacuum with a narrow nozzle removes more embedded grit than a weak cordless vacuum.
Gentle brushing is safer than an orbital sander, massage gun, or wire brush on automotive carpet.
Wet sand and mud must dry or be lifted carefully before ordinary dry vacuuming.
A light mist of interior-safe cleaner can help with residue, but fabric softener may leave a sticky film.
High-wall rubber mats prevent most new sand from reaching the vehicle’s carpet.
Before You Start
Prepare the vehicle so loose grains do not migrate back into cleaned areas. Remove everything from the footwells, take out the floor mats, open the doors, and work outdoors or in a well-ventilated garage where sand can fall away from the cabin.
Time, Difficulty, and Cost
A typical sandy front footwell takes 5-10 minutes, while a heavily contaminated SUV interior can take 45-90 minutes. The task is low difficulty, but deep sand requires patience because fast vacuuming leaves particles between carpet fibers.
| Cleaning situation | Typical time | Typical cost | Recommended setup |
|---|---|---|---|
| One front footwell | 5-10 minutes | $0-$5 | Household vacuum, nylon brush |
| Four floor areas | 20-30 minutes | $0-$15 | Shop vacuum, crevice nozzle |
| Wet sand with mud | 45-90 minutes | $10-$40 | Drying time, scraper, wet-dry vacuum |
| Deep sand under carpet | 1-3 hours | $80-$250 | Extractor or professional detailer |
The largest factor is not vacuum motor wattage. It is whether the sand is dry and whether the nozzle can maintain airflow close to the carpet without sealing completely against it.
Tools and Materials
Use the least aggressive tool that can loosen the grains.
- Wet-dry shop vacuum, preferably with a narrow crevice nozzle
- Medium-stiff nylon carpet brush
- Soft detailing brush for seams and seat rails
- Rubber window squeegee or rubber pet-hair tool
- Microfiber towels
- Plastic trim brush or dull plastic scraper
- Interior-safe carpet cleaner, only if stains or residue remain
- Nitrile gloves and eye protection when using compressed air
- A household fan if the carpet or padding is damp
Avoid wire brushes, metal scrapers, high-speed drills, and orbital sanders. Automotive carpet is often tufted or looped synthetic material, and aggressive tools can pull fibers, flatten the pile, or damage nearby plastic trim.
How to Get Sand Out of Car Carpet
Use a dry-first sequence: remove loose items, dry the carpet, agitate small sections, vacuum in two directions, and inspect seams before adding any liquid. The method works because brushing breaks the mechanical grip between angular grains and fibers without pushing sand into the foam backing.
Step 1: Remove Mats and Loose Debris
Take out every floor mat and shake it away from the vehicle. Tap rubber mats against a hard surface, then brush their grooves before returning them to the cabin.
Do not beat carpet mats against painted bodywork or use a metal object. Lay a fabric mat face down on a clean surface and pat its backing with your hand or a plastic handle. Sand often hides where the upper pile looks clean.
Inspect the footwell for coins, stones, food, and plastic fragments before vacuuming. Hard debris can block a narrow nozzle or scratch interior plastics when dragged across them.
You will know it worked when: the mat stops releasing visible grains after several firm shakes and brush passes.
Common mistake: vacuuming the mats inside the vehicle first. That redistributes loose sand onto the carpet and seats.
Step 2: Dry the Carpet Completely
Let damp sand dry before using a normal dry vacuum. Wet grains clump with mud, salt, or soap and can move deeper into the carpet backing when scrubbed.
Blot standing water with a microfiber towel. If the underlay feels damp, leave the doors open and run a fan across the footwell for several hours. Avoid using a household hair dryer on high heat because concentrated heat can warp plastic trim, soften adhesives, or create uneven drying.
For sand mixed with seawater, drying alone does not remove salt. Dry vacuuming removes the grains first; a later low-moisture rinse handles soluble residue.
You will know it worked when: the carpet no longer feels cool or damp and loose grains flow freely when you brush the pile.
Common mistake: applying carpet shampoo to wet sand. The liquid creates a paste that is harder to extract than dry sand.
Step 3: Loosen Embedded Grains by Hand
Brush a 12-by-12-inch section with a medium nylon carpet brush. Use short strokes in several directions, then immediately vacuum that section before moving on.
Brush around seat tracks, door sills, pedal edges, center-console sides, and the seam where the floor rises toward the firewall. These areas collect sand because shoes and moving seats push grains into tight channels.
For delicate, worn, or looped carpet, use a softer detailing brush and reduced pressure. Test an inconspicuous area first. A rubber squeegee can also pull surface sand from flat carpet without cutting or lifting fibers.
Controlled hand agitation is preferable to a massage gun or orbital sander. Those tools can transmit vibration to trim panels, wiring, seat sensors, and carpet adhesive, while offering no dependable way to control how much sand moves into the padding.
You will know it worked when: brushing produces a visible line of grains that the vacuum removes rather than merely spreading.
Common mistake: using a drill brush at full speed. Rapid bristles can fuzz automotive carpet and force grains sideways into seams.
Step 4: Vacuum in Overlapping Directions
Set the shop vacuum to dry pickup and use a crevice nozzle or stiff-bristle upholstery head. Hold the nozzle just above the carpet or touch it lightly, maintaining enough airflow to lift grains rather than sealing the nozzle flat against the pile.
Vacuum one footwell in a north-to-south pattern, overlapping each pass by about one-third of the nozzle width. Repeat east to west. Sand commonly sits against the lay of the carpet, so one direction alone leaves a surprising amount behind.
Move slowly, roughly 1-2 inches per second over visibly sandy patches. Empty the vacuum canister when it becomes half full if airflow drops, and check the filter because a clogged filter reduces suction.
| Vacuum approach | Typical pass speed | Best use | Main limitation |
|---|---|---|---|
| Crevice nozzle | 1-2 inches/second | Seams, rails, corners | Covers a narrow area |
| Upholstery head | 2-4 inches/second | Flat floor carpet | May miss deep channels |
| Car-wash vacuum | 1-3 inches/second | Budget cleanup | Variable suction and clogged hoses |
| Cordless stick vacuum | 1-2 inches/second | Small dry spills | Short runtime and weaker airflow |
You will know it worked when: a fresh brush pass produces little or no new sand, and the vacuum canister contains grains rather than only lint.
Common mistake: pressing the nozzle hard against the carpet. A sealed nozzle can flatten fibers and restrict the airflow needed to carry sand.
Step 5: Repeat Agitation and Vacuuming
Repeat the brush-and-vacuum cycle on stubborn areas rather than increasing force. Two or three controlled cycles usually outperform one aggressive scrub.
Use the rubber squeegee after the second cycle on broad, flat areas. Pull it toward the open door with light pressure, then vacuum the resulting line of sand. A sticky lint roller can collect final surface grains, but it is a finishing tool, not a substitute for extraction.
Inspect the vacuum contents and the carpet under direct light. Dark carpets hide pale beach sand, while light carpets can hide fine gray mineral dust. A phone flashlight held at a low angle makes remaining grains easier to see.
You will know it worked when: brushing in four directions no longer creates a visible sand trail.
Common mistake: moving to chemical cleaning before the dry extraction is complete. Cleaner can bind the remaining grit to fibers and create a crunchy finish.
Step 6: Clean Residue Only After Dry Removal
Use a small amount of interior-safe carpet cleaner only when the sand arrived with salt, mud, food, or another stain. Follow the product label, spray the towel or brush rather than flooding the carpet, and extract or blot the area immediately.
Fabric softener is a poor general-purpose sand remover. Although diluted softener may reduce static temporarily, its oils and conditioning agents can leave residue that attracts dust, makes carpet feel stiff, and complicates later professional cleaning.
For a light salt film, mist distilled water onto a microfiber towel, wipe the affected area, and vacuum with a wet-dry machine if the carpet becomes damp. Never saturate the carpet near seat wiring, occupancy sensors, airbag connectors, or electrical modules under the seats.
You will know it worked when: the carpet feels clean rather than slick or crunchy after it dries.
Common mistake: spraying a one-to-four fabric-softener mixture across the whole floor. It adds contamination without addressing sand trapped in the backing.
Step 7: Dry, Inspect, and Reset the Pile
Blot any remaining moisture and leave the doors open until the carpet and underlay are fully dry. A fan aimed across the floor speeds evaporation without concentrating heat on one spot.
Brush the pile in a consistent direction after drying. Check beneath the front seat, behind the pedals, along the door seal, and around the center-console edges. Replace the mats only after their undersides are clean.
You will know it worked when: the carpet has no damp odor, no crunchy residue, and no new grains appear after a final hand brush.
Common mistake: closing the vehicle immediately after wet cleaning. Trapped humidity can create odor and may encourage mold growth in padding.
Which Sand-Removal Method Is Best?
Dry brushing followed by shop-vacuum extraction is the best method for ordinary dry beach sand. A low-moisture cleaner belongs after extraction, while professional hot-water extraction is more appropriate for sand mixed with mud, salt, or embedded odor.
| Method | Typical cost | Typical time | Fiber risk | Best application |
|---|---|---|---|---|
| Hand nylon brush plus vacuum | $0-$30 | 20-45 minutes | Low | Dry sand in floor carpet |
| Rubber squeegee plus vacuum | $5-$20 | 15-30 minutes | Very low | Flat, dense carpet surfaces |
| Drill brush at low speed | $10-$25 | 10-25 minutes | Medium | Durable carpet after testing |
| Compressed air plus vacuum | $0-$60 | 10-20 minutes | Medium | Seams and inaccessible channels |
| Hot-water extractor | $80-$250 rental | 1-3 hours | Low if extracted well | Mud, salt, and stained carpet |
A drill brush can save time on durable carpet, but use the lowest practical speed, keep the brush moving, and stop if fibers begin to fuzz. Compressed air is effective only when a vacuum captures the displaced sand; otherwise, it sends grit into seats, vents, and door pockets.
Can You Use a Carpet Cleaner or Steam?
You can use a carpet cleaner after dry sand removal, but steam or shampoo should not be the first step. Water changes free grains into a heavy slurry, and an extractor may pull some of that slurry into the foam before recovering it.
Professional detailers can manage the risk with an upholstery extractor, controlled solution volume, and repeated dry passes. Home users should avoid saturating the floor, especially near electrical connectors and under-seat modules.
A practical rule is simple: remove loose mineral material dry, then clean the remaining stain or salt with the least moisture that produces the required result.
What If Sand Is Deep Under the Carpet?
Sand that returns after three or four careful cycles may be inside the carpet backing, underlay, or seat-rail channels. At that point, surface vacuuming has reached its limit.
Slide the seats backward and forward only if the vehicle manufacturer’s seat-track instructions allow it, and never disconnect electrical connectors with the battery connected. If sand is concentrated under a seat, professional removal may require seat removal, carpet lifting, or extraction equipment.
Do not insert a household vacuum nozzle under sealed carpet edges or pull on fixed trim. Modern vehicles can contain side-airbag wiring, occupancy sensors, amplifier cables, and restraint-system connectors below the carpet.
| Symptom | Likely location | Safe next action | Escalation point |
|---|---|---|---|
| Sand appears after one brush pass | Carpet pile | Brush and vacuum again | None |
| Sand returns after several days | Backing or underlay | Inspect under mats and seats | Professional extraction |
| Crunchy texture | Cleaner, salt, or dried mud | Low-moisture rinse and extraction | Detailer if widespread |
| Musty smell | Damp foam or underlay | Dry with airflow, inspect leaks | Leak diagnosis |
| Sand around seat wiring | Under-seat cavity | Avoid pulling trim or connectors | Qualified technician |
How Do You Remove Wet Sand and Dried Mud?
Let loose wet sand dry when practical, then remove the brittle material with a dull plastic scraper and vacuum. If a mud crust is attached to the fibers, lift the edges gently instead of grinding it into the pile.
For saltwater contamination, dry extraction removes the abrasive grains but not dissolved salt. Afterward, use a small amount of distilled water and an extractor or absorbent towels to lift the salt, then dry the area thoroughly.
Mud mixed with organic material may need an interior-safe enzyme product, but enzyme cleaner does not replace physical sand removal. Apply only after testing for colorfastness and reading the product’s surface restrictions.
No-Vacuum Alternatives
Without a vacuum, brush sand toward the open door, use a rubber squeegee on flat carpet, and collect the loosened grains with a dustpan or stiff card. A lint roller can pick up final surface particles.
The result will be less complete because fine grains remain in seams and beneath the pile. A self-service car wash vacuum is usually a better low-cost option, but keep the vehicle’s windows and electronics protected from high-pressure air and water.
Common Mistakes and How to Fix Them
Vacuuming Before Drying
Wet sand clumps and spreads. Allow the area to dry, then break the clumps with a nylon brush before vacuuming.
Using a Weak or Clogged Vacuum
A small cordless vacuum may remove visible grains but leave sand at the fiber base. Clean its filter, use a shorter hose, or switch to a shop vacuum with a narrow nozzle.
Sealing the Nozzle Against the Carpet
A tight seal can reduce useful airflow and flatten the pile. Hold the nozzle lightly above the fibers and move slowly.
Scrubbing With Wire or Stiff Metal Bristles
Metal bristles can cut loops and create permanent fuzzy patches. Replace them with a medium nylon carpet brush.
Saturating the Floor
Excess liquid can carry sand into foam and extend drying time. Blot, extract, and ventilate instead of repeatedly spraying.
Ignoring the Sand Source
A clean carpet will become sandy again if wet towels, beach chairs, shoes, or shell bags are placed on the seats. Clean the equipment that enters the cabin.
How Much Does Sand Removal Cost?
DIY removal usually costs $0-$30 when a household brush and existing vacuum are available. A shop vacuum rental, interior cleaner, and replacement filter commonly bring the total to $15-$40, while professional interior detailing typically costs $80-$250 depending on vehicle size and contamination.
| Service or setup | Typical price | Typical duration | Suitable vehicle condition |
|---|---|---|---|
| Existing household tools | $0-$10 | 30-60 minutes | Light, dry sand |
| Shop-vac rental | $15-$40 | 20-45 minutes | Moderate dry sand |
| Extractor rental | $80-$150 | 1-3 hours | Mud or salt contamination |
| Professional detail | $120-$250 | 2-5 hours | Deep or widespread contamination |
Prices vary by region, vehicle size, and whether seats must be removed. Ask the detailer whether the quoted service includes under-seat cleaning, mat washing, extraction, and drying, because “interior cleaning” can mean different scopes.
How Can You Prevent Sand From Returning?
Preventing sand is easier than extracting it from carpet backing. Keep a separate towel for drying feet, transport beach gear in sealed bins, and use floor mats with raised edges that can be removed and shaken outside.
A useful post-beach routine takes five minutes:
- Brush sand from shoes before opening the vehicle.
- Place wet towels and toys in a plastic tote or waterproof bag.
- Shake mats outside before driving home.
- Vacuum the footwells on the same day.
- Wipe salt residue before it dries around the door sills.
High-wall rubber mats contain far more loose material than flat carpet mats, especially in vehicles used near beaches. They do not eliminate sand, but they move cleanup from fixed carpet to a removable surface.
Frequently Asked Questions
Will a regular household vacuum remove beach sand from car carpet?
A household vacuum can remove light, dry sand from the surface, but a shop vacuum usually performs better in dense automotive carpet. Use a crevice nozzle, clean the filter, and move slowly. If sand remains after two-direction passes, rent a shop vacuum rather than adding water or aggressive brushing.
Should I shake or beat carpet floor mats?
Shake carpet mats outside and pat them with a plastic handle or your hand. Avoid metal tools and avoid striking mats against painted panels, because hard impacts can damage the mat backing or nearby bodywork. Vacuum the mat only after loose grains have fallen away.
Can sand damage a car’s carpet?
Sand can accelerate carpet wear because grains act as abrasive particles under shoes and seat movement. The risk is highest in the driver’s footwell, where repeated pressure grinds grit into the pile. Regular dry vacuuming and removable rubber mats reduce that abrasion.
Why is sand still coming out after I vacuum?
Remaining sand is usually trapped in seams, under the pile, beneath seat rails, or in the carpet backing. Brush a small section in multiple directions and vacuum immediately. If grains return after several complete cycles, the carpet may need professional extraction or partial removal for access.
Is compressed air safe for removing car carpet sand?
Compressed air is useful for seams and narrow channels only when a vacuum captures the displaced grains. Wear eye protection, keep pressure moderate, and avoid blowing toward vents, speakers, seat connectors, or dashboard openings. Uncaptured air can spread sand through the cabin instead of removing it.
How long should car carpet dry after cleaning?
Lightly damp carpet often dries within 2-6 hours with doors open and a fan moving air across it. Saturated padding may require 12-24 hours or longer. Do not close the vehicle until the carpet and underlay feel dry and no musty odor develops.
The Bottom Line
The reliable answer to how to get sand out of car carpet is dry agitation followed by slow, overlapping vacuum passes. Remove mats first, dry wet contamination, use a nylon brush rather than an orbital sander or wire brush, and reserve cleaner for salt or stains after the sand is gone. If grit keeps returning from beneath the carpet, stop adding moisture and use professional extraction or qualified trim removal.