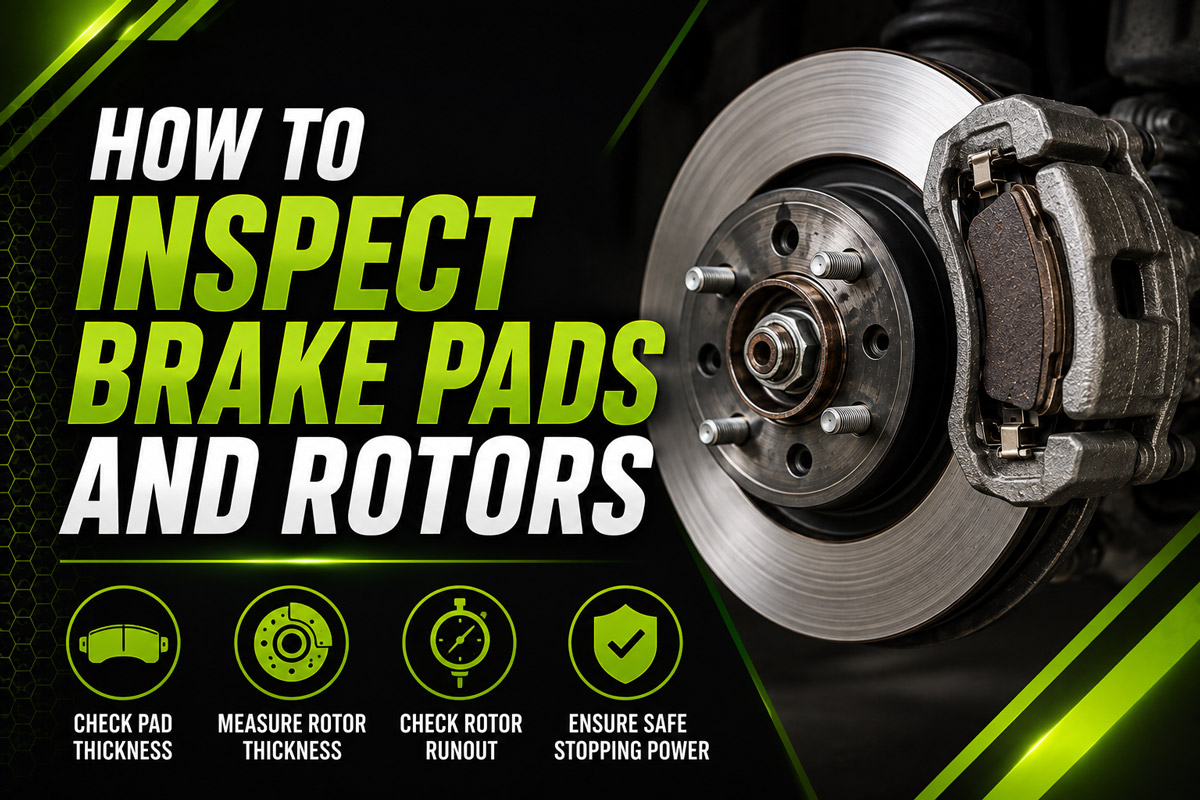
Learning how to inspect brake pads and rotors guarantees your vehicle stops safely while preventing costly metal-on-metal damage. This 7-step process takes under two hours per axle, requiring only basic lifting tools and precision gauges. The single biggest factor for success is physically measuring both the inner and outer pads, as uneven wear hides dangerous failures.
Before You Start
- Time Required: 1 to 2 hours per axle.
- Difficulty: Intermediate.
- Cost: $0 if inspecting visually; $40–$100 to purchase precision measuring tools.
- Tools Needed: Hydraulic floor jack, 2 jack stands (rated for vehicle weight), 2 wheel chocks, breaker bar with lug socket (usually 19mm, 21mm, or 7/8″), torque wrench (capable of 150 lb-ft), brake caliper hanger (or heavy zip tie), digital caliper or brake pad gauge, pointed rotor micrometer, dial indicator with magnetic base, brake cleaner, wire brush.
- Safety Gear: Safety glasses, N95 dust mask (brake dust contains harmful particulates).
- Prerequisites: Park on a completely flat, solid concrete surface. Never lift a vehicle on dirt or asphalt on a hot day.
Phase 1: Safe Vehicle Preparation
Step 1: Secure and Lift the Vehicle
Park on a level surface, engage the parking brake, and place wheel chocks firmly behind the tires on the opposite axle. While the tires are still on the ground, use a breaker bar to loosen the lug nuts on your target wheels by exactly one quarter-turn. Lift the vehicle using the factory-designated pinch welds or frame jack points, slide your jack stands under the frame, and slowly lower the vehicle’s weight onto the stands.
You’ll know it worked when you can firmly push on the vehicle’s fender and the car remains completely solid on the stands without shifting.
Common mistake: Skipping the quarter-turn loosening while on the ground. Once the tire is in the air, spinning the lug nuts with a hand wrench will just spin the wheel, forcing you to lower the car again.
Step 2: Remove the Wheel and Secure the Rotor
Fully unthread the loosened lug nuts, pull the wheel off the hub, and immediately thread two lug nuts back onto the exposed wheel studs, tightening them by hand against the rotor face.
You’ll know it worked when the brake rotor sits completely flush and tight against the wheel hub and cannot wobble.
Common mistake: Leaving the rotor loose. If you don’t secure the rotor with lug nuts, it will flop forward, creating a false gap between the rotor and the brake pads that makes accurate visual inspection impossible.
Phase 2: Pad and Hardware Inspection
Step 3: Inspect Calipers, Hoses, and Hardware
Shine a flashlight into the wheel well and inspect the rubber brake hoses, bleeder valves, and piston seals for any signs of dark, wet fluid leaks. Check the corrugated rubber boots on the caliper slide pins for cracks or tears.
You’ll know it worked when you have visually verified that all rubber components are dry, pliable, and fully sealed against the environment.
Common mistake: Letting the brake caliper hang by the rubber brake hose if you decide to unbolt it. The hose’s internal webbing will tear, leading to an eventual blowout. Always support it with a metal hanger or zip tie.
Step 4: Measure Inner and Outer Pad Thickness
Look through the gap in the top of the caliper (the inspection window) and use a digital caliper or manual brake pad gauge to measure the thickness of the friction material on both the inner and outer pads. Measure only the softer friction compound, explicitly excluding the hard steel backing plate. New pads measure 10–12 mm; plan to replace them at 4–5 mm, and consider them a critical safety hazard at 2 mm.
You’ll know it worked when the gauge sits completely flat against the rotor face and the outer edge of the friction material.
Common mistake: Measuring only the outer pad. Due to sticking slide pins, the inner pad (which is pushed directly by the piston) frequently wears down twice as fast as the outer pad. If the inspection window is blocked by a shim, you must unbolt the lower caliper slide pin and pivot the caliper upward to see the inner pad.
Phase 3: Rotor Measurement
Step 5: Measure Rotor Thickness
Use a pointed rotor micrometer to measure the thickness of the rotor disc at four different points (12, 3, 6, and 9 o’clock), positioning the anvils exactly 10mm inward from the outer rim. Compare your lowest reading against the “Min Thk” (Minimum Thickness) specification, which is permanently stamped or cast into the central hub (the “hat”) of the rotor.
You’ll know it worked when the micrometer anvil sits flush against the smooth, shiny friction surface of the rotor, and your measurements at all four points are within 0.05 mm of each other.
Common mistake: Using a standard, flat digital caliper. Rotors develop a thick ridge of rust on their outer edge as they wear. A flat caliper will hit this rust lip and give a falsely thick reading. You must use a pointed micrometer that reaches past the lip, or insert a spacer (like a coin or nut), measure the total, and subtract the spacer’s width.
Step 6: Test Lateral Runout With a Dial Gauge
Scrub the rotor face briefly with a wire brush to remove loose rust, then mount a magnetic-base dial indicator to a stationary suspension component (like the steering knuckle or strut). Position the indicator tip completely perpendicular against the center of the rotor’s friction face, zero the dial, and slowly rotate the rotor 360 degrees by hand. Maximum allowable runout is generally 0.05 mm (0.002 inches).
You’ll know it worked when the dial needle sweeps smoothly as the rotor turns, returning exactly to zero when you complete the full rotation.
Common mistake: Assuming a high runout reading means a permanently warped rotor. Often, rust scale builds up between the back of the rotor and the wheel hub. If runout is high, remove the rotor, wire-brush the hub face until shiny metal shows, reinstall, and test again.
Phase 4: Final Assembly
Step 7: Reassemble and Torque the Lug Nuts
Remove the two lug nuts holding the rotor, remount the wheel, and thread all lug nuts on by hand. Lower the hydraulic jack just enough so the tires touch the ground and hold the wheel still, then use a torque wrench to tighten the lug nuts in a crisscross “star” pattern to your factory spec (usually 80–100 lb-ft for cars, 120–150 lb-ft for trucks/SUVs).
You’ll know it worked when the torque wrench “clicks” once at the specified weight on every single lug nut without feeling spongy.
Common mistake: Using an impact wrench to tighten the wheels. This unevenly stresses the brake rotor and is a primary cause of induced lateral runout (warping) the next time the brakes get hot. Always use a calibrated torque wrench.
Common Mistakes and How to Fix Them
| Symptom Found During Inspection | Root Cause | Required Correction |
| Uneven Pad Wear (Inner vs. Outer) | Seized or dry caliper slide pins failing to float. | Remove slide pins, polish with a wire wheel, and regrease with high-temp silicone ceramic brake lubricant. |
| Tapered Pad Wear (Top vs. Bottom) | Sticking caliper piston or deeply grooved caliper bracket hardware. | Replace the stainless steel abutment clips; if the piston is sticking, replace or rebuild the caliper. |
| Deep Grooves in Rotor Face | Debris caught in the pad, or pads worn completely down to the metal backing plate. | Replace both rotors and brake pads on that axle simultaneously. Rotors with deep grooves cannot be safely machined. |
| Low Brake Fluid (No Leaks Found) | As pads wear thin, caliper pistons extend further, drawing fluid down from the reservoir. | Do not simply top off the fluid. Pushing the pistons back in during a pad replacement will return the fluid to the “MAX” line. |
Variations in the Process
Visual and Tactile Inspection (No Micrometers)
If you do not own a dial indicator or micrometer, you can perform a basic triage inspection. Run your fingernail vertically across the rotor face. If your nail catches on deep grooves (like a vinyl record), the rotor is severely scored and needs replacement. For runout, the tactile symptom is a distinct pulsation in the brake pedal or a steering wheel shimmy specifically when applying the brakes at highway speeds.
Inspecting Rear Drum Brakes
If your vehicle has rear drum brakes instead of discs, the process changes entirely. You must remove the wheel, then pull the metal drum off the hub assembly. Instead of flat pads, you are looking at curved “brake shoes.” Measure the thickness of the riveted or bonded friction material on the shoes (minimum safe thickness is generally 1.5 mm). You must also peel back the rubber dust boots on the wheel cylinder to check for leaking brake fluid.
How Long Does It Take and What Does It Cost?
A visual and measured inspection takes roughly 10 to 15 minutes per wheel once you are familiar with the process, making it a 1-to-2-hour job for the whole vehicle including setup and teardown time.
Financially, doing this yourself costs nothing if you already own basic tools. If you need to purchase a brake pad thickness gauge set ($10), a rotor micrometer ($30), and a dial indicator with a magnetic base ($35), your upfront cost is around $75. Considering dealerships routinely charge $120–$150 just for a diagnostic brake inspection, acquiring the tools pays for itself on the first use.
Frequently Asked Questions
Do I need to bleed the brakes after an inspection?
No. Unless you open a bleeder valve, detach a brake hose, or find a leak that introduced air into the system, a standard inspection does not depressurize the hydraulic system.
Why do my brakes squeak if the pads are still thick?
Squeaking on thick pads is usually caused by high-frequency vibration between the metal back of the pad and the caliper piston. Applying a thin layer of brake grease to the metal contact points (never the friction side) resolves this.
Should I inspect hot or cold brakes?
Always inspect cold brakes. Brake rotors can reach temperatures exceeding 400°F (200°C) during normal driving. Let the vehicle sit for at least two hours after driving before attempting an inspection.
Can I just replace the pads and leave the old rotors?
“Pad slapping” is only acceptable if the old rotors are perfectly smooth, measure well above the minimum thickness, and show zero signs of lateral runout. If the rotors are glazed or grooved, they will rapidly destroy your new pads.