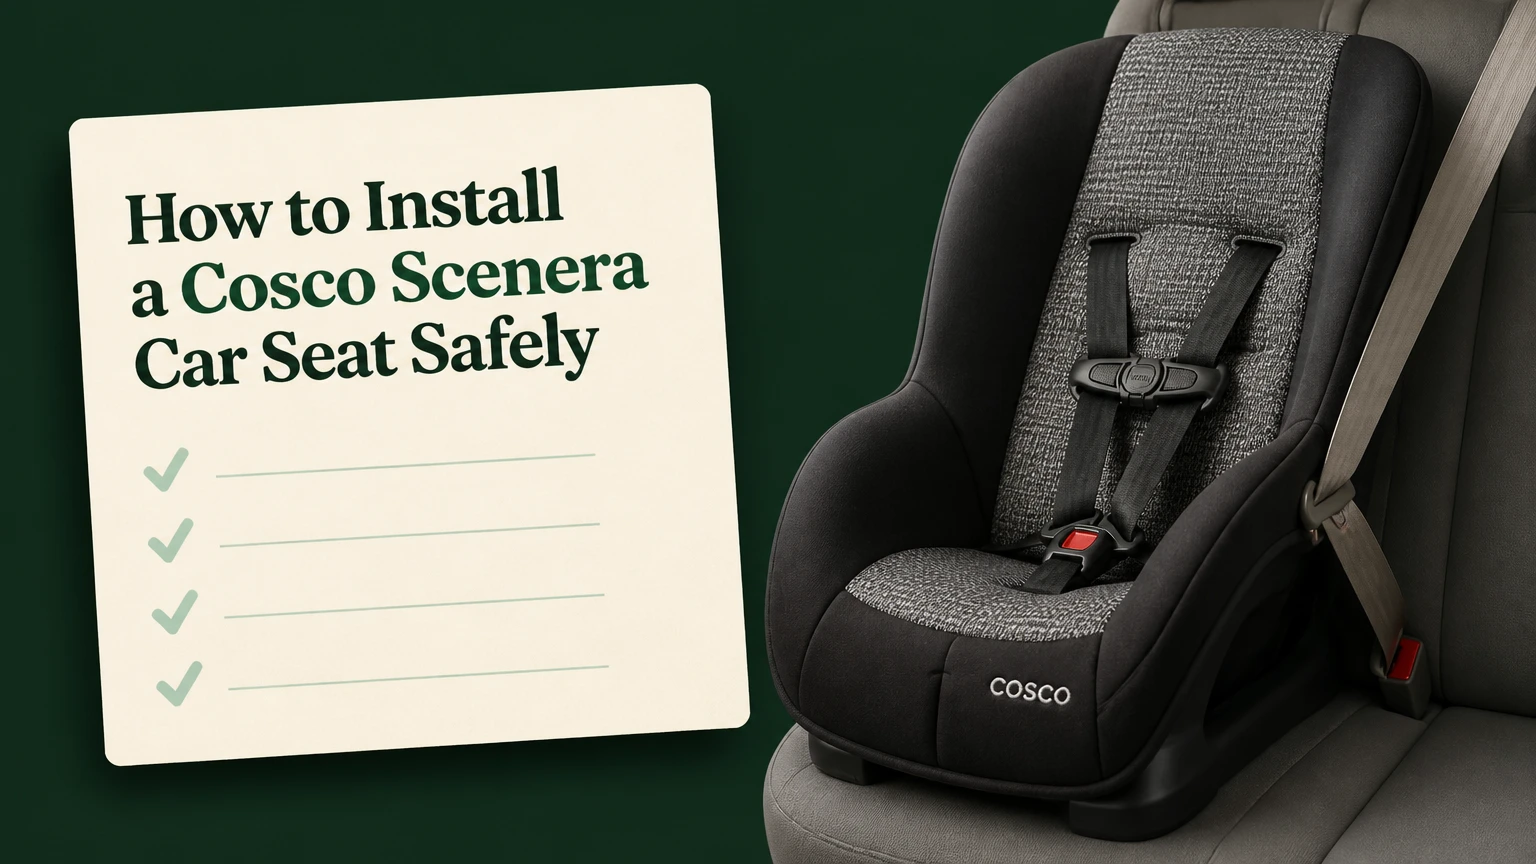
To install a Cosco Scenera car seat, choose the correct rear-facing or forward-facing belt path, secure the seat with either LATCH or the vehicle belt, set the approved angle, and confirm less than 1 inch of movement at the belt path. Finish by adjusting the harness to the child, connecting the forward-facing top tether, and checking both manuals.
Safety note: The exact model label and printed Cosco manual control. Cosco has sold Scenera NEXT, Scenera Extend, and other seats with different limits and hardware. Do not rely on a generic video when the manual or vehicle instructions differ.
Key Facts at a Glance
- The Cosco Scenera NEXT is generally used rear-facing from 7-40 pounds and 19-40 inches, subject to the seat label and manual.
- Common Scenera NEXT forward-facing limits are 22-40 pounds and 29-43 inches, with a minimum age requirement stated by Cosco.
- A correct installation allows no more than 1 inch of movement when measured at the seat’s belt path.
- Use either the lower anchors or the vehicle seat belt for the car-seat installation, not both together, unless the manufacturer specifically permits combined use.
- A forward-facing Cosco Scenera installation uses the vehicle’s top-tether anchor in addition to the lower anchors or seat belt.
- The harness chest clip belongs at armpit level, and harness webbing should pass the pinch test at the child’s collarbone.
What Kind of Seat Is the Cosco Scenera?
The Cosco Scenera is a lightweight convertible child restraint that can face the rear for infants and toddlers, then face forward for older toddlers who meet the forward-facing requirements. The plastic shell, energy-absorbing material, five-point harness, lower-anchor strap, and top tether work together to manage crash forces.
The Scenera NEXT is often chosen for travel because the seat weighs about 7 pounds and measures approximately 17 inches wide. Those figures make it easier to carry through an airport and more likely to fit beside two other restraints, although three-across compatibility depends on the vehicle’s seat shape and neighboring seats.
Verify the model before installing
Look for the model name, manufacture date, serial number, and certification labels on the seat. A Scenera NEXT should not be assumed to have identical instructions to a Scenera Extend, Apt 50, or another Cosco model.
The commonly published Scenera NEXT limits are shown below. Treat these as a quick reference, not a substitute for the label attached to your seat.
| Configuration | Typical minimum | Typical maximum | Additional requirement |
|---|---|---|---|
| Rear-facing | 7 lb, 19 in | 40 lb, 40 in | Child’s head must remain within the shell limits |
| Forward-facing | 22 lb, 29 in | 40 lb, 43 in | Minimum age and harness requirements apply |
| Seat weight | 7 lb | 7 lb | Approximate; check the product label |
| Seat width | 17 in | 17 in | Vehicle-specific three-across fit still requires testing |
| Expiration | Manufacture date | 8 years for many NEXT versions | Confirm the date and period in the manual |
Which Installation Method Should You Use?
Use the method that produces a correct, tight installation in the selected seating position and is allowed by both manuals. LATCH can be convenient in some vehicles, while a seat belt may be the better choice when the child exceeds the lower-anchor weight limit, the center position lacks compatible anchors, or the belt gives a more stable fit.
| Method | Hardware required | Best use case | Main limitation |
|---|---|---|---|
| Lower anchors | Vehicle lower anchors and Cosco LATCH strap | Outboard seat with accessible anchors | Anchor weight limits and spacing vary |
| Lap belt | Compatible vehicle lap belt | Older vehicles or center seating | Belt must lock or use an approved locking method |
| Lap-shoulder belt | Vehicle belt with locking retractor or approved clip | Most modern seating positions | Shoulder-belt tension can tilt a lightweight seat |
| Forward-facing tether | Vehicle tether anchor | Every forward-facing installation when required | Tether anchor is not the same as a cargo hook |
Never attach lower-anchor hooks to a vehicle feature that merely looks similar. The owner’s manual identifies approved lower anchors and tether anchors, including whether the center position may use them.
Do not combine LATCH and the seat belt casually
The standard rule is one primary attachment method: either the lower anchors or the vehicle belt. The top tether is added for forward-facing use. Combining systems can change crash performance and is allowed only when the specific Cosco instructions permit it.
Before You Start
A first installation typically takes 20-30 minutes, including manual reading and locating vehicle anchors. Reinstallation may take 5-10 minutes after you understand the belt paths, but rushing a child-restraint installation creates avoidable errors.
Before-start checklist
Time: 20-30 minutes for the first attempt.
Difficulty: Moderate, mainly because belt paths and locking systems differ by vehicle.
Tools: Cosco manual, vehicle owner’s manual, phone flashlight, and a tightly rolled towel only if the manual permits recline adjustment.
Prerequisites: Correct seat model, no active recall, usable expiration date, compatible seating position, and a child within the stated limits.
Location: Park on level ground with the vehicle stationary and doors open.
Do not use: Aftermarket inserts, covers, harness pads, or accessories not supplied or approved by Cosco.
Remove bulky coats before buckling the child. A coat can compress during a collision and leave the harness too loose even when it initially appears tight.
How to Install a Cosco Scenera Rear-Facing
A rear-facing Cosco Scenera installation requires the rear-facing belt path, the molded level line parallel to the ground, and less than 1 inch of movement at the belt path. Choose either the lower anchors or the vehicle belt, then tighten the attachment while pressing the seat down at the correct location.
Rear-facing use protects the child’s head, neck, and spine by allowing the shell to support the body during a frontal crash. The American Academy of Pediatrics recommends children ride rear-facing as long as possible within the seat’s height and weight limits.
Step 1: Prepare the rear-facing configuration
Place the Cosco Scenera rear-facing on the vehicle seat. Remove twists from the lower-anchor strap or vehicle belt, and route the strap through the rear-facing belt path under the seating pad, near the child’s feet.
Confirm that the harness is configured for a rear-facing child and that the harness slots will be at or below the child’s shoulders. Do not install the seat before checking whether the front vehicle seat will interfere with the shell.
You’ll know it worked when: The attachment strap lies flat through the marked rear-facing path, with no webbing trapped under the shell.
Common mistake: Routing the LATCH strap through the forward-facing path because it is easier to see. Recheck the labels and manual illustrations.
Step 2: Set the rear-facing angle
Adjust the seat until the molded level line on the shell is parallel to the ground. A newborn generally needs the most reclined angle allowed by the manual, while an older toddler may tolerate a more upright approved position.
If the seat does not reach the correct line, use only the tightly rolled towel or approved pool noodle method described in the Cosco instructions. Place the adjustment material under the specified portion of the base, never behind the child’s back or beneath the seat pad.
You’ll know it worked when: The level line remains parallel to the ground after tightening and the seat does not rest on an unapproved accessory.
Common mistake: Setting the angle by eye from the vehicle seat cushion. The molded line, not the cushion’s slope, is the reference.
Step 3: Attach and tighten the lower anchors
Expose the vehicle lower anchors and clip on the Cosco connectors with the hooks oriented as shown in the manual. Press down firmly inside the seating area while pulling the LATCH tail through the belt path to remove slack.
Pull from inside the shell rather than from an awkward angle outside the seat. This technique usually gives better leverage on a lightweight convertible seat and reduces the chance of leaving slack in the strap.
You’ll know it worked when: The strap is tight, the connectors are fully engaged, and the seat remains at the correct angle.
Common mistake: Pulling only the visible strap tail without compressing the vehicle cushion. Slack can remain beneath the seat.
Step 4: Install with the vehicle belt instead, if selected
Route the lap portion of the vehicle belt through the rear-facing belt path and buckle it. If the vehicle belt has a switchable retractor, pull the shoulder belt slowly all the way out, then allow it to retract while listening for the locking mode.
Some belts lock at the latch plate rather than at the retractor. The vehicle manual explains the mechanism. If the belt cannot lock tightly and the Cosco manual permits a locking clip, install the clip exactly as directed; do not improvise with a metal clip from another restraint.
You’ll know it worked when: The lap portion stays tight after the shoulder belt retracts and the buckle does not press into the child restraint’s belt path.
Common mistake: Pulling the shoulder belt upward without first locking the system. The belt can loosen as soon as pressure is removed.
Step 5: Perform the movement test
Grip the Cosco Scenera at the belt path, not at the top of the shell, and move it front to back and side to side. Movement of 1 inch or less is the usual installation threshold measured at that path.
A seat can feel loose at the headrest while still being correctly secured at the belt path. Conversely, a seat that feels firm at the top can fail the test where the attachment actually holds it.
You’ll know it worked when: The seat moves no more than 1 inch in any direction at the rear-facing belt path.
Common mistake: Testing by pulling on the harness or shell top. Repeat the test at the exact belt-path location.
How Do You Install the Cosco Scenera Forward-Facing?
A forward-facing Cosco Scenera uses the forward-facing belt path, a correctly adjusted five-point harness, and the vehicle’s top-tether anchor. Secure the seat with either LATCH or the vehicle belt, tighten the base first, then tighten the tether without over-tightening it.
Forward-facing should begin only when the child meets every applicable age, weight, height, and developmental requirement. Rear-facing remains the safer orientation for as long as the child fits within the rear-facing limits.
Step 1: Confirm the child and seat are ready
Check the seat label and manual before turning it forward. Common Scenera NEXT limits are 22-40 pounds and 29-43 inches, but the exact minimum age and other conditions must come from the particular manual.
Move the LATCH strap into the forward-facing belt path behind the child’s back area. Set the seat flat against the vehicle seat back unless the manufacturer specifies another position.
You’ll know it worked when: The child meets all forward-facing requirements and the strap passes through the marked forward-facing route.
Common mistake: Turning a child forward because the legs look bent. Bent legs are not a reason to end rear-facing use.
Step 2: Connect the top tether
Locate the vehicle’s designated tether anchor using the vehicle manual. Hook the Cosco top tether to that anchor, not to a cargo tie-down, headrest post, luggage hook, or another unapproved fitting.
Leave the tether slightly loose while securing the seat base. After the lower anchors or belt are tight, remove slack from the tether according to the Cosco instructions.
You’ll know it worked when: The hook is attached to the correct anchor and the tether webbing is untwisted.
Common mistake: Attaching the tether to a nearby ring that is not rated for child restraints.
Step 3: Secure the seat with LATCH or the belt
For LATCH, clip both connectors to the lower anchors and press down in the center of the seat while pulling the strap tight. For a seat-belt installation, route the belt through the forward-facing path, buckle it, activate the vehicle locking mode when available, and remove slack from the lap portion.
Do not use lower anchors beyond the weight limit specified by Cosco and the vehicle manufacturer. Once the child’s weight reaches that limit, change to the vehicle belt even if the seat still fits the child.
You’ll know it worked when: The base stays against the vehicle seat back and the attachment remains tight after pressure is removed.
Common mistake: Tightening the top tether first. That can lift or rotate the seat before the base is secured.
Step 4: Tighten the tether and test movement
Pull the tether adjustment strap until slack is removed, but do not use it to force the seat into an unnatural angle. Grip the restraint at the forward-facing belt path and repeat the 1-inch movement test.
The top tether limits forward movement of the child restraint in a crash. The Insurance Institute for Highway Safety identifies tether use as an important part of forward-facing restraint installation, and many vehicles provide tether anchors even when lower anchors are absent.
You’ll know it worked when: The base moves no more than 1 inch at the belt path and the tether is attached, straight, and snug.
Common mistake: Measuring movement at the top of the seat instead of at the belt path.
How Should the Child Be Buckled?
The Cosco Scenera harness should lie flat against the child, with rear-facing harness slots at or below the shoulders and forward-facing slots at or above the shoulders. The chest clip must sit at armpit level, while the harness passes the pinch test at the collarbone.
Place the child’s back and bottom flat against the seat. Buckle the crotch buckle, connect the chest clip, and pull the harness adjuster until you cannot pinch a fold of webbing between thumb and forefinger near the collarbone.
| Checkpoint | Rear-facing position | Forward-facing position |
|---|---|---|
| Harness slot | At or below shoulders | At or above shoulders |
| Chest clip | Armpit level | Armpit level |
| Harness tension | No pinchable slack | No pinchable slack |
| Clothing | Thin layers | Thin layers |
| Child fit | Within label limits | Within label limits |
The harness should not be twisted, folded, or routed over bulky clothing. The chest clip positions the shoulder straps; it is not a substitute for a tight harness.
What If the Seat Tips, Slides, or Will Not Tighten?
A Cosco Scenera that tips or moves usually has an attachment problem, an unsuitable seating position, or a belt-locking issue. Recheck the belt path, remove slack from inside the shell, verify the vehicle’s locking method, and repeat the movement test before changing accessories.
| Problem | Likely cause | Corrective action |
|---|---|---|
| Rear-facing seat tips toward one side | Shoulder belt pulls upward | Try lower anchors if permitted, or use the approved belt-locking method |
| Seat moves more than 1 inch | Slack under the shell | Press at the belt path and tighten the strap or lap belt |
| LATCH will not tighten | Strap pulled from poor angle | Pull the strap tail through the open belt path |
| Level line changes after tightening | Base shifts during compression | Reset the angle, stabilize the shell, and retighten |
| Buckle contacts the belt path | Buckle stalk is too long | Use another permitted seating position |
| Forward-facing seat leans forward | Tether or belt tightened incorrectly | Secure the base first, then adjust the tether |
A tightly rolled towel or approved noodle can correct rear-facing recline only when Cosco permits it for that model. Do not add foam, padding, or a locking clip without checking the manual.
When should you stop and get hands-on help?
Stop using the installation if the belt path is unclear, the seat cannot pass the movement test, the vehicle anchor location is uncertain, or the child restraint has missing or damaged parts. A certified Child Passenger Safety Technician can inspect the installation through a local inspection station or community safety event.
NHTSA’s widely used rule is: “The best car seat is the one that fits your child, fits your vehicle, and is used correctly every time.” That principle matters more than choosing LATCH because it sounds newer or choosing the center seat automatically.
Can You Use the Cosco Scenera on an Airplane?
The Cosco Scenera NEXT is commonly certified for aircraft use, but the red aircraft-certification label on the seat and the current manual should confirm the specific model. Install the restraint rear-facing or forward-facing according to the child’s permitted orientation and the aircraft seat’s instructions.
Aircraft seats usually have a lap belt without a shoulder belt. Route that belt through the approved aircraft belt path, buckle it, and tighten it while pressing the restraint into the airplane seat. Do not use the aircraft’s lower anchors or top tether unless the airline and restraint instructions explicitly provide for them.
The seat’s approximately 7-pound weight is a practical travel advantage. Measure the seat width against the airline’s seat dimensions when possible, because an approximately 17-inch restraint may not fit every aircraft seat beside fixed armrests.
What About Taxis, Rideshares, and Three-Across Seating?
For taxis and rideshares, practice a seat-belt installation before travel because the Cosco Scenera may not have a built-in lock-off. In a three-across arrangement, test all restraints together, buckle each neighboring seat, and confirm that each seat independently passes its movement test.
A center position is not automatically safer if the restraint cannot be installed tightly there. Outboard positions with accessible lower anchors can produce a better installation than a poorly fitting center position.
For a newborn, prioritize the approved recline angle and harness fit over passenger legroom. For an older, taller child, check the 40-pound or 40-43-inch limit carefully because a lightweight seat may be outgrown sooner than a larger convertible model.
How Much Time and Money Does Installation Require?
A first Cosco Scenera installation typically requires 20-30 minutes and no purchased tools. A repeat installation commonly takes 5-10 minutes, while a professional child-seat check is often free through public safety programs, hospitals, fire departments, or local inspection events.
| Item | Typical amount | What changes the figure |
|---|---|---|
| First installation | 20-30 minutes | Manual reading and anchor discovery |
| Repeat installation | 5-10 minutes | Familiarity and seating position |
| Cosco Scenera NEXT weight | About 7 lb | Model and accessories |
| Cosco Scenera NEXT width | About 17 in | Version and measurement point |
| Approved recline aid | 1 tightly rolled towel or noodle | Only if the manual permits |
| Professional inspection | $0-$50 typical | Program, location, and appointment |
The seat’s low purchase price does not reduce the importance of installation quality. A lower-cost restraint used correctly is preferable to a more expensive restraint installed incorrectly.
Final Installation Checklist
Complete every item before driving with the child:
- The exact Cosco model and expiration date are confirmed.
- The child meets the orientation, height, weight, and age requirements.
- The correct rear-facing or forward-facing belt path is used.
- Only one primary attachment method is installed.
- The rear-facing level line is parallel to the ground.
- The forward-facing top tether is connected to the designated anchor.
- The seat moves no more than 1 inch at the belt path.
- The harness lies flat and cannot be pinched at the collarbone.
- The chest clip is at armpit level.
- The buckle is not trapped beneath the seat or pressed into the belt path.
- No unapproved insert, coat, pad, or accessory is beneath the harness.
- The vehicle and Cosco manuals agree with the completed installation.
Frequently Asked Questions
Can I install the Cosco Scenera in the middle seat?
Yes, if the vehicle and Cosco manuals allow that position and the restraint passes the movement test there. Many vehicles do not permit borrowing lower anchors for a center position, so a center installation may require the vehicle seat belt. Check buckle length and neighboring-seat clearance.
Does the Cosco Scenera need a base?
No. The Cosco Scenera convertible seat installs directly on the vehicle seat and does not use a detachable infant-seat base. Rear-facing and forward-facing configurations use the restraint’s designated belt paths and either the vehicle belt or lower anchors.
Can I use both LATCH and the seat belt together?
Usually, no. Use either the lower anchors or the vehicle seat belt as the primary installation method, then add the top tether for forward-facing use. Combined installation is acceptable only if the exact Cosco manual and vehicle instructions expressly permit it.
How do I know when my child has outgrown rear-facing use?
Your child has outgrown rear-facing use when the child exceeds any stated rear-facing weight or height limit, or reaches a shell or harness position limit described by Cosco. A child’s bent legs do not indicate outgrowth. Keep the child rear-facing until the applicable limits are reached.
Is a locking clip required for a seat-belt installation?
A locking clip is required only when the vehicle belt cannot be locked by its retractor or latch plate and the Cosco instructions approve that method. Many modern belts lock at the retractor, but the vehicle owner’s manual identifies the exact procedure.
How often should I check the installation?
Check the seat after every reinstallation, after cleaning or adjusting the harness, and whenever another caregiver uses the vehicle. A quick check should confirm the correct belt path, the 1-inch movement limit, the tether connection when forward-facing, and a snug child harness.
The Bottom Line
To install a Cosco Scenera car seat correctly, identify the exact model, select the appropriate rear-facing or forward-facing configuration, use either LATCH or the vehicle belt, set the required angle, and test movement at the belt path. Rear-facing use should continue as long as the child remains within the seat’s limits, and forward-facing use requires the top tether. If the seat cannot pass the 1-inch test or the instructions conflict, stop and obtain a certified child-seat inspection before driving.