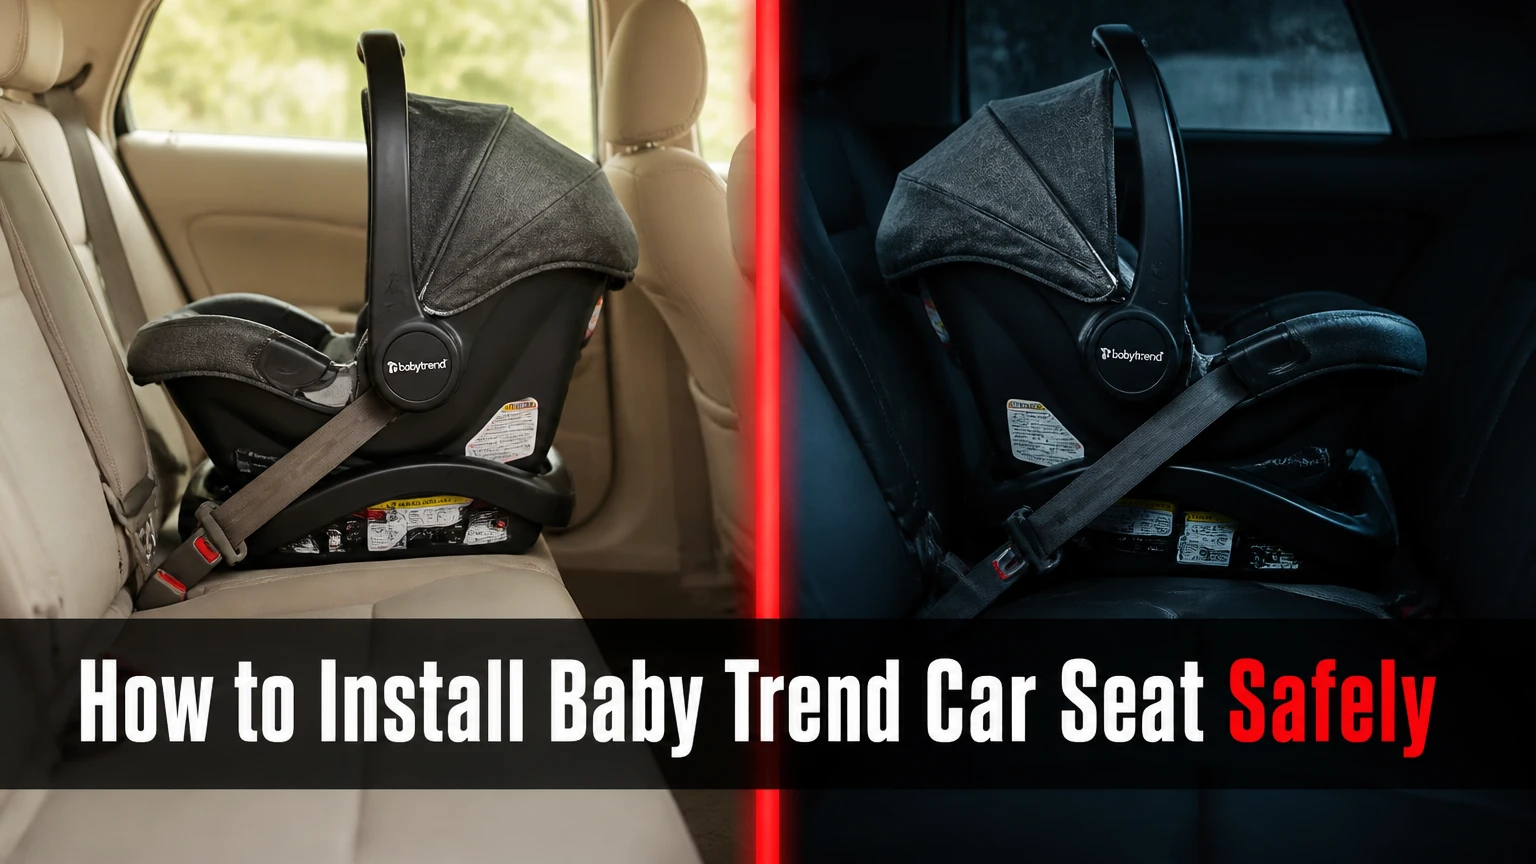
To install a Baby Trend car seat, select the correct rear-facing or forward-facing configuration, follow the exact seat and vehicle manuals, secure the seat with either LATCH or the vehicle belt, and verify less than 1 inch of movement at the belt path. Finish by tightening the five-point harness and checking the chest clip and strap height.
Key Facts at a Glance
- A Baby Trend car seat must match the child’s age, weight, height, and seated-height limits printed on its labels and manual.
- LATCH and the vehicle seat belt are separate installation methods; use both only when both manuals explicitly permit it.
- A properly installed seat moves less than 1 inch side to side or front to back when tested at the belt path.
- Rear-facing harness straps must usually emerge at or below the child’s shoulders; forward-facing straps must usually emerge at or above them.
- The chest clip belongs at armpit level, and the harness passes the pinch test when no webbing can be pinched at the collarbone.
- The carrier handle position is model-specific. Use the Baby Trend manual, not a generic rule, to identify the driving position.
Before You Start
A first installation normally takes 20-30 minutes because you need to read two manuals, identify the correct belt path, and repeat the tightness check. The recurring installation cost is usually $0 when done correctly at home, while a replacement infant-seat base commonly costs about $45-$60 and a professional inspection may be free or low-cost through a local program.
| Preparation item | Typical requirement | Why it matters |
|---|---|---|
| Product manual | 1 copy for the exact model | Controls limits, routing, handle position, and approved methods |
| Vehicle manual | 1 copy for the vehicle year and trim | Identifies anchors, belt locks, and seating restrictions |
| Installation time | 20-30 minutes initially | Allows time to remove slack and repeat testing |
| Towel or approved foam aid | 1, only if manual permits | May correct a steep vehicle-seat angle |
| Child Passenger Safety Technician | 1 optional inspection | Can identify routing and fit errors missed at home |
Park on level ground when possible. Remove bulky objects from the seating position, move the front seat back enough to prevent contact, and inspect the car seat for cracks, missing parts, damage, a visible expiration date, or a recall notice.
Do not install a seat that has been in a moderate or severe crash unless the manufacturer specifically says it remains usable. The National Highway Traffic Safety Administration, or NHTSA, recommends replacing a car seat after a crash when it meets its replacement criteria.
Which Baby Trend Seat Are You Installing?
Baby Trend infant seats normally use a detachable rear-facing carrier and an optional base, while convertible and all-in-one seats remain in the vehicle and change configuration as the child grows. Installation cannot be determined from the Baby Trend brand alone because Flex-Loc, Secure-Lift, EZ-Lift, Trooper, CoverMe, and Hybrid models use different routing and limits.
| Seat category | Typical orientation | Typical published range | Installation feature |
|---|---|---|---|
| Infant carrier | Rear-facing only | 4-35 lb, model dependent | Carrier clicks into a separate base |
| Convertible seat | Rear-facing, then forward-facing | About 4-65 lb, model dependent | One shell remains installed through stages |
| All-in-one seat | Rear-facing, forward-facing, booster | About 4-100 lb, model dependent | Harness and booster modes require different routing |
| Combination booster | Forward-facing harness, then booster | Model-specific | Usually does not function as a rear-facing infant seat |
Treat these values as category examples, not universal Baby Trend limits. The white or gray model label, owner’s manual, and manufacturer instructions control. A child who fits the weight range may still exceed the height, seated-height, head-clearance, or harness-position limit.
The American Academy of Pediatrics summarizes the selection principle this way: “The best car seat is one that fits your child, fits your vehicle, and is used correctly every time.” A seat that technically fits the vehicle but blocks a required belt path is not a correct choice for that position.
How Do You Install the Base With LATCH?
Install the Baby Trend infant-seat base with LATCH by placing it rear-facing, setting its recline indicator, attaching the lower connectors to the vehicle anchors, tightening the strap, and checking movement at the belt path. LATCH is often simpler to route, but it is not automatically safer than a correctly tightened vehicle belt.
Step 1: Choose an approved seating position
Use a rear seating position allowed by both manuals. Identify the two lower anchors between the seat cushion and backrest, then check whether the vehicle permits that position for LATCH.
Do not assume that two center anchors exist. Many vehicles provide LATCH only in the left and right outer positions, and borrowing anchors from adjacent seats is prohibited unless the vehicle manual specifically allows it.
Keep the base away from an active frontal airbag. A rear-facing seat generally belongs in the rear seat because a deploying front airbag can seriously injure a child.
You will know the position is suitable when: the vehicle manual identifies the anchor or belt installation position, and the car seat can sit flat without unsafe contact.
Common mistake: Installing in the center by connecting to outer-seat anchors. Use the center only with an approved center anchor arrangement or a properly routed seat belt.
Step 2: Set the rear-facing recline angle
Place the Baby Trend base flat on the vehicle seat with the carrier-facing end toward the vehicle seatback. Adjust the recline foot or position until the built-in indicator falls within the range marked for the child’s age or weight.
The newborn angle matters because an overly upright infant carrier can allow a small baby’s head to fall forward, narrowing the airway. A deeply reclined seat can also change how the base loads the vehicle seat during a crash.
A sloped vehicle cushion may prevent the indicator from reaching the approved range. Use a tightly rolled towel or other adjustment permitted by the Baby Trend manual, placed under the base at the specified location. Never improvise with loose pillows or thick padding beneath the child.
You will know the angle is correct when: the indicator remains in its permitted zone on level ground after the base is tightened.
Common mistake: Setting the angle before tightening but failing to recheck it afterward. Tightening can change the base position.
Step 3: Attach the lower anchors
Remove the LATCH connectors from their storage locations and connect each connector to the corresponding lower anchor. Confirm that every connector is fully engaged and that the strap is not twisted.
The connector hook or clip must face the anchor as shown in the Baby Trend manual. A click alone does not prove correct attachment if the connector is clipped to trim, a cargo hook, or the wrong hardware.
Keep the LATCH strap inside the base’s designated rear-facing belt path. Route it exactly as the manual illustrates, because some Baby Trend bases place the strap across a specific channel rather than through a universal opening.
You will know the attachment is correct when: both connectors are on the vehicle’s metal anchors, the strap is flat, and no red or disengaged indicator remains where the model provides a visual indicator.
Common mistake: Leaving the LATCH strap in storage while assuming the carrier’s click-in connection secures the base. The carrier connection and vehicle installation are separate systems.
Step 4: Tighten the LATCH strap
Press down firmly at the center of the base with one hand or knee while pulling the free end of the LATCH webbing in the direction shown by the manual. Remove slack from the belt path before checking movement.
Pulling the strap straight upward can lift the base instead of tightening it. A parallel pull generally removes slack more efficiently, but the model’s strap direction takes priority.
Do not use an extension, aftermarket clip, or replacement connector unless Baby Trend approves that part for the exact model. Replacement parts must match the manufacturer’s specifications.
You will know the strap is tight when: the base stays in its recline range and moves less than 1 inch at the belt path.
Common mistake: Tightening only the visible loose section. Feed slack out of the far side first, then tighten the adjuster.
How Do You Install the Base With a Seat Belt?
Install a Baby Trend base with a vehicle seat belt by routing the belt through the correct rear-facing path, locking the belt or using the base’s lock-off, tightening while pressing down, and performing the one-inch test. A seat belt can be the better method for a center position or a vehicle without usable lower anchors.
Step 5: Identify the vehicle belt-locking method
Read the vehicle manual to determine whether the retractor locks when the shoulder belt is pulled fully out, whether the buckle has a locking latch plate, or whether the Baby Trend base provides a built-in lock-off.
A switchable retractor usually enters automatic locking mode after the shoulder belt is extended completely and allowed to retract. Some vehicle belts instead lock at the latch plate, while others require the car seat’s lock-off.
Do not rely on the belt’s emergency-locking behavior alone. That system is designed to react during a crash and may leave enough normal slack for an incorrectly installed car seat.
Step 6: Route and buckle the belt
Place the base rear-facing and route the lap portion, or the lap-and-shoulder belt as specified, through the marked rear-facing belt path. Keep the webbing flat, untwisted, and inside every required guide before buckling.
The shoulder belt may need to remain outside the belt path or enter a built-in lock-off, depending on the Baby Trend model. Never route the shoulder portion across the carrier where the manual shows a different path.
You will know the route is correct when: the belt follows the diagram without crossing the shell incorrectly, the buckle is not pressed against the car-seat frame, and the belt can be locked.
Step 7: Lock and tighten the belt
Press down on the base directly above the belt path while removing slack from the lap portion. Engage the vehicle retractor or close the approved lock-off, then pull the belt again until the base is secure.
A buckle that rests against the edge of the belt path can cause “buckle crunch,” preventing reliable tightening. Move the base to another approved seating position or use the permitted belt-locking method rather than adding an unauthorized device.
You will know the installation is tight when: the belt remains locked, the base does not lift from the cushion, and the base moves less than 1 inch at the belt path.
Common mistake: Checking only the belt’s click. A locked retractor can still leave slack under the base.
Which Installation Method Is Better, LATCH or Seat Belt?
Neither LATCH nor the vehicle seat belt is inherently safer when both are installed correctly. Choose LATCH when the anchors are approved and easy to reach; choose the seat belt when the center position is preferred, the child-seat-plus-child limit affects LATCH use, or the vehicle lacks suitable anchors.
| Criterion | LATCH | Vehicle seat belt |
|---|---|---|
| Common location | Left or right outer seat | Any approved seat-belt position |
| Center-seat use | Only if vehicle permits it | Often available, if belt geometry works |
| Tightening method | Lower-anchor strap | Retractor, latch plate, or lock-off |
| Weight restriction | Vehicle and seat-specific | Vehicle and seat-specific |
| Extra hardware | Lower anchors built into vehicle | Seat belt and possible lock-off |
| Main failure | Wrong anchor or loose strap | Unlocked belt or incorrect path |
Baby Trend and vehicle manuals determine whether LATCH can continue at a particular child weight. Do not use the commonly repeated 65-pound total as a universal limit because the actual limit varies by vehicle, seat model, harness mode, and manufacturing instructions.
Using both methods together is not a general upgrade. Combine them only when Baby Trend and the vehicle manufacturer expressly permit that configuration.
How Do You Install a Baby Trend Carrier Without the Base?
Install a compatible Baby Trend infant carrier without its base by placing the carrier rear-facing, routing the vehicle belt through the carrier’s marked baseless belt guides, locking the belt, and checking movement at the belt path. This method is useful in taxis, rental cars, and rideshares, but not every Baby Trend carrier supports every baseless route.
The carrier must rest directly on the vehicle seat. Follow the manual’s belt-guide color and route, which may differ from the route used on the detachable base. Keep the carrier level indicator within range, buckle the belt, activate the vehicle’s locking method, and press the carrier down while removing slack.
For air travel, confirm that the exact model is approved for aircraft use and look for the aircraft-approval label. Aircraft seats generally provide a lap belt only, so the carrier must use the manual’s aircraft belt path rather than an automobile shoulder-belt route. A carrier should never be checked as ordinary luggage unless the manufacturer or airline provides an appropriate protective procedure.
Step 8: Secure the Carrier or Set the Convertible Mode
For an infant system, lower the carrier into the installed base until the attachment indicators or audible click confirm engagement, then lift gently at the carrier shell to confirm that it is attached. For a convertible or all-in-one seat, select rear-facing or forward-facing mode before routing the vehicle restraint.
The carrier handle position is model-specific. Some Baby Trend infant seats require a defined anti-rebound position during travel, while other instructions may specify a different position. The handle’s upright, carry, or driving position cannot be inferred safely from another Baby Trend model.
For forward-facing use, confirm that the child meets the manual’s minimum age, weight, height, and head-restraint requirements. Keep a forward-facing seat tethered whenever the manual and vehicle provide a compatible top-tether location.
You will know the configuration is correct when: the carrier’s indicators show attachment or the convertible seat’s labels match the child’s orientation, and the handle or tether matches the exact manual.
Common mistake: Treating an online photograph as the installation instruction. Model names and handle mechanisms can look similar while requiring different positions.
Step 9: Perform the One-Inch Movement Test
Test the Baby Trend base or convertible seat at the belt path by gripping the shell with one hand and moving it side to side and front to back. Correct installation allows less than 1 inch of movement in either direction at that location; movement at the head of the shell can be normal.
This test must focus on the point where the LATCH strap or vehicle belt holds the seat. Pulling on the canopy, carrier handle, or top of a tall convertible seat measures flex in the shell rather than installation tightness.
Repeat the test after changing the recline, moving the front vehicle seat, or reinstalling the seat in another vehicle. A successful test is a verification point, not a substitute for correct routing.
You will know the installation passes when: movement at the belt path is under 1 inch, the restraint remains in the approved angle range, and the belt or LATCH strap stays locked.
What if the seat moves more than one inch?
Release the locking method, press down directly over the belt path, remove slack from the belt or LATCH strap, and lock it again. If movement remains, inspect for a twisted strap, an incorrect path, buckle crunch, unsupported overhang, incompatible seating position, or missing lock-off engagement.
Step 10: Harness the Child Correctly
Place the child’s bottom and back flat against the seat, position the harness straps at the correct height, buckle the crotch buckle and chest clip, and tighten until the webbing passes the pinch test. Rear-facing straps generally emerge at or below the shoulders; forward-facing straps generally emerge at or above them.
The chest clip belongs level with the armpits, not at the neck or stomach. Remove bulky coats before buckling because compressed clothing can create dangerous slack; use thin layers and place a blanket over the secured harness instead.
Check that the crotch buckle is in an approved position and that the child is not sitting on the harness straps. Infant inserts, padding, and aftermarket covers are safe only when supplied or approved by Baby Trend for that model.
You will know the child is secured when: no harness webbing can be pinched vertically at the collarbone, the chest clip is at armpit level, and the child’s head remains in a safe position without slouching.
Common mistake: Tightening the harness over a coat and loosening it later. Remove the coat before every buckle-up.
Common Mistakes and How to Fix Them
| Failure mode | Likely cause | Corrective action |
|---|---|---|
| Base moves over 1 inch | Slack remains under the base | Re-route, press at belt path, and retighten |
| Recline indicator is out of range | Steep vehicle cushion or wrong foot position | Adjust the approved recline foot or manual-approved towel |
| Belt will not stay tight | Retractor not locked or latch plate slips | Use the correct locking mode or built-in lock-off |
| Buckle touches belt-path edge | Buckle crunch | Change approved position or belt-locking method |
| Carrier will not click into base | Incompatible base or incomplete engagement | Verify model compatibility and clear the attachment area |
| Harness pinch test fails | Loose strap or bulky clothing | Remove coat, position child, and tighten harness |
A towel cannot repair an incorrect belt path. It can only correct an angle when the manual permits it. Likewise, a green connector indicator cannot compensate for an anchor attached to the wrong location.
One practitioner rule is worth remembering: tighten the restraint before adjusting accessories. Parents often spend time repositioning inserts or canopies while the actual failure is hidden slack at the belt path.
Situational Installation Variations
Can Baby Trend go in the middle seat?
Baby Trend can occupy the middle rear seat when the vehicle manual approves that position and the seat can be installed tightly with the available belt or approved center anchors. Many vehicles do not allow center LATCH installation, so a seat belt is often the practical option.
Check the buckle stalk length, belt angle, seat width, and neighboring-seat interference. A center installation that leaves less than 1 inch of movement is preferable to an outer LATCH installation only when the child-seat manual and vehicle manual approve the arrangement.
How do you use Baby Trend in a rental car?
Use the rental vehicle’s manual and the Baby Trend manual together, then install with the seat belt if anchor locations are unfamiliar or the rental vehicle lacks compatible LATCH hardware. Photographing the correct belt path before travel can reduce errors when changing cars.
Do not assume the same retractor behavior across vehicles. A belt that locks automatically in one SUV may require a lock-off or locking latch plate in another.
Can two children share a Baby Trend base?
A Baby Trend infant base is designed for the compatible carrier identified by the manufacturer, not for arbitrary carriers or multiple seats simultaneously. A second vehicle normally requires a second approved base or a baseless carrier installation.
Before buying a replacement base, confirm the exact carrier and base model numbers. Similar-looking Baby Trend bases are not automatically interchangeable.
Cost, Time, and Replacement Checks
Typical retail prices for Baby Trend car seats range from about $90-$220, while a compatible replacement base commonly costs about $45-$60. Installation may take 20-30 minutes the first time and less than 5 minutes after the base remains correctly installed, although every move between vehicles requires a new verification.
| Item | Typical amount | Decision point |
|---|---|---|
| Infant carrier system | $90-$220 | Includes carrier, base, or both depending on package |
| Replacement infant base | $45-$60 | Must match the exact carrier family |
| First installation | 20-30 minutes | Manual reading and repeated tightening included |
| Later carrier attachment | About 5 seconds | Only after the base has passed testing |
| CPST check | $0-$50 typical | Program and location determine price |
Check the seat’s expiration date, model number, date of manufacture, and recall status before installation. Baby Trend’s customer-service materials and the NHTSA recall database can help identify affected products, but the model label is necessary for an accurate search.
A seat that is cheap to replace is not cheap if it is expired, missing its manual, damaged, or incompatible with the vehicle. The cost of a second approved base may be justified for a family that regularly transfers an infant carrier between two cars.
Final Installation Checklist
Use this sequence before the child rides:
- Confirm the exact Baby Trend model and expiration date.
- Read the vehicle section for the chosen seating position.
- Select rear-facing or forward-facing mode according to the child’s limits.
- Set the recline indicator after the seat is positioned.
- Use LATCH or the vehicle belt as directed, not both by default.
- Confirm every connector, lock-off, buckle, and tether is engaged.
- Test movement at the belt path, keeping it under 1 inch.
- Check carrier attachment and model-specific handle position.
- Place the child’s back and bottom flat against the seat.
- Tighten the harness, position the chest clip at the armpits, and perform the pinch test.
A certified Child Passenger Safety Technician can inspect the final installation and child fit. In the United States, use the NHTSA child passenger safety locator or contact a local health department, hospital, or inspection event; fire stations do not all provide certified checks.
Frequently Asked Questions
Is a Baby Trend car seat easy to install?
A Baby Trend infant base typically takes 20-30 minutes for a first installation and a few minutes after the method is understood. Ease depends more on the vehicle’s belt geometry, anchor access, and locking system than on the brand. The installation is complete only after the belt-path movement test passes.
Should a newborn ride rear-facing in a Baby Trend seat?
Yes, a newborn should use an approved rear-facing Baby Trend configuration that matches the child’s minimum size and the manual’s recline range. Rear-facing positioning supports the head, neck, and spine during a crash. Keep the harness snug and monitor the recline so the head does not fall forward.
Can I use a Baby Trend car seat after a minor crash?
Do not decide by visible damage alone. NHTSA says a seat may qualify for continued use only when all of its replacement conditions are met, including no injury, no airbag deployment, no visible damage, an operable vehicle, and the crash occurring at low speed. Follow Baby Trend’s stricter instruction if it differs.
How long can a child use a Baby Trend infant carrier?
A child can use a Baby Trend infant carrier until reaching the exact model’s maximum weight or height, or until the head and harness-position requirements are exceeded. Many Baby Trend infant seats list ranges near 4-35 pounds and up to 32 inches, but the label on the specific carrier controls.
Are aftermarket inserts safe in a Baby Trend car seat?
Aftermarket inserts, head supports, harness pads, and covers are safe only when Baby Trend supplies or approves them for the exact seat model. Unapproved padding can alter harness geometry or interfere with the child’s position. Use only the components listed in the manual or supplied with the seat.
The Bottom Line
Correctly installing a Baby Trend car seat means matching the exact model to the child and vehicle, choosing one approved restraint method, setting the rear-facing angle, locking the belt or LATCH strap, and passing the less-than-1-inch belt-path test. Finish with a snug harness, armpit-level chest clip, and the model-specific handle position. When in doubt, have a certified CPST inspect the installation before travel.