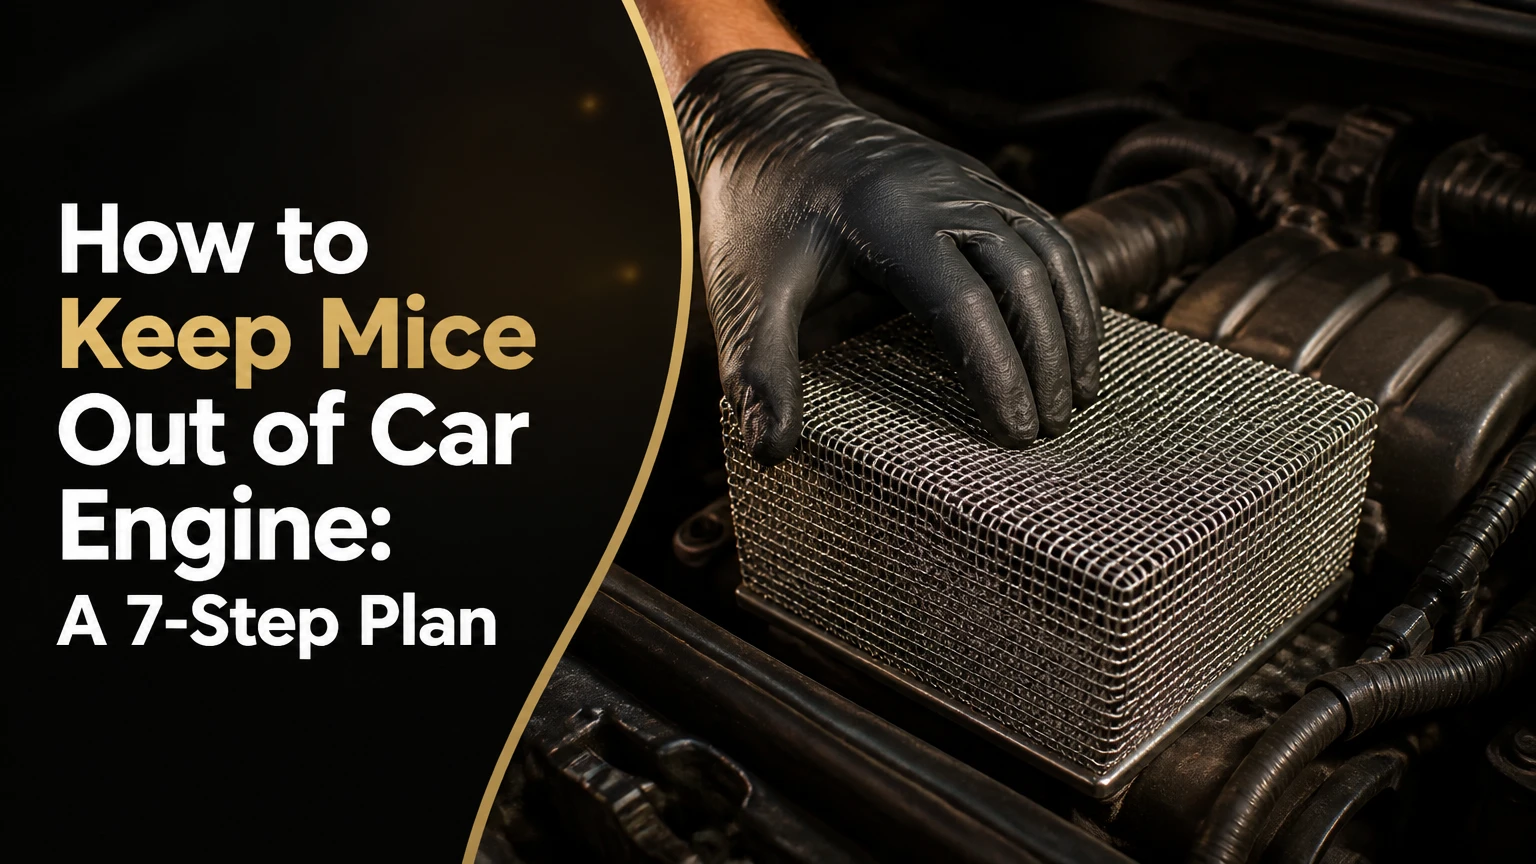
To keep mice out of a car engine, remove food and nesting opportunities, inspect for active rodents, block safe entry routes, protect exposed wiring, and control mice around the parking area. The most reliable approach combines exclusion and trapping; peppermint oil and ultrasonic devices can supplement those measures but rarely work alone.
Key Facts at a Glance
Mice can enter surprisingly small openings, but the usable gap depends on the animal’s size, body shape, and the location of the opening.
A clean engine bay does not prevent mice if the garage, driveway, or surrounding vegetation provides food and shelter.
Snap traps control active mice; hardware mesh and protected wiring prevent access and chewing.
Never place loose rodent poison or mothballs inside an engine compartment or passenger cabin.
A vehicle should not be driven until a technician checks suspected damage to ignition, charging, fuel, sensor, or high-voltage wiring.
Typical prevention costs range from $20 for traps and sanitation supplies to more than $200 for professional exclusion and inspection.
How to Keep Mice Out of Car Engine Areas
The dependable method is a layered defense: remove nearby food, identify current activity, clean scent and nesting residue, close suitable access points, and check the vehicle repeatedly. Any single scent, sound, or tape product can fail because mice can approach from another side of the vehicle or relocate when conditions change.
Engine bays attract rodents because they offer darkness, cover, retained warmth, and protected surfaces for nesting. A recently parked car may remain warmer than the surrounding air, especially after nightfall in cold weather. Rodents can also climb through wheel wells, underbody openings, cowl vents, and gaps around wiring or hoses.
The phrase “mice eat soy wiring” is too broad. Some vehicle wire insulation contains plant-derived materials, and rodents may chew many insulation types because chewing wears their incisors or opens access to nesting space. Material composition alone does not predict an infestation.
Why Do Mice Enter Engine Compartments?
Mice enter engine compartments for shelter, residual warmth, nesting material, and proximity to protected travel routes. The engine itself is not usually a food source. Nearby birdseed, pet food, spilled grain, garbage, and dense vegetation create the larger attraction.
A parked car provides several useful features at once:
- The hood and splash shields reduce exposure to predators.
- The battery tray, airbox area, and engine cover provide dry nesting surfaces.
- Felt, insulation, paper, leaves, and wire sheathing can be pulled into a nest.
- Wheel wells and suspension components create climbing routes.
- The cowl area can connect the exterior to the HVAC intake.
Mice do not need a large visible hole. Flexible animals can use gaps around cables, vents, drain openings, and plastic panels. A commonly repeated 6 mm figure should not be treated as a universal engineering limit, because juvenile mice and larger adults use different openings and body compression varies.
Which Vehicle Parts Need Inspection?
The battery tray, air filter housing, cowl intake, fuse-box area, firewall, engine cover, wheel wells, and cabin air filter are the highest-value inspection points. A mouse nest in the engine bay may be obvious, while contamination inside the HVAC intake can remain hidden until the blower operates.
Look for:
- Dark pellet-shaped droppings, usually concentrated near protected corners.
- Shredded paper, leaves, fabric, insulation, or seed husks.
- Gnaw marks on plastic, wire insulation, washer hoses, and foam.
- Urine odor, oily smears, or repeated debris beneath the vehicle.
- Dashboard warnings, intermittent sensors, hard starting, or unexplained battery drain.
A nest near a belt, exhaust manifold, fan, or alternator requires immediate removal by a technician. Loose nesting material can contact hot or moving components.
Before You Start
| Requirement | Typical amount or range | Practical note |
|---|---|---|
| Inspection time | 15-30 minutes | Use a bright flashlight and photograph findings |
| Prevention difficulty | Moderate | Cowl and intake access varies by vehicle |
| Basic supply cost | $20-$60 | Gloves, disinfectant, traps, bags, and a flashlight |
| Hardware mesh | 1/4-inch galvanized steel | Use only where it cannot restrict airflow or drainage |
| Snap traps | 2-6 traps | Place beside travel routes, never on hot engine parts |
| Repair contingency | $150-$5,000+ | Harness access and damage severity control labor cost |
Wear disposable gloves and eye protection. If droppings or nesting material are present, do not dry sweep or vacuum them. The Centers for Disease Control and Prevention advises, “Do not sweep or vacuum mouse or rat urine, droppings, or nesting material,” because dust can carry infectious particles; wet the material with an appropriate disinfectant first, allow contact time, then wipe it up.
Do not disconnect a hybrid or electric vehicle’s high-voltage system unless the manufacturer’s service procedure authorizes it and you have the required training. The orange cables are not ordinary 12-volt wiring.
Step 1: Inspect and Remove Active Mouse Evidence
Open the hood before starting the engine and inspect the battery tray, fuse box, airbox, cowl edge, engine cover, and visible harnesses. Then check the cabin air filter and glovebox area if the vehicle design allows access without removing safety components.
Use a flashlight from several angles. Photograph every nest, chewed wire, and contaminated surface before disturbing it. Check beneath the car for fresh droppings and inspect both front wheel wells because rodents often climb through suspension and splash-shield gaps.
Place two to four properly sized snap traps along suspected travel routes near the parked vehicle, with the trigger end facing the wall or tire-side edge. Peanut butter can work as bait, but a small amount of nesting material or a commercial rodent lure may perform better where food is abundant. Protect traps from children, pets, rain, and vehicle traffic.
You will know the inspection worked when you have identified whether evidence is fresh, mapped each damaged area, and found no unexplained nest location.
Common mistake: starting the engine to scare a mouse away. A hidden animal or loose nesting material can move into a belt, fan, or hot exhaust component.
Step 2: Clean Droppings, Odor, and Nesting Material Safely
Remove loose nesting material only after thoroughly wetting it with disinfectant. A general household disinfectant used according to its label is safer for routine cleanup than spraying a bleach mixture throughout an engine bay, where bleach can corrode metals and damage finishes.
For removable plastic covers and battery trays, clean them away from the vehicle when possible. For the engine compartment, apply cleaner to a cloth or controlled low-volume spray, keep liquid away from alternators, connectors, fuse boxes, air intakes, and electronic control units, and follow the vehicle manufacturer’s cleaning guidance.
Do not use a pressure washer on an engine bay unless a trained technician confirms the procedure for that vehicle. Water forced into connectors can create faults days later. Enzyme cleaners can help reduce organic odor, but they do not replace trapping and exclusion.
You will know the cleanup worked when visible droppings and nesting fibers are gone, the area is dry, and no strong urine odor remains after ventilation.
Common mistake: cleaning only the engine cover. Persistent scent and debris around the cowl, cabin filter, and wheel wells can continue attracting rodents.
Step 3: Block Entry Points Without Creating New Problems
Seal openings around the cowl, air intake, wheel-well liners, underbody shields, and firewall only after confirming that the opening is not a designed drain, cooling path, pressure vent, or service access point. Use vehicle-specific rodent screens where available.
For a large, safe-to-cover opening, 1/4-inch galvanized hardware cloth is a practical barrier. Stainless mesh resists corrosion better in salty climates. Fasten mesh mechanically with clips, screws, or a manufacturer-approved method rather than relying on adhesive near engine heat.
The cabin air intake deserves special care. A screen must remain clear of the blower path, windshield drainage, wiper linkage, and HVAC flap. An incorrectly fitted screen can reduce airflow, retain water, or detach into the fan.
Avoid expanding foam around wiring, exhaust parts, moving components, and drainage passages. Foam can trap moisture and becomes chewable when exposed. High-temperature silicone may close a narrow stationary seam, but it is not a substitute for a mechanical barrier.
You will know the exclusion worked when the barrier cannot be pulled loose by hand, does not touch a belt or fan, and leaves every drain and airflow route open.
Common mistake: covering every hole with mesh. Cars need designed openings for cooling, drainage, ventilation, and pressure equalization.
Step 4: Protect Vulnerable Wiring and Hoses
Protect exposed harnesses with rodent-resistant tape, split loom, or a mechanically secured conduit rated for the engine-bay temperature. Capsaicin-infused tape may discourage chewing, but it does not stop a determined rodent from entering elsewhere.
Install protection on dry, clean wiring. Overlap tape according to the product instructions, secure loose ends with heat-rated ties, and keep the covering away from exhaust manifolds, turbochargers, belts, pulleys, steering components, and cooling fans.
Do not wrap high-voltage hybrid or EV cables casually. Orange cable repairs require the manufacturer’s procedure, proper isolation, and trained personnel. Damage to a 12-volt harness can also disable airbags, fuel control, charging, or engine management, so visual inspection alone may be insufficient.
You will know the wiring protection worked when no protected section can rub against a hot or moving part and the harness remains supported at its original clips.
Common mistake: using ordinary electrical tape as rodent protection. Standard vinyl tape mainly repairs insulation; it does not provide a durable chew barrier.
Step 5: Control Mice Around the Parking Area
Remove the conditions that support a mouse population near the car. Store birdseed and pet food in sealed metal or thick plastic containers, clean spilled grain, close garbage, trim dense vegetation, and move cardboard, fabric, and firewood away from the vehicle.
In a garage, place snap traps along walls and behind stored items, because mice usually travel beside edges rather than across open floors. Seal garage wall penetrations and door gaps with metal-backed materials. A garage door bottom seal helps, but it does not correct gaps around pipes or corners.
Outdoor parking requires more frequent inspection. Moving the vehicle every day may disturb an individual mouse, but movement alone is not reliable when food and shelter remain nearby. Parking on a hard, open surface is preferable to long grass, leaf piles, or stacked lumber.
What Works Better, Parking Changes or Repellents?
Parking changes usually provide more durable results than scent products because they remove food and shelter rather than attempting to overwhelm a mouse’s senses. Repellents can add a temporary layer, especially after cleaning, but they do not close an entry point or reduce a nearby population.
| Parking condition | Highest-value change | Typical maintenance interval | Expected limitation |
|---|---|---|---|
| Attached garage | Seal wall gaps and use wall-line traps | Check every 2-7 days | Nearby clutter can preserve nesting |
| Open driveway | Remove food and leaf piles | Inspect weekly | Outdoor mice have many alternative routes |
| Rural property | Clear vegetation around parking | Inspect every 3-7 days | Field mice may approach from beneath |
| Winter storage | Use traps and a perimeter barrier | Check weekly | A covered, undisturbed car invites nesting |
| Barn or shed | Raise stored materials and improve exclusion | Check every 2-3 days | Complete building exclusion may be difficult |
Step 6: Compare Traps, Barriers, Repellents, and Electronics
No single product is the best mouse solution for every vehicle. Physical exclusion and population control address the cause; scents and electronics mainly alter the immediate environment and have more variable results.
| Method | Typical cost | Useful life or interval | Main strength | Main limitation |
|---|---|---|---|---|
| Snap traps | $2-$8 each | Reusable for months or years | Controls active mice | Requires safe placement and checking |
| Galvanized mesh | $10-$30 | Several years indoors | Blocks a defined opening | Can obstruct drains or airflow |
| Capsaicin tape | $15-$40 per roll | Months to several years | Adds chew resistance to harnesses | Installation is labor-intensive |
| Scent pouch or peppermint product | $8-$30 | 1-4 weeks | Easy supplemental deterrence | Heat, rain, and habituation reduce effect |
| Under-hood electronic unit | $25-$100 | Often 1-5 years | Covers a difficult-to-seal compartment | Requires correct placement and battery protection |
| Professional exclusion | $150-$600 | Variable | Finds concealed routes and population sources | Costs more and may need follow-up |
Ultrasonic devices have a specific weakness: sound is directional, blocked by solid components, and unlikely to protect every corner of a crowded engine bay. Strobe features may improve coverage for some products, but product claims do not establish universal field effectiveness. A device with a low-voltage cutoff is preferable, and installation should not create parasitic battery drain.
Peppermint oil can be placed in a secured, ventilated container away from heat and moving parts, but oil-soaked cotton should not rest on wiring, paint, belts, or exhaust components. Mothballs are not an appropriate vehicle repellent. Their pesticide vapors can expose occupants and may violate product-label requirements when used outdoors or outside intended locations.
Poison is also a poor under-hood choice. A poisoned mouse can die inside HVAC ducts, behind trim, or under the dashboard, producing odor and contamination that are more difficult to remove than a live mouse.
Step 7: Recheck the Vehicle and Confirm Repairs
Inspect the vehicle after 24-48 hours, again after one week, and weekly during a high-risk season. Look for fresh droppings, disturbed bait, new gnawing, displaced mesh, and nesting fibers. A clean first inspection does not prove that mice have left.
Before driving, test for warning lights, rough starting, malfunctioning accessories, HVAC odor, and abnormal sounds. A technician should inspect suspected harness damage with the wiring diagram for that exact year, make, model, and engine.
| Symptom | Possible rodent-related cause | Driving decision | Typical diagnostic or repair range |
|---|---|---|---|
| No-start condition | Chewed ignition, fuel, or power wire | Tow for diagnosis | $100-$500 diagnosis |
| Check-engine light | Damaged sensor harness | Drive only if technician approves | $150-$1,200 |
| Battery drain | Exposed wire or nest near electronics | Avoid repeated starts | $150-$800 |
| Blower odor | Nest or contamination in HVAC intake | Inspect before passenger use | $100-$1,500 |
| Multiple electrical faults | Main harness damage | Do not drive | $1,500-$5,000+ |
| Visible orange-cable damage | Hybrid or EV high-voltage fault | Do not touch or drive | $300-$5,000+ |
Repair estimates vary widely because technicians may repair individual wires, replace connectors, remove trim, or replace an entire harness. Insurance treatment also varies by policy and location; comprehensive coverage sometimes includes rodent damage, while collision coverage usually does not.
Which Protection Plan Fits Your Situation?
Daily commuter in a suburban driveway
Use two snap traps in a protected location near the parking area, remove food sources, and inspect the engine bay weekly during cold weather. Add a vehicle-specific cowl screen if inspection identifies that route. An electronic device is optional, not the foundation.
Rural driver near fields or woodland
Combine building and parking-area exclusion with four or more traps along likely travel routes, protected harness tape on vulnerable sections, and inspections every few days during peak activity. Predator-urine products have inconsistent results and should not replace sanitation or trapping.
Vehicle stored for a month or longer
Clean the cabin and engine bay, remove food and trash, place traps around the storage space, and inspect weekly. Do not leave loose bait or poison inside the vehicle. A breathable cover is preferable to sealing a damp vehicle, which can create a separate mold problem.
Hybrid or electric vehicle owner
Treat orange high-voltage cables, battery enclosures, and sealed underbody panels as technician-only areas. Owners can control the parking environment and inspect for external evidence, but should not puncture, tape, or screen high-voltage components without the manufacturer’s procedure.
Common Mistakes and How to Fix Them
Relying on peppermint alone: Replace the scent-only approach with traps, sanitation, and a confirmed barrier. Refresh supplemental scent products according to their label rather than assuming a single application lasts all winter.
Installing mesh over a drain: Remove the obstruction and identify the opening in the service manual. Use a purpose-designed screen only if it preserves drainage and airflow.
Placing traps on the engine: Relocate traps to the garage wall, tire-side travel route, or a protected station beside the parked vehicle. Hot surfaces and vibration make engine placement unsafe.
Using a battery-powered repeller without a cutoff: Disconnect or replace the unit if it can drain the 12-volt battery. Typical parked vehicles can develop starting problems after prolonged parasitic draw, particularly with an aging battery.
Cleaning dry droppings: Leave the area, ventilate it, wet the contamination with disinfectant, and follow CDC cleanup guidance. People with respiratory vulnerability should consider professional cleanup.
Ignoring one repaired wire: Ask for a complete harness inspection. Rodents often damage adjacent insulation, grounds, sensor leads, and retaining clips during the same nesting episode.
When Should a Professional Handle the Problem?
Call an automotive technician when wiring, airbag circuits, fuel systems, charging systems, HVAC ducts, or hybrid high-voltage components show damage. Call a licensed pest professional when fresh evidence continues after one week of trapping and sanitation, when rodents are entering the building, or when the species may be a protected wildlife animal under local law.
A professional exclusion visit typically costs more than do-it-yourself materials, but hidden nests and repeated access can make incomplete repairs expensive. The most useful service combines vehicle inspection with control of the surrounding garage, shed, or property rather than applying a scent spray to the car alone.
How Much Does Mouse Prevention and Repair Cost?
Basic prevention usually costs $20-$60 for traps, gloves, disinfectant, and small exclusion materials. A more complete do-it-yourself setup with mesh, harness tape, protected trap stations, and an electronic device commonly totals $75-$200, excluding specialized vehicle-specific screens.
| Work or material | Typical price range | Typical time | Cost driver |
|---|---|---|---|
| Basic inspection and cleanup supplies | $20-$60 | 30-90 minutes | Contamination quantity |
| Cowl or intake screen | $30-$150 | 30 minutes-3 hours | Vehicle access and kit design |
| Harness protection | $40-$200 | 1-4 hours | Number of vulnerable sections |
| Professional pest inspection | $75-$250 | 30-90 minutes | Region and building size |
| Individual wire repair | $150-$1,200 | 1-8 hours | Circuit access and connectors |
| Harness replacement | $1,500-$5,000+ | 1-3 days | Parts availability and dashboard removal |
These are typical consumer and repair-shop ranges, not guaranteed quotes. Rural labor markets, luxury vehicles, scarce harnesses, and extensive interior contamination can increase the final bill.
FAQ
Can mice get into a car that is driven every day?
Yes. Daily driving reduces the time available for nesting but does not eliminate access, especially when the vehicle is parked overnight near food, vegetation, or a garage infestation. Inspect the cowl, cabin filter, battery tray, and wheel wells if you find droppings, odors, or unexplained electrical symptoms.
Should I leave my hood open to keep mice away?
An open hood may make the engine bay less enclosed, but it is not a dependable prevention method. It can expose the compartment to rain, snow, leaves, and animals while leaving the wheel wells and underbody routes available. Use sanitation, traps, and safe exclusion instead.
Do dryer sheets keep mice out of a car?
Dryer sheets have no reliably established long-term effect on vehicle rodents. Their fragrance fades, and mice can ignore unfamiliar odors when shelter is available. They may make a compartment smell different temporarily, but traps and physical barriers provide a more defensible prevention strategy.
How often should I check a stored car for mice?
Check a stored vehicle at least weekly, and every two to three days when prior activity is heavy or the storage building is near fields. Inspect traps, droppings, nesting material, cabin filters, and the engine bay. Frequent checks shorten the time between damage and detection.
Will comprehensive car insurance cover chewed wires?
Comprehensive coverage may cover rodent damage, but the answer depends on the policy, deductible, exclusions, and insurer assessment. Collision coverage generally addresses crash damage rather than animal chewing. Photograph the evidence before repairs and ask the insurer whether an inspection or estimate is required.
The Bottom Line
The most effective way to keep mice out of car engine compartments is to combine active control with physical exclusion. Inspect first, clean contamination safely, trap mice around the parking area, remove food and clutter, screen only suitable openings, and protect vulnerable harnesses without blocking airflow or drainage. Use scents and electronics as secondary measures, never as substitutes for barriers and population control. If a car shows chewed wiring, an HVAC nest, warning lights, or high-voltage cable damage, stop driving and obtain a professional inspection.