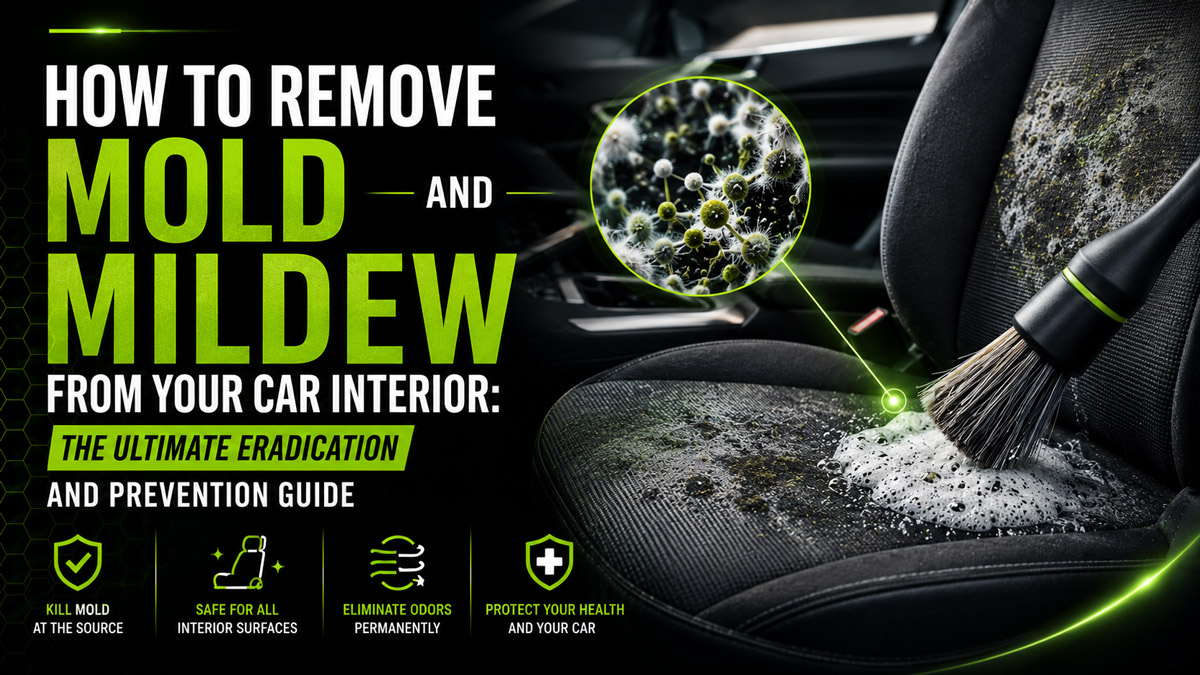
Discovering green fuzz, white patches, or dark spots spread across your steering wheel, car seats, or floor carpets is a distressing experience. Mold and mildew inside a vehicle interior represent far more than an ugly aesthetic issue. They are active biological hazards that release volatile organic compounds and microscopic spores directly into a confined cabin space. Operating a car infested with mold can trigger respiratory discomfort, allergic reactions, asthma attacks, persistent headaches, and long term health complications.
Many car owners attempt quick fixes like spraying scented air fresheners, applying household bleach, or scrubbing surfaces with damp rags. These superficial attempts fail to eliminate deep rooted fungal hyphae and often worsen the problem by adding excess water to the upholstery.
This comprehensive guide delivers an authoritative, detailing approved protocol for car interior mold remediation DIY techniques. You will learn how to identify different mold species, select surface compatible disinfectants, safely clean leather, cloth, vinyl, and HVAC systems, and eliminate the root moisture source to keep your cabin permanently fresh and spore free.
Understanding Vehicle Mold: Mildew vs Black Mold and Health Hazards
Before initiating any remediation work, it is critical to understand what is growing inside your cabin and why vehicle interiors provide an ideal breeding ground for fungi. Mold fungi require three elements to thrive: microscopic organic nutrients such as skin cells, dust, or food crumbs; temperatures between 60 and 90 degrees Fahrenheit; and stagnant relative humidity exceeding 50 percent.
| Fungal Type | Visual Characteristics | Common Cabin Locations | Health & Risk Level |
|---|---|---|---|
| Surface Mildew | Flat, powdery white or pale yellow growth; powdery texture. | Seatbelt webbing, sun visors, vinyl door trims. | Moderate: Causes musty odor, nasal irritation. |
| Penicillium / Aspergillus | Velvety green, blue, or grayish circular colonies. | Cloth upholstery, seat cushion foam, floor mats. | High: Triggers sinus infections, coughing, rashes. |
| Stachybotrys (Black Mold) | Dark green or slimy black spots; deep damp earthy stench. | Underneath car carpets, trunk padding, sound deadener. | Severe: Releases mycotoxins; dangerous breathing hazard. |
Mildew is an early stage surface fungus that grows flat and remains easy to remove. True mold penetrates beneath porous surfaces, extending vegetative thread structures called hyphae deep into foam seat padding and carpet backing. When disturbed, mold colonies release millions of invisible spores into the air, which settle across all cabin surfaces and enter the air conditioning ducts.
Health risks associated with car mold exposure include:
- Continuous sneezing, watery eyes, and chronic coughing while driving.
- Severe respiratory inflammation for individuals with asthma or allergies.
- Skin rashes and irritation upon direct contact with contaminated seat fabric.
- Cognitive fatigue, headaches, and dizziness during long distance travel.
Crucial Safety Preparation and Detailing Gear
Safety must be your absolute top priority when learning how to remove mold from car interior surfaces. Cleaning mold without proper physical protection forces active spores into your lungs and transfers contamination onto your clothing and home.
Required Personal Protective Gear
- N95 or P100 Respirator Mask: Standard surgical masks do not filter microscopic fungal spores. Use an N95 respirator fitted securely over your nose and mouth.
- Safety Goggles: Sealed eye protection prevents airborne spores and chemical spray mists from contacting your eyes.
- Nitrile Gloves: Heavy duty nonporous gloves shield your skin from active fungal enzymes and cleaning solutions.
- Coveralls or Dedicated Cleaning Clothes: Wear long sleeves and pants that can be washed immediately in hot water after completing the remediation.
Crucial Warning: Never Use Chlorine Bleach inside Automobiles
While chlorine bleach is popular for home tile cleaning, it should never be applied inside a car. Bleach corrodes metal seat rails, permanently discolors interior dyes, weakens seatbelt structural fibers, and leaves toxic chemical fumes inside tight cabin spaces. Furthermore, bleach consists mostly of water, which penetrates porous seat cushions and fuels mold regrowth once the chlorine evaporates.
Identifying the Root Cause of Cabin Moisture Intrusion
Remediating mold without fixing the underlying moisture intrusion guarantees that fungal growth will return within days. Water can enter a vehicle interior through several hidden pathways. Before starting physical cleaning, inspect your vehicle for these common water leakage points.
Stage 1: Sunroof Drain Channels • Clogged sunroof corner drain tubes cause water to spill down A pillars and collect inside front footwell carpets.
Stage 2: Door Weatherstripping Seals • Torn or flattened rubber weather seals allow rainwater to trickle inside door panels and under floor mats.
Stage 3: HVAC Evaporator Drain Hose • A blocked air conditioning drain hose backs up water, saturating the passenger side carpet during hot summer drives.
Stage 4: Tailgate and Trunk Gaskets • Worn trunk rubber seals leak water into the spare tire well, creating high humidity that spreads throughout the interior.
Stage 5: Windshield Urethane Gaps • Aged or improperly installed windshield adhesive allows water to seep behind the dashboard and under insulation pads.
Step by Step Car Mold Removal Guide
Follow this detailed, step by step car interior mold remediation DIY protocol to clean your vehicle safely and effectively.
Step 1: Vehicle Isolation and Ventilation
Park the automobile outdoors in direct sunlight, far from open house windows or other vehicles. Direct sunlight provides natural ultraviolet light that helps neutralize surface spores, while open ambient air prevents fungal spores from accumulating inside an enclosed garage. Open all doors, windows, and the trunk to maximize cross ventilation for at least twenty minutes before starting.
Step 2: Dry Extraction with HEPA Vacuuming
Never use a standard household vacuum cleaner lacking a HEPA filter. Standard vacuums blow microscopic mold spores out through their exhaust ports, distributing fungal contamination across the entire cabin.
- Attach a high efficiency HEPA vacuum hose with a specialized crevice tool.
- Slowly vacuum all affected areas, focusing on carpet seams, under seat tracks, and seat folds.
- Do not rub the vacuum nozzle aggressively against wet mold spots, as this presses spores deeper into fabric fibers.
- Once finished, empty the vacuum canister outdoors into a sealed trash bag, or immediately dispose of the vacuum bag.
Step 3: Application of Fungal Disinfectant Solutions
Select an appropriate, chemical safe solution to kill mold spores in vehicle upholstery. Two highly effective, non damaging DIY solutions include distilled white vinegar and isopropyl alcohol.
| Cleaning Agent | Mixing Ratio | Best Surface Applications | Fungal Action Mechanism |
|---|---|---|---|
| Distilled White Vinegar | Undiluted (5 percent acetic acid concentration). | Cloth seats, carpets, headliners, trunk mats. | Low pH penetrates cell walls, killing over 80 percent of mold species. |
| Rubbing Alcohol (IPA) | 1 part Isopropyl Alcohol to 1 part distilled water. | Leather seats, vinyl trims, plastic dashboards. | Denatures fungal proteins rapidly without oversaturating material. |
| Concrobium Mold Control | Ready to use commercial spray. | All non delicate upholstery and under carpet foam. | Crushes spores as it dries, leaving an invisible protective shield. |
Spot Test Procedure
Before treating visible mold, apply a small mist of your chosen solution onto an inconspicuous area, such as the bottom edge of a rear seat trim. Wait ten minutes and wipe with a clean white microfiber towel. If no color transfer or material distortion occurs, proceed with confidence.
Spraying and Agitation Technique
- Pour straight white vinegar or your alcohol mixture into a clean spray bottle.
- Mist the affected surface evenly. Lightly dampen the area without soaking deep into the foam padding below.
- Allow the solution to dwell for 15 to 20 minutes so the active agent can penetrate cell walls and destroy fungal roots.
- Agitate the surface gently using a soft bristled horsehair brush for leather, or a stiff nylon detailing brush for durable carpets and cloth seats. Work in small circular motions to lift dead fungal matter from fibers.
Step 4: Moisture Extraction and Microfiber Blotting
- Blot the treated area firmly using clean, dry microfiber towels. Fold towels frequently to utilize clean sides and prevent transferring lifted spores back onto the material.
- For heavy carpet infestations, use a wet dry extractor to pull moisture out of the lower carpet backing and underlayment foam.
Material Specific Mold Cleaning Protocols
Different cabin materials react uniquely to moisture and cleaning chemicals. Applying an aggressive carpet brush to delicate top grain leather will cause permanent damage. Utilize these surface customized methods for optimal safety and restoration performance.
Material Specific Treatment Summary
- Leather & Synthetic Leather: Never soak leather. Use alcohol water mixture or specialized pH balanced leather cleaner. Agitate with ultra soft horsehair brush, wipe completely dry, and follow immediately with a premium leather conditioner to restore essential oils.
- Cloth Upholstery & Fabrics: Apply white vinegar or enzyme based cleaners. Scrub thoroughly with medium nylon brushes to lift spores out of woven fabric threads. Extract moisture completely.
- Carpets & Heavy Floor Mats: Remove floor mats from vehicle for separate pressure washing and sun drying. Treat underlying vehicle carpet with Concrobium spray or vinegar, scrub thoroughly, and extract with wet dry vacuum.
- Seatbelt Webbing: Pull seatbelts out to full extension and lock them in place with a clamp. Clean gently with mild dish soap and warm water using a microfiber towel. Avoid acidic cleaners or harsh scrubbing that could degrade tensile strength safety ratings. Allow belts to dry fully before releasing retractors.
How to Clean Moldy Leather Car Seats
Leather requires extra care because mold consumes the natural fats and tanning oils within leather hides, leading to cracking and stiffness if neglected.
- Mix equal parts distilled water and 70 percent isopropyl alcohol in a spray bottle.
- Lightly mist a clean microfiber cloth with the mixture rather than spraying the leather directly.
- Wipe the leather surface gently to lift surface mold colonies.
- Clean tight seam stitching with a soft bristled detailing brush dipped in the alcohol solution.
- Wipe the leather completely dry with a fresh microfiber towel.
- Apply a high quality leather conditioner containing UV blockers to replenish lost hydration and build a protective barrier against future fungal growth.
Removing Black Mold from Car Carpet
Carpet underlayment padding acts like a sponge, retaining trapped water for weeks.
- If possible, unbolt seat tracks and lift carpet edges to inspect the yellow foam padding beneath.
- If the foam pad is saturated with black mold, treat it thoroughly with Concrobium Mold Control or replace the damaged padding section.
- Treat the upper carpet fibers with white vinegar, scrub vigorously with a stiff carpet brush, and extract all liquid using a wet dry shop vacuum.
- Keep high velocity air mover fans blowing directly onto the carpet floor for several hours.
Eradicating Mold Smell in Car AC Vents and Ductwork
When mold spores enter your vehicle’s air conditioning system, every turn of the blower fan distributes fungal spores and musty odors throughout the cabin. Learning how to get rid of mold smell in car AC vents is essential for total air quality restoration.
3 Step Air Conditioning Mold Eradication Protocol
- Replace the Cabin Air Filter: Access the cabin air filter box behind the glove compartment. Remove the old filter, which is likely damp and filled with trapped mold spores. Spray disinfectant inside the filter housing box, wipe clean, and install a brand new activated carbon cabin filter.
- Treat Evaporator Core Vents: Locate the exterior fresh air intake vents at the base of the front windshield cowl. Turn the car engine on, set the air conditioner to fresh air mode (not recirculation), and turn the fan speed to maximum. Spray an aerosol AC disinfectant fogger or specialized evaporator foam cleaner directly into the exterior intake vents for 45 seconds. Allow the system to run for 10 minutes to sanitize internal duct coils.
- Perform Ozone Treatment (Optional for Severe Odors): Place a commercial ozone generator inside the cabin, run the power cord through a slightly cracked window, sealed with painter tape. Run the ozone machine for 30 to 60 minutes with the vehicle AC running on recirculation mode. Ozone oxidizes remaining airborne organic odor molecules. Ventilate the car thoroughly for 45 minutes after treatment before entering.
Comprehensive Drying, Humidity Control, and Prevention Strategies
The final and most crucial stage of car interior mold remediation DIY is thorough drying and ongoing humidity control. Mold spores exist everywhere in ambient air; they can only germinate when moisture is present.
| Prevention Tool / Method | Action & Function | Recommended Usage Schedule |
|---|---|---|
| Desiccant Moisture Bags | Absorbs ambient humidity from cabin air into calcium chloride beads. | Place under seats permanently; recharge or replace monthly. |
| Electric Household Dehumidifier | Pulls gallons of moisture out of damp carpets overnight. | Run inside car parked in garage for 12 to 24 hours after heavy cleaning. |
| Baking Soda Odor Absorber | Neutralizes minor residual organic acid damp smells. | Leave open container on floor overnight; vacuum any spills. |
| Sunlight & Heat Exposure | Natural UV ray sterilization and rapid surface moisture evaporation. | Park in direct sun with windows cracked slightly during dry warm days. |
Essential Prevention Rules for Long Term Protection
- Fix Leaks Immediately: Inspect door rubber seals, sunroof drains, and trunk channels every season.
- Never Leave Wet Items Inside: Remove damp umbrellas, wet gym clothes, rain jackets, and muddy boots immediately after travel.
- Use All Weather Rubber Floor Mats: Replace factory cloth floor mats with deep tray rubber floor mats that trap water and prevent liquid from soaking into carpet padding.
- Run AC in Defrost Mode: Your vehicle air conditioning system acts as a natural dehumidifier. Run the AC during rainstorms to remove cabin humidity.
- Store Covered Vehicles Safely: If storing a car long term inside a garage or under a vehicle cover, place multiple moisture absorber bags inside the cabin and leave windows open two inches for air exchange.
DIY Cost Breakdown vs Professional Detailing Remediation
Cost Comparison: DIY Treatment vs Professional Remediation
| Remediation Option | Estimated Cost Range | Included Scope & Labor |
|---|---|---|
| DIY Home Remediation | $25 to $65 | Includes N95 mask, vinegar, isopropyl alcohol, microfiber towels, spray bottles, and new cabin filter. Your personal labor. |
| Professional Detailer Cleaning | $200 to $500 | Includes hot water thermal extraction, chemical sanitization, steam cleaning, and ozone machine odor elimination. |
| Full Biohazard Restoration | $750 to $2,000+ | For extreme widespread black mold infestations requiring interior teardown, carpet replacement, and toxic mold certification. |
Conclusion: Take Action to Restore Your Car Cabin Health Today
Removing mold and mildew from your car interior is a crucial task for preserving both your health and your vehicle resale value. By acting quickly, wearing proper personal protective gear, using non damaging surface disinfectants like distilled white vinegar or isopropyl alcohol, and eliminating the underlying moisture leak, you can safely eradicate fungal growth and restore clean air to your vehicle.
Remember that surface cleaning alone is only half the battle. Thorough extraction drying, replacing your cabin air filter, and implementing continuous humidity controls will ensure your car remains clean, fresh, and mold free for every journey ahead.
Next Step: Take Control of Your Vehicle Interior Health
Are you dealing with persistent damp odors or recurring vehicle leaks? Download our free Vehicle Leak Detection and Seasonal Interior Maintenance Checklist to audit your rubber seals, sunroof drains, and HVAC system today. Keep your drive fresh, safe, and completely mold free!