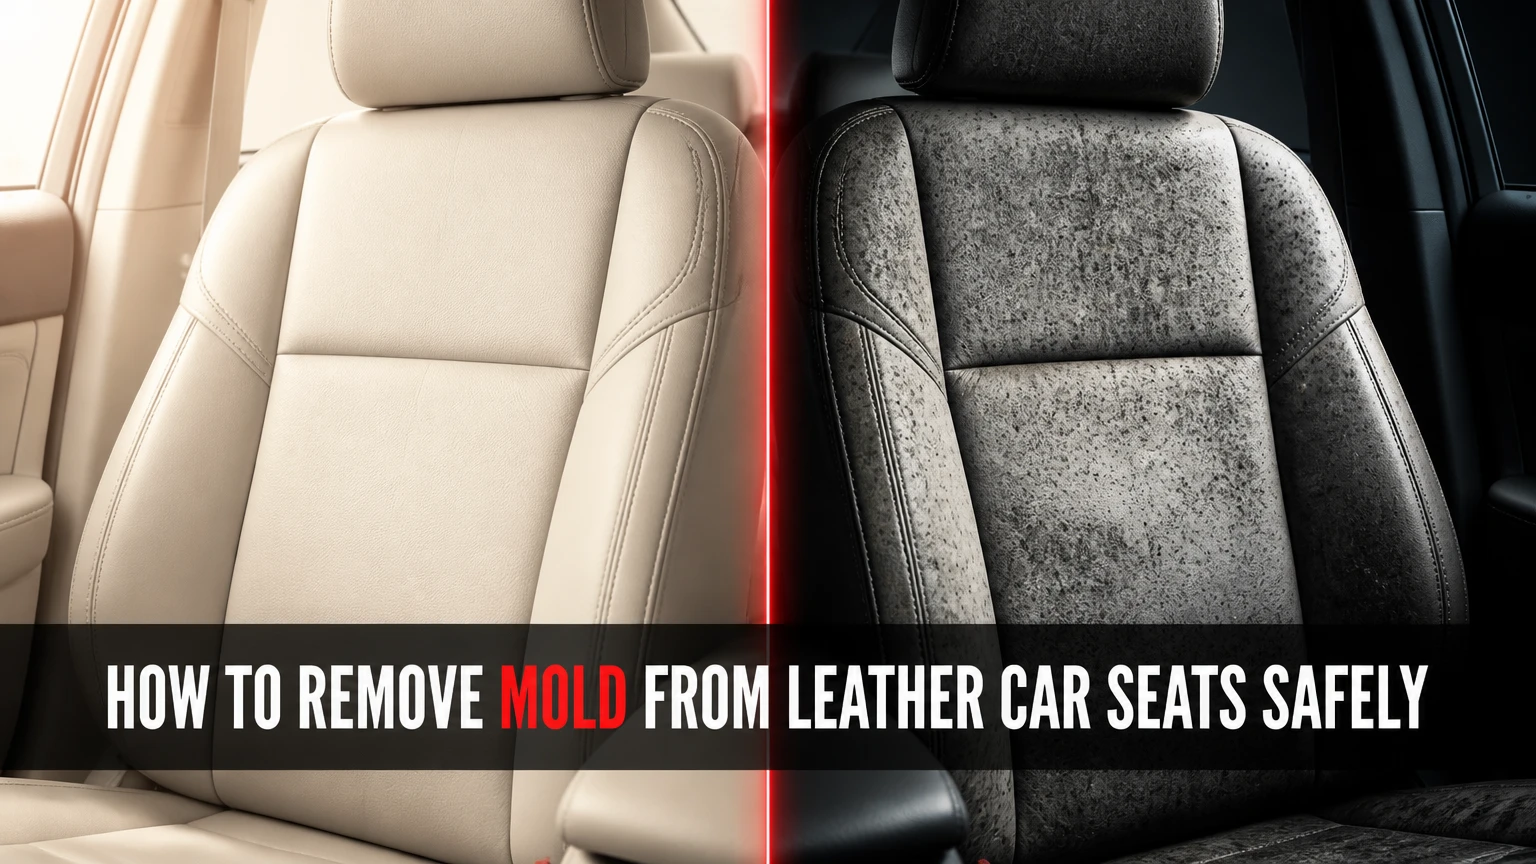
To remove mold from leather car seats, isolate the moisture source, remove dry surface growth with a HEPA-filtered vacuum, clean with a leather-compatible product, and dry the seat and foam completely. Test every solution first, avoid bleach and saturation, and use professional remediation when mold is widespread, embedded, or causing persistent respiratory symptoms.
Key facts at a glance
Mold on leather car seats requires moisture removal, physical cleaning, and complete drying; conditioner alone does not kill or remove mold.
A HEPA-filtered vacuum should remove loose, dry residue before wet cleaning, while ordinary household vacuums can redistribute spores.
Leather cleaner or a manufacturer-approved mold product is the safest first choice; diluted isopropyl alcohol can damage dye or finish.
Perforated leather requires less liquid than solid leather because cleaner can enter the foam through seat holes and seams.
Never use bleach, ammonia, acetone, or mixed chemicals on automotive leather.
Typical light surface treatment takes 1-2 hours, but the vehicle may need 12-24 hours of controlled drying.
Why Mold Appears on Leather Car Seats
Mold appears on leather car seats when moisture remains long enough for airborne spores to germinate. Common causes include a leaking door membrane, clogged sunroof drain, wet clothing, flooded carpet, failed windshield seal, condensation, or a vehicle stored with poor ventilation.
Automotive leather is usually a coated finish over a pigmented hide, not an unprotected raw surface. Mold can still colonize dust, body oils, food residue, thread, backing fabric, and foam around the leather. The leather itself may discolor or crack, but the hidden seat cushion and carpet often hold the moisture that causes recurrence.
White, gray, green, or black growth can all be mold or mildew. Color does not reliably identify species or toxicity. The practical distinction is location and depth: powder on the surface is a small cleaning job, while growth in seams, perforations, foam, carpet, or HVAC components is a vehicle-interior remediation problem.
Is the growth mold or ordinary dirt?
Mold commonly has a fuzzy, powdery, or irregular appearance and may return after wiping. Dirt usually forms a flat, transferable film that does not regenerate when the area remains dry. A musty odor supports the mold diagnosis, but smell alone cannot identify the substance.
Do not scrape or brush suspected mold aggressively inside a closed vehicle. Friction aerosolizes particles and spreads contamination to the steering wheel, dashboard, carpet, and cabin filter. Photograph the affected area first, then assess whether growth is limited to one seat or present throughout the cabin.
What You Need Before Cleaning
A light, localized job typically needs an N95 or better respirator, nitrile gloves, sealed eye protection, two to four microfiber towels, a HEPA-filtered vacuum, a soft leather brush, a leather-safe cleaner, distilled water, a spray bottle for controlled application, and a leather conditioner approved for automotive coated leather.
Before-you-start checklist
| Requirement | Typical specification | Why it matters |
|---|---|---|
| Working location | Outdoors or open-sided garage | Reduces airborne-spore concentration |
| Cleaning time | 45-90 minutes | Covers vacuuming, wiping, rinsing, and drying setup |
| Drying time | 12-24 hours | Allows seams, perforations, and foam to lose moisture |
| PPE | N95, nitrile gloves, sealed goggles | Limits inhalation, skin, and eye exposure |
| Vacuum | HEPA shop vacuum, sealed collection system | Captures fine dry particles more effectively |
| Cleaner amount | 15-30 ml per seat section | Limits saturation and foam penetration |
| Test area | 5 cm hidden section | Detects dye transfer or finish damage |
Remove child seats, seat covers, loose objects, and floor mats before starting. Put contaminated washable items in sealed bags until they can be cleaned separately. Disconnecting the vehicle battery is not normally required for surface wiping, but avoid liquid near seat-mounted airbags, electrical connectors, heating controls, and seatbelt pretensioners.
When should you stop and hire a professional?
Professional remediation is the safer choice when mold covers multiple rows, affects more than roughly 1 square meter of interior surface, penetrates seat foam, follows flooding, appears inside HVAC ducts, or returns after two complete drying cycles. Hire a specialist sooner if anyone in the household has asthma, severe mold allergy, immune suppression, or persistent breathing symptoms.
A professional should explain whether the service includes seat removal, carpet extraction, cabin-filter replacement, source-leak diagnosis, antimicrobial treatment, and drying. “Ozone treatment only” is not a complete mold-removal plan because ozone does not remove physical residue or correct wet foam.
How to Remove Mold From Leather Car Seats
The safest procedure has seven stages: stop the moisture, ventilate and protect yourself, vacuum dry residue, test a cleaner, wipe in small sections, rinse without soaking, and dry the entire seat and cabin. The most important success factor is not the strength of the disinfectant; it is preventing moisture from remaining inside the cushion.
Step 1: Find and stop the moisture source
Inspect the door seals, door vapor barriers, windshield and rear-window seals, sunroof drains, trunk side wells, carpet beneath the seats, and air-conditioning drain. Feel the carpet and seat seams with a dry paper towel, because foam can remain wet while the leather surface feels dry.
Do not begin wet cleaning until the leak is repaired or the source of condensation is controlled. If the vehicle has been flooded with dirty or sewage-contaminated water, treat the interior as contaminated material rather than as a normal detailing project.
Success checkpoint: The carpet and seat seams remain dry after several hours with doors closed.
Common mistake: Cleaning visible spots while leaving a blocked sunroof drain or wet carpet underneath the seat.
Step 2: Move the vehicle outdoors and put on PPE
Park in a shaded, well-ventilated outdoor location with all doors open. Direct sunlight can warm and dry materials, but it should not be treated as a reliable mold disinfectant, and prolonged heat can dry leather coatings or fade dyes.
Wear an N95 respirator, nitrile gloves, and eye protection before disturbing the growth. Keep children, pets, and people with respiratory conditions away from the work area. Do not run the air conditioner during initial cleaning because the blower can move particles through the cabin.
Success checkpoint: Air can flow through the vehicle without forcing contaminated air toward your face.
Common mistake: Using a disposable dust mask that does not provide the filtration or seal of a properly fitted respirator.
Step 3: Vacuum loose mold with a HEPA machine
Use a sealed HEPA shop vacuum on dry surfaces. Hold the nozzle slightly above the leather at first, then make slow overlapping passes over the seat surface, welt, stitching, seatback gap, and floor around the seat. Avoid using a stiff brush that grinds growth into the grain.
Vacuum before applying liquid because wetting loose mold turns removable particles into residue and may drive contamination into seams. Empty or seal the collection bag outdoors according to the vacuum manufacturer’s instructions. Never use compressed air, a household feather duster, or a non-HEPA vacuum inside the cabin.
Success checkpoint: No loose powder transfers when a clean, dry microfiber towel is lightly passed over the surface.
Common mistake: Vacuuming only the visible patch while leaving spores on adjacent carpet, plastic trim, and seat rails.
Step 4: Test the leather cleaner
Identify the seat material if possible. Factory automotive leather normally has a protective polyurethane coating, while aniline, semi-aniline, repaired, dyed, synthetic leather, and vinyl surfaces have different tolerances.
Apply a small amount of a pH-balanced automotive leather cleaner or manufacturer-approved mold remover to a hidden 5 cm area. Wait at least 5-10 minutes, then wipe and inspect under bright light for dye transfer, gloss change, stickiness, whitening, or a softened finish.
| Cleaner or method | Typical strength or setting | Best use | Main limitation |
|---|---|---|---|
| Automotive leather cleaner | Ready-to-use, pH-balanced | First choice for coated leather | May not reach embedded foam |
| Leather mold remover | Product-label dilution | Visible mold on compatible leather | Formula compatibility varies |
| Isopropyl alcohol | 70% product diluted 1:1 with distilled water | Small, light surface spot after testing | Can dull finish or lift dye |
| Distilled water | Damp cloth only | Final residue removal | Does not remove established mold alone |
| White vinegar | Not a preferred first choice | Limited emergency spot treatment | Acidic odor and finish uncertainty |
| Steam | Manufacturer-approved low-pressure use | Professional hard-surface work | Heat and moisture can damage seats |
The commonly repeated 1:1 alcohol-and-water formula is not universally safe. Isopropyl alcohol can dissolve or soften some coatings, remove dye from repaired leather, and leave a dry or cloudy appearance. Vinegar is also not automatically safe simply because it is household-grade; undiluted vinegar can affect finish, stitching, odor, and adjacent materials.
Success checkpoint: The test area retains its original color, sheen, texture, and hand feel after drying.
Common mistake: Testing only for immediate color change and ignoring dullness or tackiness that appears after the area dries.
Step 5: Clean one small section at a time
Put the cleaner on a microfiber towel or soft brush, not directly onto the seat. Work in sections of approximately 20 by 20 cm, using light overlapping strokes rather than forceful circular scrubbing. Use a soft horsehair or upholstery brush only on durable grain, and avoid brushing perforations.
Use about 5-10 ml of product for each 20 by 20 cm section, adjusting downward for perforated leather. Fold the towel frequently so removed residue does not return to the surface. Replace towels when they become visibly dirty.
A cleaner removes physical residue, but product claims about “killing mold” should be judged by the label and intended surface. No household wipe can guarantee eradication of mold inside foam, carpet backing, or HVAC ducts.
Success checkpoint: The visible residue lifts onto the towel without dye transfer, excessive foam, or wetness around the perforations.
Common mistake: Applying more product when a stain remains. A dark mark may be permanent dye damage rather than live surface growth.
Step 6: Wipe away residue and dry immediately
Dampen a separate microfiber towel with distilled water and wring it until it is only slightly moist. Wipe the cleaned section once or twice to remove cleaner residue, then dry it with a fresh towel. Do not flush the leather with water or use an extractor on a seat containing wiring, heating elements, or airbags unless the equipment and procedure are designed for automotive interiors.
Open the doors and use fans to move air across the cabin. A household dehumidifier placed outside the vehicle can lower ambient humidity, but a portable unit inside a closed car is a fire and clearance concern unless the manufacturer specifically permits that setup.
Success checkpoint: The leather feels dry and normal within several minutes, and no damp ring forms at seams or perforations.
Common mistake: Closing the vehicle immediately after wiping, which traps evaporated water in the cabin and delays foam drying.
Step 7: Condition only after the seat is fully dry
Wait until the leather, seams, carpet, and surrounding foam are completely dry. Apply a thin coat of automotive leather conditioner to clean, intact coated leather, then buff away excess after the label’s stated dwell time.
Conditioner restores feel and reduces drying from cleaning; it does not sterilize mold or repair rotted hide. Avoid heavy oils such as coconut oil, cooking oil, petroleum jelly, or mink oil on modern car seats because they can leave residue, attract soil, alter gloss, and interfere with later refinishing.
Do not condition peeling, sticky, delaminated, or actively wet leather. Those symptoms indicate finish failure or deeper moisture, not a need for more oil.
Which Mold Cleaner Is Safest for Leather?
A manufacturer-approved leather cleaner is usually the safest starting point, while diluted isopropyl alcohol is a limited option for a tested, small surface spot. No cleaner is preferable to source repair and drying, and no surface chemical reliably remediates mold inside seat foam.
| Option | Typical DIY cost | Contact or work time | Finish risk | Appropriate situation |
|---|---|---|---|---|
| Leather cleaner | $10-$25 | 20-40 minutes | Low when label-approved | Coated leather and light growth |
| Leather mold-removal product | $15-$40 | 30-60 minutes | Low to moderate | Persistent surface contamination |
| 1:1 diluted 70% alcohol | $3-$8 | 10-20 minutes | Moderate to high | Tested, isolated coated-leather spot |
| Diluted white vinegar | $2-$6 | 20-30 minutes | Moderate, odor persists | Emergency alternative after testing |
| Professional antimicrobial service | $150-$500 typical | 4-8 hours plus drying | Depends on process | Widespread or recurring mold |
Can you use alcohol on leather car seats?
You can use diluted isopropyl alcohol only after a hidden-area test confirms that the specific leather finish tolerates it. Alcohol evaporates quickly and may reduce surface contamination, but it can strip protective coating, lift aftermarket dye, dry repaired leather, and leave uneven gloss.
Never pour alcohol into perforations or seams. Do not combine alcohol with bleach, ammonia, peroxide, vinegar, or other cleaners. Follow the product label and vehicle manufacturer guidance when they conflict with internet recipes.
Is vinegar better than alcohol?
Neither vinegar nor alcohol is universally better for automotive leather. Alcohol generally dries faster but carries higher finish risk, while vinegar may leave an odor and has uncertain compatibility with dyes, coatings, and stitching; a dedicated leather product offers the more predictable first test.
A vinegar solution should never be presented as a guaranteed treatment for every mold species or leather type. Household vinegar may reduce some surface growth, but its performance varies with concentration, contact time, soil load, and surface condition. Wipe residue away and dry the area fully if it is used as a last-resort spot treatment.
What Should You Never Put on Moldy Leather?
Bleach, ammonia, acetone, abrasive powders, household disinfectant sprays, concentrated peroxide, and undiluted acids should not be used on leather car seats. These chemicals can discolor the finish, weaken stitching, create toxic vapors, or damage foam and electrical components beneath the upholstery.
Steam also requires restraint. High heat and added water can loosen bonded coatings, push moisture into foam, and deform perforated leather. Professional detailers may use controlled vapor on suitable surfaces, but a domestic steam cleaner is not a substitute for mold remediation.
Why does mold return after cleaning?
Mold returns when the moisture source remains active or when contamination survives in foam, carpet, seat backing, or the HVAC system. A clean leather surface cannot prevent regrowth if the cushion remains damp beneath it.
Check the following locations:
- Carpet under the seat and insulation beneath the carpet.
- Door membranes, sunroof drains, windshield seals, and trunk wells.
- Seat seams, perforations, rear seatback cavities, and child-seat contact points.
- Cabin air filter housing, evaporator case, and blower intake.
- Damp clothing, spilled drinks, wet umbrellas, and storage condensation.
Use a hygrometer to monitor the cabin during drying. A typical target is below 50% relative humidity for sustained drying, although temperature and vehicle design affect the reading. Replace a visibly moldy cabin air filter rather than vacuuming and reinstalling it.
How Do You Handle Perforated or Damaged Leather?
Perforated leather needs a low-moisture method because every hole can transfer cleaner into the seat cushion. Damaged, peeling, sticky, or aniline leather needs a professional assessment because wiping can remove remaining pigment or finish.
| Seat condition | Liquid limit | Tool choice | Escalation point |
|---|---|---|---|
| Solid coated leather | 5-10 ml per 20 cm section | Microfiber and soft brush | Dye transfer or repeated regrowth |
| Perforated leather | 2-5 ml per 20 cm section | Damp microfiber, minimal brushing | Wet foam or mold inside holes |
| Peeling coated leather | Damp cloth only | Soft microfiber | Any visible flaking |
| Aniline or semi-aniline | Product-label amount | Specialized leather product | Immediate color transfer |
| Synthetic leather or vinyl | Label-approved cleaner | Microfiber and soft brush | Cracking, lifting, or sticky film |
For perforations, keep the towel nearly dry, wipe across the holes rather than pushing liquid into them, and use a dry towel immediately afterward. Do not insert cotton swabs or brushes deep into holes because they can push residue into the foam.
When seat foam is affected, surface treatment is incomplete. Seat removal, foam replacement, or controlled antimicrobial treatment may be necessary, particularly after flooding or prolonged water exposure.
How Much Time and Money Does Removal Take?
A small surface patch typically costs $10-$40 and takes 45-90 minutes to clean, followed by 12-24 hours of drying. Professional interior mold remediation commonly costs $150-$500 for a limited vehicle problem and can exceed $1,000 when seats, carpet, foam, HVAC components, or water damage require removal.
| Problem scope | DIY labor time | Professional time | Typical cost range |
|---|---|---|---|
| One small surface patch | 45-90 minutes | 2-4 hours | $10-$150 |
| One seat with seam growth | 1-2 hours plus drying | 4-8 hours | $150-$400 |
| Multiple seats and carpet | Not recommended | 1-2 days | $400-$1,000 |
| Flooded or foam-embedded interior | Not recommended | 2-5 days | $800-$2,500+ |
Prices vary by country, vehicle size, contamination level, and whether the service removes seats and carpet. Replacement may cost less than restoration when leather has rotted, the foam smells after drying, or the seat contains extensive electrical damage.
Common Mistakes and How to Fix Them
Saturating the seat
Excess spray enters seams and foam, extending the drying period and feeding recurrence. Stop adding liquid, blot repeatedly, position fans across the seat, and inspect the carpet below before cleaning again.
Using bleach to remove black mold
Bleach can damage leather dye and coating while failing to penetrate porous materials reliably. Stop if discoloration or a chlorine odor appears, wipe according to the product’s safety guidance without mixing chemicals, and seek professional advice for significant exposure.
Scrubbing until the stain disappears
Some black or gray marks are permanent pigment loss, abrasion, or mold damage beneath the finish. Continued scrubbing removes more coating without restoring color. Once the surface is clean and dry, use a qualified leather repair technician for recoloring.
Treating only the visible seat
Mold on a seat often indicates moisture elsewhere in the cabin. Inspect the carpet, under-seat insulation, trunk, door cavity, and cabin filter before declaring the job complete.
Running an ozone generator as the only treatment
Ozone may reduce some odors under controlled professional conditions, but it does not remove mold residue, dry wet foam, or repair leaks. Ozone can irritate lungs and damage rubber, adhesives, and some interior materials; never occupy the vehicle during treatment, and follow equipment and local safety instructions.
Conditioning before drying
Oil and conditioner can trap moisture and mask a musty smell. Wait until the seat and adjacent materials are dry, then apply a thin, compatible conditioner only to stable leather.
How Can You Prevent Mold From Returning?
Prevent recurrence by repairing leaks, drying wet upholstery within 24 hours when possible, replacing contaminated cabin filters, and storing the vehicle below roughly 50-60% relative humidity. Keep windows closed during rain, remove wet items, and inspect the cabin after flooding or prolonged damp storage.
Use these maintenance controls:
- Check sunroof drains and door seals twice yearly.
- Lift floor mats after heavy rain and feel the carpet underneath.
- Run the air conditioner periodically to reduce cabin humidity, while ensuring its drain is clear.
- Leave wet clothing and towels outside the vehicle.
- Keep a moisture absorber in a stored vehicle only as supplemental control, not as a cure for leaks.
- Recheck cleaned seats after 48 hours and again after one week.
- Replace a cabin air filter when it smells musty or shows visible contamination.
The practitioner rule is simple: if the odor returns when the car warms up, inspect hidden materials before applying a stronger chemical. Heat releases volatile odors from damp foam and carpet, so recurrence after sunlight is evidence for further inspection, not proof that sunlight killed the source.
FAQ
Is black mold on a leather car seat dangerous?
Black color does not identify a particular mold species or determine toxicity. Any extensive indoor vehicle mold can irritate the eyes, skin, and respiratory system, especially for people with asthma or immune suppression. Avoid disturbing widespread growth, ventilate from outside, and arrange professional assessment when symptoms or embedded contamination occur.
Can I clean mold from leather without removing the seat?
You can clean a small surface patch without removing the seat, provided the leather is intact and the foam is dry. Seat removal becomes appropriate when mold is in seams, perforations, underside fabric, or carpet beneath the seat, because those areas cannot be reliably assessed from the visible surface.
Will leather conditioner remove the musty smell?
Leather conditioner will not remove a musty smell caused by mold, wet foam, carpet, or the HVAC system. Conditioner can add fragrance or alter the surface temporarily, but persistent odor requires source diagnosis, drying, cabin-filter replacement, and possibly professional treatment of hidden upholstery.
Can mold grow on synthetic leather car seats?
Mold can grow on synthetic leather seats when moisture and organic residue collect on the surface, stitching, foam, or backing fabric. Vinyl and polyurethane should be cleaned with a product approved for synthetic upholstery, then dried carefully; do not assume synthetic leather eliminates the risk of contaminated foam.
How long should leather car seats dry after cleaning?
A lightly wiped coated-leather seat may feel dry within 10-30 minutes, but seams, perforations, carpet, and foam can require 12-24 hours. Use ventilation and humidity control, and do not close or store the vehicle until hidden areas remain dry and the musty odor has not returned.
Should I replace leather seats with mold on the foam?
Replace or professionally restore seats when foam remains odorous after complete drying, mold returns after source repair and cleaning, leather has rotted, or contamination extends into seat electronics. Surface mold on intact leather does not automatically require replacement, but embedded growth cannot be solved by conditioner or wiping alone.
The Bottom Line
The safest answer to how to remove mold from leather car seats is to correct the leak first, remove dry residue with HEPA filtration, apply a tested leather-compatible cleaner sparingly, wipe away residue, and dry the seat and surrounding cabin completely. Avoid bleach, saturation, aggressive scrubbing, and unverified “strong” disinfectants. If mold reaches foam, carpet, HVAC components, or multiple seats, professional remediation is the more reliable and safer option.