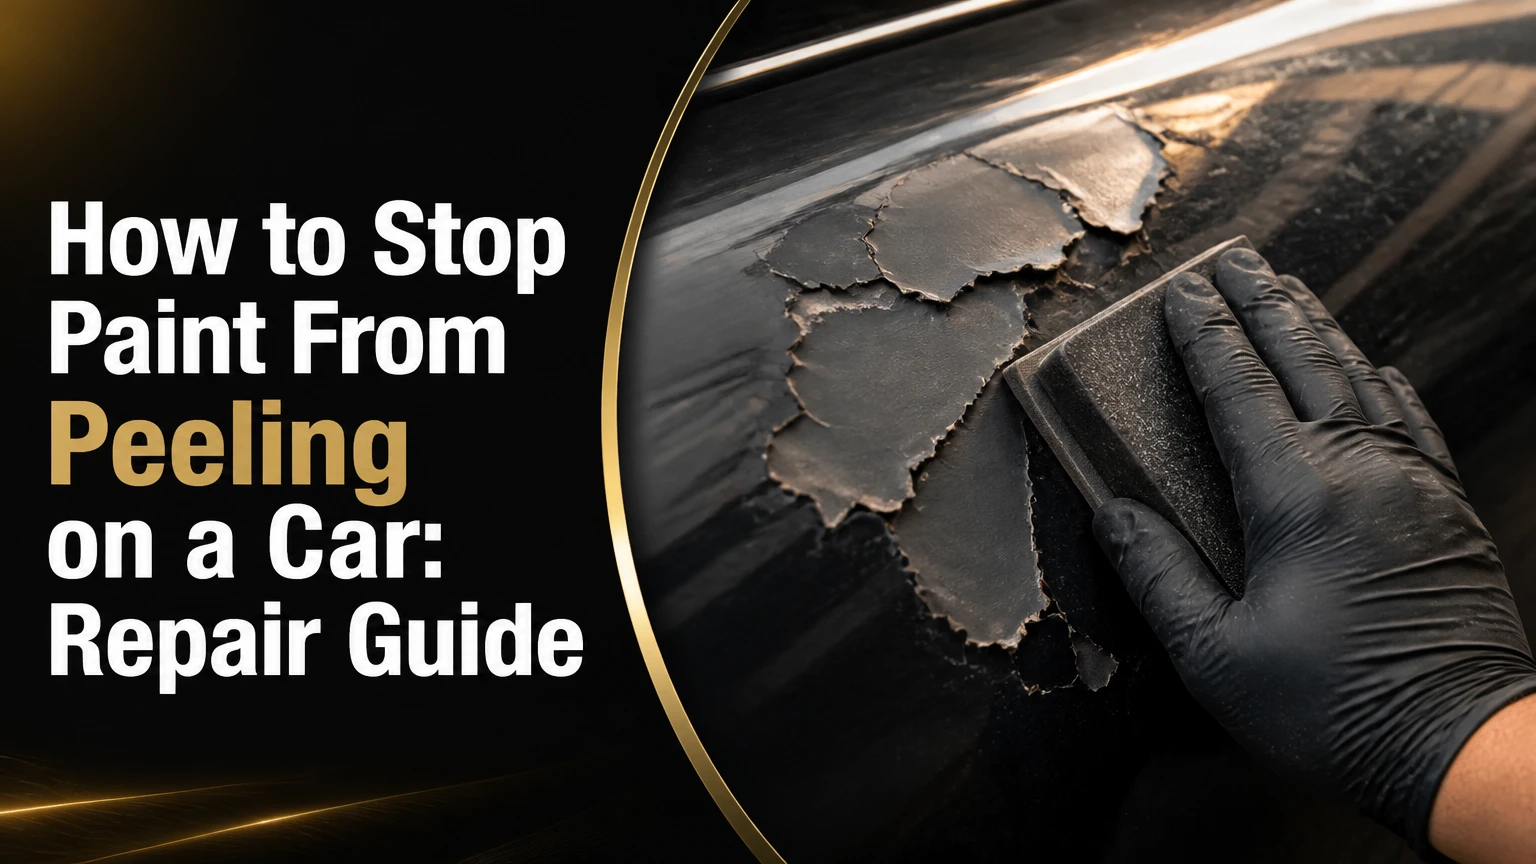
To stop paint from peeling on a car, remove every loose and poorly bonded layer, smooth and clean the exposed surface, apply the correct automotive primer and color system, then protect it with a compatible clear coat. Small chips may receive touch-up paint, but widespread delamination requires refinishing the entire panel.
Key Facts at a Glance
- Peeling automotive paint is delamination, meaning one coating layer has lost adhesion to the layer beneath it.
- New paint will not permanently bond to loose edges, oxidation, wax, silicone, rust, or contaminated plastic.
- Clear-coat failure can sometimes be repaired without removing the intact color coat, but widespread peeling usually requires a complete panel respray.
- Bare steel should receive corrosion-resistant automotive primer promptly because moisture under paint can create rust beneath apparently sound edges.
- A professional single-panel repair typically costs about $250-$750 in the United States; a DIY aerosol repair commonly costs $50-$150 before safety equipment.
- Two-component, or 2K, clear coat can produce a durable finish, but its isocyanate hazard makes unventilated DIY spraying unsafe.
Why Does Car Paint Peel?
Car paint peels when adhesion fails between the substrate, primer, base coat, or clear coat. UV degradation, inadequate surface preparation, impact damage, trapped moisture, incompatible products, and excessive heat cycles can weaken the bond until the coating lifts in sheets or flakes.
A typical modern finish contains a metal, aluminum, fiberglass, or plastic substrate; an adhesion or corrosion-control primer; a pigmented base coat; and a transparent clear coat. The exact chemistry varies by manufacturer and repair system. Bumpers also need materials that tolerate repeated flexing.
Clear coat exposed to years of ultraviolet radiation can become chalky, cloudy, brittle, or cracked. Once the clear coat loses flexibility, washing, weather, and thermal expansion can lift it from the base coat. A rock chip can create a smaller version of the same problem by exposing primer or metal to water and oxygen.
Paint failure often spreads beyond the visible flap. The edge that still looks attached may have weak adhesion underneath, so painting only the obvious center leaves a hidden failure boundary beneath the new finish.
What causes peeling paint on a car?
The most common causes are UV exposure, poor preparation during an earlier repaint, impact damage, corrosion, incompatible coatings, and moisture entering through a chip or seam. Factory paint defects can also cause premature delamination, especially when many vehicles of the same model show identical failure in the same location.
| Cause | Visible symptom | Underlying mechanism | Usual remedy |
|---|---|---|---|
| UV clear-coat failure | White haze, yellowing, broad flakes | Clear coat becomes brittle and loses bond | Sand failing layers and refinish panel |
| Rock chip | Local crater, sharp lifted edge | Impact breaks coating and exposes substrate | Clean, prime, color-match, and clear |
| Poor previous repair | Peeling in a rectangle or feathered zone | Contamination, insufficient sanding, or incompatible paint | Strip to a sound, compatible layer |
| Steel corrosion | Brown bubbles, blisters, perforation | Oxidation expands under coating | Remove corrosion, repair metal, prime |
| Plastic bumper failure | Large flakes after minor flexing | Missing adhesion promoter or flexible primer | Strip, promote adhesion, prime, repaint |
| Moisture contamination | Blisters or bubbles after painting | Water or solvent remains beneath coating | Strip affected area and allow substrate to dry |
How Can You Tell Which Paint Layer Is Failing?
Identify the lowest failing layer before buying materials. A clear-coat failure usually leaves an even, colored base coat underneath, while base-coat failure exposes primer or substrate and demands a more extensive repair.
Inspect the panel in indirect daylight after washing and drying it. Do not use polish first, because polishing can temporarily improve a failing clear coat and obscure the actual boundary.
Run a clean fingernail lightly across the edge. A sharp ridge indicates lifted material, but a smooth edge does not prove that the surrounding paint is sound. Examine nearby chips, bubbles, rust staining, and changes in color.
| Failure type | Diagnostic appearance | What remains underneath | Repair scope |
|---|---|---|---|
| Clear-coat delamination | Transparent flakes, milky haze, dull patches | Uniform color coat | Sand and re-clear if base coat remains stable |
| Base-coat peeling | Colored flakes or missing color | Gray, white, or red primer | Prime, color-match, and clear |
| Primer failure | Paint lifts to a contrasting underlayer | Bare steel, aluminum, or plastic | Prepare substrate and rebuild coating system |
| Rust blistering | Raised bubbles with brown edges | Corroded steel | Remove rust and inspect metal thickness |
| Bumper failure | Flexible flakes on plastic fascia | Black, gray, or colored plastic | Adhesion promoter plus flexible primer |
A useful test is controlled sanding in an inconspicuous part of the damaged area. If the coating powders evenly and the color remains firmly attached, clear-coat-only repair may be possible. If the color curls, lifts, or separates under light sanding, continue to a sound layer and plan to repaint.
Can Peeling Paint Be Stopped Without Repainting the Panel?
Peeling paint cannot be permanently stopped by wax, ceramic coating, polish, or clear spray applied over loose material. A small isolated chip can receive touch-up paint, but active clear-coat delamination normally needs sanding beyond the visible damage and often a complete panel refinish.
Wax and ceramic products protect intact paint from contamination and some UV exposure; they do not restore a failed chemical bond. Paint sealants also cannot stop water that has already entered beneath a lifted coating.
A small repair may be acceptable on an older daily driver where rust prevention matters more than invisible blending. On a hood, roof, trunk, or door with broad clear-coat failure, an isolated aerosol patch usually creates a visible halo and leaves adjacent weak paint ready to peel again.
Repair options compared
| Repair method | Typical US cost | Typical time | Expected appearance | Appropriate damage |
|---|---|---|---|---|
| Touch-up pen or brush | $15-$50 | 1-3 hours plus curing | Visible at close range | Chips under about 1/4 inch |
| Aerosol spot repair | $50-$150 | 1-2 weekends | Moderate color and gloss match | Small isolated area on an older car |
| Single-panel respray | $250-$750 | 3-7 business days | Good to factory-like | Broad peeling on one panel |
| Panel blend and clear | $400-$1,000 | 3-7 business days | Best color transition | Metallic or pearl color mismatch |
| Economy full repaint | $1,500-$5,000 | 1-3 weeks | Variable masking and durability | Older vehicle with widespread failure |
| High-quality full refinish | $5,000-$15,000 or more | 2-6 weeks | Factory-level potential | Valuable, restored, or collectible vehicle |
Prices vary with labor rates, paint type, corrosion, disassembly, and whether adjacent panels need blending. A shop that quotes a very low price may be omitting corrosion repair, panel removal, primer sealer, or a proper clear coat.
What Do You Need Before Starting?
A small aerosol repair needs a clean work area, automotive abrasives, compatible coatings, masking materials, and appropriate respiratory and skin protection. Plan one to two weekends for a careful repair, because drying and curing intervals matter more than the minutes spent spraying.
Before-you-start checklist
| Requirement | Typical specification or quantity | Why it matters |
|---|---|---|
| Work environment | 70-80°F, ideally below 50% relative humidity | Controls evaporation, flow, and curing |
| Abrasives | 80-180 grit for stripping, 320-400 for feathering, 600-800 for primer | Matches each preparation stage |
| Cleaning products | Automotive wax and grease remover, lint-free wipes, tack cloth | Removes silicone, oil, and dust |
| Primer | 2-3 light coats of compatible automotive primer | Seals and levels exposed substrate |
| Base coat | Vehicle paint code, usually 2-4 light coats | Restores color and coverage |
| Clear coat | Compatible 1K or 2K system | Protects color and provides gloss |
| Masking | Automotive tape, masking paper, plastic sheeting | Prevents overspray and hard tape edges |
| Safety equipment | Chemical-resistant gloves, eye protection, approved respirator | Reduces exposure to dust and vapors |
Use the product technical data sheet as the controlling authority. Flash times, recoat windows, reducer selection, and sanding requirements differ between brands and temperatures.
Do not spray 2K products in a garage, enclosed carport, or near an ignition source without professional-grade ventilation and respiratory protection. Many 2K clear coats contain isocyanates, and a common cartridge respirator may not provide adequate protection. A body shop is the safer choice when 2K spraying is required.
How to Stop Paint From Peeling on a Car, Step by Step
The repair sequence is: wash, inspect, remove failing paint, feather the edge, treat the substrate, prime, apply color, clear the panel, and allow full cure. Surface preparation determines the result more than the brand of aerosol, and every coating must be compatible with the layer beneath it.
Step 1: Wash, dry, and inspect the panel
Wash the panel with automotive shampoo and water, then dry it completely. A wax-removing cleaner may be used afterward; ordinary dish detergent can remove some surface oils but is not a substitute for automotive wax and grease remover.
Remove trim where practical rather than burying its edges under tape. Mark the outer boundary of peeling paint with removable tape so the repair does not gradually expand without control.
Success checkpoint: The panel has no visible wax, tar, silicone, loose flakes, or moisture.
Common mistake: Starting to sand while water remains inside a molding, emblem, or seam.
Step 2: Remove all loose and unstable paint
Use a plastic scraper, abrasive pad, or hand sanding to remove every flake that moves under light pressure. Avoid aggressive grinding on thin body metal, aluminum, or sharp panel contours because heat and deep scratches create new repair work.
For broad delamination, begin with approximately 80-180 grit only where stripping is necessary. Move to 320-400 grit as the edge becomes stable. Do not stop at the first layer that looks attached.
Success checkpoint: Pressing masking tape over the boundary and lifting it does not pull additional paint away.
Common mistake: Painting over a hard, lifted ridge because the visible hole appears small.
Step 3: Feather the peeling edge
Sand outward from the exposed area until each coating transition is smooth to the touch. A feathered edge has no perceptible step between bare substrate, primer, color, and intact finish, although the sanded area may extend several inches beyond the original peel.
Use a sanding block on broad flat panels and flexible abrasive material around curves. Finish the repair perimeter with approximately 320-400 grit, or the grit specified by the primer system.
Success checkpoint: Close your eyes and slide a fingertip across the repair; you should not feel a lip.
Common mistake: Using only fine 1000-2000 grit, which polishes the edge instead of creating a mechanical bond.
Step 4: Treat rust and exposed metal
Bare steel requires complete rust removal before primer. Sand surface rust to bright, clean metal, inspect for pinholes or perforation, and use a compatible epoxy or corrosion-control primer where the product system specifies it.
Aluminum needs different preparation from steel, and galvanized panels can require a compatible etch or epoxy primer. Follow the vehicle and coating manufacturer’s instructions rather than applying an arbitrary acid treatment.
Success checkpoint: The substrate is dry, solid, and free of orange-brown corrosion.
Common mistake: Sealing brown rust beneath primer, which allows corrosion to continue unseen.
If rust has perforated the panel, stop the cosmetic repair. A metal patch or panel replacement is required before refinishing.
Step 5: Degrease and mask the surrounding area
Blow or wipe away sanding dust, then use a dedicated wax and grease remover with two cloths: one damp cloth to dissolve contamination and one dry cloth to remove it before evaporation leaves residue. Apply tack cloth lightly immediately before spraying.
Mask beyond the sanded area and create a soft transition at panel edges when possible. Openings, glass, handles, tires, and adjacent panels need protection from overspray.
Success checkpoint: A clean white wipe shows no brown, gray, oily, or colored residue.
Common mistake: Touching the prepared panel with bare hands, transferring skin oil to the bond surface.
Step 6: Prime the exposed substrate
Apply two or three light coats of compatible automotive primer if metal, plastic, or old primer is exposed. Respect the can’s flash interval, commonly 5-15 minutes, and allow the final coat to dry for the product’s stated period before sanding.
Plastic bumpers need adhesion promoter first when the coating system requires it. Adhesion promoter is not the same as high-build primer, and high-build primer alone cannot correct a missing plastic-bond layer.
Sand cured primer with approximately 600-800 grit until the surface is uniformly smooth. Remove dust again before applying color.
Success checkpoint: Primer coverage is uniform, with no glossy bare spots, sanding scratches, or exposed substrate.
Common mistake: Applying one heavy coat, which traps solvent and creates sagging or later shrinkage.
Step 7: Apply the color-matched base coat
Confirm the paint code from the vehicle identification label or manufacturer documentation. A color code identifies the intended formula, but age, sun exposure, metallic orientation, and previous repairs can still make a new aerosol visibly different.
Shake the product for the time specified, test the spray pattern on masking paper, and apply two to four light, overlapping coats. Hold the can at a consistent distance, commonly 6-10 inches, and keep it moving before pressing and after releasing the nozzle.
Allow each coat to flash according to the label, often 10-20 minutes under moderate conditions. Metallic and pearl colors may require consistent spray distance and overlap because changing application angle changes flop and apparent color.
Success checkpoint: The color is even, dry-looking between coats, and free of wet runs.
Common mistake: Applying one thick coat to achieve coverage quickly, causing solvent entrapment and poor blending.
Step 8: Apply compatible clear coat
Apply clear only within the base coat’s recoat window. A common system uses two or three coats, with the first coat lighter and later coats wet enough to flow without sagging.
1K clear is easier to use and may suit a small, low-cost repair, but it generally has lower chemical and abrasion resistance than a properly applied 2K system. The statement that every 1K clear will peel within six months is not reliable; product quality, preparation, UV exposure, and application determine service life.
2K clear can provide better hardness and durability, but the curing agent creates significant inhalation and skin hazards. Follow the safety data sheet, use supplied-air protection where required, and leave professional 2K spraying to a properly equipped shop.
Success checkpoint: The clear has consistent gloss, no dry spray, curtains, or craters.
Common mistake: Spraying over a contaminated or chemically incompatible base coat.
Step 9: Cure, level, and polish only when appropriate
Keep the repaired panel clean and dry during the product’s specified cure period. Typical aerosol systems may be dust-free within 30-60 minutes but remain vulnerable for several days; do not assume that a dry surface has reached full hardness.
After complete cure, minor dust nibs or orange peel can be wet-sanded with 1500-2000 grit and polished. Do not compound fresh paint prematurely, and do not sand through the clear coat while trying to remove texture.
Success checkpoint: The finish remains stable under light polishing and has no soft, gummy, or solvent-sensitive areas.
Common mistake: Waxing or ceramic-coating the repair before the manufacturer’s full cure period.
Which Paint-Peeling Repairs Need a Professional?
Professional repair is the better choice when peeling covers most of a panel, rust has perforated metal, color matching is demanding, or 2K products are required. A body shop can remove trim, use controlled spray conditions, blend adjacent panels, and measure whether the surrounding finish has adequate adhesion.
Choose professional work for metallic, tri-coat, pearl, matte, and heavily faded finishes. These coatings are difficult to match with a small spray can because pigment distribution and viewing angle alter the perceived color.
A shop should explain whether it will sand to a sound coating, bare metal, or plastic; identify the primer and clear system; include corrosion repair; and state its adhesion warranty in writing. A three-to-five-year warranty may be available for a properly repaired panel, but warranty terms vary by shop, materials, climate, and maintenance.
When is a full-panel repaint better than a spot repair?
A full-panel repaint is better when delamination extends across a hood, roof, trunk, or door, or when the old edge has multiple unstable zones. Spot repairs save money only when the surrounding coating is firmly bonded and the color transition can be hidden.
| Situation | Recommended approach | Reason |
|---|---|---|
| One chip under 1/4 inch | Touch-up paint | Limits exposed metal and keeps cost low |
| One isolated peel under 2 inches | Local preparation and aerosol repair | Acceptable on older daily drivers |
| Peeling across 20-40% of panel | Full-panel refinish | Prevents visible halos and repeat failure |
| Metallic or pearl color | Panel respray with blend | Controls color transition |
| Rust bubbles or perforation | Metal repair before paint | Coating cannot repair structural corrosion |
| Several panels failing | Restoration estimate or economy repaint | Local patches often produce uneven gloss |
What Should You Do if the Bumper Paint Is Peeling?
Peeling bumper paint requires stripping unstable coating, cleaning the plastic, applying adhesion promoter, using a compatible flexible primer, and then applying the color and clear system. Metal-panel primer alone often fails because bumper plastic flexes and has lower surface energy.
Remove the bumper when practical so its edges and mounting areas can be prepared correctly. Identify the plastic type if the product instructions require it, and avoid harsh solvents that soften or swell the substrate.
A bumper with impact damage may need plastic welding or replacement before paint. PPF, vinyl wrap, and ceramic coating should not cover active peeling because the film or coating will follow the unstable layer when it lifts.
How Much Does It Cost and How Long Does It Take?
A DIY peeling-paint repair typically costs $50-$150 for abrasives, cleaner, primer, color, clear, masking supplies, and disposable protection, while a professional single-panel repair commonly costs $250-$750 and takes three to seven business days.
| Repair scope | DIY materials | Professional price | Typical elapsed time |
|---|---|---|---|
| Small chip | $15-$50 | $75-$200 | 1-2 days including cure |
| Small clear-coat patch | $50-$150 | $250-$500 | 2-5 days |
| Hood, roof, or trunk panel | $100-$250 | $400-$1,000 | 3-7 business days |
| Rust-damaged panel | $150-$500 | $600-$2,000 or more | 5-14 business days |
| Full vehicle repaint | Usually impractical | $1,500-$15,000 or more | 1-6 weeks |
These are typical United States ranges, not fixed quotes. Labor rates, disassembly, paint technology, hidden corrosion, and whether adjacent panels require blending can change the estimate substantially.
Common Mistakes and How to Fix Them
Most repeat peeling results from leaving unstable paint, contaminating the surface, or violating the coating’s recoat and cure window. The repair must be corrected according to the defect, because adding another coat over a defect usually buries the cause rather than repairing it.
| Defect | Likely cause | Corrective action |
|---|---|---|
| Fish eyes or craters | Silicone, oil, wax, or polish contamination | Let cure, sand flat, clean with fresh wipes, and respray |
| Runs or sags | Coat too heavy, slow, or close | Cure fully, level with 1000-1500 grit, then recoat |
| Wrinkling | Incompatible paint or excessive solvent | Strip the affected system and restart with compatible products |
| Solvent pop | Heavy coats, high heat, or insufficient flash time | Sand after cure and apply lighter coats with correct intervals |
| Dry spray | Excessive distance, airflow, or direct sun | Level cured texture and respray in controlled conditions |
| Edge lifting | Hard paint ridge or unstable surrounding coating | Extend sanding to a sound, feathered boundary |
| Gloss loss | Poor mixing, insufficient clear, or premature polishing | Verify system instructions and allow full cure |
Direct sunlight is a poor spray environment because the panel can become much hotter than the surrounding air. High humidity can slow solvent evaporation and produce cloudiness, blushing, or trapped moisture, so the product’s technical data sheet should override generic temperature rules.
How Can You Prevent Paint From Peeling Again?
Prevent recurrence by protecting the repaired coating from UV exposure, correcting chips promptly, washing with automotive shampoo, and avoiding aggressive chemicals or abrasive brushes. Parking under cover reduces ultraviolet loading, but no wax or ceramic coating can compensate for an improperly bonded repair.
Apply a synthetic sealant or wax only after the paint has fully cured. Ceramic coatings can simplify cleaning and add chemical resistance, but they do not stop corrosion beneath a damaged panel or strengthen failed factory paint.
Use a breathable cover only when the vehicle is clean and the cover fits correctly. A dirty, non-breathable cover can rub grit into the clear coat and trap condensation.
Have widespread, symmetrical peeling documented before repair. Photograph the failure, record the vehicle identification number, and ask a dealer whether a paint warranty extension, service campaign, or known defect applies. Coverage depends on the manufacturer, age, mileage, region, and maintenance records.
FAQ About Peeling Automotive Paint
Can I sand peeling paint and spray clear coat over it?
No. Clear coat over peeling paint preserves the failed bond and usually delaminates again. Sand until all loose clear coat and unstable color are removed, feather the transition, clean the surface, and confirm that the remaining base coat is firmly attached before applying compatible clear.
Will polishing stop clear coat from peeling?
Polishing cannot stop clear-coat delamination. Polishing removes a microscopic amount of stable material and may improve gloss temporarily, but it cannot rebuild UV protection or reconnect a failed bond. Stop polishing once flakes, cloudy patches, or exposed color appear, then plan a refinish.
Is peeling car paint covered by insurance?
Insurance may cover peeling caused by a documented collision, vandalism, or covered event, but ordinary UV degradation, age, and factory paint defects are commonly excluded. A dealer or manufacturer may handle a documented warranty issue separately from an insurance claim.
Can I wrap a car with peeling paint?
Vinyl wrap and paint-protection film should not be installed over active peeling. Film adhesive can pull off unstable paint during installation or removal, and the wrap may hide moisture and corrosion. Strip and stabilize the finish first, then confirm that the remaining paint has adequate adhesion.
How long should I wait before washing a repaired panel?
Follow the coating manufacturer’s cure instructions; a typical aerosol repair needs at least 48 hours before gentle washing and several days before wax or sealant. Avoid pressure washers, automatic brushes, and strong chemicals until the finish has reached full cure.
Should I repair one peeling panel or repaint the entire car?
Repair one panel when the failure is isolated and the remaining panels are stable. Consider a full repaint when multiple horizontal panels show UV delamination, the vehicle has significant color variation, or repeated spot repairs would cost more than a coherent refinish.
The Bottom Line
To stop paint from peeling on a car, remove the failed coating rather than covering it, repair any rust, use the correct primer for steel, aluminum, or plastic, and follow the base-coat and clear-coat manufacturer’s flash and cure instructions. A small chip can receive touch-up paint, but broad delamination deserves a full-panel professional repair. Protect the finished surface from UV exposure and repair new chips before moisture reaches the substrate.