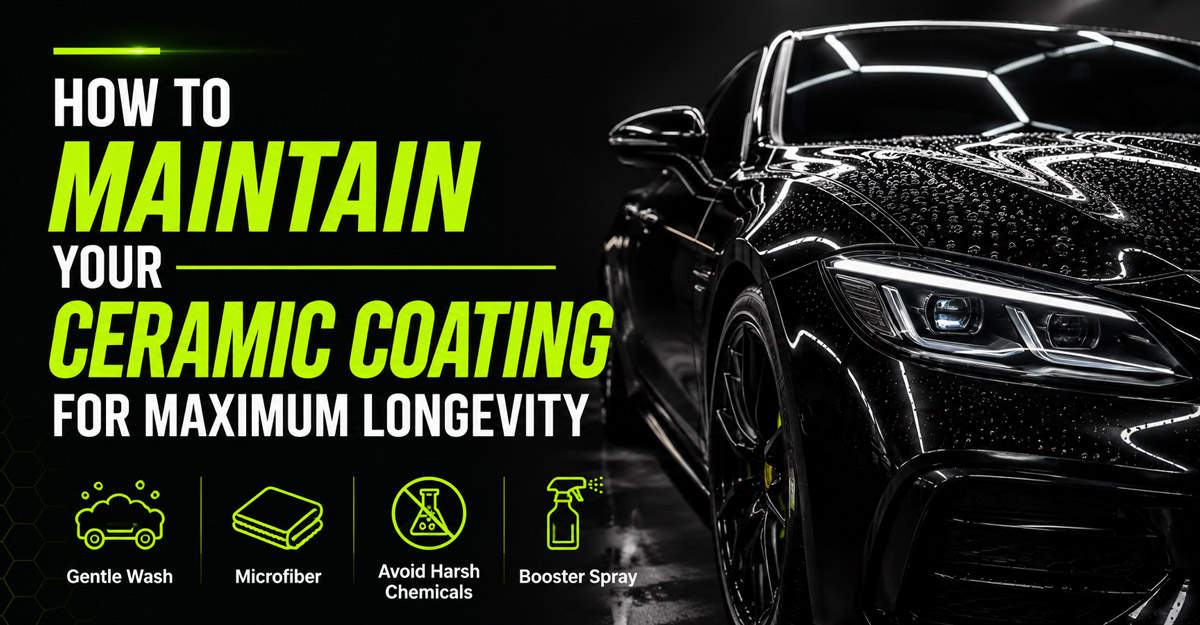
Investing in a high-grade ceramic coating transforms your vehicle’s finish, delivering unprecedented gloss, chemical resistance, and self-cleaning hydrophobic properties. However, a common misconception among vehicle owners is that ceramic coatings are indestructible shields that require zero upkeep.
While nano-ceramic technology creates a semi-permanent bond with your vehicle’s clear coat, it is not immune to environmental degradation. Traffic film, industrial fallout, mineral deposits, and improper washing techniques can gradually clog or abrade the coating. Without proper ceramic coating aftercare, a 5-year coating can easily lose its water-beading magic in less than eighteen months.
This comprehensive guide breaks down the science and practical steps behind maintaining ceramic coating performance. By following this expert maintenance schedule, you will preserve the sacrificial layer, keep the surface slick, and ensure your vehicle looks fresh off the detailing bay for years to come.
Understanding the Physics of Ceramic Coating Degradation
To properly care for your coating, you must first understand how it functions and why performance drops over time.
A standard silica (SiO2) or silicon carbide (SiC) coating cures into a glass-like matrix over your paint’s microscopic pores. This ultra-smooth surface is what creates hydrophobic tension, causing water to roll off while taking dirt with it.
When a ceramic coating appears to “fail,” the coating itself usually has not washed away. Instead, environmental contaminants have embedded themselves into the coating’s porous surface structure.
Primary Factors That Degrade Ceramic Coatings
- Traffic Film & Road Oils: Microscopic oil and dirt build up, forming a thin sheet over the coating that masks hydrophobic action.
- Mineral Deposits (Hard Water Spots): Calcium and magnesium ions bond tightly inside the silica structure when water evaporates on warm panels.
- Embedded Iron Contaminants: Brake dust and industrial rail dust pierce the surface, creating micro-roughness that disrupts water flow.
- Mechanical Abrasion: Swirl marks caused by dirty sponges or automatic drive-through car washes physically scour away thin layers of protection.
The Routine Washing Protocol: Essential 1–2 Week Aftercare
Regular washing is the single most important factor in maintaining ceramic coating longevity. A 1 to 2 week wash interval prevents road contamination from bonding permanently to the surface.
The Perfect Ceramic Wash Sequence
Wheels & Tires
Prep StageClean wheels first using dedicated brushes and non-acid cleaners to prevent brake dust from splashing on clean paint.
Touchless Pre-Wash
Safe LiftApply pH-neutral snow foam to encapsulate and lift loose grit without touching the surface.
Pressure Rinse
RinseFlush away heavy contaminants thoroughly before making physical contact with the paint.
Two-Bucket Wash
Contact WashUse high-lubricity pH-neutral shampoo working top to bottom with grit guards in place.
Final Pure Rinse
RinseFlush thoroughly with clean running water to eliminate all soap residue and prevent spotting.
Touchless Dry
Final FinishUse a filtered blow dryer or heavy-GSM plush microfiber towel paired with a ceramic drying aid.
Step 1: Touchless Pre-Wash & Foam Cannon Rinse
Never touch dry paint with a wash mitt, regardless of how clean it looks. Always initiate your routine with a touchless pre-wash.
- Apply a thick blanket of pH-neutral snow foam using a foam cannon attached to a pressure washer.
- Allow the foam to dwell for 3 to 5 minutes out of direct sunlight. This softens bug splatter, road film, and surface dust.
- Pressure-rinse the vehicle thoroughly starting from the bottom and working upward to maximize chemical contact time.
Step 2: The Two-Bucket Wash Method
To completely eliminate the risk of inflicting swirl marks while executing a ceramic coating wash method, always utilize the two-bucket system equipped with grit guards.
- Bucket 1 (Wash Solution): Filled with water and a pure, pH-neutral auto shampoo.
- Bucket 2 (Rinse Water): Filled with clean water to flush the wash mitt after every panel.
- Place grit guards in the bottom of both buckets to trap dislodged dirt under the grate.
- Submerge a high-density, ultra-soft microfiber wash mitt into Bucket 1.
- Wipe the car panel by panel in smooth, straight lines. Never wash in circular patterns, as circular movements create noticeable swirl marks under direct light.
- Rinse the mitt in Bucket 2 after completing each section, agitating it against the grit guard before loading it with clean soap from Bucket 1.
Step 3: Pure Water Rinsing
Rinse the entire vehicle from top to bottom using a open-flow hose nozzle or pressure washer. High-quality ceramic coatings demonstrate extreme water sheeting; allowing water to sheet off in large sheets significantly reduces the amount of standing water remaining on the paint.
Selecting Safe Aftercare Chemicals
Using the wrong cleaning products is the fastest way to ruin a professional ceramic coating.
| Product Category | Compatibility | Impact on Ceramic Coating | Recommended Action |
|---|---|---|---|
| Pure pH-Neutral Soap | Safe | Cleans safely without leaving residues or stripping protection. | Use for routine 1-2 week washes. |
| Wash & Wax Shampoos | Avoid | Leaves a heavy wax film that clogs pores and kills water beading. | Do not use on ceramic surfaces. |
| SiO2 Booster Sprays | Highly Safe | Replenishes silica content, boosts gloss, and adds sacrificial protection. | Apply every 3 to 4 months. |
| Dish Soap / Heavy Degreasers | Avoid | Harsh surfactants break down top-layer toppers and dry out plastic trims. | Never use for standard maintenance. |
| Iron Decontaminators | Conditional | Dissolves embedded iron without abrading the hard silica finish. | Use during periodic maintenance (every 6 months). |
Why Pure Shampoos Matter
Always inspect the labels of your car soaps. Popular off-the-shelf options frequently add gloss enhancers, petroleum distillates, or carnauba waxes. While these ingredients make uncoated cars look shiny temporarily, they clog ceramic coatings. The wax layer sits on top of the coating, replacing its superior 110-degree water contact angle with a inferior wax angle, making your car attract more dust.
Touchless & Safe Drying Techniques
The drying stage is where most paint damage occurs. Allowing tap water to dry naturally on a vehicle guarantees severe water spots. Tap water contains dissolved minerals like calcium, magnesium, and sodium. When the water evaporates, these hard mineral rings etch directly into the top coating layer under heat.
Drying Best Practice Checklist
-
| Always dry in the shade or inside a garage out of direct sunlight.
| Use a high-velocity forced air dryer to clear body lines, side mirrors, and emblems.
| If using towels, opt for a twisted-loop 1000+ GSM microfiber drying towel.
| Mist a lightweight SiO2 detail spray onto wet panels to act as a drying lubricant.
Method 1: Filtered Forced Air (Preferred)
Using a dedicated vehicle air dryer or clean leaf blower completely eliminates physical contact with the paint. Air pressure forces water out of tight crevices, door jambs, grills, and lug nuts, blowing water off the slick ceramic surface effortless.
Method 2: Microfiber Blotting Technique
If blow-drying is not an option, select a clean, high-density (700 to 1200 GSM) twisted-loop microfiber drying towel.
- Lightly mist the damp panel with a ceramic-safe detail spray. This provides extra slipperiness and minimizes friction.
- Lay the towel flat across the panel.
- Gently pat or pull the towel across the surface by its corners.
- Never drag or scrub dry microfibers vigorously across the paint finish.
Periodic Decontamination & SiO2 Boosters (Every 3–6 Months)
Even with proper washing, atmospheric fallout, tar, and iron particles slowly embed into the coating over time. A periodic deep-cleaning routine unclogs the coating and restores its original hydrophobic characteristics.
The 6-Month Maintenance Cycle
Spray a pH-neutral iron remover. It turns purple upon reacting with embedded brake dust, dissolving it safely.
Use a mild acidic water spot remover shampoo to dissolve calcium deposits without abrading the coat.
Apply a spray-on SiO2 booster to replenish silica content, boost slickness, and rebuild sacrificial protection.
Chemical vs. Mechanical Decontamination
Traditional clay bars physically abrade the clear coat to shear off contaminants. However, mechanical claying can scratch or thin out a ceramic coating.
Always choose chemical decontamination over mechanical claying:
- Iron Fallout Removers: These reactive chemicals dissolve embedded ferrous iron particles chemically, turning purple as they work, without scratching the surface.
- Mild Acidic Descaling Shampoos: Specially engineered low-pH shampoos break down stubborn mineral buildup and hard water stains safely, unclogging the coating matrix.
If surface contamination requires claying, use a light-grade synthetic clay mitt accompanied by heavy amounts of dedicated clay lubricant, followed immediately by an SiO2 topper application.
The Role of SiO2 Ceramic Booster Sprays
A ceramic booster spray (often called a topper) is a sprayable formula containing 5% to 20% silica or siloxane resins. Applying a booster spray every 3 to 4 months creates a sacrificial wear layer.
Environmental hazards like UV rays, bird droppings, acid rain, and road salts strike this sacrificial layer first, protecting the primary ceramic coating underneath. Booster sprays also fill micro-voids, increasing slickness and water repellency back to day-one levels.
Critical Mistakes That Destroy Ceramic Coatings
To get the absolute maximum lifespan out of your coating, avoid these major detailing mistakes:
What to Absolutely Avoid
Automatic Brush Car Washes
High RiskSpinning nylon brushes trap heavy grit and leave severe swirl marks and micro-scratches on protected paint.
High-pH Touchless Washes
Chemical HazardHarsh caustic soaps and recycled water strip hydrophobic toppers and rapidly degrade ceramic protection.
Direct Sunlight Application
Process WarningHot panels cause chemicals and soaps to flash-dry instantly, leaving stubborn, baked-on mineral stains.
Polishing Compounds
Coating LossMachine polishing compounds and abrasive pads will physically shave off and completely remove ceramic layers.
Ignoring Bugs & Bird Droppings
Corrosive DangerConcentrated organic acids eat through clear coats and ceramic shields if left to bake in direct heat.
1. Automatic Tunnel Car Washes
Never take a ceramic-coated vehicle through a traditional friction car wash. The heavy nylon brushes collect dirt and sand from hundreds of previous vehicles, acting like high-speed sandpaper against your clear coat. A single pass through an automatic wash can permanently damage your coating.
2. High-pH Touchless Chemical Washes
While touchless washes avoid mechanical friction, they rely on aggressive, highly alkaline chemicals (pH 12+) and recycled water to break down dirt. Repeated exposure to high-pH chemicals prematurely wears down SiO2 boosters and degrades the slickness of top-tier coatings.
3. Ignoring Acidic Organic Contaminants
Bird droppings, bug splatters, and tree sap contain concentrated organic acids. When heated by the sun, the paint expands and absorbs these acids, creating deep etch marks.
Keep a plush microfiber towel and a bottle of ceramic-safe quick detailer in your trunk. Spot-clean organic messes immediately as soon as you spot them.
Long-Term Maintenance Schedule
Follow this consolidated timeline to simplify your maintenance routine and keep your vehicle looking its best.
| Frequency | Action Required | Primary Tools / Chemicals |
|---|---|---|
| As Needed (Immediate) | Spot-clean bird droppings, bug splatter, and tree sap. | Ceramic Quick Detailer + Soft Microfiber Towel |
| Every 1 to 2 Weeks | Perform safe hand wash using two-bucket method and touchless air dry. | pH-Neutral Shampoo, Foam Cannon, Grit Guards, Air Blower |
| Every 3 to 4 Months | Apply sacrificial SiO2 maintenance spray or ceramic topper. | SiO2 Booster Spray + Short-Pile Microfiber Towel |
| Every 6 Months | Perform chemical decontamination wash to unclog pores. | Iron Fallout Remover, Low-pH Descaling Soap |
| Annually (12 Months) | Professional inspection and deep rejuvenation wash by installer. | Professional Inspection + Specialized Coating Toppers |
Conclusion: Protecting Your Auto Detailing Investment
Maintaining a ceramic-coated vehicle does not require complicated, daily effort, but it does demand consistency and the right techniques. By sticking to a strict two-bucket wash routine, using pure pH-neutral soaps, avoiding aggressive brush washes, and regularly applying a sacrificial SiO2 booster, you create a system that protects your car’s finish indefinitely.
Proper maintenance prevents surface contaminants from building up, keeps the hydrophobic layer functioning smoothly, and ensures your paint retains its deep, glossy shine. Treat your ceramic coating with care, and it will keep your vehicle looking factory-fresh for years down the road.
Ready to Elevate Your Vehicle Aftercare Routine?
Maintaining your vehicle’s finish shouldn’t be guesswork. Explore our complete selection of professional-grade, pH-neutral auto shampoos, SiO2 boosters, and ultra-soft microfiber drying towels carefully engineered for ceramic coatings.