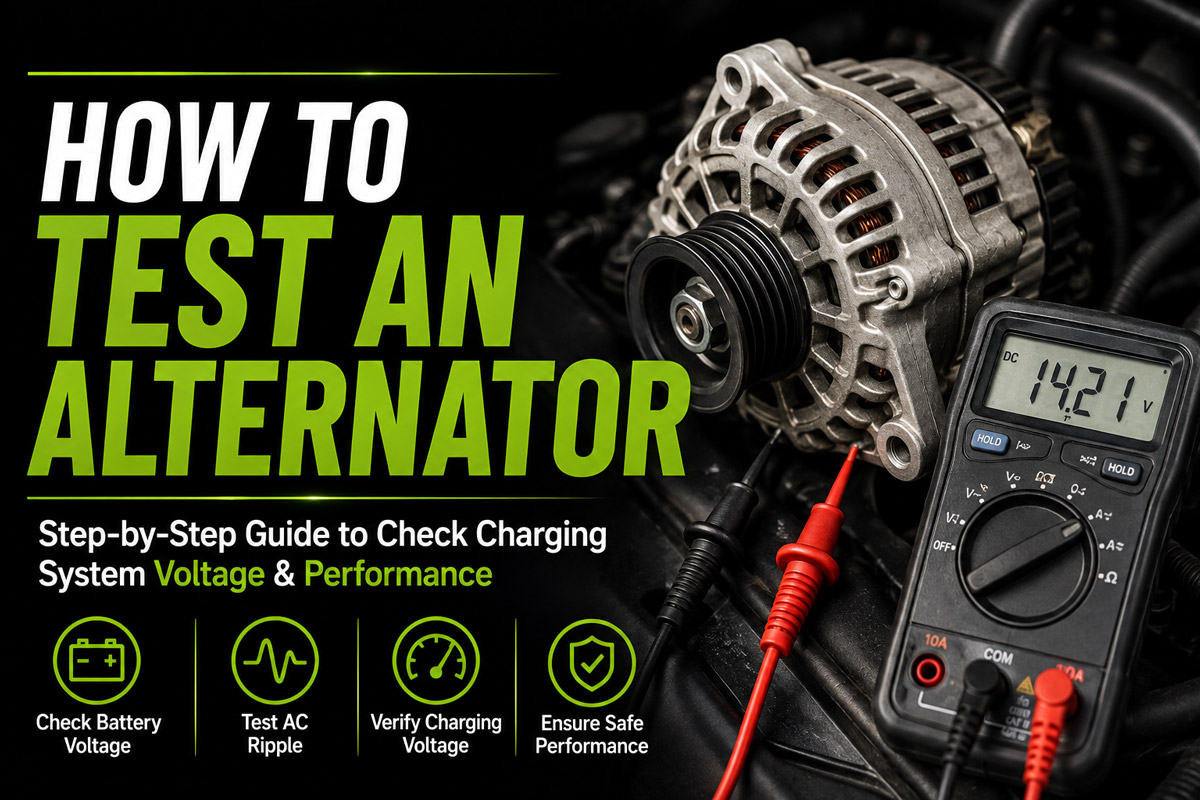
To test a car alternator, use a digital multimeter to measure the battery voltage while the engine is off (aiming for 12.6V), then with the engine idling (13.8V to 14.7V), and finally under a heavy electrical load at 2,000 RPM. A healthy alternator maintains at least 13.5V under load and blocks AC voltage from leaking into the DC system.
Key Facts / At a Glance
- A standard 12V automotive battery must read at least 12.4V resting before you can accurately test the alternator.
- Healthy charging voltage typically falls strictly between 13.5V and 14.7V, regulated by an internal circuit.
- Alternators generate Alternating Current (AC) which a diode bridge rectifies into Direct Current (DC).
- Disconnecting a battery cable while the engine is running will cause a massive voltage spike, likely destroying modern Engine Control Units (ECUs).
- High resistance in corroded battery cables frequently mimics a dead alternator; always clean terminals first.
Before You Start
- Total Time: 10–15 minutes for diagnostics.
- Difficulty: Beginner.
- Cost: $15–$40 for testing equipment.
- Tools Required: Digital multimeter (DMM) with DC and AC voltage ranges, safety glasses, small wire brush for cleaning terminals.
- Prerequisite: The battery must possess sufficient Cold Cranking Amps (CCA) to start the car normally. A dead or heavily sulfated battery will force the alternator to work at maximum capacity, skewing all diagnostic readings.
Understanding the Mechanics
An alternator operates via electromagnetic induction to sustain your vehicle’s electrical load while the engine runs, preventing the battery from draining.
The engine’s serpentine belt spins a magnetic rotor inside stationary stator coils, generating raw AC power. Because car electronics require DC power, a rectifier bridge containing diodes instantly converts this AC output to DC. Finally, a built-in voltage regulator monitors the system demand, keeping the output strictly between 13.5V and 14.7V to prevent frying sensitive control modules.
The Step-by-Step Multimeter Test
Follow this mechanical sequence to safely isolate and diagnose a failing unit. Order is critical; skipping the baseline battery test will render the load tests inaccurate.
1.Verify the Battery Baseline:A weak battery skews all subsequent alternator readings..
Turn off the engine completely. Set your digital multimeter to the 20V DC setting. Connect the red probe to the positive (+) battery terminal and the black probe to the negative (-) terminal.
Success Checkpoint: The baseline battery voltage must read between 12.4V and 12.7V. If it reads below 12.4V, place the battery on a charger before proceeding.
2.Measure No-Load Charging Voltage:Establishes the base output of the voltage regulator..
Leave the multimeter connected to the battery terminals. Start the engine and let it idle. Ensure all accessories (headlights, radio, AC) are turned off.
Success Checkpoint: The voltage should jump to between 13.8V and 14.7V. Note: Modern vehicles with “smart charging” systems (controlled by the ECU) may intentionally let the voltage drift into the high 12s if the battery is fully charged and electrical demand is low.
3.Test Under Full Electrical Load:Simulates worst-case driving conditions at 2,000 RPM..
Keep the engine running. Switch on the primary energy hogs: high beams, windshield wipers, radio, and the heater blower on maximum. Have a helper rev the engine and hold it at roughly 2,000 RPM.
Success Checkpoint: The voltage must stay above 13.5V (and ideally above 13.8V). If the voltage dives below 13.0V and stays there, the alternator lacks the amperage capacity to sustain the vehicle’s electronics.
4.Check for AC Voltage Leak (Diode Test):Detects failing rectifiers that can destroy vehicle electronics..
Switch your multimeter to a low AC Voltage setting (often marked as V~ or 200V AC). With the engine idling, touch the leads to the battery terminals.
Success Checkpoint: The reading must be below 0.5V AC, and ideally under 0.1V AC. If the reading exceeds 0.5V, one or more diodes in the rectifier have failed, leaking harmful AC ripple into the DC system. The alternator must be replaced.
5.Perform a Voltage Drop Test:Isolates hidden wiring resistance from mechanical alternator failure..
Switch back to DC volts. Keep the engine at 2,000 RPM with all accessories on. Place the red probe directly on the alternator’s B+ output stud (the large wire), and the black probe on the positive battery terminal.
Success Checkpoint: The meter should read 0.2V or less. A reading of 0.3V or higher indicates severe resistance in the charging cable (corrosion or internal fraying). You must replace the cable before blaming the alternator.
Common Mistakes and How to Fix Them
Diagnostic errors frequently lead to replacing healthy alternators. Avoid these foundational mistakes:
- Pulling the battery cable while running: This old-school trick creates a “load dump.” Without the battery acting as a capacitor, the alternator can instantly spike up to 40-100 volts, destroying modern Engine Control Units (ECUs) and infotainment systems. Never disconnect a running battery.
- Ignoring terminal corrosion: High resistance at the battery posts perfectly mimics a dead alternator. Always clean the battery posts and cable clamps with a wire brush before testing.
- Overlooking belt tension: A slipping serpentine belt will cause the alternator to under-charge under heavy loads. Conversely, over-tightening a manual tensioner belt destroys the front alternator bearing prematurely.
Diagnosing Common Alternator Symptoms
When voltage readings stray from the baseline, specific symptoms dictate the repair path.
| Symptom / Reading | Probable Cause | Diagnostic Fix |
| Voltage below 13.0V under load | Worn internal brushes or failing stator | Replace alternator assembly. |
| Sustained voltage above 15.0V | Failed internal voltage regulator | Replace alternator immediately; risks boiling battery acid. |
| Excessive AC Ripple (>0.5V AC) | Shorted rectifier diode | Replace alternator; bench test to confirm. |
| Whining or grinding noise | Failing internal bearings or stator | Replace alternator assembly. |
| High voltage drop (>0.3V) | Corroded cables or bad chassis ground | Clean engine grounds; replace heavy B+ charge cable. |
Cost and Time Expectations
If your diagnostics point to a complete failure, expect the following metrics for replacement:
- DIY Replacement Part: $130 – $350. Remanufactured units are cheaper but carry higher defect rates than brand-new OEM units.
- DIY Labor Time: 1 – 3 hours. Vehicles with transversely mounted V6 engines often require removing wheels or motor mounts to access the unit.
- Professional Repair: $400 – $900. This includes parts, labor, and a professional charging system analyzer test to warranty the work.
Which Testing Method Should You Choose?
Different testing methodologies balance cost, accuracy, and your required mechanical skill.
The Everyday Driver
Recommendation: Drive to a local auto parts store. Most major chains will perform a free charging system analysis in the parking lot. Their professional-grade load testers check the battery, alternator, and starter simultaneously and detect ripple voltage automatically.
The Budget DIYer
Recommendation: Purchase a $15–$40 digital multimeter. Follow the step-by-step load tests outlined above. This method is highly accurate for isolating the issue before purchasing parts, provided you follow the voltage drop test to rule out bad wiring.
The Advanced Mechanic
Recommendation: Professional Bench Test. Remove the unit entirely and take it to a specialized rebuild shop or parts store for a free bench test. This spins the alternator on a stationary motor, testing its full amperage capacity across simulated RPM ranges. It is 100% accurate because it removes vehicle wiring from the equation entirely.
Frequently Asked Questions
Does a dead battery mean the alternator is bad?
No. A battery naturally degrades over 3 to 5 years and will eventually lose its ability to hold a charge. If the alternator outputs 14.0V while the engine runs, but the car is dead the next morning, the battery has failed, not the alternator.
Can I test an alternator without a multimeter?
While you can observe physical symptoms like dimming headlights or a glowing battery light on the dash, you cannot definitively diagnose an alternator without measuring the electrical output. Visual checks cannot detect voltage regulators overcharging the system or diodes leaking AC current.
What happens if I drive with a bad alternator?
The vehicle will run entirely off the battery’s reserve capacity. Once the battery voltage drops below roughly 10.5V, the fuel pump and ignition coils will fail, and the engine will stall while driving.
Why does my alternator voltage fluctuate while driving?
Modern vehicles utilize ECU-controlled smart charging. To save fuel and reduce engine load, the computer may command the alternator to output 12.8V during heavy acceleration, and spike to 14.8V during deceleration to rapidly charge the battery.
How To Test Your Alternator For Ac Ripple
This video demonstrates the exact multimeter settings and terminal connections required to accurately measure AC ripple and diagnose a failing rectifier diode.