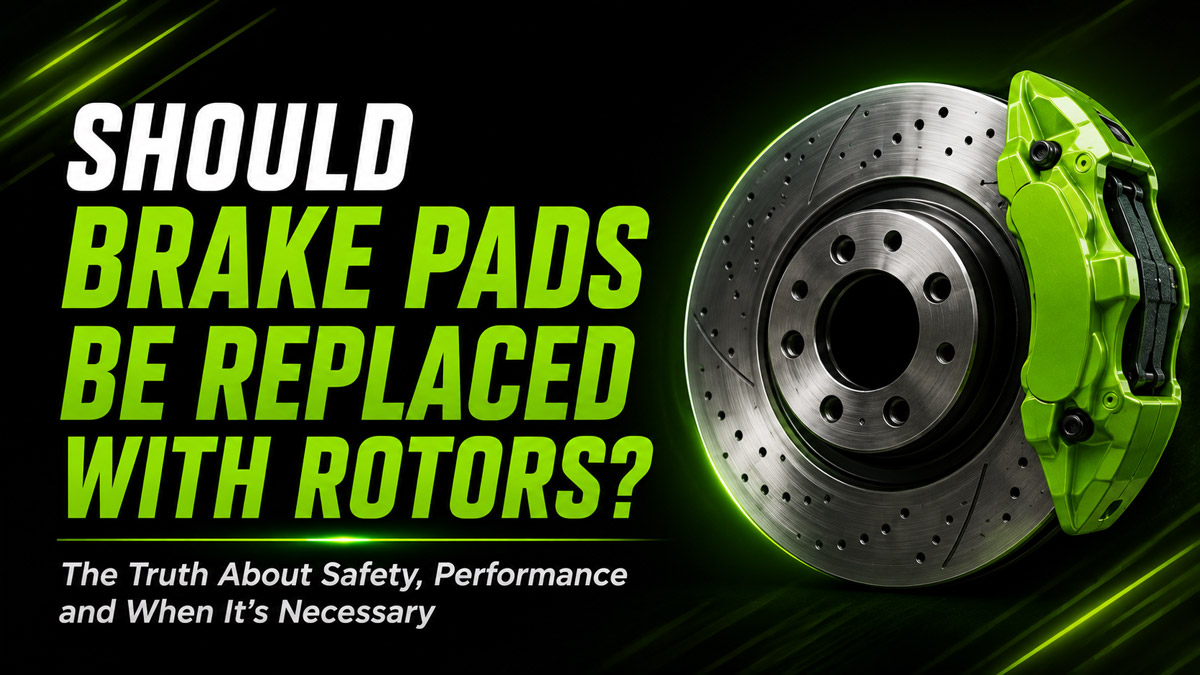
Whether you should replace your brake pads and rotors together depends on the physical condition, wear level, and safety measurements of your rotors. While it is always highly recommended to replace both simultaneously to guarantee peak braking performance and uniformity, it is not strictly mandatory if your current rotors safely pass a professional physical inspection and measure above their minimum discard thickness.
Key Facts / At a Glance
- Pad Wear Limit: Brake pads must be replaced when the friction lining measures 3/32 of an inch (2.38 mm) or less.
- Rotor Runout Limit: The maximum allowable side-to-side wobble (lateral runout) is 0.002 inches (0.05 mm) to prevent steering wheel vibration.
- Expected Lifespans: Quality friction pads endure 30,000 to 70,000 miles, while heavy steel rotors generally persist for 50,000 to 100,000 miles.
- Replacement Costs: Expect to pay $250 to $900+ per axle at a shop, depending on vehicle class and component quality.
- The “Pad Slap”: Installing new pads on deeply grooved old rotors drastically reduces the life of the new pads and increases noise.
Maintenance Strategies Compared
You have three primary paths when servicing automotive disc braking systems. Selecting the correct strategy balances upfront cost, long-term safety, and driving comfort.
| Strategy | Upfront Cost | Long-Term Value | Braking Feel | Risk of Warping | Best For |
| Option A: Replace Both | Highest | Excellent | Flawless, no pedal pulse | Lowest | Maximum safety, heavy haulers, European cars. |
| Option B: Pads Only | Lowest | Poor to Moderate | Can be noisy or spongy | Moderate to High | Budget repairs on perfectly flat, thick, rust-free rotors. |
| Option C: Resurface Rotors | Moderate | Moderate | Smooth initial feel | High (thinner metal) | Commuters wanting flat surfaces without buying premium rotors. |
Option A: Replacing Pads and Rotors Simultaneously
Replacing both components guarantees perfectly flat, fresh mating surfaces. This eliminates brake pedal pulsing, extends the overall lifespan of the entire braking system, and cuts down long-term labor costs by combining the jobs. The only downside is noticeably higher upfront parts costs during the initial visit.
Option B: Pads Only (The “Pad Slap”)
Keeping safe, flat existing rotors and simply swapping the pads drops immediate repair bills significantly. However, worn rotor grooves can quickly carve into the new pad faces, risking localized hot spots, poor initial braking power, and elevated chances of high-pitch squealing.
Option C: Pads Plus Machining Existing Rotors
Resurfacing involves using a brake lathe to shave a microscopic layer off the old rotor, restoring true flatness while saving money compared to buying brand-new premium rotors. The major drawback is that it thins out the metal mass. Less metal means decreased heat capacity, which dramatically speeds up the risk of the rotor warping under heavy braking.
Which Should You Choose?
The ideal brake maintenance strategy relies entirely on what you drive, how you drive it, and your budget.
The Daily Commuter / Family Driver
Verdict: Choose Ceramic Pads paired with Smooth Coated Blank Rotors.
Replace both together every second pad cycle, unless rust pitting is severe. Ceramic pads guarantee quiet operation and low dust output, while coated blanks provide exceptional rust prevention through winter weather and salted roads.
The Fleet Hauler / Towing Truck
Verdict: Choose Semi-Metallic Pads paired with Heavy-Duty Vented Slotted Rotors.
Change both components together every single time. Fleet trucks endure severe thermal loads. The raw iron and steel strands in semi-metallic pads stand up to high-temperature panic stops, while slotted rotors vent out fading gases and shave off glazed layers during long downhill descents.
The European Sport Luxury Owner
Verdict: Change Pads and Rotors simultaneously on every single brake service.
European vehicles (BMW, Audi, Mercedes) utilize soft-carbon metallurgy engineered for peak stopping bite. This means the rotors actively wear down alongside the pads and almost always drop below safe discard limits in a single pad life cycle. Reusing them is dangerous.
The Budget-Focused DIYer
Verdict: Invest in a Premium Online Front Pad and Rotor Bundle Kit ($120 – $200 total parts).
Skip cheap pad-only swaps. Clean the mechanical hub faces to an absolute shine. Doing the job right the first time prevents you from having to tear the suspension apart twice when the old rotors inevitably warp.
How to Evaluate Your Existing Rotors
If you are considering keeping your current rotors, they must pass three strict physical tests.
First, check the Discard Thickness. Every brake rotor has a minimum safe thickness measurement (usually listed in millimeters) stamped onto the central hub. If the rotor is at or below this number, it cannot legally or safely be resurfaced or reused.
Second, feel for the Outer Edge Lip. As brake pads clamp down, they wear away the center of the rotor face, leaving the very outer edge untouched. Run your finger (when the metal is cold) from the center of the rotor to the outside edge. If your fingernail catches on a pronounced ridge, the rotor is too worn for new pads.
Finally, measure for Lateral Runout. Using a dial indicator, check if the maximum allowable side-to-side wobble exceeds 0.002 inches (0.05 mm). Any wobble beyond this metric guarantees a shaking steering wheel when you apply the brakes at highway speeds.
What Are the 2026 Replacement Costs and Timeframes?
Automotive labor rates have climbed, making accurate price forecasting essential.
A professional shop will require 1 to 2 hours of labor total per axle. A DIY mechanic working in a driveway with floor jacks should budget 1.5 to 3 hours total per axle, heavily dependent on the availability of power tools and the severity of suspension rust.
Standard Professional Replacement Rates (Per Axle, Parts + Labor):
- Economy Cars: $250 – $450
- Midsize SUVs: $300 – $550
- Heavy-Duty Trucks / Vans: $500 – $850
- European Performance: $500 – $900+
Note: Complete 4-wheel pad and rotor overhauls at independent repair shops generally range from $800 to $1,100.
How to Replace Brake Pads and Rotors
1.Vehicle Stabilization and Wheel Removal:Safety first: secure the frame on flat ground.
Secure the vehicle on a completely flat surface. Block the rear tires with wheel chocks, crack the lug nuts loose, jack up the frame, and lower it onto heavy-duty jack stands. Never work under a vehicle supported only by a hydraulic jack. Remove the wheels.
2.Caliper Removal:Protect the hydraulic line.
Unbolt the slide pins holding the brake caliper housing. Safely suspend the caliper from the suspension coil spring using an S-hook or bungee cord to protect the rubber hydraulic brake line from tension damage. Letting it dangle by the hose tears internal reinforcement fibers.
3.Pad and Bracket Extraction:Clear the path to the rotor.
Pop the worn friction pads out of their slots. Unbolt the heavy caliper mounting bracket assembly from the steering knuckle. This exposes the bare rotor for removal.
4.Rotor Swap and Hub Preparation:Crucial for preventing steering wheel shake.
Slide the old rotor off the wheel studs. Use a stiff wire brush to aggressively clean away all surface rust, scaling, and debris from the bare wheel hub face. Leaving rust scale here traps the new rotor at a microscopic angle, causing wobble. Finally, douse the face of the brand-new rotor with a high-pressure aerosol brake cleaner to remove the greasy factory anti-corrosion shipping oils before mounting it.
5.Piston Compression:Watch the fluid reservoir.
Before pushing the pistons back, open the hood and monitor the brake fluid reservoir. Using a specialized caliper piston compressor tool or a heavy C-clamp, push the internal caliper pistons back flush into the housing. This makes physical room for the extra thickness of the new pads. If the fluid reservoir overflows, use a turkey baster to remove excess fluid.
6.Hardware and Lubrication:Keep grease away from friction surfaces.
Pop brand-new stainless steel anti-rattle abutment clips into the bracket channels. Apply high-temperature silicone brake lubricant strictly to the back plates of the pads and the smooth slide pins. Keep all grease completely clear of the pad friction faces and rotor discs. Dry slide pins will cause one pad to continuously drag, destroying it early.
7.Final Installation and Bedding:The final safety check.
Re-torque all mounting bracket and caliper guide bolts down to exact factory specification metrics. Mount the wheel, torque the wheel lug nuts, and lower the vehicle. Crucial: Firmly pump the brake pedal multiple times prior to starting the engine to reseat the pads against the rotor. Drive to an empty road and perform a sequence of controlled slowdowns (e.g., 5 aggressive stops from 40mph to 10mph without coming to a complete halt) to bed the new components together.
Common Failure Modes and Diagnostics
When braking systems fail, they give clear auditory and tactile warnings.
- High-Pitch Squealing: This is usually the wear indicator clip scraping the rotor disc. It is an intentional design feature signaling your pads are critically low and require immediate scheduling for replacement.
- Deep Grinding Noise: The friction material is entirely gone, and the bare steel backing plate is directly gouging the rotor face. Park the vehicle immediately; driving it further is unsafe and is actively destroying the rotor.
- Steering Wheel Vibration (During Braking): This indicates excessive rotor lateral runout or thermal thickness variation (warping). The rotor is no longer perfectly flat, causing the caliper to bounce and transmit that energy into the steering column.
- Soft / Spongy Pedal Feel: A pedal that travels too far toward the floor means air bubbles are trapped inside the hydraulic fluid lines, there is a leaking caliper seal, or you are running on outdated, moisture-laden brake fluid that is boiling under pressure.
Frequently Asked Questions
Can I just replace the brake pads on one side of the car?
No, you must always replace brake pads and rotors in axle pairs (both fronts or both rears simultaneously). Replacing components on only one side creates a massive friction imbalance, causing the vehicle to violently pull to one side during panic stops.
How do automotive disc brakes actually stop the car?
When you depress the brake pedal, hydraulic fluid forces the brake caliper pistons to compress. This forces the inner and outer brake pads to tightly clamp against the faces of the spinning brake rotor, creating immense kinetic friction that transforms the forward momentum into thermal energy.
What is the difference between ceramic and semi-metallic pads?
Ceramic pads are made from stacked ceramic fibers and non-ferrous bonding agents, making them quiet and low-dust for standard commuting. Semi-metallic pads contain 30% to 65% raw iron and steel strands, making them louder and dustier, but highly resistant to heat fade during towing or performance driving.
Do drilled and slotted rotors actually stop a car faster?
Not under normal commuting conditions. Drilled holes allow rapid gas expulsion and water shedding, while slots sweep away debris and shave glazed pad layers. They prevent brake fade on race tracks and long downhill mountain descents, but offer negligible stopping distance improvements in stop-and-go city traffic.