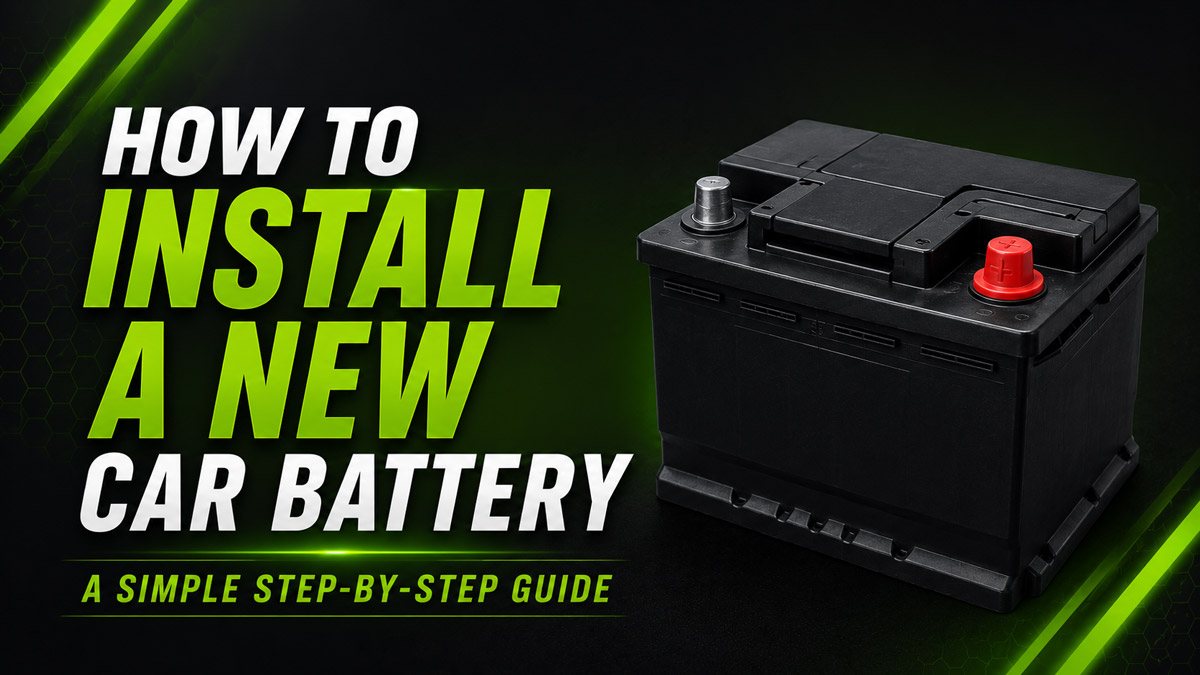
Installing a new car battery takes about 20 to 30 minutes and requires only basic hand tools. You will safely disconnect the old unit, clean the connections, drop in the replacement, and secure the terminals in a specific order to prevent electrical damage. The single most important factor for success is the disconnect sequence: always remove the negative cable first and reconnect it last.
Before You Start
- Time Required: 20–30 minutes
- Difficulty: Beginner / Intermediate
- Cost: $150–$300 (battery cost; DIY labor is free)
- Prerequisites: Vehicle parked on a flat surface, engine off, keys removed from the ignition.
Tools and Materials Checklist:
- [ ] 1 pair of safety glasses (battery acid is highly corrosive)
- [ ] 1 pair of nitrile work gloves
- [ ] 1 socket set or wrench (10mm and 13mm are most common)
- [ ] 1 wire battery terminal cleaning brush
- [ ] 1 can of anti-corrosion terminal spray (or dielectric grease)
- [ ] 1 OBD-II memory saver device (optional, for modern vehicles)
Phase 1: Preparation and Removal
Step 1: Secure the Vehicle and Prepare Systems
Park on a completely level surface, engage the parking brake, and remove the key from the ignition. Move the key fob at least 15 feet away from the vehicle to allow the computer modules to enter “sleep” mode, then plug your 12V memory saver into the OBD-II port under the dashboard. You’ll know it worked when the memory saver’s indicator light turns solid green, confirming a connection. Most beginners skip moving the key fob away, which keeps the computer awake and immediately drains the small memory saver battery.
Step 2: Disconnect the Negative (-) Terminal First
Locate the negative battery terminal, marked by a minus sign (-) or a black plastic cover, and use a 10mm wrench to loosen the clamping nut. Twist the terminal clamp side-to-side while pulling upward to detach it, then tuck the cable deep down into the engine bay so it cannot spring back. You’ll know it worked when the black cable is completely isolated and at least 3 inches away from the battery post. A common mistake is letting your wrench touch both the negative post and the positive post simultaneously, which will cause a massive spark and potentially melt the tool.
Step 3: Disconnect the Positive (+) Terminal
Locate the positive battery terminal, marked by a plus sign (+) or a red plastic cover, and loosen the nut with your 10mm wrench. Pull the positive clamp off the post and wrap the exposed metal ring in a dry shop rag to insulate it. You’ll know it worked when both battery posts are completely bare and the cables are safely isolated. A common mistake is letting the positive clamp touch the metal frame of the car while the battery is still seated, causing a short circuit.
Step 4: Remove the Battery Hold-Down Bracket
Locate the metal bar or base clamp securing the battery to the tray and use a 13mm socket with an extension to loosen the mounting bolts. Lift the bracket and bolts completely out of the engine bay and place them on your workbench. You’ll know it worked when you can gently wiggle the battery back and forth with your hands. A common mistake is dropping the long bracket bolts down into the engine bay, which requires a magnetic pickup tool to retrieve.
Step 5: Extract the Old Battery
Grab the battery by its built-in plastic handle—or firmly underneath its bottom edges if no handle exists—and lift it straight up and out of the vehicle. Keep the battery completely level against your chest to prevent old, sloshing acid from venting out of the top caps. You’ll know it worked when the heavy unit is safely resting on the ground away from the vehicle. A common mistake is tilting the battery toward your body during the lift, which can leak corrosive sulfuric acid onto your clothes.
Phase 2: Cleaning and Preparation
Step 6: Clean the Tray and Cable Terminals
Inspect the empty plastic battery tray and wipe away any dirt or debris with a damp rag. Insert the conical end of your wire battery brush into the circular metal rings of the positive and negative vehicle cables, twisting vigorously to strip away the white or green corrosion. You’ll know it worked when the inside of the metal cable rings shines like bright, raw lead. A common mistake is only cleaning the outside of the clamps; the inside ring is where the electrical current transfers.
Phase 3: Installation and Connection
Step 7: Insert the New Battery
Lift the new battery by the handle and lower it directly into the empty tray, ensuring the positive (+) and negative (-) posts are oriented exactly where the corresponding vehicle cables are resting. Verify that the battery sits flat and is not resting on the lip of the tray. You’ll know it worked when the red cable naturally reaches the positive post without being stretched. A common mistake is dropping in a battery with reversed polarity (e.g., a Group 35R instead of a 35), making it impossible to connect the cables.
Step 8: Secure the Hold-Down Bracket
Place the metal bracket back over the battery (or lock the wedge into the base of the tray) and hand-thread the 13mm bolts to prevent cross-threading. Tighten the bolts with your socket wrench until the bracket is snug, then try to physically push the battery. You’ll know it worked when the battery does not shift or slide even a millimeter under heavy hand pressure. A common mistake is over-tightening the top bracket, which can crack the battery’s plastic casing and cause an immediate acid leak.
Step 9: Connect the Positive (+) Terminal First
Push the red positive cable clamp all the way down onto the positive (+) battery post until the top of the post sits flush with the top of the clamp. Tighten the 10mm nut firmly, then try to twist the clamp left and right by hand. You’ll know it worked when the clamp is immovable and feels welded to the post. A common mistake is attaching the negative cable first; if you do this, your wrench on the positive side can easily ground out on the chassis and cause an explosion.
Step 10: Connect the Negative (-) Terminal Last
Push the black negative cable clamp down onto the negative (-) battery post and tighten the 10mm nut until the clamp cannot be twisted by hand. Spray a thin, even coat of anti-corrosion terminal spray directly over both exposed metal connections to seal out moisture. You’ll know it worked when the terminals are coated and your dashboard lights turn on when you open the car door. A common mistake is spraying the anti-corrosion spray before attaching the cables, which creates an insulating barrier that prevents the car from starting.
Common Mistakes and How to Fix Them
- No power after installation: The terminal clamps are likely seated too high on the tapered battery posts, preventing a tight grip. Loosen the nuts, push the clamps further down toward the plastic battery base, and re-tighten.
- Car cranks slowly or just clicks: The new battery has likely lost surface charge while sitting on the retail shelf. Connect a battery charger for 2–3 hours, or use jumper cables from another vehicle to start the car and let the alternator charge it.
- Sparking during installation: You either touched your wrench to the metal frame while tightening the positive terminal, or there is a parasitic draw pulling current. Ensure the key fob is far away, the doors are closed, and only touch one piece of metal at a time.
- Dashboard error lights remain on: Modern vehicles (BMW, Audi, Ford) require a Battery Management System (BMS) reset. The car does not know a new battery is installed and is overcharging it. You must use an advanced OBD-II scanner to “register” the new battery to clear the codes.
Variations for Different Vehicle Types
- Trunk or Under-Seat Batteries: Many European SUVs and modern sedans house the battery in the trunk or under the passenger seat to balance weight. The process is identical, but you must safely vent the battery. You will need to detach the small rubber vent tube from the old battery and plug it into the exact same port on the new one to route explosive hydrogen gas outside the cabin.
- AGM vs. Lead-Acid Upgrades: If you are upgrading from a standard flooded lead-acid battery to an AGM (Absorbent Glass Mat) battery for better electronics support, the physical installation is identical. However, you absolutely must perform a BMS reset so the alternator adjusts its voltage output, as AGM batteries require a lower charging voltage.
How Long Does It Take and What Does It Cost?
- Time: A standard top-mount under-hood battery takes 15–20 minutes to swap. Batteries hidden in the wheel well (like older Chrysler models) or under seats can take 45–60 minutes.
- Cost: Standard flooded batteries cost between $120 and $180. Premium AGM batteries for modern start-stop vehicles run between $220 and $300. Dealerships typically charge $50–$100 in labor to perform the swap and register the battery.
Frequently Asked Questions (FAQ)
Do I need a memory saver to change a battery?
You do not strictly need one, but without it, you will lose your radio presets, clock time, and the engine’s idle-learning memory. The car may idle roughly for the first 50 miles as the computer relearns the air-fuel mixtures.
Is it safe to change a car battery in the rain?
It is physically safe from a high-voltage shock perspective since 12 volts cannot break through human skin resistance, but excessive water entering the open battery tray or cable harnesses can cause localized corrosion and electrical gremlins. Pull under a canopy if possible.
Can I recycle my old car battery?
Yes, and it is legally required in most jurisdictions. Take the old battery back to the auto parts store where you purchased the new one. They will refund your “core charge”—typically $15 to $25—which was added to the purchase price of the new battery.
Why does the negative terminal spark when I reconnect it?
A tiny spark is normal. It represents the vehicle’s background electronics (clocks, security systems, keyless entry receivers) instantly drawing a tiny amount of current the moment the circuit is completed.
Learning how to install a new car battery is a foundational maintenance skill that saves time and dealership labor fees. By respecting the negative-first rule, keeping your terminals clean, and ensuring the hold-down bracket is secure, your replacement will deliver reliable starts for years to come.