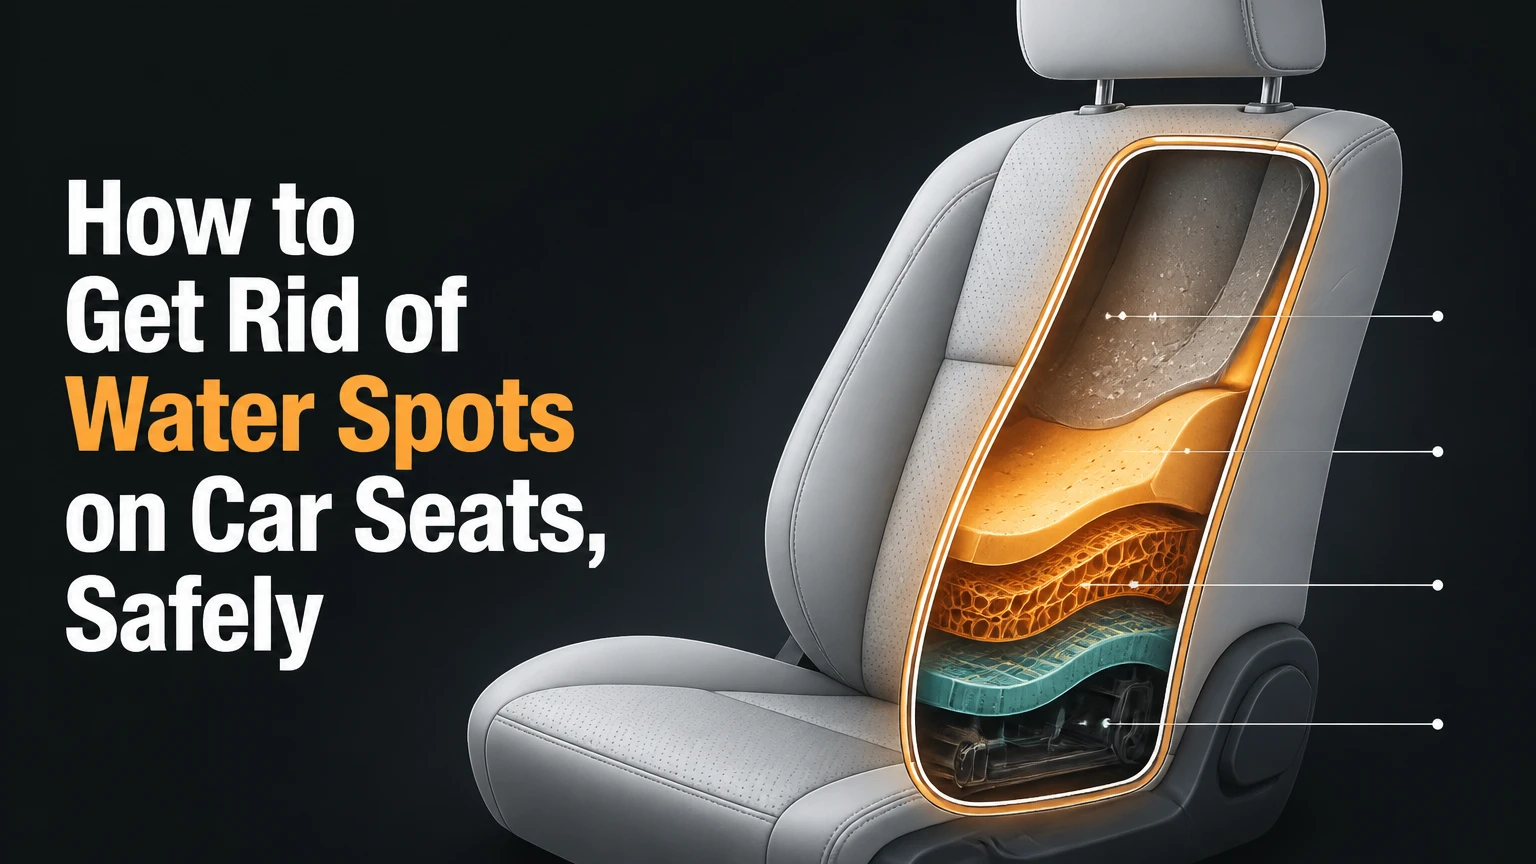
To get rid of water spots on car seats, vacuum the upholstery, lightly clean the entire seat panel with a material-safe solution, blot or extract the moisture, and dry the cushion with moving air. The most important factor is even cleaning from seam to seam, because treating only the visible ring often creates another tide mark.
Key Facts at a Glance
Water rings usually contain redeposited minerals, dirt, soap, body oil, or drink residue, not water alone.
Distilled water reduces new mineral marks when rinsing fabric, vinyl, and compatible synthetic upholstery.
Fabric seats usually tolerate controlled moisture, but leather, Alcantara, perforations, and heated seats need lower saturation.
Clean the complete upholstery panel, not only the circular outline, when the material is fabric.
A portable extractor removes more contaminated moisture than towel blotting, but it also requires longer drying.
A returning ring usually indicates wicking, incomplete extraction, or residue remaining in the cushion.
Why Water Spots Form on Car Seats
Water spots on car seats form when liquid carries dissolved minerals or embedded soil toward the drying boundary. Evaporation happens fastest at the exposed edge, so calcium, magnesium, detergent, body oil, and dirt can concentrate there as a darker or lighter outline.
A clean splash of distilled water may leave little visible residue, while tap water can leave a pale mineral border after drying. Rainwater may add road film, and a drink spill can leave sugar, milk proteins, acids, or colorants that require more than mineral removal.
The ring is often wider than the original spill. Seat foam and fabric backing can hold liquid below the surface, then release contamination upward during drying. Upholstery professionals commonly call this wicking. The same mechanism can produce a second ring after an uneven spot treatment.
Before choosing a cleaner, identify three attributes: seat material, liquid source, and stain age. A recent rain mark on polyester fabric is a different task from a six-month-old milk ring on perforated leather.
What Material Are Your Car Seats?
Seat material determines the allowable moisture, brush pressure, cleaner chemistry, and drying method. Check the vehicle owner’s manual, upholstery tag, or manufacturer care guide before applying any liquid, because “leather” seats may contain coated leather, vinyl side panels, or synthetic inserts.
| Seat material | Typical appearance | Safer first cleaner | Main restriction |
|---|---|---|---|
| Polyester or nylon fabric | Woven texture, absorbent surface | Low-foaming upholstery cleaner and distilled water | Avoid soaking foam |
| Vinyl or synthetic leather | Smooth, slightly plastic surface | Diluted interior cleaner on microfiber | Keep liquid away from seams and controls |
| Finished leather | Grain pattern, coated surface | pH-balanced leather cleaner | Do not use vinegar as a routine cleaner |
| Alcantara or microfiber suede | Matte, directional nap | Manufacturer-approved low-moisture cleaner | No aggressive brushing or saturation |
| Perforated leather | Small ventilation holes | Minimal cleaner on cloth | Prevent liquid entering perforations |
| Removable child-seat cover | Care label and sewn seams | Care-label-approved detergent | Follow child-seat manufacturer instructions |
Fabric, vinyl, and finished leather should not share one universal recipe. Test every product on a hidden lower edge, wait until it dries, and check for color transfer, darkening, stiffness, or a changed sheen.
How to Get Rid of Water Spots on Car Seats
The safest general process takes 30-60 minutes of hands-on work, followed by 2-8 hours of drying, depending on humidity, foam thickness, and equipment. Use the smallest amount of liquid that can clean the panel evenly; more solution does not produce a cleaner seat.
Before You Start
| Requirement | Typical specification | Why it matters |
|---|---|---|
| Distilled water | 250-500 milliliters | Limits mineral redeposition |
| Microfiber towels | 4-8 clean, absorbent towels | Separates dirty and drying cloths |
| Soft brush | 1 upholstery brush, 2-4 inch head | Lifts soil without fraying fibers |
| Vacuum | Household or detailing vacuum | Removes grit before wet cleaning |
| Air movement | Fan, vehicle blower, or open windows | Shortens drying time |
| Cleaner | 30-120 milliliters, label dilution | Controls residue and chemical exposure |
Turn off the vehicle before cleaning around seat controls. Do not flood seat-belt buckles, electrical connectors, seat heaters, ventilation openings, or side-airbag seams. If a seat is visibly soaked, remove the cause of moisture before treating the stain.
Step 1: Vacuum the Dry Seat
Vacuum the seat, seams, piping, belt gaps, and the junction between the backrest and cushion. Use a crevice tool at low pressure so trapped grit does not scratch vinyl or become embedded when the fabric gets wet.
A dry vacuum pass removes sand, hair, salt crystals, and loose soil that would otherwise become muddy during cleaning. For a heavily soiled seat, vacuum twice, changing direction on the second pass.
You will know this step worked when the towel does not pick up loose grit during a dry wipe.
Common mistake: spraying cleaner before removing granular dirt, which turns removable debris into a smear.
Step 2: Identify the Liquid and Pretest the Cleaner
Blot a small hidden area with a white microfiber towel dampened with the chosen solution. Hold the towel against the material for 10 seconds, then inspect the cloth for dye transfer and the upholstery for color or texture changes.
For a recent plain-water mark, distilled water alone may be sufficient. For dirt-based rings, use a low-foaming upholstery cleaner. For coffee, soda, or milk, use a compatible cleaner that addresses organic residue rather than relying only on acidic vinegar.
Let the test area dry fully. Wet upholstery can temporarily look darker, smoother, or cleaner than it will after evaporation.
You will know this step worked when the dry test patch matches the surrounding color and texture.
Common mistake: judging compatibility while the test area is still wet.
Step 3: Clean the Entire Fabric Panel
Lightly mist the complete fabric section from seam to seam, using approximately 30-60 milliliters per front seat panel as a starting point. Do not create a wet cushion; the surface should feel evenly damp, not saturated.
Work the cleaner with a soft brush or folded microfiber towel for 30-60 seconds. Use overlapping strokes rather than concentrating pressure on the old ring. Even wetting helps prevent a new boundary between cleaned and uncleaned fabric.
For a mild vinegar treatment on compatible fabric or vinyl, mix 1 part distilled white vinegar with 1 part distilled water, then apply a very light mist. Vinegar can help with alkaline mineral residue, but it is not a complete treatment for oil, milk, sugar, or dye. Avoid the mixture on leather, suede, Alcantara, and unverified coatings.
You will know this step worked when the ring loses contrast while the panel remains uniformly damp.
Common mistake: scrubbing the outline harder than the surrounding panel, which can create a visible texture change.
Step 4: Treat Leather and Vinyl Differently
Use a small amount of pH-balanced leather cleaner on a microfiber cloth for finished leather, then wipe one panel at a time. Avoid spraying directly onto perforated leather, stitching, controls, or airbag seams. Follow with a compatible leather conditioner only after the surface is clean and completely dry.
Vinyl usually tolerates slightly more moisture than finished leather, but cleaner can still pool in seams and leave a glossy residue. Apply the product to the cloth, wipe the panel, and buff with a second dry towel.
Do not use vinegar, baking soda paste, household degreaser, or steam as a default leather treatment. Those methods can alter the coating, strip surface oils, leave powder in grain lines, or force moisture through perforations.
You will know this step worked when the material has an even sheen and no slippery or greasy film.
Common mistake: conditioning dirty leather, which seals soil into the grain and makes later cleaning harder.
Step 5: Extract and Blot the Contaminated Moisture
Press a clean microfiber towel firmly into damp fabric, lift it straight up, and repeat with a dry section of the towel. Do not rub the towel sideways across a wet ring, because lateral rubbing can spread dissolved soil.
A wet-dry vacuum or portable upholstery extractor is more effective for deep rings because it removes liquid from below the surface. Make one controlled spray pass and two or three extraction passes. The extraction nozzle should move slowly enough to pull moisture, but not so slowly that the cushion becomes flooded.
For leather and vinyl, towel wiping is usually preferable to machine extraction. These nonabsorbent surfaces do not need the same flushing process as porous fabric.
You will know this step worked when the towel becomes only slightly damp and the fabric no longer feels heavy or wet below the surface.
Common mistake: repeatedly adding cleaner when the real problem is insufficient extraction.
Step 6: Dry the Cushion Completely
Aim a fan across the seat, open the doors or windows when weather permits, and leave the seat unoccupied until the cushion is dry. Typical fabric drying takes 2-8 hours after controlled cleaning; thick foam, cold temperatures, and high humidity can extend that period to 24 hours.
Avoid closing a damp vehicle in a warm garage. Heat without ventilation can accelerate odor development while moisture remains trapped inside the foam. Do not use a high-heat hair dryer against fabric, leather, or vinyl, because concentrated heat can shrink fibers, harden coatings, or create uneven gloss.
Press a dry paper towel into the seat after several hours. If the towel feels cool or picks up moisture, continue drying.
You will know this step worked when the seat feels the same temperature and firmness as a dry adjacent seat section.
Common mistake: reinstalling a child seat or sitting on the cushion before the foam has dried.
Which Cleaning Method Should You Use?
The best method depends on the material, depth of contamination, available extraction equipment, and tolerance for drying time. For a light fabric ring, low-moisture upholstery cleaner and careful blotting are usually the most practical starting point; deep wicking often needs extraction rather than stronger chemicals.
| Method | Compatible materials | Typical cost | Working time | Drying demand |
|---|---|---|---|---|
| Distilled water and microfiber | Fabric, vinyl | Under $5 | 20-30 minutes | 1-4 hours |
| Diluted white vinegar | Compatible fabric, some vinyl | Under $5 | 20-40 minutes | 2-6 hours |
| Ready-to-use upholstery cleaner | Fabric, selected microfiber | $8-$25 | 30-60 minutes | 2-8 hours |
| pH-balanced leather cleaner | Finished leather, vinyl | $12-$35 | 20-40 minutes | 30-90 minutes |
| Portable extractor | Fabric upholstery | $100-$300 to buy | 45-120 minutes | 4-12 hours |
| Professional interior detail | Most materials | Typically $100-$250 | 3-5 hours | Provider-dependent |
Vinegar, Commercial Cleaner, or Extractor?
Vinegar is inexpensive and can reduce alkaline mineral residue, but it has a strong odor and does not dissolve every substance found in a car seat. Commercial upholstery cleaners provide more predictable surfactant action, while an extractor physically removes dissolved contamination from the cushion.
Steam cleaning is a specialized option, not a universal upgrade. Steam may help with some durable fabric or vinyl surfaces, but excessive heat can damage adhesive-backed upholstery, synthetic suede, leather coatings, and seat electronics. A detailer should confirm the seat manufacturer’s material limits before steaming.
| Problem | Preferred first option | Avoid first | Reason |
|---|---|---|---|
| Light tap-water ring on polyester | Distilled water and blotting | Heavy detergent | The residue may be mineral-only |
| Dark ring with soil | Upholstery cleaner and extraction | Vinegar alone | Dirt and oil need surfactants |
| Coffee or soda mark | Upholstery cleaner labeled for beverage stains | Plain water only | Sugars and colorants remain after drying |
| Finished leather ring | Leather cleaner on cloth | Vinegar or steam | Coating and color may be damaged |
| Deep recurring fabric ring | Portable extractor | Repeated surface misting | Contamination remains in foam |
| Alcantara water mark | Approved low-moisture product | Generic brush and soak | Nap and backing are sensitive |
How Should You Handle Hard-Water Mineral Rings?
Hard-water rings need controlled re-dissolving followed by complete removal, not repeated drying. Use distilled water, apply a compatible cleaner across the whole fabric panel, and extract the dissolved mineral and soil mixture before it reaches the drying edge.
Hard water commonly contains calcium and magnesium ions. A visible white or pale outline may be mineral residue, but a dark outline can contain dirt mobilized by the same water. Vacuuming removes dried crystals from the surface, while blotting or extraction removes what has dissolved below it.
Never use abrasive powder to scour a fabric or leather seat. Baking soda can leave a white crystalline residue in upholstery fibers and does not replace extraction. If a powder has already dried, vacuum it first, then perform a controlled rinse with distilled water on compatible fabric.
What If the Liquid Was Coffee, Milk, Soda, or Saltwater?
Non-water spills require source-specific cleaning because dissolved solids are only one part of the stain. Coffee and soda can leave color and sugar, milk can leave protein and fat, and saltwater can leave both salt crystals and odor-producing organic contamination.
For coffee or soda, remove loose residue, use a fabric-safe cleaner labeled for beverage stains, and extract rather than repeatedly spraying. Milk requires prompt treatment because residual protein and fat can produce odor after the surface appears clean. Saltwater marks should be vacuumed when dry, then lightly rinsed with distilled water and extracted.
Do not use hot water on an unknown protein stain. Heat can make some protein residues harder to remove. A professional detailer may be necessary when a spill has reached the foam, seat belt, carpet beneath the seat, or ventilation channels.
How Do You Clean Synthetic Suede or Alcantara?
Synthetic suede and Alcantara require low-moisture cleaning, gentle directional agitation, and careful nap restoration. Apply the manufacturer-approved product to a microfiber cloth rather than saturating the seat, then wipe in small overlapping sections.
After drying, use a soft brush in the material’s original direction. A stiff brush, circular scrubbing, steam, or strong solvent can flatten the nap or create a permanent shiny patch. Test first because synthetic suede formulations vary between vehicle manufacturers.
A water ring that remains after safe surface cleaning may indicate altered nap direction rather than remaining mineral. If the color is permanently lighter, cleaning cannot restore pigment that ultraviolet exposure has removed.
What Are the Common Failure Modes?
Most failed water-spot treatments involve uneven moisture, incomplete extraction, incompatible chemistry, or premature drying. Identify the failure before repeating the procedure, because a second aggressive treatment can enlarge the damaged area.
| Symptom after cleaning | Likely cause | Recovery action | Escalation point |
|---|---|---|---|
| Ring returns when dry | Wicking from foam | Re-clean panel and extract deeper | Returns after two controlled attempts |
| Fabric feels crunchy | Cleaner residue | Light distilled-water rinse and blot | Stiffness remains after drying |
| White powder appears | Dried mineral, vinegar, or baking soda | Vacuum, then controlled rinse | Powder is inside perforations |
| Darker wet-looking patch remains | Over-saturation or dye change | Dry fully, compare in daylight | Color remains after 24 hours |
| Sour odor develops | Wet foam or organic spill | Ventilate and extract | Odor persists after full drying |
| Glossy leather patch appears | Coating or sheen changed | Stop chemical use | Consult leather repair specialist |
When a Water Ring Reappears
A returning ring usually means moisture and contamination remain beneath the surface. Repeating a surface-only spray often makes the ring larger because each drying cycle transports more residue toward the edge.
Wait until the seat is fully dry, vacuum the panel, then use a measured amount of cleaner and a wet-dry vacuum. Keep the cleaned boundary broad and even. If the ring returns after two careful extraction cycles, the foam, backing, or carpet beneath the seat may need professional flushing.
When Fabric Feels Stiff or Crunchy
Crunchy fabric usually contains dried surfactant or mineral residue. Lightly mist compatible fabric with distilled water, press with clean towels, and extract or blot until the towel no longer picks up cleaner.
Do not add more soap to solve stiffness. The corrective step is rinsing and removal. If stiffness remains after drying, inspect for heat damage, adhesive contamination, or fiber distortion.
When the Color Changes
A permanent color change may be dye transfer, bleaching, sun fading, or a damaged protective coating rather than a removable water spot. Stop cleaning when a hidden test area changes color, because additional agitation can enlarge the affected zone.
Professional re-dyeing or upholstery repair may be more appropriate than stronger household chemicals. Cleaning removes contamination; it cannot replace missing pigment or reconstruct melted fibers.
When Should You Hire a Professional Detailer?
Professional cleaning is appropriate when water reached the foam, a seat contains electronics, odor persists after drying, or the stain involves milk, bodily fluids, mold, or dye transfer. Typical mobile or shop-based interior detailing costs $100-$250 for a complete interior, with larger repairs costing more.
Ask the provider whether the quoted service includes extraction, seat removal, odor treatment, and drying equipment. Confirm that the technician has experience with perforated leather, Alcantara, heated seats, and side-airbag seams.
A professional service is not automatically safer. A provider who floods a modern seat without protecting electronics can create a larger problem. The useful questions are what method will be used, how moisture will be extracted, and how the vehicle will be dried afterward.
How Much Time and Equipment Are Needed?
A light ring costs under $5 and usually needs 30-60 minutes of work plus several hours of drying. Deep stains require an extractor, more towels, and a longer drying window, while professional service trades equipment ownership for a typical $100-$250 charge.
| Treatment level | Supplies | Typical labor | Total elapsed time | Skill level |
|---|---|---|---|---|
| Light fabric ring | Distilled water, towels | 20-30 minutes | 2-4 hours | Beginner |
| Moderate dirt ring | Cleaner, brush, towels | 30-60 minutes | 3-8 hours | Beginner-intermediate |
| Deep wicking stain | Extractor, low-foam solution | 60-120 minutes | 4-12 hours | Intermediate |
| Leather maintenance | Leather cleaner, conditioner | 20-40 minutes | 1-2 hours | Beginner |
| Full professional detail | Provider equipment | 3-5 hours | Same day or overnight | Professional |
The equipment decision is straightforward. Buy or rent an extractor when several fabric seats are stained, use towels for a small surface mark, and hire a professional when the contamination or seat construction makes moisture control uncertain.
How Can You Prevent New Water Rings?
Prevent new water rings by wiping spills immediately, using distilled water for interior rinsing, and cleaning complete fabric panels instead of isolated circles. Keep a small kit containing absorbent microfiber towels, a soft brush, a compatible cleaner, and a plastic bag for used cloths.
Press spills upward rather than rubbing them outward. Replace the towel as soon as it becomes wet or dirty. For recurring rain intrusion, inspect door seals, sunroof drains, windshield seals, and roof-liner edges rather than repeatedly treating the seat.
Avoid applying fabric protectant to dirty upholstery. Clean and dry the material first, then confirm that the protectant is compatible with the seat manufacturer’s fiber and airbag requirements.
FAQ
Can I remove car-seat water spots without vinegar?
Yes. Distilled water, a clean microfiber towel, and controlled blotting can remove a recent light ring, while a low-foaming upholstery cleaner works better for dirt-based stains. Vinegar is optional, not essential, and should not be used routinely on leather, Alcantara, or unverified coatings.
Will water spots disappear as the car seat dries?
Some light marks disappear as moisture evaporates, but established rings often remain because minerals, soil, detergent, or drink residue have concentrated at the drying edge. Even drying can prevent a new boundary, but it cannot remove residue already deposited in the upholstery.
Can I use Windex on leather or vinyl car seats?
Avoid using glass cleaner as a general seat cleaner unless the seat manufacturer specifically approves it. Glass products may contain solvents or ammonia that can dull vinyl, dry leather coatings, or leave an uneven finish. Use a material-specific interior or leather cleaner instead.
How long should I wait before sitting on a cleaned car seat?
Wait until the seat feels fully dry at the surface and in the cushion, typically 2-8 hours after controlled fabric cleaning. A paper towel pressed into the cushion should remain dry. Leather and vinyl usually need 30-90 minutes, but seams and perforations require additional inspection.
Can water spots create mold in a car seat?
Water spots do not automatically mean mold, but trapped moisture in foam can support odor and microbial growth when drying is slow. Ventilate the vehicle, extract excess liquid, and investigate leaks. Persistent musty odor, visible growth, or a soaked cushion warrants professional remediation.
Why does cleaning only the circle make the stain worse?
Cleaning only the circle creates a new wet-to-dry boundary around the old mark. As the moisture evaporates, dissolved soil can migrate to that boundary and form another ring. On fabric, cleaning the complete panel evenly and extracting the moisture reduces this wicking effect.
The Bottom Line
To get rid of water spots on car seats, match the cleaner to the upholstery, vacuum first, clean the full fabric panel evenly, extract dissolved contamination, and dry the cushion completely. Use distilled water for rinsing, avoid vinegar on leather and synthetic suede, and stop DIY treatment when color, nap, electronics, or persistent odor indicates a deeper problem.