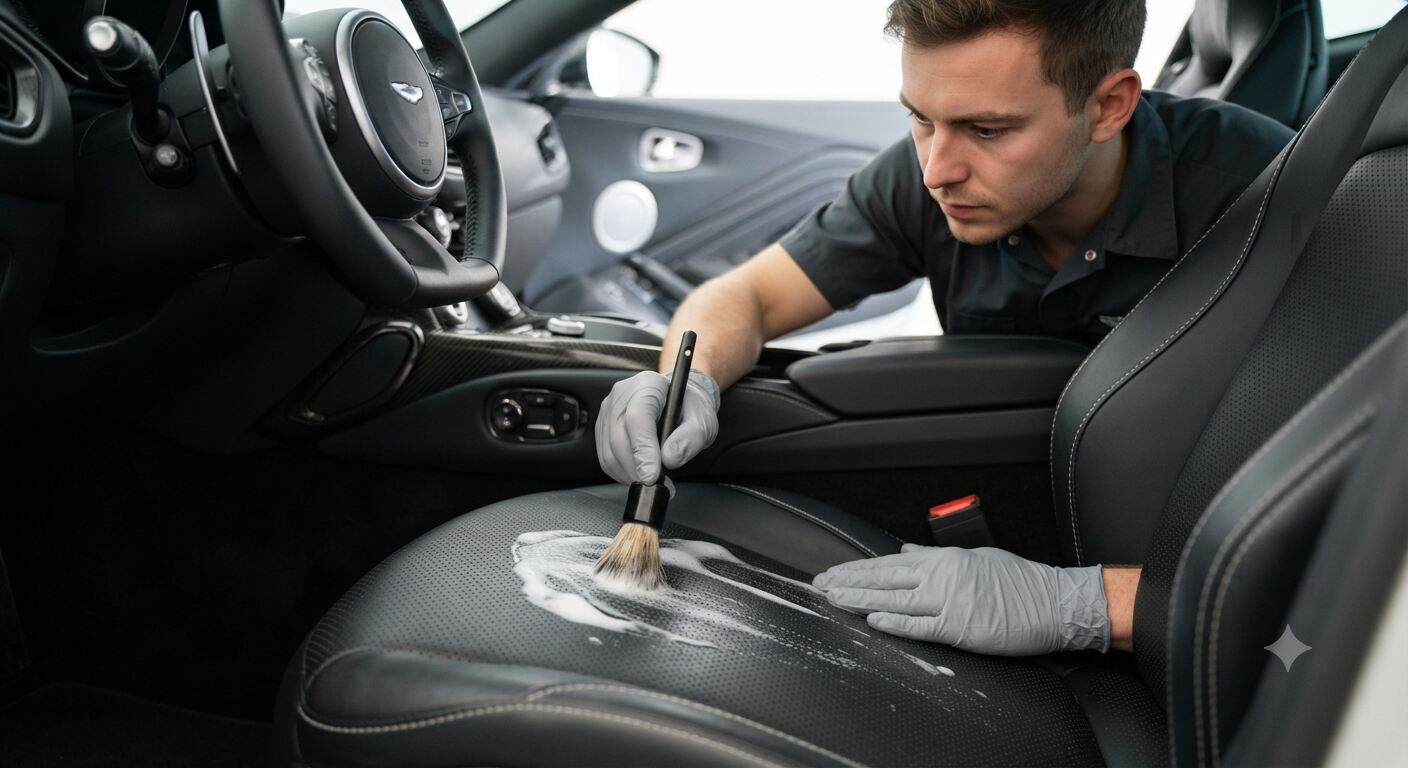
There is nothing quite like the look, smell, and feel of genuine leather seats inside a vehicle. Modern luxury cars take that comfort a step further by introducing ventilation and heating features through thousands of tiny perforations punched directly into the leather hide. While these tiny holes keep you cool during scorching summer drives, they introduce a unique maintenance challenge. Standard interior detailing techniques can easily ruin perforated leather by flooding those ventilation channels with excess liquid, leading to clogged holes, unpleasant mold growth, and even costly electrical damage to internal seat components.
Knowing how to clean and condition perforated leather car seats the right way ensures your vehicle interior remains pristine, supple, and fully functional for years to come. In this comprehensive guide, you will learn the exact professional methods, necessary tools, and critical safety precautions required to revitalize your car seats without causing accidental harm.
Why Perforated Leather Requires Specialized Care
Traditional leather seats feature a smooth, solid surface that makes wiping away dirt and applying conditioners a straightforward process. Liquid cleaners can be sprayed directly onto the seat and wiped off without much worry. However, perforated leather turns those tiny holes into vulnerability points.
When you spray a liquid cleaner or apply a heavy cream conditioner directly onto perforated seats, the product flows directly into the ventilation matrix beneath the surface. Because this inner cavity has little to no airflow, trapped moisture creates an ideal breeding ground for bacteria and mold. Furthermore, excess liquid can seep into the integrated heating elements, seat cooling fans, and seat occupancy sensors, triggering electrical malfunctions or warning lights on your dashboard. Specialized care focuses on controlled application, relying on foams and micro-quantities of product to lift contaminants without liquid ingress.
Essential Tools and Supplies for the Job
Before you begin your interior detailing project, gather all the necessary supplies. Using the right equipment prevents accidental scratches, ensures deep cleaning efficiency, and protects the delicate leather grain.
- Vacuum cleaner: Equipped with a soft brush attachment to prevent scratching the leather surface.
- Soft-bristle detailing brush: Crucial for agitating cleaner and loosening stubborn debris trapped inside holes.
- Wooden toothpicks or soft picks: Perfect for clearing out stubborn, dried-on particles from individual perforations.
- pH-balanced leather cleaner: Designed specifically for automotive leather to lift dirt without stripping natural oils.
- Clean microfiber towels: At least three to four high-quality, lint-free towels for wiping away dirt and buffing residue.
- Cream or lotion leather conditioner: A premium formula that nourishes the hide without leaving a greasy residue.
- Foam or microfiber applicator pads: Used to distribute and massage conditioner evenly across the seating surface.
Quick Reference Summary
| Detail Category | Specification |
|---|---|
| Skill Level | Beginner to Intermediate |
| Time Required | 45 to 60 minutes per row of seats |
| Frequency | Every 3 to 6 months |
| Primary Risk | Liquid ingress causing mold or electrical failure |
| Key Product Type | pH-balanced cleaner and cream conditioner |
Step-by-Step Guide: Cleaning Perforated Leather Seats
Cleaning perforated leather requires a methodical approach. Patience is your best asset here, as rushing the process can push dirt deeper into the ventilation holes instead of lifting it out.
Step 1: Vacuum Debris Thoroughly
Start by removing all loose surface dirt, crumbs, and abrasive grit. Attach a soft brush nozzle to your vacuum hose to protect the leather from scuffs. Vacuum every square inch of the seat, paying close attention to the seams, crevices, and side bolsters where debris tends to accumulate over time.
Step 2: Clear Stubborn Particles from Holes
Even after a thorough vacuuming, you may notice tiny specks of dust, lint, or dried food stuck inside the ventilation perforations. Take a soft-bristle brush and gently sweep across the surface. For exceptionally stubborn particles, use a wooden toothpick to flick them out. Never use metal pins or needles, as they can puncture or tear the leather around the hole edges.
Step 3: Apply Cleaner Safely
The golden rule of cleaning perforated leather is never to spray the product directly onto the seat. Instead, spray your pH-balanced leather cleaner onto a dedicated detailing brush or a clean microfiber towel. This controls the volume of liquid introduced to the seat and ensures the product goes only where you intend it to go.
Step 4: Agitate Gently to Create Foam
Work the cleaner across the leather in light, circular motions using your soft-bristle brush. The goal is to generate a mild, luxurious foam that lifts body oils, sweat, and grime from the grain without saturating the leather. Keep your pressure light so the bristles do not force liquid down into the perforations.
Step 5: Wipe Residue Immediately
Do not let the dirty foam sit on the leather for an extended period. Immediately take a clean, dry microfiber towel and wipe away the foam and suspended dirt in a single, sweeping motion. Inspect the seat under good lighting to ensure all cleaner residue has been fully removed before moving on to the conditioning phase.
Step-by-Step Guide: Conditioning Perforated Leather Seats
Once your seats are thoroughly cleaned and completely dry, it is time to restore their moisture balance. Leather is an organic material that dries out, hardens, and cracks when exposed to UV rays and temperature fluctuations. Conditioning keeps the hide soft and elastic, but improper application will clog every single hole in your seats.
Step 1: Prime the Applicator Pad
Apply a few drops of cream or lotion leather conditioner to your foam or microfiber applicator pad. You want just enough product to moisturize the pad without creating heavy globs or wet spots on the surface.
Step 2: Work the Product In
Push the conditioner deep into the fibers of the applicator pad using your fingers. If the surface of the pad feels slick or wet with product, rub the pad against itself until the conditioner is evenly distributed throughout the material.
Step 3: Break it In on Flat Areas
Before touching the perforated zones, rub your primed applicator pad against a non-perforated section of the seat, such as the outer side bolsters or the headrest back. This deposits the majority of the excess product on solid leather surfaces where it can be easily absorbed without causing blockage issues.
Step 4: Massage the Perforations Lightly
With the applicator pad feeling nearly dry, lightly glide it over the perforated zones like applying lotion to skin. The goal is to deposit a microscopic layer of nourishment onto the surface surrounding the holes without pushing paste into the ventilation channels.
Step 5: Buff the Surface
Allow the conditioner to penetrate the leather for three to five minutes. Finish the process by taking a clean, dry microfiber towel and buffing the entire seat thoroughly. This removes any remaining shine, eliminates slickness, and picks up any stray product that may have settled near the perforations.
Common Mistakes to Avoid
Avoiding typical detailing blunders saves you from costly repairs and ruined interior aesthetics. Keep these warnings in mind while working on your vehicle:
- Using household multi-purpose cleaners: Products containing ammonia, bleach, or alcohol strip away the factory protective coating of the leather, causing irreversible drying and cracking.
- Soaking the seat: Drenching the seat with water or heavy liquid cleaners guarantees moisture entrapment, leading to mildew odors and potential short circuits in seat-heating wiring harnesses.
- Skipping the drying phase: Always allow seats to dry completely after cleaning before applying any conditioning products. Applying conditioner over trapped moisture seals the dampness inside the leather.
- Using stiff brushes: Stiff nylon or metal-bristled brushes scratch the soft topcoat of automotive leather and fray the edges of the perforation holes.
Frequently Asked Questions
Can I use household all-purpose cleaners on perforated leather car seats?
No, you should never use household all-purpose cleaners, dish soap, or glass cleaner on automotive leather. These products are far too harsh and contain chemical solvents that strip away the protective topcoat, leading to rapid drying, discoloration, and severe cracking. Always stick to dedicated, pH-balanced automotive leather care products.
What happens if liquid gets inside the seat perforations?
If a small amount of cleaner enters the perforations, it usually evaporates over time without causing major issues. However, if liquid pools deeply or floods the inner cavity, it can cause the internal foam padding to develop mold and mildew, resulting in a persistent musty odor. In worse scenarios, large amounts of liquid can seep into electrical heating elements or occupant detection sensors and cause short circuits.
How often should I clean and condition my leather car seats?
For optimal maintenance, you should perform a light cleaning and conditioning routine every three to six months. If your car is exposed to intense daily sunlight, frequent family use, or if you wear dark denim jeans that cause dye transfer, you may need to clean the high-contact areas every two months to prevent permanent staining.
Do perforated seats require a different type of conditioner than regular leather?
The chemical formulation of the conditioner does not need to be different, but the application method must be much more cautious. Standard leather seats allow you to apply cream directly and buff it out easily. Perforated leather requires you to use minimal product, work it into an applicator pad first, and apply a very thin layer to avoid clogging the ventilation holes.
Conclusion
Maintaining your vehicle interior does not have to be an intimidating task. By following a structured approach that avoids excess moisture and focuses on controlled cleaning and conditioning techniques, you can keep your perforated leather seats looking, smelling, and feeling brand new.
Always remember to use a pH-balanced cleaner, apply products to your tools rather than directly onto the seats, and keep your application layers thin. A little preventive maintenance goes a long way in preserving the luxury feel of your car for years of enjoyable driving ahead.