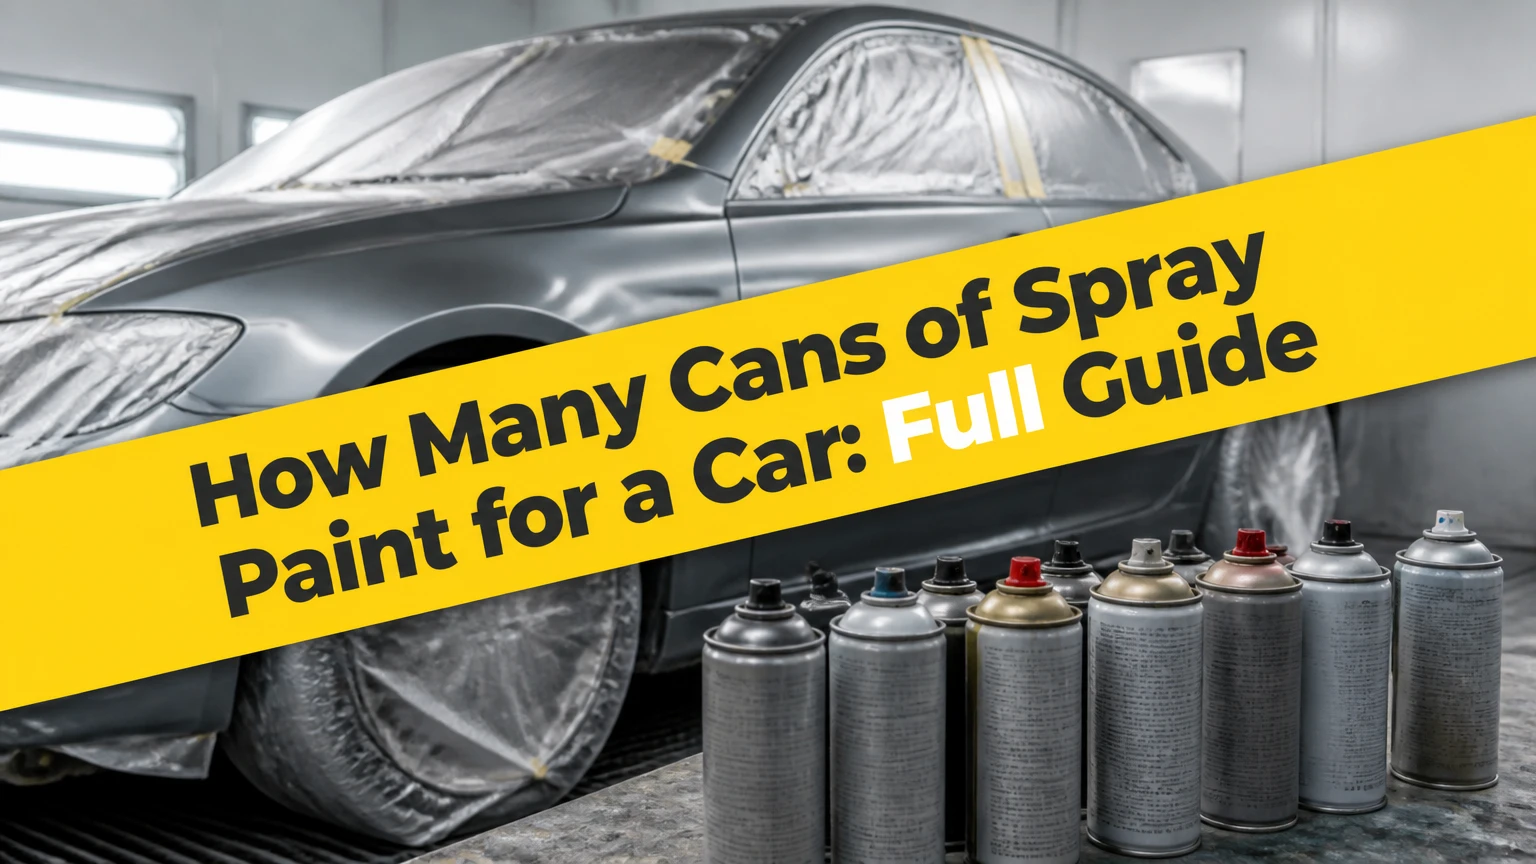
A full exterior repaint of a standard sedan typically requires 10-15 cans each of automotive primer, color basecoat, and clear coat, or 30-45 cans total, when using 12-ounce aerosol cans and applying several thin coats. A large SUV, color change, heavy bodywork, or low-coverage product can raise the total to 45-60 cans.
Key Facts at a Glance
- A standard sedan usually needs 10-15 cans per coating stage when each can contains about 12 ounces of usable automotive paint.
- A full aerosol repaint commonly uses 30-45 cans total, excluding primer-sealer, adhesion promoter, and spare cans.
- A small hatchback often needs 8-12 cans per stage, while a large SUV or truck may need 14-20 cans per stage.
- The paint can’s printed coverage area is more reliable than a generic vehicle estimate.
- A 1K aerosol remains usable after opening, but an activated 2K aerosol has a limited working life, often about 24-48 hours.
- A full-car aerosol finish costs less in equipment than HVLP spraying, but it usually costs more per square foot and requires more hand labor.
How Many Cans of Spray Paint for a Car?
A standard sedan generally needs 30-45 12-ounce cans for all three coating stages: 10-15 cans of primer, 10-15 cans of basecoat, and 10-15 cans of clear coat. That estimate assumes the exterior panels are being painted, the existing finish is mostly sound, and the painter applies two or three controlled coats rather than flooding the surface.
The estimate is a starting point, not a shopping formula. Aerosol labels may report theoretical coverage under ideal conditions, while a vehicle loses material through overlap, panel edges, test sprays, wind, masking, and cans that lose pressure before they are empty. Buy approximately 10-20% more paint than the calculated minimum, particularly for a metallic color or a first full-car project.
Typical Quantities by Vehicle Size
| Vehicle type | Primer cans | Basecoat cans | Clear-coat cans | Practical total |
|---|---|---|---|---|
| Small hatchback | 8-12 | 8-12 | 8-12 | 24-36 |
| Compact sedan | 9-13 | 9-13 | 9-13 | 27-39 |
| Standard sedan | 10-15 | 10-15 | 10-15 | 30-45 |
| Large SUV | 14-18 | 14-18 | 14-18 | 42-54 |
| Full-size truck | 15-20 | 15-20 | 15-20 | 45-60 |
These are typical practitioner ranges for 12-ounce automotive aerosol cans, not guaranteed manufacturer specifications. A can with 16 ounces of net contents may reduce the count, while a small 8-ounce touch-up can may increase it substantially.
How Do You Calculate the Number of Cans?
Calculate the quantity by dividing the vehicle’s paintable area by the product’s practical coverage per coat, then multiplying by the number of coats and adding waste. The formula is:
Cans required = paintable area × coats ÷ practical coverage per can × 1.10-1.20 waste factor.
A typical sedan has approximately 100-140 square feet of exterior paintable area, depending on mirrors, bumpers, roof, door jambs, and whether the underside of opening panels is included. If one 12-ounce can practically covers 18-25 square feet per coat, three color coats on 120 square feet require roughly 15-20 cans before waste.
Product labels vary. Some coverage ratings describe one thin coat over a smooth, sealed surface, while others use a much more generous theoretical figure. Use the lower practical coverage value when the surface is rough, porous, repaired, or being changed from a dark color to white.
Stage-by-Stage Buying Estimate
| Coating stage | Typical coats | Sedan cans | Main purpose |
|---|---|---|---|
| Primer | 2-3 coats | 10-15 | Levels minor sanding marks and seals exposed substrate |
| Basecoat | 2-4 coats | 10-15 | Establishes color and hiding |
| Clear coat | 2-3 coats | 10-15 | Adds gloss, depth, UV resistance, and chemical protection |
| Reserve stock | Not a coat | 3-6 total | Covers clogging, pressure loss, mistakes, and repairs |
Primer quantity can rise sharply when body filler, bare metal, or a porous sand-through area covers much of the car. Basecoat quantity rises when the new color has weak hiding power, such as bright yellow, red, white, or some metallic finishes. Clear coat quantity depends on the selected film thickness and whether the clear will later be wet-sanded and polished.
How Many Cans Are Needed for One Car Panel?
A single car panel usually takes 1-3 cans of each coating, depending on panel size, product volume, and the number of coats. A door normally requires less paint than a hood or roof, while a bumper may need extra material because its shape creates more overspray and makes it difficult to maintain a consistent distance.
| Panel or area | Primer | Basecoat | Clear coat | Typical total |
|---|---|---|---|---|
| Door | 1-2 cans | 1-2 cans | 1-2 cans | 3-6 cans |
| Front fender | 1 can | 1-2 cans | 1-2 cans | 3-5 cans |
| Hood | 1-2 cans | 2 cans | 2 cans | 5-6 cans |
| Roof | 2 cans | 2-3 cans | 2-3 cans | 6-8 cans |
| Bumper cover | 1-2 cans | 2 cans | 2 cans | 5-6 cans |
These estimates cover the visible outer surface only. Add adhesion promoter for bare plastic bumpers, and use a flexible-compatible coating system where the manufacturer requires one. Do not assume a panel repair needs the same primer as a complete panel: feathered edges may need only a small amount of primer, while a panel stripped to metal needs complete sealing.
Does a Color Change Require More Spray Cans?
A complete color change usually requires 15-30% more basecoat and sometimes an additional sealer coat. Dark-to-light changes need more material because the new pigment must hide the old color; light-to-dark changes often need less color but still require uniform primer and sealer.
The old finish should be cleaned, scuffed, and inspected rather than automatically removed. If the existing coating is stable, sanding through the clear coat in isolated areas is acceptable after those areas receive compatible primer. If the old paint is cracking, peeling, solvent-sensitive, or contaminated, spraying over it can transfer the defect into the new finish.
A tinted sealer can reduce basecoat demand for difficult colors. For example, a gray sealer under medium blue usually hides more efficiently than white primer, but the correct shade depends on the paint manufacturer’s system. Mixing brands across primer, basecoat, and clear can create lifting, wrinkling, or poor adhesion, so test compatibility on a scrap panel before committing to the car.
What Type of Spray Paint Should You Use?
For a vehicle exterior, use an automotive coating system in the manufacturer’s specified sequence, normally primer or sealer, basecoat, and clear coat. Acrylic lacquer is easy to sand but has weaker fuel, chemical, and UV resistance than modern automotive urethane systems.
| Paint type | Typical chemistry | Working characteristic | Best application | Main limitation |
|---|---|---|---|---|
| Acrylic lacquer | 1K solvent coating | Fast solvent evaporation | Small restoration areas | Lower chemical and UV resistance |
| Acrylic enamel | 1K enamel | Harder, slower dry | Budget repairs and equipment | Longer dust-sensitive drying |
| 1K basecoat | Single-component color | Air-dries before clear | Panels and small repairs | Needs compatible clear protection |
| 1K clear coat | Single-component clear | Convenient, no activation | Limited-size repairs | Lower chemical resistance than 2K |
| 2K polyurethane | Two-component activated coating | Chemical cure after activation | Durable exterior finish | Pot life, toxicity, and disposal concerns |
The terms 1K and 2K describe the number of components involved in curing. A 1K aerosol cures mainly as solvent leaves the film. A 2K aerosol contains a separate hardener that reacts with the resin after activation, producing stronger resistance but also creating more serious respiratory hazards.
Is 2K Clear Coat Worth the Extra Cost?
2K clear coat is usually worth considering for a daily-driven exterior because it resists fuel, solvents, weather, and abrasion better than ordinary 1K clear. The trade-off is that an activated can may become unusable after roughly 24-48 hours, and many 2K products contain isocyanate-related hazards that require the label-specified respiratory and ventilation controls.
A supplied-air respirator may be required for professional spraying of isocyanate-containing products. A disposable filtering mask is not automatically equivalent. Read the Safety Data Sheet, follow local regulations, keep unprotected people away, and never spray 2K products in an occupied garage or near ignition sources.
A 2K aerosol does not turn a poorly prepared panel into a factory finish. It only gives a better cured film when preparation, compatibility, application thickness, and safety controls are also correct.
What Materials Are Needed Besides Paint?
A full-car aerosol project needs substantially more than 30-45 paint cans. Typical supporting supplies include 2-4 gallons of cleaning solution, several packs of abrasive paper, masking materials, lint-free wipes, tack cloths, gloves, and suitable respiratory protection.
| Material | Typical quantity for a sedan | Function | Replacement trigger |
|---|---|---|---|
| 320-400 grit abrasive | 20-40 sheets | Initial scuffing and feathering | Clogged or torn sheets |
| 600-800 grit abrasive | 20-40 sheets | Primer leveling | Loaded abrasive |
| 1,000-2,000 grit abrasive | 10-20 sheets | Final finishing and polishing | Deep scratches or contamination |
| Automotive masking paper or film | 1-2 rolls | Protects glass and trim | Torn or paint-loaded masking |
| Wax and grease remover | 1-2 quarts | Removes silicone and oils | Contaminated cloth or liquid |
| Tack cloths | 4-8 | Captures final dust | Used or dirty cloth |
| Nitrile gloves | 1-2 boxes | Protects skin and prevents fingerprints | Solvent exposure |
| Respiratory protection | 1 approved setup | Controls inhalation exposure | Damaged or expired cartridges |
Remove badges, lamps, handles, and trim where practical. Masking around them leaves hard edges and increases the chance of overspray contamination. Body filler, glazing putty, plastic adhesion promoter, and rust treatment are separate materials and should be budgeted according to the damage rather than the vehicle’s size.
How Do You Spray Paint a Car With Aerosol Cans?
Spray painting a car successfully requires controlled preparation, consistent atomization, and a clean environment. A complete job commonly takes 3-7 working days, including sanding and curing, and the surface preparation determines more of the final appearance than the brand of aerosol.
Before You Start
- Difficulty: High for a full exterior, moderate for one panel.
- Active labor: About 20-40 hours for a sedan with limited bodywork.
- Materials budget: Approximately $350-$1,200, depending on paint system and safety equipment.
- Workspace: Dry, shaded, well-ventilated, and free from dust or ignition sources.
- Temperature: Use the product label range, commonly about 60-80°F, or 16-27°C.
- Paint quantity: Start with 10-15 cans of each stage for a sedan, plus 3-6 reserve cans.
Step 1: Inspect and Wash the Vehicle
Wash the car with automotive detergent, remove wax and silicone contamination, and inspect every panel for rust, peeling paint, dents, and previous repairs. Remove loose coating with a scraper or abrasive rather than burying it under primer.
You will know the inspection worked when no panel has peeling edges, greasy patches, or unstable paint. A common mistake is sanding before removing wax, which embeds contamination into the abrasive and spreads it across the panel.
Step 2: Sand the Existing Finish
Scuff sound paint with approximately 320-400 grit abrasive, feather damaged edges, and sand body filler until the repair transitions smoothly into the surrounding panel. Finish primer-surfaced areas with 600-800 grit, following the product’s instructions.
You will know the surface is ready when it is uniformly dull and your fingertips cannot detect a sharp paint edge. Glossy islands indicate incomplete sanding. Sanding every panel to bare metal is unnecessary and increases primer consumption unless the existing finish is failing.
Step 3: Repair and Prime the Surface
Apply body filler only to prepared repairs, allow it to cure, and block-sand it flat. Use epoxy or etching primer where the product requires it on bare steel, and use plastic adhesion promoter on exposed automotive plastic when specified.
Apply 2-3 thin primer coats, usually 10-20 minutes apart, then allow the primer to dry according to its label. Sand the cured primer with 600-800 grit. The checkpoint is a smooth, evenly dull surface without exposed filler or deep sanding scratches.
A common mistake is using heavy primer coats to fill dents. Primer can fill minor scratches, but thick aerosol films shrink, sag, and reveal larger defects after curing.
Step 4: Mask and Degrease Again
Mask glass, tires, wheel wells, openings, and adjacent surfaces with automotive-grade paper or film. Blow or wipe away sanding dust, use wax and grease remover with clean cloths, and finish with a tack cloth immediately before spraying.
You will know the masking worked when no exposed edge can receive direct spray and the tape follows the panel gap without lifting. Do not use household newspaper for large areas because solvent can soften ink and thin paper can allow overspray through.
Step 5: Apply the Basecoat
Shake each can for approximately two minutes, test the nozzle on masking paper, and hold the can about 6-10 inches from the surface, or the distance specified on its label. Start moving before pressing the nozzle, keep the can parallel to the panel, and overlap each pass by about 50%.
Apply 2-4 light coats, usually with 10-20 minutes of flash time between coats. Rotate the can periodically as the manufacturer directs, and replace a can that sputters during a visible final pass. The color should build evenly without runs or glossy pools.
A common mistake is trying to achieve full color in one wet coat. Aerosol nozzles deliver a narrow fan, so slow movement deposits excess paint in stripes while fast movement leaves dry, weak coverage.
Step 6: Apply the Clear Coat
Apply compatible clear coat within the basecoat manufacturer’s recoat window. Use 2-3 coats, allowing approximately 10-15 minutes between coats unless the label specifies a different interval.
The first clear coat should be controlled rather than flooded. Later coats can be wetter, but a vertical panel must never receive so much material that the film begins to sag. The checkpoint is continuous coverage with no dry islands, curtains, or trapped dust that will require aggressive sanding.
Step 7: Cure, Correct, and Polish
Protect the vehicle from moisture, dust, and temperature swings while the coating cures. Many aerosol systems can be handled after several hours, but polishing may need 48-72 hours, and full chemical cure can take longer.
Wet-sand isolated dust nibs or orange peel with 1,500-2,000 grit only after the clear is sufficiently hard. Use a cutting compound, then polish, while preserving enough clear film to protect the basecoat. Sanding too soon can wrinkle the film or pull clear from the color layer.
How Much Does a Spray-Can Car Paint Job Cost?
A typical DIY aerosol repaint for a sedan costs approximately $350-$1,200, with paint often representing $250-$750 and preparation, safety, abrasives, masking, and consumables supplying the remainder. Regional prices vary, and a 2K system can cost more per can while reducing the number of equipment purchases.
| Project level | Paint quantity | Typical material cost | Expected finish |
|---|---|---|---|
| One-panel repair | 3-6 cans | $50-$180 | Localized repair or blend |
| Small hatchback | 24-36 cans | $250-$700 | Serviceable driver finish |
| Standard sedan | 30-45 cans | $350-$1,000 | Variable DIY exterior finish |
| Large SUV or truck | 42-60 cans | $500-$1,500 | High labor and material demand |
These figures exclude professional bodywork, enclosed spray facilities, registration or inspection requirements, and replacement trim. A professional refinisher may recommend a spray gun because a full car consumes many aerosol cans and creates more pressure variation, hand fatigue, and overspray.
Aerosol Cans or HVLP Spray Gun?
Aerosol cans are practical for one or two panels, small vehicles, mobile repairs, or projects where compressor ownership is impossible. An HVLP spray gun becomes more economical for a full-size vehicle when the operator already has a suitable compressor, mixing equipment, filtration, and a legal, ventilated workspace.
| Criterion | Aerosol cans | HVLP spray gun |
|---|---|---|
| Equipment purchase | $10-$30 handle, no compressor | $150-$800 gun and compressor setup |
| Material cost per sedan | $250-$750 paint | $100-$400 mixed paint |
| Fan width | About 2-4 inches | About 6-12 inches |
| Pressure consistency | Declines as can empties | Stable with regulated air |
| Cleanup | Minimal liquid cleanup | Gun and hose cleaning required |
| Best project size | One panel to small car | Full car and repeated work |
A spray gun is not automatically better for an inexperienced painter. Incorrect reducer choice, air pressure, fluid adjustment, or mixing ratio can produce defects faster than an aerosol. The decision depends on project scale, available ventilation, technical skill, and whether the equipment will be used again.
What Causes Common Spray-Paint Defects?
Most aerosol defects come from unstable surface preparation, incorrect spray distance, excessive overlap, poor flash time, or unsuitable temperature. Each defect has a different recovery method, and adding another coat before the existing film cures usually makes the repair worse.
| Defect | Typical cause | Corrective action | Prevention |
|---|---|---|---|
| Tiger stripes | Narrow fan or uneven overlap | Cure, level lightly, respray evenly | Maintain 50% overlap |
| Runs and sags | Slow movement or excessive wetness | Cure fully, sand with 800 grit, respray | Keep distance and speed steady |
| Orange peel | Dry spray, cold paint, poor atomization | Cure, wet-sand 1,500-2,000 grit, polish | Use label temperature and wet passes |
| Sputtering | Clogged nozzle or low pressure | Replace nozzle or can for final coats | Shake, clean nozzle, avoid empty cans |
| Wrinkling | Incompatible or uncured layers | Stop, strip unstable area, retest system | Respect recoat windows |
| Fisheyes | Silicone, oil, or wax contamination | Cure, clean, sand, seal if needed | Degrease with fresh cloths |
A counterintuitive practitioner rule is that an almost-empty can is not necessarily economical. Pressure falls before all liquid is expelled, changing the droplet size and producing dry spray, spitting, or uneven metallic orientation. Save weak cans for hidden edges, never the final visible coat.
Another rule is to evaluate a metallic basecoat only after it flashes. Wet paint can look darker or streakier than the cured film, while aggressive correction during the flash period disturbs metallic alignment and creates visible mottling.
What Are the Important Edge Cases?
Aerosol quantity changes most when the surface is porous, the original color is unstable, the new color has weak hiding, or the painter includes jambs and interior edges. A repair that exposes bare steel also needs corrosion control, so the paint count alone does not describe the complete system.
Do not spray over rust and expect primer to stop it permanently. Remove corrosion mechanically or chemically, use the specified corrosion-resistant primer, and inspect the repair after curing. Do not spray outdoors in wind, direct sun, high humidity, or near open flames, because overspray travels, solvents accumulate, and moisture can cloud clear coat.
Full-car 2K spraying has a serious limitation: consumer aerosol convenience does not remove occupational exposure risk. Follow the Safety Data Sheet and local environmental rules, and never treat a cartridge dust mask as universal protection for solvent or isocyanate vapors.
FAQ
Can 10 Cans Paint an Entire Car?
Ten cans may cover a small car with a single coating stage, but 10 cans rarely complete a durable full-car system. A standard sedan normally needs about 10-15 cans of primer, 10-15 cans of basecoat, and 10-15 cans of clear, assuming 12-ounce cans and multiple thin coats.
How Many Cans Are Needed for a Car Bumper?
A bumper cover commonly needs 5-6 cans total, including one or two primer cans, two basecoat cans, and two clear-coat cans. Bare plastic may also require adhesion promoter, and complex bumper shapes consume more material through overspray than a flat door.
Do You Need Primer Before Automotive Spray Paint?
Primer is needed wherever bare metal, body filler, repaired plastic, or incompatible old coating is exposed. Sound, properly sanded factory paint may not require complete re-priming, but a compatible sealer can improve color uniformity and reduce basecoat consumption during a major color change.
How Long Should Spray Paint Dry Before Driving?
A vehicle may be moved carefully after the coating becomes dry to touch, often several hours, but the exact label time controls. Avoid rain, washing, fuel spills, and highway debris until the clear coat has cured sufficiently, commonly at least 48 hours for light use and longer for full hardness.
Can You Match Factory Car Paint With an Aerosol Can?
A custom aerosol mixed to the vehicle’s paint code can approximate the factory color, but a code alone does not guarantee a perfect match. Original paint fades, metallic orientation varies with technique, and adjacent panels may need blending to make a localized repair visually consistent.
Is Spray Painting a Whole Car Worth It?
Spray painting a whole car is worth considering for a low-cost driver restoration, a small hatchback, or a temporary color refresh when finish perfection is not the priority. For a large vehicle or high-value car, HVLP or professional refinishing usually offers better material efficiency, uniformity, and long-term value.
The Bottom Line
For how many cans of spray paint for a car, plan on 30-45 12-ounce cans for a standard sedan, divided into 10-15 cans each of primer, basecoat, and clear coat. Use the can’s practical coverage rating, add 10-20% reserve, and increase the estimate for SUVs, trucks, color changes, body repairs, and weak-hiding colors. A careful surface assessment and compatible coating system matter more than buying the lowest-priced aerosol.