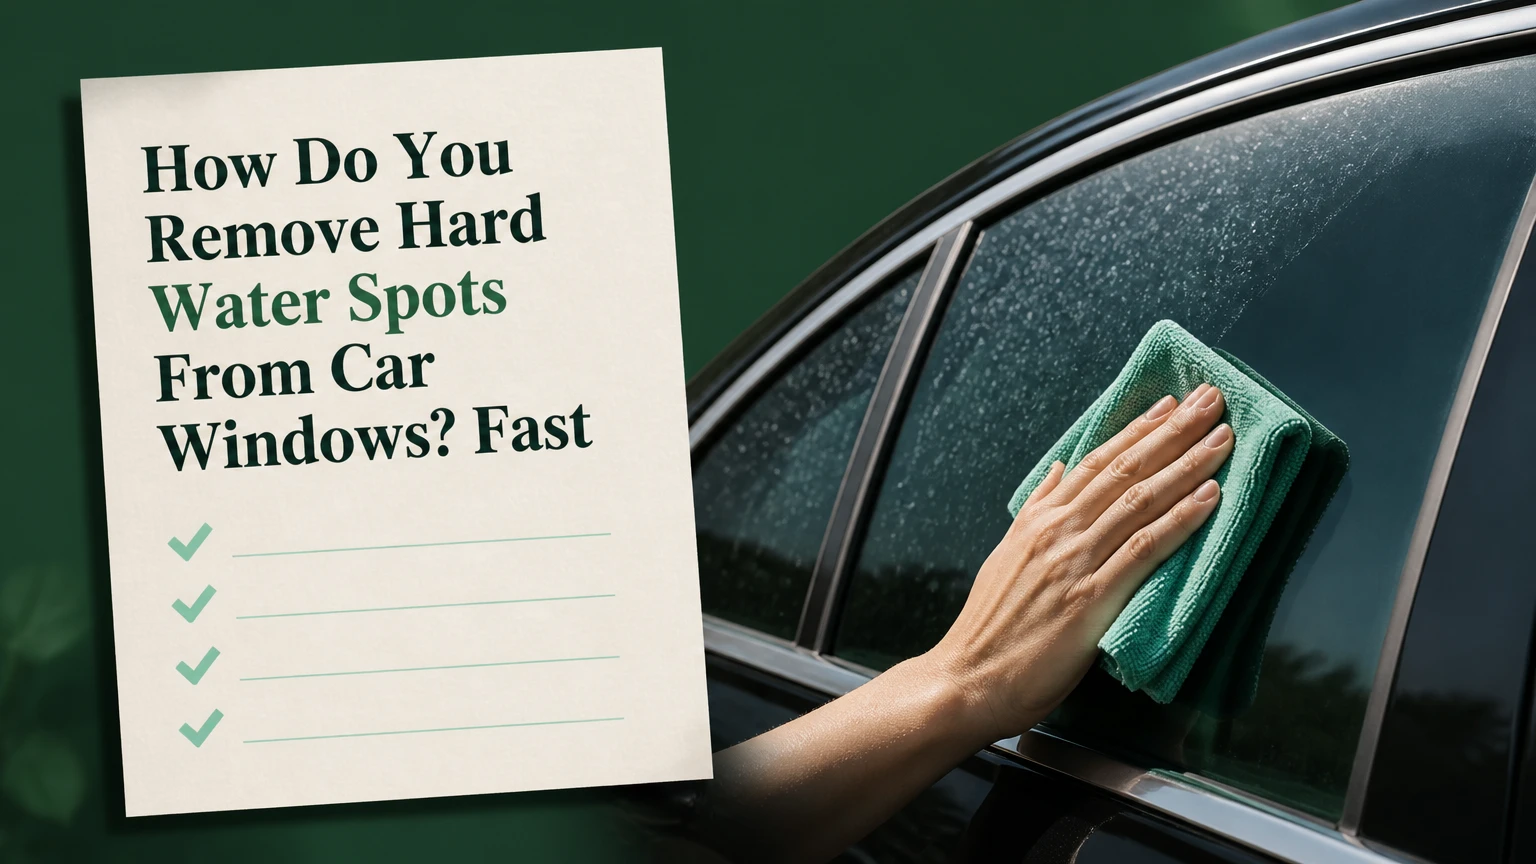
To remove hard water spots from car windows, wash and dry the glass, treat fresh mineral deposits with diluted white vinegar or an automotive water-spot remover, then rinse thoroughly. If the marks remain after chemical treatment and feel smooth, the glass is probably etched and needs a dedicated glass polish rather than more acid.
Key facts at a glance
Fresh hard-water deposits usually respond to a mild acid, while etched glass requires controlled polishing.
A 1:1 mixture of distilled white vinegar and distilled water is a low-cost first treatment for light spotting.
Automotive glass should be cool, shaded, clean, and dry before applying a chemical remover.
Never allow an acidic spot remover to dry, and never mix vinegar with bleach, ammonia, or other cleaners.
Even 0000 steel wool can scratch glass when grit is trapped underneath, so chemical treatment is safer for first attempts.
Typical DIY treatment takes 15-30 minutes and costs $1-$25, excluding a machine polisher.
How Do You Remove Hard Water Spots From Car Windows?
The safest process has six stages: identify the deposit, wash the glass, test a mild treatment, use a dedicated remover if necessary, polish only confirmed etching, and apply protection. The deciding factor is whether minerals remain on the surface or have altered the glass surface itself.
Work in shade on glass that feels cool to the touch. Use separate towels for washing, chemical removal, and final glass cleaning. A dry, dirty towel can create scratches even when the selected chemical is appropriate.
Before you start
| Requirement | Typical specification | Why it matters |
|---|---|---|
| Work time | 15-30 minutes for light deposits | Allows sectional treatment without rushing |
| Working temperature | Cool glass, preferably below 90°F | Reduces premature chemical drying |
| Test area | 12 x 12 inches | Limits damage if the product is incompatible |
| Vinegar mixture | 1 part distilled vinegar to 1 part distilled water | Provides mild acid treatment |
| Towels | 4-6 clean, lint-free microfiber towels | Prevents mineral and grit transfer |
| Product cost | $1-$25 for DIY materials | Covers vinegar through dedicated removers |
Park away from irrigation spray and direct sun. Raise the windshield wipers before treating the windshield, because deposits trapped under the blade can transfer back onto cleaned glass.
What Are Hard Water Spots on Automotive Glass?
Hard water spots are mineral residues left when water evaporates from automotive glass. Calcium carbonate, magnesium compounds, silica, and other dissolved solids can form pale rings, cloudy patches, or irregular white marks after exposure to tap water, well water, sprinklers, or untreated wash water.
The U.S. Geological Survey classifies water hardness primarily through dissolved calcium and magnesium. The minerals themselves do not evaporate with the water, so repeated droplets create progressively denser deposits.
Fresh deposits sit above the glass and can often be dissolved. Older deposits may combine with contamination and heat exposure, while acidic or alkaline water can contribute to surface damage. The visible mark may then remain after the mineral residue has gone.
What is the difference between deposits and etching?
Surface deposits feel slightly rough, look lighter when wet, and often shrink or disappear after an acidic treatment. Etching feels smooth because the damage is below the original surface, and the cloudy ring remains visible when the glass is wet.
A useful diagnosis sequence is:
- Wash and dry a small area.
- Place a few drops of clean water over the mark.
- Wipe with a clean microfiber towel.
- Run a clean fingernail gently across the glass, without pressing hard.
- Inspect the area from several angles.
If the mark changes substantially after chemical treatment, mineral residue was the main problem. If the glass remains optically hazy but feels smooth, further chemical dwell time is unlikely to restore it.
Which Remover Should You Try First?
Start with diluted distilled white vinegar for fresh, light spots; choose a labeled automotive water-spot remover for persistent deposits; and reserve cerium oxide or another glass polish for confirmed etching. The safest choice depends on deposit age, glass location, coatings, and how much correction the surface needs.
| Method | Best use | Typical time | Main risk |
|---|---|---|---|
| 1:1 distilled vinegar | Fresh, light exterior spots | 5-15 minutes | Insufficient strength for etching |
| Automotive spot remover | Moderate mineral deposits | 10-25 minutes | Chemical damage if allowed to dry |
| Glass polish by hand | Small etched patches | 30-90 minutes | Uneven correction and fatigue |
| Cerium oxide with machine | Broad, stubborn etching | 1-3 hours | Heat, haze, or optical distortion |
| Professional restoration | Severe etching or critical windshield | 1-4 hours | Higher cost, usually $75-$250 |
Product chemistry varies. Chemical Guys Heavy Duty Water Spot Remover and CarPro Spotless 2.0 are examples of automotive products marketed for mineral deposits, but the label, safety data sheet, and glass compatibility instructions control the application. Do not assume that a product safe on bare glass is safe on paint, anodized trim, rubber, window film, or aftermarket coatings.
Why is ordinary glass cleaner often ineffective?
Ordinary glass cleaner removes grease, fingerprints, and light road film, but many formulas do not dissolve concentrated calcium and magnesium deposits. A glass cleaner can make a window look temporarily clearer while leaving the mineral ring intact.
Glass cleaner remains useful before and after correction. It should not replace a mineral remover when the spots persist after normal washing.
Step 1: Wash and Dry the Glass
Wash the exterior glass with pH-neutral car shampoo, clean water, and a dedicated microfiber wash mitt. Rinse completely, then dry the glass with a fresh towel until no water film remains.
Cleaning removes grit that could scratch the surface during wiping. Drying prevents treatment products from becoming diluted and makes it easier to see whether a spot has actually disappeared.
Use a separate towel for the lower door area, where road grit accumulates. Do not use a towel that touched tires, wheel wells, or unwashed paint.
You will know the step worked when: the dry glass has no loose dirt, oily film, or visible water beads that could interfere with diagnosis.
Common mistake: treating dirty glass. The chemical may dissolve minerals while the towel drags sand across the window.
Step 2: Protect Paint, Trim, Seals, and Tint
Mask adjacent paint and delicate trim with automotive masking tape, or keep the treatment pad several inches away from non-glass surfaces. Cover porous black plastic if the remover label warns about staining.
Acidic products can discolor sensitive trim, dull unprotected metal, or mark paint if they dry. Rinse accidental contact immediately with abundant water, then inspect the surface before continuing.
Window tint is usually installed on the inside, but aftermarket exterior coatings, hydrophobic films, and ceramic treatments may be chemically sensitive. Read the coating manufacturer’s maintenance instructions before using an acidic spot remover.
You will know the step worked when: the applicator can reach the glass without touching painted doors, rubber seals, or film edges.
Common mistake: assuming “safe for glass” means “safe for the entire vehicle.”
Step 3: Test a Mild Vinegar Treatment
Mix equal parts distilled white vinegar and distilled water in a labeled spray bottle. Apply enough solution to wet a 12 x 12-inch section, leave it for 2-5 minutes while keeping it visibly wet, then wipe and rinse with clean water.
Distilled vinegar contains acetic acid, which can loosen carbonate-based mineral deposits. The treatment is inexpensive and appropriate for testing fresh spotting, but lemon juice offers no important advantage and may leave sugars or organic residue that complicate cleaning.
Do not use vinegar on hot glass. Do not combine vinegar with bleach, chlorine products, ammonia, or unknown chemicals. Household mixtures can release harmful vapors or create an uncontrolled reaction.
You will know the step worked when: the section looks clearer after rinsing and the remaining marks reduce with a second gentle application.
Common mistake: scrubbing harder when the solution has dried. Rewet the section instead.
Step 4: Apply and Agitate a Dedicated Remover
Apply an automotive water-spot remover to a small section according to its label, usually with a damp microfiber applicator or foam pad. Work in overlapping vertical and horizontal passes for approximately 30-60 seconds, then remove and rinse before the product dries.
Gel formulas can remain localized on vertical side glass, while liquid sprays cover larger areas but run more readily. Use only enough product to keep the applicator moving. Excess product increases runoff without necessarily improving mineral removal.
Typical dwell time is 30 seconds to 2 minutes, but the label overrides that range. Chemical Guys product instructions and other manufacturer guidance commonly emphasize cool surfaces, small working areas, and immediate removal, because dried residue is harder to control.
You will know the step worked when: the mineral ring becomes less visible after rinsing, not merely while the wet product is covering it.
Common mistake: applying the remover to the whole vehicle at once. Sectional work gives you control over dwell time and lets you stop if the glass reacts unexpectedly.
Step 5: Rinse, Neutralize, and Inspect
Flood the treated section with clean water, then wipe it with a fresh microfiber towel. A thorough rinse is more reliable than trying to “neutralize” an acid with another household chemical, because an unverified neutralizer can create a second residue or reaction.
Use distilled water for the final wipe when local tap water is very hard. Dry the area and inspect it from inside the cabin and outside the vehicle, because glare can hide residue from one viewing angle.
Repeat the chemical treatment once if the mark clearly improves but does not disappear. Stop after two controlled attempts if the appearance does not change. More dwell time will not repair a crater in the glass.
You will know the step worked when: the glass is clean, dry, and free of chemical streaks, with no visible improvement left from another mild pass.
Common mistake: judging success before the rinse. Wet glass can temporarily conceal both residue and haze.
Step 6: Polish Confirmed Etching Carefully
Use a purpose-made automotive glass polish containing cerium oxide for etched mineral marks that remain after chemical removal. Apply by hand to a small area or use a dual-action polisher with a glass polishing pad, low pressure, controlled movement, and frequent cooling pauses.
Cerium oxide removes a microscopic layer through abrasion and chemical polishing action. It cannot replace missing glass, and aggressive correction can create an uneven lens effect that becomes distracting in headlights or rain.
For hand work, polish a 6-12-inch area for several minutes, wipe clean, and reassess. Machine polishing requires more control because friction generates heat. Keep the pad moving and mist the surface only as directed by the compound manufacturer.
You will know the step worked when: the etched halo becomes less visible without creating a new cloudy patch or visible distortion.
Common mistake: using paint polish, toothpaste, a kitchen sponge, or coarse abrasive paper. Those materials lack the controlled cut and lubrication required for automotive glass.
How Do You Protect Paint, Trim, and Seals?
Keep acidic glass chemicals on glass only, work in small sections, and rinse spills immediately with water. Masking tape, a controlled applicator, and a hose or clean-water source reduce the chance that runoff will dry on paint or rubber.
Do not rely on a dry towel to remove strong chemical residue from a door. A towel can spread the product over a larger area, while water dilutes and carries it away.
Inspect these areas after correction:
- Painted door frames and roof rails for streaks or dull patches.
- Rubber seals for whitening, swelling, or tackiness.
- Textured plastic for pale residue trapped in the grain.
- Wiper blades for mineral buildup transferred onto the windshield.
- Exterior camera lenses and sensors for coating compatibility.
What Changes for Windshields, Side Glass, and Tinted Windows?
Windshields require the most conservative correction because small haze or optical distortion can create glare at night. Side and rear glass usually tolerates easier inspection, but aftermarket films and factory coatings still require product compatibility checks.
| Glass location | Preferred first treatment | Avoid | Escalation point |
|---|---|---|---|
| Windshield | Vinegar test, then labeled glass remover | Aggressive steel wool or heavy machine pressure | Persistent driver-view haze |
| Front side glass | Sectional chemical remover | Product on window-film edges | No improvement after two passes |
| Rear side glass | Chemical remover with masking | Abrasive work near seals | Coating or tint manufacturer restriction |
| Rear windshield | Mild chemical treatment | Excess liquid near defroster terminals | Etching across broad viewing area |
| Panoramic roof glass | Cool-surface spot treatment | Products that stain headliner or trim | Broad haze or hard-to-reach damage |
Never polish over a contaminated surface. A small abrasive particle can make a new scratch while the intended polish addresses the old stain.
Can water-spot remover damage window tint?
A water-spot remover can damage an aftermarket film if it reaches the film edge, enters a damaged seal, or conflicts with the film manufacturer’s care instructions. Exterior glass treatment is less likely to contact interior tint, but runoff and overspray still require control.
Treat a small exterior area first. Keep liquid away from the interior film edge, use minimal spray, and avoid ammonia-based cleaners on tint unless the film manufacturer explicitly permits them.
How Can You Tell When Polishing Is Necessary?
Polishing is necessary when a clean, dry glass surface remains hazy after one or two controlled chemical treatments and the mark does not change when wet. Persistent smooth halos indicate etching, not loose mineral residue.
Do not escalate to machine polishing merely because a spot looks old. First remove road film, test the mildest suitable chemistry, and inspect under different lighting. Some marks are actually wiper smears, silicone residue, washer-fluid deposits, or interior film contamination.
Professional correction is sensible when etching covers the driver’s viewing area, the windshield has scratches, a coating is present, or you lack experience controlling machine heat. A windshield is a poor surface for experimentation because visual distortion can remain even when the original spots disappear.
What Are the Most Common Failure Modes?
The most common failures come from excessive dwell time, contaminated tools, and treating etching as though it were residue. Correcting the diagnosis usually matters more than buying a stronger product.
| Failure mode | Visible result | Recovery |
|---|---|---|
| Product dries on hot glass | Streaks or new haze | Rinse immediately, then inspect when cool |
| Dirty towel or pad | Fine scratches or smeared film | Stop, wash the surface, replace the towel |
| Repeated acid applications | No improvement, possible trim damage | Stop chemistry and assess for etching |
| Coarse abrasive use | Linear scratches | Seek professional glass correction |
| Whole-window application | Uneven dwell and runoff | Work in 12 x 12-inch sections |
| Poor final rinse | White residue returns when dry | Flood with clean water and dry again |
A counterintuitive practitioner rule is that stronger chemistry often produces less improvement on etched glass. Acid can remove the remaining minerals, but it cannot fill or rebuild glass that has already been altered.
Another rule is to replace or thoroughly wash the applicator after every heavily spotted section. A pad loaded with mineral grit can scratch the next section even if the first section was handled correctly.
How Do You Prevent the Spots From Returning?
Prevent recurrence by drying automotive glass before mineral-rich water evaporates, avoiding sprinkler exposure, and applying a glass sealant after correction. Protection reduces adhesion and cleaning effort, but it does not make glass immune to hard-water deposits.
| Prevention method | Typical interval | Best situation | Limitation |
|---|---|---|---|
| Drying towel after washing | Every wash | Driveways with hard tap water | Requires immediate labor |
| Distilled-water final rinse | Every wash or spot treatment | Small vehicles and severe hardness | Cost and availability |
| Automotive glass sealant | 2-6 months | Daily drivers | Requires clean, residue-free glass |
| Spray ceramic glass protectant | 1-3 months | Easy maintenance | Shorter durability than a coating |
| Professional glass coating | 6-24 months | High-mileage or wet climates | Higher preparation and installation cost |
Use a soft drying towel or filtered air after washing. Do not leave a vehicle wet under lawn sprinklers, near cooling towers, or beside a well-water irrigation system.
A hydrophobic coating changes how water sheets or beads, but beading can produce concentrated mineral rings if droplets remain under strong sun. Coating is protection, not a substitute for drying.
What Do Time and Cost Look Like?
Typical DIY correction costs $1-$25 and takes 15-45 minutes for several windows, while professional correction commonly costs $75-$250 depending on etching severity, vehicle size, and whether machine polishing is required. A glass coating adds approximately $30-$150 for DIY materials or more through a detailer.
| Correction level | Materials | Typical labor | Typical total cost |
|---|---|---|---|
| Fresh light deposits | Vinegar, water, microfiber | 15-30 minutes | $1-$8 |
| Moderate deposits | Dedicated remover, towels | 20-45 minutes | $15-$35 |
| Small etched area | Glass polish, pad | 30-90 minutes | $20-$60 |
| Full machine correction | Cerium compound, pads, machine | 1-3 hours | $75-$250 professional |
| Correction plus coating | Polish, prep, glass coating | 2-5 hours | $125-$400 professional |
Product prices vary by location and package size. The labor estimate assumes accessible exterior glass, no major scratches, and ordinary sedan dimensions.
Which Method Is Safest for Your Situation?
The safest method is the least aggressive one that matches the diagnosis. Fresh sprinkler spots usually need controlled acid treatment, while broad etched haze needs measured polishing or professional restoration.
For fresh spots after a car wash
Use a 1:1 distilled vinegar solution on cool glass. If the spots improve quickly, rinse, dry, and protect the glass.
For several-week-old sprinkler deposits
Use a labeled automotive mineral remover after a vinegar test. Mask trim, work in small sections, and follow the product dwell time exactly.
For spots that remain after chemical treatment
Stop adding acid. Test a dedicated glass polish on a small area, and compare the corrected section with the surrounding glass before continuing.
For a windshield with night glare
Avoid steel wool and aggressive machine correction. Have a detailer inspect the windshield if the marks occupy the driver’s sightline or if polishing changes the optical clarity.
Frequently Asked Questions
Will baking soda remove hard water spots from car windows?
Baking soda is mildly alkaline and abrasive, so it is a poor first choice for mineral deposits on automotive glass. It may remove loose grime, but it does not provide the controlled acidic dissolution of vinegar or a dedicated remover, and dry powder can increase scratch risk when grit is present.
Can I use CLR or toilet-bowl cleaner on car windows?
Do not use household CLR, toilet-bowl cleaner, or an unverified descaler unless the manufacturer explicitly states compatibility with automotive glass and nearby vehicle materials. Strong acids can stain trim, damage coatings, and create runoff problems, while household products may contain additives unsuitable for vehicles.
Does rain remove hard water spots?
Rain usually does not remove hard water spots because rainwater can leave additional residue as it evaporates. Light rain may temporarily hide the marks, but repeated wetting and drying often increases the mineral concentration, especially when existing deposits remain on the glass.
Can a clay bar remove water spots from glass?
A clay bar can remove bonded surface contamination, overspray, and some deposits that sit above the glass. Clay cannot repair etching below the surface, and it should be used with adequate lubricant on clean glass because trapped grit can cause scratches.
Should I use 0000 steel wool on car windows?
Avoid 0000 steel wool as a first treatment. Although some detailers use lubricated ultra-fine steel wool on selected exterior side glass, embedded grit, pressure, contaminated glass, coatings, and window-film edges can produce scratches or damage, making chemical removal the safer starting point.
How long will removed water spots stay away?
Removed spots stay away until new mineral-rich water evaporates on the glass. A glass sealant typically lasts 2-6 months, while a professional coating may last 6-24 months, but washing, wiper use, weather, and maintenance determine the actual interval.
The Bottom Line
To answer “how do you remove hard water spots from car windows,” begin with a wash, dry the glass, and test diluted distilled vinegar on a cool, shaded section. Move to a labeled automotive spot remover only when mild treatment fails. If clean glass remains hazy and smooth after chemical correction, treat the mark as etching and use controlled glass polish or professional restoration. Finish with a glass sealant and dry the windows after future washes so the same mineral deposits do not return.