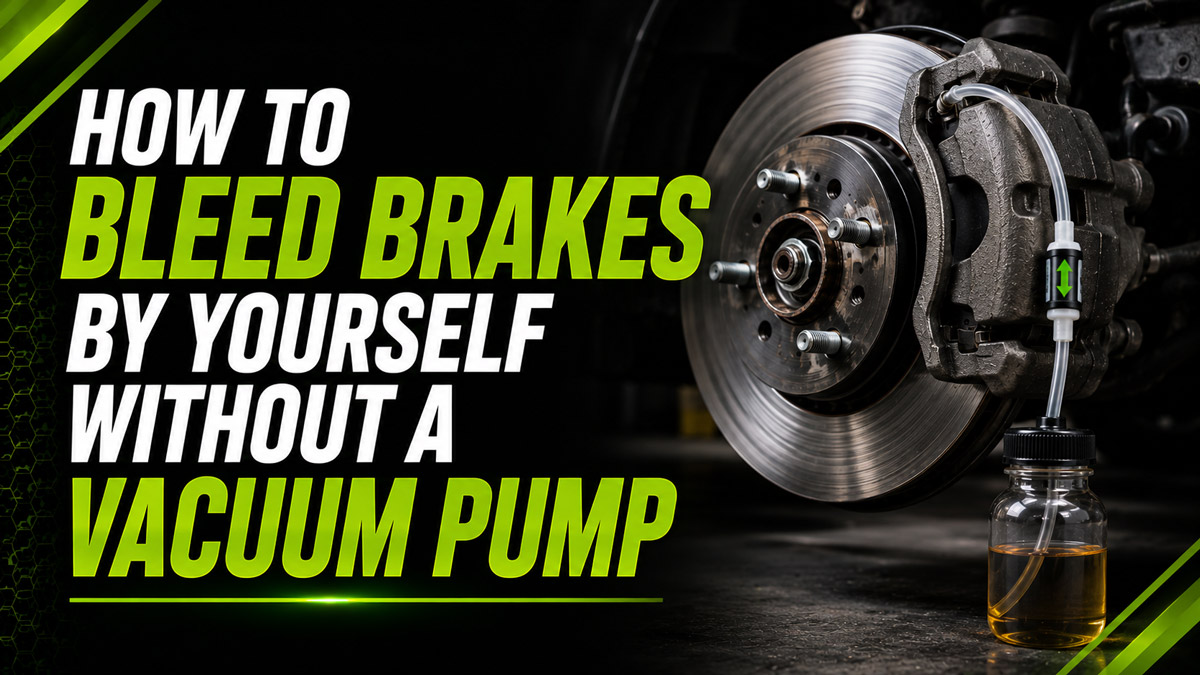
Bleeding your brakes solo without a vacuum pump requires the one-way gravity method. By swapping the master cylinder fluid, setting up an inline check valve, and pumping the brake pedal in sequence, you can flush out air and old fluid in 90 minutes. Success depends entirely on never letting the master cylinder run dry, and placing a block of wood under the pedal to protect your internal seals.
Before You Start
- Time Required: 1.5 hours
- Difficulty: Intermediate
- Average Cost: $20–$40
- Prerequisite Skills: Safely jacking up a vehicle, identifying basic brake components.
- Tools and Materials Needed:
- New Brake Fluid: 1 to 2 quarts of sealed DOT 3, DOT 4, or DOT 5.1 (Check your reservoir cap for the exact spec).
- Bleeder Setup: 1/4-inch ID clear vinyl tubing and an inline one-way check valve (or a pre-made one-way bleeder bottle).
- Wrench: 8mm, 10mm, or 11mm flare nut wrench (line wrench).
- Extraction Tool: Clean turkey baster or fluid syringe.
- Safety Gear: Nitrile gloves, safety glasses.
- Hardware: Floor jack, 4 OSHA-compliant jack stands, wheel chocks.
- Mechanic’s Secret: A 2-inch thick block of scrap wood (2×4).
- Cleaning: Brake cleaner spray and heavy shop towels.
The Step-by-Step Solo Bleeding Process
Step 1: Secure the Vehicle and Access the Calipers
Elevate the car on jack stands and remove all four wheels to access the bleeder screws. Park on a perfectly flat surface, engage the parking brake, and place wheel chocks behind the tires remaining on the ground. Use a hydraulic floor jack on the factory lift points, lower the car onto heavy-duty jack stands, and remove the lug nuts and wheels.
- Success Checkpoint: You’ll know it worked when the car is rock-solid on the stands, and you have an unobstructed view of the bleeder screw on the back of every brake caliper or drum backing plate.
- Common Mistake: Supporting the car with only a hydraulic jack. Hydraulic seals fail without warning; never put your body under a car without jack stands.
Step 2: Flush the Master Cylinder Reservoir
Siphon the old brake fluid from the master cylinder and refill it with fresh fluid. Open the hood, wipe away dust around the master cylinder cap, and remove it. Use your turkey baster to siphon out the dark, degraded fluid until the level sits 1/4-inch above the “MIN” line. Pour in your fresh DOT fluid up to the “MAX” line. Leave the cap resting loosely on top of the reservoir so air can enter as the fluid level drops during bleeding.
- Success Checkpoint: You’ll know it worked when the reservoir is completely full of translucent, fresh fluid and no dirt has fallen into the system.
- Common Mistake: Sucking the reservoir completely dry. This pulls air directly into the master cylinder, forcing a difficult bench-bleed procedure.
Step 3: Connect the One-Way Bleeder Valve Setup
Attach a clear hose with an inline check valve to the furthest bleeder screw. Start at the wheel furthest from the master cylinder (usually the Passenger Rear on standard left-hand drive cars). Seat your flare nut wrench onto the bleeder screw hex nut. Then, push your 1/4-inch clear vinyl tubing over the bleeder nipple. Ensure the check valve’s directional arrow points away from the caliper and toward your catch bottle. Drop the end of the hose into a bottle containing 2 inches of old brake fluid to keep it submerged.
- Success Checkpoint: You’ll know it worked when the hose grips the nipple tightly and your wrench has enough room to rotate 1/2 of a turn.
- Common Mistake: Using a standard open-ended wrench instead of a flare nut wrench. Open-ended wrenches will round off rusted, seized bleeder screws instantly.
Step 4: Pump the Brakes with a Block of Wood
Place a wood block behind the brake pedal and pump it slowly to expel old fluid and air. Open the bleeder screw exactly 1/4 to 1/2 turn counterclockwise. Place your 2×4 wood block under the brake pedal to prevent it from touching the floorboard. With the engine off, sit in the driver’s seat and press the brake pedal smoothly until it hits the wood. Hold for 2 seconds, slowly release, and wait 2 seconds. Repeat this 4 to 5 times. Tap the brake caliper lightly with a rubber mallet between pumps to knock loose stubborn micro-bubbles inside the metal casting.
- Success Checkpoint: You’ll know it worked when you look at the clear tubing and see dirty fluid and air bubbles moving into the bottle, but not traveling backward when the pedal is released.
- Common Mistake: Pushing the pedal all the way to the floor without a wood block. On older cars, pushing past the normal wear zone drags the master cylinder’s internal rubber seals across jagged corrosion, ruining the master cylinder.
Step 5: Lock the Bleeder and Top Off the Reservoir
Close the bleeder screw securely and immediately refill the master cylinder reservoir. Turn your flare nut wrench clockwise to tighten the bleeder screw to 6–9 lb-ft (firmly snug, but do not use heavy force). Disconnect the clear tubing. Spray the bleeder area with brake cleaner and wipe it dry. Walk to the engine bay, check the master cylinder, and refill the brake fluid back to the “MAX” line.
- Success Checkpoint: You’ll know it worked when the bleeder screw is completely dry with no weeping fluid, and the master cylinder is topped up.
- Common Mistake: Forgetting to check the reservoir after pumping. If it runs dry while bleeding, you will pull air into the ABS module and have to start the entire process over.
Step 6: Repeat the Sequence for the Remaining Wheels
Bleed the remaining three wheels moving progressively closer to the master cylinder. Move to the Driver Rear, repeat Steps 3 through 5. Then move to the Passenger Front, and finally the Driver Front. Continue bleeding each corner until the fluid passing through the clear tubing exactly matches the color of the new fluid in your bottle, with absolutely zero bubbles. Once all four corners are done, tighten the master cylinder cap securely and press the brake pedal—it should feel incredibly firm.
- Success Checkpoint: You’ll know it worked when all four brake calipers dispense pristine fluid, and the brake pedal no longer feels spongy or soft.
- Common Mistake: Stopping the bleed process as soon as the bubbles stop. You must continue pumping until the old, degraded fluid is entirely flushed out and replaced by new fluid.
Common Mistakes and How to Fix Them
- Symptom: Air bubbles never stop coming out of the bleeder.
- The Fix: Air is being sucked in around the threads of the bleeder screw when you release the pedal. Take a heavy smear of silicone dielectric grease and pack it around the base of the bleeder screw threads where it meets the caliper. This seals out atmospheric air.
- Symptom: The brake pedal feels spongy after completing all four wheels.
- The Fix: Air is still trapped in the lines. Re-bleed the system, but ensure you tap the calipers vigorously with a rubber mallet while the bleeder is open. If you let the master cylinder run dry, air is trapped in the ABS module, requiring a bi-directional scan tool to pulse the ABS pump while bleeding.
- Symptom: No fluid comes out when the pedal is pressed.
- The Fix: The bleeder screw orifice is rusted shut. Completely remove the bleeder screw, clear the tiny central hole with a 1/16-inch drill bit or stiff wire, blast it with brake cleaner, and thread it back in.
- Symptom: The pedal is rock hard and won’t press down.
- The Fix: You installed the inline check valve backward. Flip it around so the arrow points toward the catch bottle.
Variations for Different Vehicles
- Vehicles with Diagonal Split Systems: Many modern front-wheel-drive cars route the brake lines diagonally for safety (Passenger Rear and Driver Front on one circuit). Check your factory service manual. If your car uses a diagonal split, your bleeding sequence changes to: Passenger Rear -> Driver Front -> Driver Rear -> Passenger Front.
- Vehicles with Electronic Parking Brakes (EPB): Do not engage the parking brake before starting. You may need to put the vehicle into “Service Mode” via the dashboard menu or a scan tool to retract the rear calipers before bleeding.
Time and Cost Breakdown
Paying a dealership or mechanic for a brake fluid flush typically costs between $100 and $150. Doing this yourself requires about $15 in premium brake fluid and $10 for clear tubing and a one-way valve. The entire process takes approximately 1.5 hours for a beginner, resulting in over $100 in savings and a drastically improved braking response.
Frequently Asked Questions
Does the engine need to be running to bleed brakes? No, the engine should be off. Pumping the brakes with the engine off depletes the vacuum booster, giving you a hard, mechanical feel that makes it easier to detect if air is still in the system.
Can I just use gravity bleeding instead of pumping? Yes, but it takes significantly longer (often 30+ minutes per wheel). You open the bleeder and let gravity drip the fluid out. It is safe and effective for solo mechanics, but lacks the pressure required to dislodge stubborn bubbles trapped in complex ABS manifolds.
Can I reuse the brake fluid that goes into the catch bottle? Never. Brake fluid is highly hygroscopic, meaning it absorbs moisture from the atmosphere instantly. Reusing discharged fluid introduces water and micro-debris into your hydraulic system, which will cause internal rust and lower the fluid’s boiling point.
What happens if I snap the bleeder screw off? If a bleeder screw snaps, the vehicle is unsafe to drive. You will need to use a screw extractor set to drill and back out the broken threads, or replace the entire brake caliper. To prevent this, spray rusted screws with penetrating oil 24 hours before you begin.
Understanding how to bleed brakes by yourself without a vacuum pump ensures you can maintain your vehicle’s safety on your own schedule. Take your time, monitor the fluid levels, and respect the torque limits on your bleeder screws.