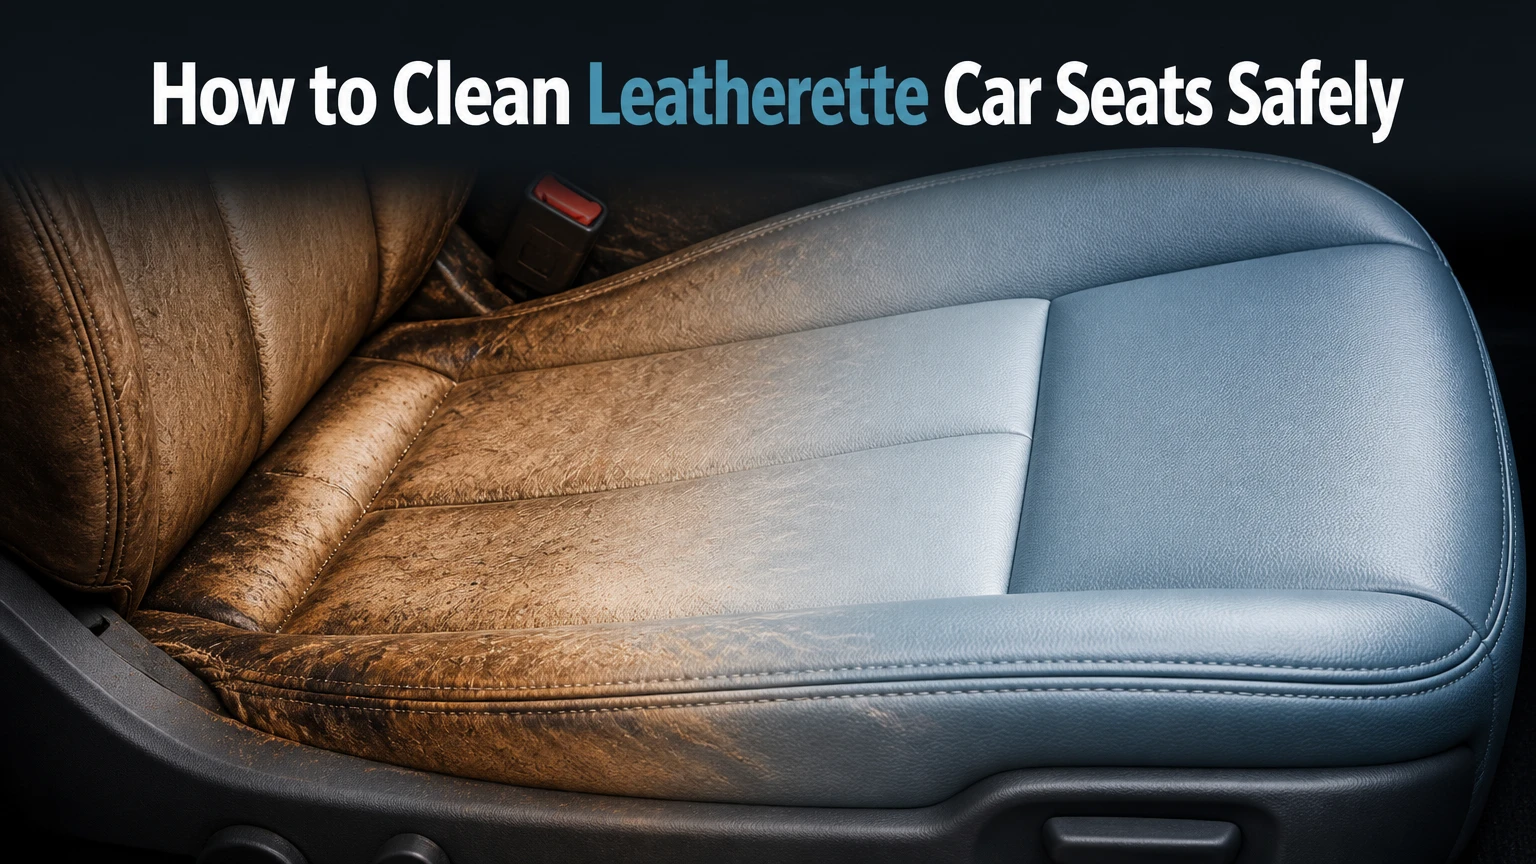
Leatherette car seats can be cleaned safely in five stages: vacuum loose debris, wipe with a diluted mild cleaner, gently brush textured areas, remove residue with clean water, and dry completely. The full job typically takes 20-30 minutes for a lightly soiled interior, and the main success factor is using minimal moisture.
Key Facts at a Glance
- Leatherette is fabric coated with PVC, vinyl, polyurethane, or another synthetic polymer.
- A microfiber cloth should be damp, not dripping, when cleaning synthetic upholstery.
- Perforated seats should never receive a direct spray because liquid can reach the foam and ventilation channels.
- A pH-neutral faux-leather or vinyl cleaner is the safest routine choice for unknown leatherette.
- Isopropyl alcohol belongs only on small, tested spots such as ink, not on full-seat cleaning.
- Leather conditioners made for absorbent animal hide can leave leatherette greasy, cloudy, and more prone to collecting dust.
Before You Start: Materials, Time, and Safety
Leatherette seat cleaning usually requires 20-30 minutes, low physical effort, and approximately $5-$20 in consumables when you already own a vacuum. Gather a vacuum with a soft brush, two or three clean microfiber towels, a small bucket, warm water, a mild pH-neutral cleaner, and a soft detailing brush.
Required supplies
| Item | Recommended amount | Purpose |
|---|---|---|
| Vacuum with soft brush | 1 unit | Removes grit from seams and surface texture |
| Microfiber towels | 3 towels, 300-500 GSM | Cleaning, rinsing, and drying |
| Warm water | 500-750 ml | Dilutes cleaner and removes residue |
| Mild dish soap | 2-4 drops per 500 ml | Budget cleaning solution |
| Soft detailing brush | 1 brush, 15-25 mm | Lifts grime from grain and stitching |
| Cotton swabs | 4-8 swabs | Controls spot treatment around seams |
Check the vehicle owner’s manual before using a disinfectant, steam cleaner, or solvent. Manufacturer instructions take priority because seat coatings, printed graphics, heating elements, side airbags, and ventilation systems differ between models.
Park in shade, open the doors, and let hot seats cool below normal hand temperature. Heat accelerates evaporation, which can leave concentrated cleaner rings before you have time to wipe them away.
Perform a patch test first
Choose a hidden area under the seat bolster or behind the seatback. Apply the proposed cleaner to a cloth, wipe a 2-by-2-inch section, wait 10 minutes, and inspect for color transfer, gloss change, tackiness, swelling, or cracking.
A failed patch test means the product is unsuitable. Do not assume a cleaner is safe because the label says “leather,” since some leather products contain oils, waxes, or solvents intended for unfinished or absorbent hide.
What Is Leatherette, and How Does It Differ From Leather?
Leatherette is synthetic upholstery made from a textile backing covered by a polymer film, usually PVC, vinyl, polyurethane, or a combination of coatings. The polymer surface is largely non-porous, so most spills remain on top long enough for removal before they reach the backing.
Genuine leather contains natural fibers and may absorb oils, moisture, and dyes. Leatherette does not behave the same way. A leather conditioner that penetrates animal hide generally remains on the synthetic surface, where it can create a slippery film and attract airborne dust.
Common leatherette materials
| Material label | Surface polymer | Typical behavior | Main cleaning concern |
|---|---|---|---|
| Vinyl | PVC or PVC blend | Durable, smooth, often glossy | Solvent damage and plasticizer loss |
| PU leather | Polyurethane | Softer, more leather-like feel | Abrasion, hydrolysis, and peeling |
| PVC leatherette | Polyvinyl chloride | Firm coating with visible grain | Heat, harsh alkalines, and cracking |
| Eco-leather | Brand-specific synthetic or coated hide | Composition varies | Product label may not identify the backing |
| Vegan leather | Marketing term, often PU or PVC | Appearance varies by brand | Treat as synthetic until the manual confirms otherwise |
Leatherette is easier to wipe than fabric, but the coating can still wear through. Repeated abrasion, ultraviolet exposure, body oils, denim dye, and harsh chemicals may permanently alter the top film.
How to Clean Leatherette Car Seats Without Damage
The safest routine method uses controlled moisture and mild agitation. Vacuum first, apply cleaner to a cloth rather than flooding the seat, work in small sections, rinse away residue, and dry seams immediately.
Step 1: Vacuum the seat and seams
Move the seat fully backward, then fully forward, and raise the seatback enough to expose folds. Remove the child seat or booster first, following the restraint manufacturer’s instructions, because trapped crumbs can abrade the coating under the base.
Use a soft brush attachment across the seat surface. Use a narrow crevice tool near seams only when its plastic edge does not scrape the upholstery. Hold the tool slightly above perforations and stitching rather than pressing hard into them.
Work from the upper seatback toward the cushion. Vacuum the seat belt buckle area, hinge gaps, piping, and the gap between the seat and center console.
You will know Step 1 worked when: no loose grit appears after you brush across the grain with your fingertips.
Common mistake: Starting with a wet cloth. Wet dirt becomes a paste that spreads into stitching and textured recesses.
Step 2: Prepare and apply a mild cleaner
For a household solution, mix 2-4 drops of non-concentrated dish soap into 500 ml of warm water. For routine maintenance, a dedicated vinyl or faux-leather cleaner diluted according to its label is preferable, particularly when the seat has a matte finish or a protective coating.
Fold a microfiber towel into quarters and dampen one face. Wring it until no water drips when the towel is squeezed. Clean a section no larger than 30 by 30 cm at a time.
Apply the solution to the towel, not directly to the seat. This rule is mandatory for perforated, ventilated, heated, and heavily stitched upholstery because liquid can travel through holes or seams into foam and electrical components.
Make two slow passes. The first loosens surface oils, while the second collects them. Refold the towel when its working face becomes gray or greasy.
You will know Step 2 worked when: the cleaned section looks evenly matte or evenly glossy, with no wet edge or cleaner pool.
Common mistake: Using concentrated soap. Excess surfactant causes a sticky film that attracts dust and produces a hazy finish.
Step 3: Brush textured areas gently
Use a soft nylon detailing brush only where the damp towel cannot reach the grain, piping, perforation edges, or stitching channels. Keep pressure light enough that the bristles flex instead of scraping across the coating.
Brush a 10-by-10 cm area for 5-10 seconds, then immediately wipe the loosened soil with the microfiber towel. Repeated dry brushing can polish the surface or damage a weakened PU film, so do not scrub a whole seat continuously.
Avoid brushes with metal bristles, hard plastic tips, or stiff household bristles. A soft toothbrush can work around a seam, but its small head increases pressure and makes aggressive scrubbing easier.
You will know Step 3 worked when: dirt disappears from the grain without a lighter patch, rough texture, or loose coating.
Common mistake: Treating discoloration as dirt. If a white towel stays clean while the color remains, the problem may be dye transfer, fading, coating loss, or permanent staining.
Step 4: Wipe away cleaner residue
Use a second microfiber towel dampened with clean water. Wring it thoroughly and make one pass over each cleaned section, changing the towel face as residue accumulates.
Rinsing matters because soap left on vinyl or PU can dry into a dull, tacky film. Pay particular attention to seat bolsters, stitched channels, raised grain, and areas where a child’s shoes contact the cushion.
Do not pour water onto the seat to “rinse” it. Controlled wiping removes residue without saturating the foam.
You will know Step 4 worked when: a clean fingertip glides over the surface without drag, and the towel leaves no foamy or cloudy trail.
Common mistake: Reusing the dirty cleaning towel for the rinse pass. That transfers loosened grease back onto the upholstery.
Step 5: Dry the upholstery completely
Buff the surface with a dry microfiber towel, then leave the doors open for 10-20 minutes in a shaded, ventilated location. Wipe along seams and perforation rows rather than merely drying the broad seat panels.
Avoid placing the vehicle in direct sun to force drying. Heat can accelerate coating breakdown, and a hot surface can make residual cleaner dry into visible rings.
Run seat ventilation only if the vehicle manual permits it and the seat is merely damp. Never activate seat heating to dry wet upholstery.
You will know Step 5 worked when: the seat feels dry, has no cool damp seams, and shows a consistent finish under angled light.
Common mistake: Closing the doors immediately. Trapped humidity can leave odor and prolong moisture exposure inside the cushion.
Which Cleaner Is Safest for Leatherette Seats?
A pH-neutral synthetic-leather or vinyl cleaner is the best routine option, while diluted mild dish soap is an acceptable low-cost alternative. Isopropyl alcohol should be limited to small, tested stains because repeated solvent exposure can remove finish components from some vinyl and PU coatings.
| Cleaning option | Typical cost | Best use | Main risk |
|---|---|---|---|
| Dedicated faux-leather cleaner | $8-$25 per bottle | Routine cleaning and matte finishes | Wrong formula may leave gloss or residue |
| Mild dish soap solution | Under $1 per batch | Light soil and household maintenance | Soap film if poorly rinsed |
| Diluted isopropyl alcohol | $3-$8 per bottle | Small ink or dye-transfer spots | Finish loss, whitening, or drying |
| Automotive interior wipes | $5-$15 per pack | Quick commuter or rideshare wipe-down | Preservatives may leave streaks |
| Citrus degreaser | $6-$15 per bottle | Usually unsuitable for seats | Solvent and fragrance residue |
| Household disinfectant | $4-$12 per bottle | Only when OEM-approved | Bleaching, cracking, or gloss change |
Read the ingredient and surface directions rather than choosing by price. Products marketed for genuine leather may contain lanolin, mink oil, silicone, wax, or other ingredients that do not penetrate synthetic upholstery.
Can you use isopropyl alcohol?
Isopropyl alcohol can remove a small ink mark or fresh dye transfer when a patch test shows no color or gloss change. Use a cotton swab lightly dampened with 50% solution, dab from the outside toward the center, and stop after a few seconds if the stain does not lift.
Wipe the area with a clean, water-damp towel and dry it immediately. Do not use alcohol on an entire seat, repeated marks, cracked coating, colored embossing, or unknown synthetic upholstery without testing.
Alcohol may remove the stain and the finish together. If the spot becomes lighter, shinier, rougher, or sticky, stop solvent treatment.
How Should You Clean Perforated or Ventilated Seats?
Perforated leatherette seats require the same cleaning sequence with less liquid and no direct spraying. Keep cleaner on the towel, use a nearly dry brush, and dry each perforated panel before moving to the next one.
Vacuum perforations with a soft brush rather than forcing a sharp nozzle into the holes. If liquid enters the ventilation channels, it can carry soil into the foam, create odor, or affect seat electronics.
For ventilated seats, do not use compressed air at close range. High-pressure air can push crumbs and moisture deeper into the cushion. If a spill has penetrated the holes, blot from above, disconnect no electrical components yourself, and consult the vehicle dealer or an interior specialist.
How Do You Remove Common Stains?
Fresh stains should be blotted and removed with mild cleaner before they dry. Old dye transfer and coating discoloration may not be fully reversible because pigment can migrate into the synthetic finish or the top polymer can permanently change color.
| Stain or contaminant | First treatment | Escalation limit |
|---|---|---|
| Coffee or soft drink | Blot, then mild cleaner and water wipe | Professional cleaning if odor remains |
| Sunscreen or body oil | Mild cleaner in two small passes | Dedicated vinyl cleaner after patch test |
| Blue-jean dye | Water-damp towel, then tested spot treatment | Stop if finish color changes |
| Ballpoint ink | 50% isopropyl alcohol on cotton swab | Professional repair if ink remains |
| Grease or food oil | Mild cleaner, repeated once after drying | Avoid strong degreasers |
| Gum | Chill with a wrapped cold pack, lift gently | Do not scrape with metal |
| Mildew odor | Dry the cabin and inspect foam | Professional treatment if moisture entered padding |
Blot liquid with a dry towel; rubbing spreads the stain across a larger area. For dried food, soften the residue with a damp towel for 30-60 seconds, then lift it with a soft brush rather than a fingernail.
Blue-jean dye deserves realistic expectations. A stain that remains after two mild passes may be chemical migration, not surface dirt. Stronger solvents can make the seat look worse by removing the surrounding finish.
How do you remove odor?
Baking soda can absorb mild surface odor when sprinkled over completely dry upholstery for 30-60 minutes and vacuumed thoroughly afterward. Baking soda cannot sanitize foam or eliminate odor caused by milk, urine, mold, or liquid trapped beneath perforated leatherette.
For persistent odor, locate the source under the seat, inside the seat gap, beneath a child-seat mat, or in the carpet. Drying and source removal work better than adding fragrance, which can mask the problem while moisture continues damaging the padding.
What Should You Avoid on Leatherette?
Avoid bleach, ammonia, acetone, nail-polish remover, undiluted alcohol, abrasive powders, melamine sponges, stiff brushes, and steam unless the vehicle manufacturer specifically approves them. These materials can strip color, roughen the polymer film, soften adhesive, or expose the fabric backing.
A Magic Eraser is a melamine abrasive, not a harmless sponge. It can remove a mark by removing the finish around it, leaving a visibly dull or lighter patch.
Do not use a household all-purpose cleaner simply because it works on plastic dashboard trim. Dashboard plastics and flexible seat coatings may have different pigments, plasticizers, topcoats, and texture.
Common mistakes and recovery actions
| Mistake | Visible symptom | Recovery action |
|---|---|---|
| Too much soap | Sticky or hazy surface | Wipe twice with clean damp microfiber |
| Direct spray | Wet perforations or seam rings | Blot, ventilate, and avoid seat heat |
| Hard scrubbing | Shiny, rough, or pale patch | Stop abrasion; compare with an untouched area |
| Leather conditioner | Greasy, slippery finish | Use mild cleaner and several light rinse passes |
| Solvent overuse | Whitening or gloss change | Stop immediately; seek coating repair advice |
| Dirty towel | Gray streaks or redistributed grime | Replace towels and clean smaller sections |
Should You Condition or Protect Leatherette?
Leatherette generally does not need an oil-based conditioner. A water-based synthetic-vinyl protectant with a matte finish and stated UV resistance can be useful after cleaning, but protection is optional and must be compatible with the vehicle’s manual.
Apply protectant to a towel, not directly to the seat. Use a thin, even layer, allow the label’s dwell time, and buff away excess so the seat does not become slippery.
Avoid glossy dressings on the seating surface. A slick seat can change driver position during braking and may interfere with child-restraint stability. Keep protectant away from steering wheels, pedals, seat belts, and airbag seams.
Sun exposure remains a major long-term stressor. Parking in shade, using a windshield sunshade, and wiping body oils from the driver bolster usually provide more practical protection than repeatedly applying conditioner.
How Often Should Leatherette Car Seats Be Cleaned?
Most private vehicles need a light wipe every 2-4 weeks and a full vacuum-and-cleaning session every 1-3 months. High-contact vehicles need shorter intervals because body oil, denim dye, sunscreen, and grit accumulate faster on the driver bolster.
| Vehicle use | Light wipe | Full cleaning | Extra attention |
|---|---|---|---|
| Occasional private use | Every 4-6 weeks | Every 3 months | Dust and seat seams |
| Daily commuting | Every 2-3 weeks | Every 1-2 months | Driver bolster and buckle area |
| Children or pets | Weekly | Every 2-4 weeks | Crumbs, spills, and hair |
| Rideshare vehicle | Every 2-3 days | Weekly or biweekly | High-touch passenger zones |
| Hot, sunny climate | Every 2-3 weeks | Monthly | UV-exposed top bolsters |
Clean spills immediately, even when the scheduled cleaning date is weeks away. Prompt removal reduces dye migration, sticky residue, and odor formation.
Overcleaning is also harmful. Daily aggressive scrubbing can wear the coating faster than monthly controlled cleaning, especially on the outer driver bolster where entry and exit already create friction.
How Much Time and Money Does Cleaning Take?
A normal DIY leatherette seat cleaning costs approximately $1-$25 per session and takes 20-30 minutes for lightly soiled front seats. A heavily contaminated full interior may require 60-120 minutes, multiple towel changes, and professional treatment if liquid has entered the foam.
| Cleaning scope | Typical time | DIY consumables | Typical professional price |
|---|---|---|---|
| One front seat | 5-10 minutes | $0.50-$3 | $15-$40 |
| Two front seats | 10-20 minutes | $1-$6 | $30-$75 |
| Full seat set | 20-45 minutes | $2-$12 | $60-$150 |
| Full interior detail | 60-120 minutes | $5-$25 | $100-$300 |
| Penetrated odor or mildew | 2-6 hours | $10-$40 | $150-$500+ |
Prices vary by country, vehicle size, stain severity, and whether the detailer removes seats or treats the foam. Product-cost ranges are typical retail estimates, not fixed market prices.
Professional service becomes the sensible choice when the seat has widespread peeling, mold, liquid inside the cushion, failed electronics, strong urine odor, or dye transfer that survives two safe treatment attempts. Cleaning cannot rebuild missing polyurethane or recolor a damaged coating.
Variations for Difficult Situations
White or light-colored leatherette
Clean light upholstery in 20-by-20 cm sections and inspect under angled daylight. White seats reveal residue quickly, so use a separate rinse towel and make a final dry buff.
Do not compensate for discoloration with bleach. If the coating itself has yellowed from UV exposure or chemical damage, cleaning will not restore its original color.
Very dirty textured vinyl
Vacuum twice, apply mild cleaner to the towel, and allow 30-60 seconds of dwell time on the section before brushing. Keep the section small so loosened dirt does not dry back into the grain.
Repeat the mild process once rather than escalating immediately to a strong degreaser. Two controlled passes usually create less coating damage than one aggressive scrub.
Heated and ventilated seats
Use almost no liquid and keep spray away from perforations, switches, seams, and control panels. Follow the owner’s manual for seat ventilation and heating before operating either system after cleaning.
If liquid enters the seat, do not test electrical functions repeatedly. Ventilate the vehicle and request inspection if warning lights, unusual heat, odor, or ventilation changes appear.
Frequently Asked Questions
Can I clean leatherette with vinegar and water?
Vinegar is not the preferred routine cleaner for automotive leatherette because its acidity and odor provide no clear advantage over diluted mild soap or a purpose-made vinyl cleaner. If a manufacturer explicitly permits it, use a highly diluted solution on a tested cloth, rinse afterward, and never combine vinegar with bleach or other chemicals.
Can I use baby wipes on synthetic car seats?
Baby wipes may remove a fresh fingerprint or small spill, but formulas vary and can contain moisturizers, fragrance, or preservatives that leave residue. Use them only as an emergency wipe, then follow with a clean damp microfiber towel and dry the area.
Why do my leatherette seats feel sticky after cleaning?
Sticky leatherette usually has concentrated soap, dressing, body oil, or coating breakdown on the surface. Wipe a small area with clean warm water, dry it, and compare the texture; if stickiness returns without product, the polymer film may be degrading rather than dirty.
Can steam clean leatherette car seats?
Steam can soften adhesives, force moisture into perforations, and damage PU or PVC coatings, so it should not be used unless the seat manufacturer approves the temperature and method. A damp microfiber towel provides safer control for routine soil and surface spills.
How can I stop blue-jean dye from returning?
Remove transferred dye promptly, reduce friction with clean clothing, and use a compatible synthetic-seat protectant only if the product label and vehicle manual permit it. Persistent transfer can indicate pigment migration into the coating, which cleaning alone may not reverse.
When should I replace leatherette upholstery?
Replace or repair leatherette when peeling, cracking, exposed fabric, split seams, or airbag-seam damage affects the seating surface. Cleaning improves soil but cannot restore lost polymer, and aftermarket repairs near side-airbag deployment areas require a qualified automotive upholsterer.
The Bottom Line
To clean leatherette car seats, vacuum first, use a nearly dry microfiber cloth with mild cleaner, brush only textured dirt, rinse away residue, and dry the seams completely. The method takes about 20-30 minutes, costs roughly $1-$25 at home, and works best when you avoid soaking, solvents, abrasives, and oil-based leather conditioners.