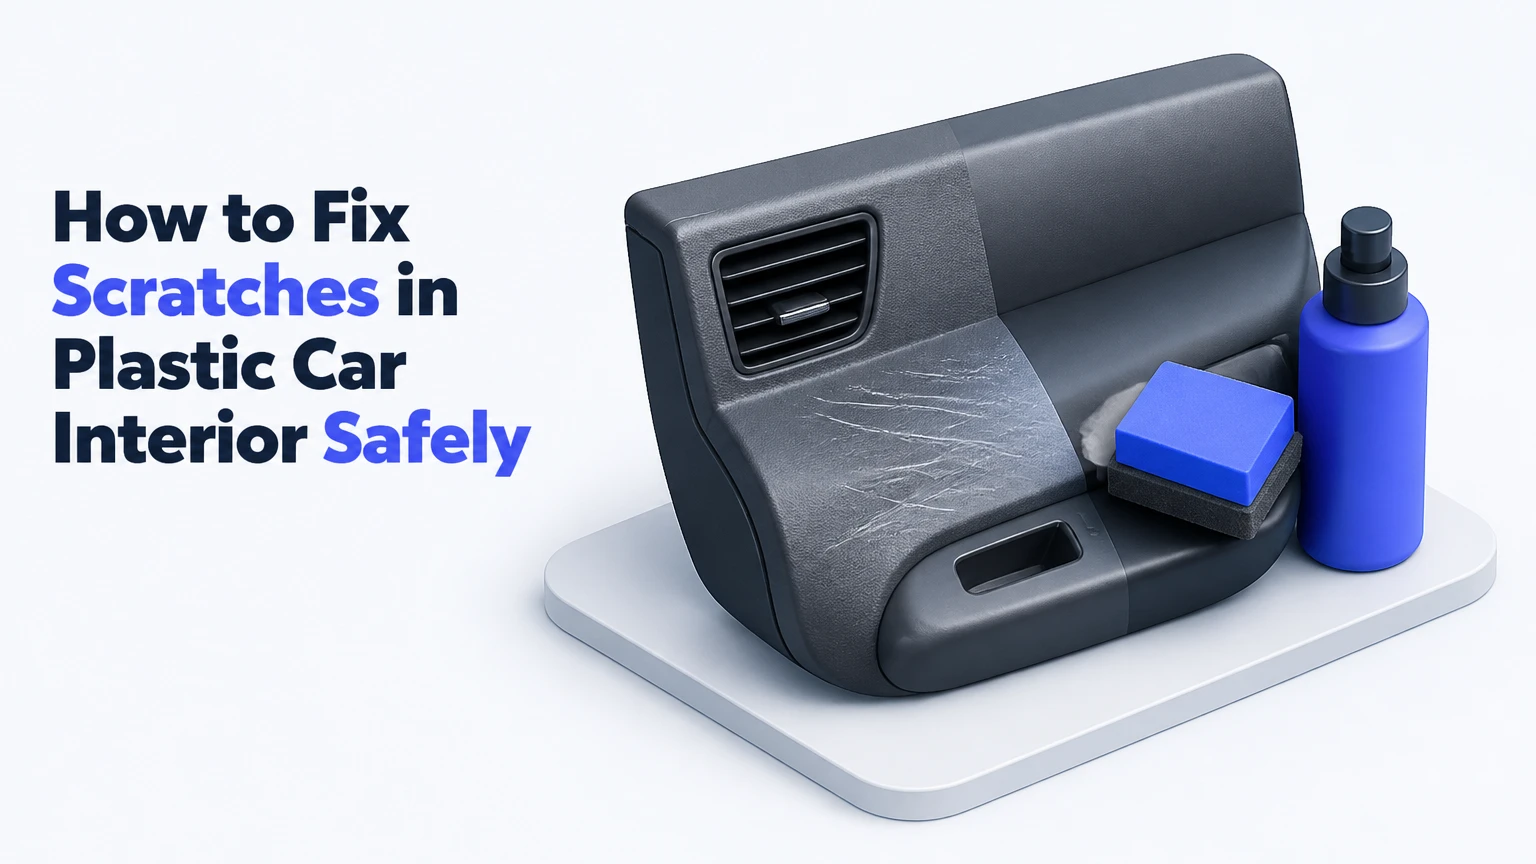
To fix scratches in plastic car interior panels, first identify the finish and scratch depth, then clean the area and choose dressing, plastic polish, controlled heat, or flexible filler. Superficial scuffs may improve in 10 minutes, while a deep gouge usually needs filling, texture restoration, and 2-4 hours including cure time.
Key Facts at a Glance
- A fingernail that does not catch usually indicates a scuff or superficial mark, not missing plastic.
- Interior dressing hides fine whitening temporarily; it does not rebuild a groove or restore lost texture.
- Plastic polish belongs on smooth, uncoated surfaces, not on molded grain or soft-touch coatings.
- Heat can soften some thermoplastics, but excessive heat creates a permanent glossy, warped, or blistered spot.
- Deep gouges require a compatible flexible filler, texture matching, and color blending for a durable repair.
- Airbag covers, instrument lenses, and large dashboard damage carry higher risks than ordinary door trim.
Why Plastic Scratches Turn White
A plastic scratch looks white because the damaged groove and raised edges scatter light differently from the surrounding color layer. Abrasion exposes a lighter substrate, while torn polymer edges create many irregular surfaces that reflect light toward the observer.
Automotive interior plastics commonly use molded color, a painted coating, a clear topcoat, or a soft-touch film. A repair can therefore remove a mark, conceal it, or rebuild the missing surface, but those outcomes are different.
A dressing saturates tiny surface irregularities with oils or polymers and temporarily reduces contrast. Leveling removes raised edges on smooth plastic. Heat can soften selected thermoplastics and move shallow deformation, while filler replaces material that has physically disappeared.
The repair method must match the damage mechanism. Applying more product cannot replace a deep missing section, and heating a coated panel can destroy the finish before the base plastic changes.
Identify the Surface Before Repair
The safest repair starts with a surface diagnosis, because textured molded plastic, piano-black trim, clear acrylic, and soft-touch coatings react differently to abrasion, solvent, and heat.
Use the fingernail and light tests
Clean a small area, dry it, and run a fingernail across the scratch at a right angle. Use a bright flashlight from the side to inspect the groove.
| Observation | Likely damage | Suitable first method | Avoid |
|---|---|---|---|
| No nail catch, gray haze | Transfer or scuff | Cleaner, then dressing | Aggressive sanding |
| Slight nail catch, no missing edge | Shallow groove | Fine polish on smooth trim | Polish on grain |
| White torn ridge, textured panel | Deformed molded plastic | Test heat or localized filler | Stationary heat |
| Nail drops into a canyon | Missing material | Flexible filler and color coat | Dressing alone |
| Smooth black area with swirl marks | Coating or clear finish damage | Plastic polish, hand application | Coarse compound |
| Cloudy transparent lens | Clear plastic abrasion | Plastic-lens polish | Interior dressing |
A second test identifies coating type. Rub an unseen edge with a damp microfiber towel and a small amount of pH-neutral interior cleaner. If the surface becomes tacky, changes sheen, or transfers color, treat it as coated or soft-touch plastic and avoid solvents, abrasives, and heat until the material is confirmed.
Check for safety-critical locations
Do not heat or aggressively sand an airbag cover, steering-wheel trim, seat-side airbag panel, or dashboard seam. The National Highway Traffic Safety Administration identifies airbag deployment zones as safety equipment, so cosmetic work must not alter cover seams, labels, panel thickness, or deployment paths.
Instrument-cluster lenses also need restraint. A clear polycarbonate lens can haze permanently when exposed to unsuitable solvents, while a scratch near warning-light symbols can reduce readability.
What Tools and Materials Do You Need?
A basic scuff repair costs about $15-$30 and needs cleaner, microfiber towels, a soft brush, and a water-based interior dressing. A deep-gouge repair typically costs $40-$100 for filler, texture tools, color coating, abrasives, masking materials, and disposable applicators.
| Repair level | Materials and quantities | Typical time | Typical DIY cost |
|---|---|---|---|
| Superficial scuff | 2 microfiber towels, 100-200 ml cleaner, 5-10 ml dressing | 10-20 minutes | $10-$25 |
| Smooth trim scratch | Plastic polish, 1-2 microfiber applicators, masking tape | 20-40 minutes | $15-$40 |
| Textured shallow gouge | Variable-temperature heat gun, test plastic, grain pad | 30-60 minutes | $30-$70 |
| Deep missing section | Flexible filler, 600-1500 grit paper, adhesion promoter, color coat | 2-4 hours | $45-$110 |
| Professional refinishing | Shop filler, texture tooling, matched coating | 1-2 days | $150-$400 per panel |
Prepare nitrile gloves, eye protection, painter’s tape, a plastic razor or flush cutter, a flexible spreader, and a bright inspection light. Use denatured alcohol or an automotive prep solvent only after checking that the panel tolerates it, because some coatings soften or whiten under solvent.
How to Fix Scratches in Plastic Car Interior
The correct process is a five-step sequence: clean the panel, classify the damage, remove loose edges, apply the least aggressive repair, and inspect the finish under normal cabin lighting. Most small door-panel repairs take 15-45 minutes, while a filled gouge needs overnight curing when the filler or coating specifies it.
Step 1: Clean and degrease the panel
Spray a diluted automotive interior cleaner onto a microfiber towel rather than directly onto switches, seams, speakers, or instrument openings. Brush the damaged area lightly, wipe away residue with a second damp towel, and allow the plastic to dry completely for 10-15 minutes.
Use a pH-neutral cleaner first. A typical starting dilution for a concentrated all-purpose cleaner is 1:10, but the product label takes priority because concentrates vary widely.
You will know the panel is ready when the scratch has no greasy halo and a clean towel remains free of black residue after one light wipe. The common mistake is applying dressing before removing silicone, sunscreen, and skin oil, which makes later filler or color coating repel.
Step 2: Remove loose ridges without enlarging the damage
Trim only detached shards and raised hangnails with a sharp plastic razor, flush cutter, or hobby blade held nearly parallel to the panel. Do not carve the bottom of a stable groove, because removing sound material increases the repair area and makes texture matching harder.
For a smooth panel, 800-1000 grit wet-or-dry paper can level a shallow edge after masking the surrounding trim. For textured plastic, sanding usually creates a flat island that catches light, so leave the grain intact and use localized repair instead.
The success checkpoint is a stable edge with no loose flap that can catch a fingernail. The common mistake is dragging a blade across the surrounding panel and creating a second, straight scratch.
Step 3: Conceal a superficial scuff with dressing
Apply a small amount of water-based, low-sheen interior dressing to a microfiber applicator, then work it across the scuff in two directions. Remove all excess after 2-5 minutes so the finish matches the neighboring plastic instead of forming a glossy patch.
Dressing works when the scratch is mainly a light-refraction problem. It is useful for lease-return preparation and daily-driver cosmetics, but the effect may fade after several cleaning cycles or weeks of UV exposure.
A silicone-heavy tire product is a poor substitute because it can leave a slippery, reflective film and attract dust. Product directions for 303 Aerospace Protectant and CarPro PERL differ in dilution and finish, so use the label rather than copying a generic ratio.
You will know the concealment is acceptable when the mark becomes difficult to see from the normal seated position under diffuse light. The common mistake is judging the result while the panel is wet, when excess dressing exaggerates gloss.
Step 4: Polish only smooth, compatible plastic
Mask adjacent buttons and textured surfaces, place a pea-sized amount of plastic polish on a microfiber applicator, and work an area no larger than 5 by 5 cm using moderate hand pressure for 30-60 seconds. Wipe clean and inspect before repeating once.
Fine plastic polishes such as PolyWatch Acrylic Polish are designed for selected transparent or smooth acrylic surfaces, while automotive plastic compounds vary in cut. Hand polishing removes a small amount of material, so repeated passes can thin a clear coating or create a low spot.
Do not polish textured door cards, soft-touch dashboards, or painted trim unless the product and finish are confirmed compatible. A melamine sponge is also abrasive; it can erase the sheen and grain around a scuff faster than it removes the scratch.
The success checkpoint is a reduced haze with uniform gloss around the repair. The common mistake is using rubbing compound on piano-black trim without masking, which trades one visible mark for a larger cloudy area.
Step 5: Rebuild a deep gouge with flexible filler
For a groove with missing plastic, clean again, trim unstable fragments, and press a flexible two-part plastic repair filler firmly into the cavity. Leave the filler slightly proud of the surface, allow the stated cure time, then level only the repair edge with 800-1000 grit paper before refining with 1200-1500 grit.
Follow the filler manufacturer’s mix ratio and working time. A typical two-part repair compound offers 3-8 minutes of working time and reaches handling strength in 20-60 minutes, but full cure may take 12-24 hours.
Press a matching grain pad into filler that has reached the product’s texture-ready stage. If the original pattern is directional, copy the grain orientation rather than stamping randomly. After curing, apply a compatible adhesion promoter and thin color coats, allowing 5-10 minutes between coats.
The success checkpoint is a repair that has no soft center, raised lip, or sharp color boundary. The common mistake is applying one thick paint coat, which produces a shiny ridge and hides texture rather than recreating it.
Which Repair Method Is Safest?
The safest method is the least aggressive one that can address the actual damage: dressing for a non-catching scuff, polish for a smooth shallow scratch, and filler for missing material. Heat is faster on some textured thermoplastics but has the narrowest margin for error.
| Method | Best surface | Repair depth | Durability | Main risk |
|---|---|---|---|---|
| Interior dressing | Molded or smooth plastic | Non-catching scuff | Days to several weeks | Temporary shine or residue |
| Plastic polish | Smooth acrylic or coated trim | Fine abrasion | Months if coating remains intact | Haze or coating removal |
| Controlled heat | Compatible molded thermoplastic | Shallow deformation | Often long-lasting | Warp, gloss spot, odor |
| Flexible filler | Textured or smooth missing area | Medium to deep gouge | Long-lasting after cure | Visible texture or color mismatch |
| Panel replacement | Any damaged removable trim | Severe damage | Factory-level part durability | Cost, clips, fitment |
Should you use a heat gun on interior plastic?
Use a heat gun only on a confirmed, compatible molded thermoplastic panel after practicing on an unseen area. Start with the lowest useful setting, keep the nozzle moving, hold it roughly 8-15 cm away, and stop as soon as the surface changes slightly rather than trying to melt the scratch flat.
The 150-200°C setting often repeated in online guides is not a universal plastic-repair temperature. Heat-gun dial temperatures describe air at or near the nozzle, not the panel surface, and different plastics, coatings, colors, and panel thicknesses respond at different rates.
A hair dryer is slower and less likely to damage trim, although it may not soften a deep deformation. Never heat near an airbag, wiring connector, speaker grille, adhesive-mounted emblem, or closed cabin where fumes can accumulate.
The success checkpoint is reduced whitening without a glossy halo or panel movement. The common mistake is holding the nozzle still for two seconds or more, which can produce a permanent bald spot before the surrounding area visibly changes.
What Changes for Different Interior Parts?
Door panels and kick plates tolerate more experimentation than dashboards, center consoles, instrument lenses, and airbag covers. The correct technique depends on the panel’s texture, coating, visibility, and proximity to electrical or restraint components.
| Interior part | Common finish | Recommended approach | Repair limit |
|---|---|---|---|
| Lower door panel | Molded grain | Cleaner, dressing, cautious filler | Avoid flattening grain |
| Glovebox face | Molded or soft-touch | Dressing or compatible filler | Test solvent and heat |
| Piano-black console | Painted or clear-coated | Fine plastic polish by hand | Stop before haze spreads |
| Instrument lens | Clear polycarbonate | Lens-specific polish | No solvent or heat |
| Dashboard fascia | Molded, coated, or vinyl | Professional spot repair | Avoid airbag seams |
| Door sill or kick panel | Rigid textured plastic | Controlled heat or filler | Test hidden location first |
How do you repair a scratched black plastic door panel?
Clean the black door panel, determine whether the scratch catches a fingernail, and use dressing for a scuff or flexible filler for missing material. Molded black plastic can sometimes accept controlled heat, while painted black trim should receive no heat until the coating is identified.
Black plastic exaggerates defects because white edges contrast strongly with the base color. A satin dressing can improve the appearance of a non-catching mark, but it will not correct a groove that remains visible under side lighting.
For textured doors, preserve the original grain. If a filler repair is necessary, use a texture pad and apply thin color coats only after the filler has fully cured.
Can you repair piano-black console scratches?
You can reduce very fine piano-black scratches with a plastic-safe finishing polish applied by hand, but deep cuts through the coating usually require refinishing or replacement. Piano-black trim is often painted or clear-coated, so aggressive compound, sanding, and heat can enlarge the defect.
Work in a small test area first. Compare the repaired section with the unworked surface from the driver’s normal viewing angle, because a perfectly polished test spot can look worse if the surrounding panel has a uniform factory haze.
Can You Fix a Scratch Without Sanding?
You can fix a non-catching scuff without sanding by cleaning it and applying a compatible satin dressing, while some shallow textured damage may respond to controlled heat. A deep gouge cannot be made structurally level without removing loose material, filling the void, or replacing the panel.
Avoid sanding when the panel has molded grain, a soft-touch coating, or a thin decorative finish. Sanding changes surface geometry, and the altered gloss often remains visible even after color coating.
A no-sanding approach is appropriate for a lease return where concealment is the goal and the mark is shallow. It is not a permanent restoration method for a torn edge, exposed light substrate, or missing section.
Common Mistakes and How to Fix Them
Overheating one point
A glossy circle, warped ridge, or sharp plastic odor indicates excessive heat. Let the panel cool fully, then assess it under indirect light; aggressive scuffing may reduce gloss, but a melted texture usually needs refinishing or replacement.
Using solvent before testing
Alcohol, acetone, strong degreaser, and adhesive remover can soften coatings or create a cloudy bloom. If whitening appears, stop rubbing, wipe with a clean damp towel, and allow the panel to dry before choosing a compatible coating-repair process.
Applying filler over contamination
Peeling edges and pinholes usually indicate oil, silicone, dust, or incorrect surface preparation. Remove the failed filler, clean the cavity, abrade only where the filler requires it, and repeat the manufacturer’s preparation sequence.
Flattening textured grain
A smooth patch on a grain panel cannot be hidden reliably with dressing. Recreate texture with a grain pad while the filler is workable, or replace the panel if the pattern is highly visible.
Matching color under the wrong light
Interior color can look correct in a garage and wrong in daylight. Inspect the cured repair in daylight, shade, and the vehicle’s cabin lighting before applying a final protective dressing.
Spraying product into controls
Liquid entering window switches, HVAC controls, instrument openings, or speaker grilles can cause electrical faults and stains. Apply product to the towel, not the component, and mask openings before using any spray coating.
Which Method Should You Choose?
Choose dressing for a quick, low-risk cosmetic improvement, polish for a smooth shallow scratch, controlled heat for tested molded thermoplastic, filler for missing material, and replacement for safety-related or highly visible structural damage.
- Lease return: Clean thoroughly and use a restrained satin dressing for shallow scuffs. Do not create a glossy patch that attracts inspection attention.
- Daily driver: Repair a visible textured gouge with flexible filler if the panel is inexpensive and removable. Practice texture stamping first.
- Glossy-console owner: Use hand-applied plastic polish only after confirming the trim is smooth and compatible. Replace a deeply cut decorative panel when color blending would be obvious.
- High-value or newer vehicle: Choose professional interior refinishing for dashboards, airbag-adjacent trim, and large color-matched areas.
- Time-limited repair: Spend 10-20 minutes cleaning and concealing a non-catching mark instead of attempting a rushed heat repair.
When Is Panel Replacement Better?
Panel replacement is better when the damage reaches an airbag cover, breaks mounting points, affects a large visible area, or removes too much texture for a credible spot repair. A replacement trim piece can cost $50-$500 depending on the vehicle, finish, availability, and whether the part includes switches or vents.
Compare the part price with professional refinishing before starting. A $90 used door insert may be more predictable than a $60 DIY kit plus several hours of color and grain experimentation.
Check the vehicle’s exact trim code and production year. Interior panels that appear identical can differ in clips, gloss level, color, speaker openings, or side-airbag labeling.
How Long Does a Repair Last?
A dressing-based concealment typically lasts from several days to several weeks, depending on cleaning frequency, sunlight, abrasion, and product chemistry. A cured filler and properly applied color coating can last years, although wear at high-contact locations may eventually reveal the repair.
Polished clear plastic remains improved until new abrasion or coating failure occurs. Heat-resurfaced plastic has no separate filler layer, but an overheated area can fail permanently through distortion or gloss change.
Keep repaired trim clean with a mild interior cleaner and microfiber towel. Avoid abrasive brushes, household disinfectants, strong solvents, and repeated wet dressing applications.
FAQ
Will toothpaste remove scratches from car interior plastic?
Toothpaste is an inconsistent mild abrasive and is not designed for automotive coatings, molded grain, or polycarbonate lenses. It may reduce a tiny mark on an uncoated smooth surface, but a plastic-specific polish gives better control and reduces the chance of residue or uneven gloss.
Is WD-40 safe for scratched interior plastic?
WD-40 may temporarily darken a white scuff, but it leaves an oily film that attracts dust and can interfere with later refinishing. Use a water-based interior dressing for temporary concealment, and clean the panel first so the finish remains uniform.
Does a magic eraser remove plastic scratches?
A melamine “magic eraser” can remove transfer and surface grime, but its abrasive foam can dull molded plastic, remove soft-touch coating, and alter texture. Use it only after a hidden-area test, with light pressure, and never on clear lenses or piano-black trim.
Can scratched plastic be restored to factory condition?
A shallow scuff can become nearly invisible, but deep damage rarely returns to factory condition without professional texture and color matching or an OEM replacement panel. Factory texture, coating thickness, and molded color are difficult to reproduce perfectly with a small repair kit.
Should I repair a scratch before selling my car?
Repair a scratch before selling when cleaning and a restrained dressing can improve a shallow mark for under $25. Avoid risky heat or paint work immediately before an inspection, because a glossy spot, mismatched color, or solvent stain can reduce buyer confidence more than the original scratch.
What is the best product for scratched textured plastic?
No single product works best for every textured plastic scratch. A satin dressing suits a non-catching scuff, while a flexible plastic filler and matching grain pad suit missing material; heat is an optional method only after compatibility testing and careful temperature control.
The Bottom Line
The best way to fix scratches in plastic car interior panels is to match the repair to the surface and depth. Clean first, use dressing for superficial scuffs, polish only smooth compatible trim, reserve controlled heat for tested thermoplastic, and fill deep gouges instead of trying to conceal them. For airbag covers, dashboards, clear lenses, and high-visibility damage, professional refinishing or an OEM replacement is safer.