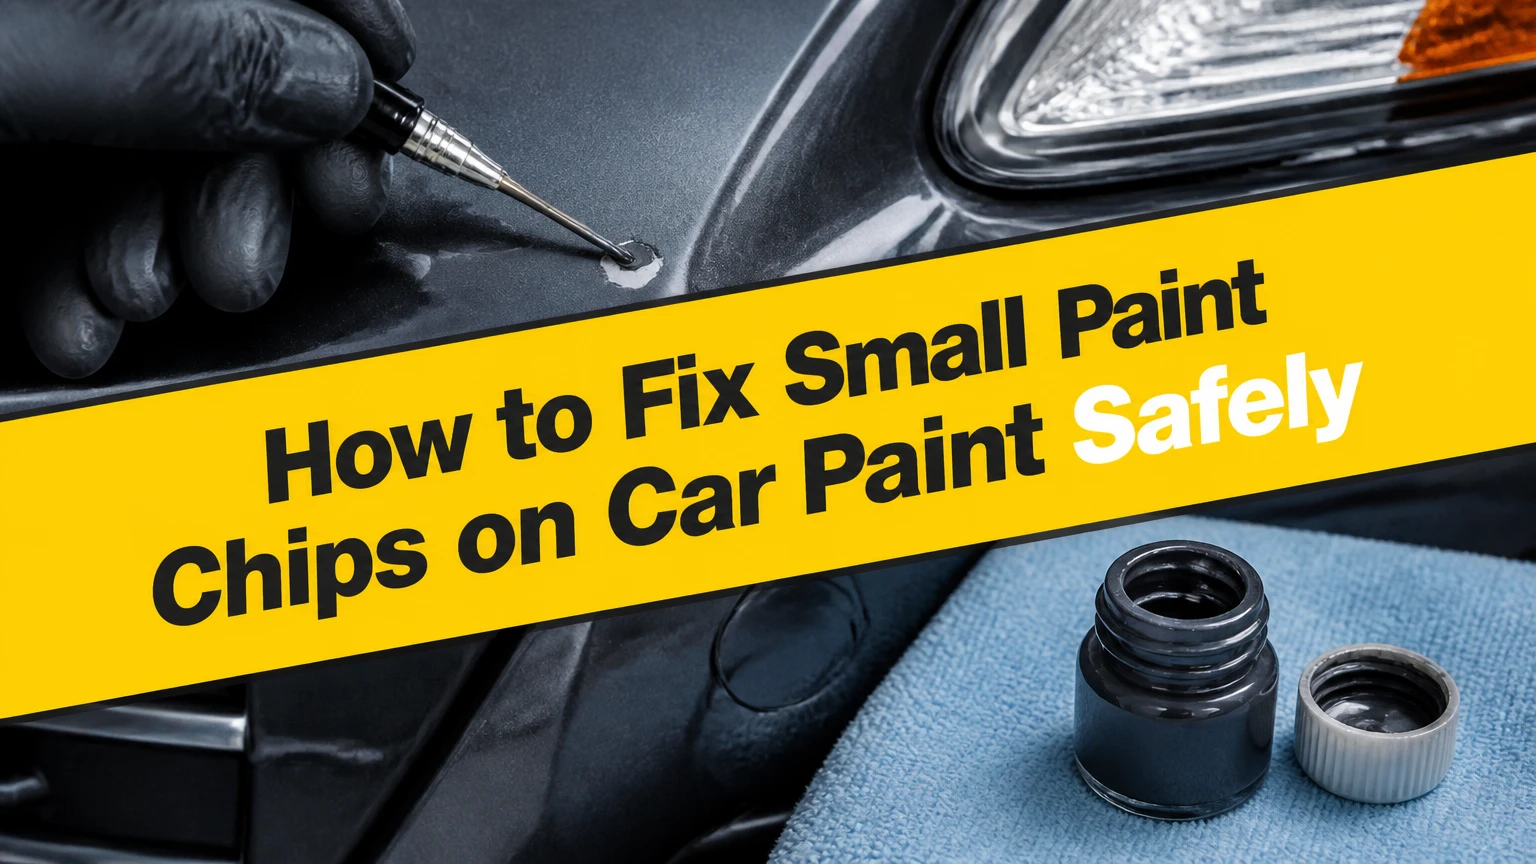
To fix small paint chips on car paint, clean the impact crater, remove any rust, apply primer only where the substrate requires it, add matching basecoat in thin layers, and seal the repair with clearcoat. A careful single-chip repair usually takes 30-60 minutes of hands-on work plus 24-48 hours of curing, and color-code accuracy determines the final appearance more than paint quantity.
Key Facts at a Glance
A factory automotive finish normally uses primer, color basecoat, and transparent clearcoat over metal or plastic.
An isolated chip smaller than 1/8 inch is usually suitable for DIY touch-up paint.
Bare steel needs corrosion removal and corrosion-resistant primer before color paint.
A matching factory paint code is more reliable than selecting paint by the vehicle’s color name.
Two or three thin color applications produce a cleaner repair than one thick brush stroke.
Wet-sanding is optional for tiny chips and can damage surrounding factory clearcoat when performed aggressively.
What Is a Paint Chip?
A paint chip is a small crater where an impact has removed some or all of the vehicle’s exterior coating. Gravel, road salt, tire debris, car doors, and loading equipment commonly create chips on the hood, front bumper, fenders, rocker panels, and door edges.
Automotive paint is a layered system. The primer bonds to the substrate and helps resist corrosion, the basecoat supplies color and metallic or pearl effect, and the clearcoat provides gloss and protection from ultraviolet exposure and minor abrasion. A chip may expose only the clearcoat, the colored basecoat, gray primer, bare metal, or black plastic.
Diagnosis matters because the visible hole does not always show the full depth. A dark spot on a white car may be exposed primer rather than rust, while a bright orange or brown edge indicates active corrosion. Touch-up paint improves appearance and seals a small defect, but it cannot repair a dent, perforation, lifting paint, or corrosion that extends beneath intact paint.
How do chips differ from scratches?
A chip removes material from a concentrated impact point, while a scratch usually cuts or scuffs across a longer line. A fingernail that catches on a narrow mark does not prove that the metal is exposed, but a crater with a sharp perimeter generally needs touch-up paint rather than polishing alone.
Use polishing compound only when the mark is a transfer, scuff, or clearcoat scratch that does not expose a different layer. Paint cannot restore gloss to a scratch that has removed the basecoat, and compound cannot stop rust in exposed steel.
What Should You Check Before Repairing a Chip?
Check the chip’s size, depth, substrate, rust condition, and location before buying materials. DIY touch-up is appropriate for isolated chips on sound metal or plastic, but a body shop is safer when the damage is spreading, dented, perforated, or located on a structural edge.
Inspect the damage
Use a bright inspection light after washing the panel. Classify the damage using this guide:
| Visible condition | Likely exposed layer | Recommended response | DIY risk |
|---|---|---|---|
| Glossy color with a shallow mark | Clearcoat | Polish or use clearcoat repair | Low |
| Gray, beige, or red-brown center | Primer or corrosion | Clean, prime if required, then paint | Medium |
| Bright silver or dull steel center | Bare metal | Remove oxidation and apply metal primer | Medium |
| Black or dark gray flexible substrate | Plastic bumper material | Use adhesion promoter if required | Medium |
| Flaking perimeter, bubbling, or spreading stain | Underlying corrosion | Professional corrosion repair | High |
| Chip larger than 1/4 inch or dented | Multiple layers and substrate | Body-shop assessment | High |
A chip on a horizontal hood receives more stone impacts and ultraviolet exposure than one on a protected door jamb. A repair on a sharp body line is also harder to blend because sanding can remove clearcoat from the ridge first.
How do you find the correct paint color?
Find the factory paint code on the vehicle identification label, owner documentation, or manufacturer parts system, then order paint made for that code. Common label locations include the driver-door jamb, glovebox, trunk floor, spare-tire well, firewall, and under-hood area.
The vehicle’s marketing color name is insufficient because one name can cover several formulas across model years. A paint code may also have a suffix for a variant. Automotive touch-up suppliers such as AutomotiveTouchup, Dr. ColorChip, and manufacturer parts departments typically use year, make, model, and paint code to identify a formula.
Metallic and pearl colors require extra care. The apparent shade changes with film thickness, viewing angle, flake orientation, and the darkness of the underlying primer. Test the paint on a hidden painted area or a metal test card before repairing a prominent hood.
What Tools and Materials Do You Need?
A basic single-chip repair costs approximately $20-$60 and needs a color-matched touch-up bottle, degreaser, lint-free towels, a fine applicator, and compatible clearcoat. A rusted chip or a repair requiring leveling adds roughly $10-$25 for primer, abrasive paper, polishing compound, and masking materials.
Before You Start
Hands-on time: 30-60 minutes for one to five small chips
Cure time: Typically 24-48 hours, according to the product label
Difficulty: Beginner for dab-and-seal; intermediate for wet-sanding
Temperature: Usually 60-80°F, or the range stated by the paint maker
Location: Dry, shaded, dust-controlled, and well ventilated
Estimated cost: $20-$60 for basic materials; $50-$100 for rust treatment and finishing supplies
| Material or tool | Useful specification | Typical quantity | Purpose |
|---|---|---|---|
| Automotive soap | pH-neutral, non-wax formula | 1-2 ounces per wash bucket | Removes traffic film |
| Isopropyl alcohol | 70-90% IPA, or automotive panel wipe | 1-2 ounces | Removes wax and grease |
| Micro-applicators | 00 or 000 detailing swabs | 5-10 swabs | Controls tiny paint deposits |
| Touch-up basecoat | Factory paint-code formula | 1 bottle, 0.25-0.5 ounce | Replaces color |
| Automotive primer | Metal-compatible or plastic-compatible | 1 small bottle | Seals bare substrate |
| Clearcoat | Compatible touch-up clear | 1 bottle | Restores gloss and protection |
| Sandpaper | 2,500-3,000 grit waterproof paper | One 2 x 3 inch piece | Optional leveling |
| Compound and polish | Fine automotive finishing products | 1 teaspoon each | Removes sanding haze |
Do not use household enamel, nail polish, household primer, or an unknown solvent. Those products can remain soft, react with the factory coating, or produce a visible color and gloss mismatch.
How to Fix Small Paint Chips on Car Paint
The safest repair sequence is clean, inspect, treat corrosion, prime the exposed substrate, add thin color layers, apply clearcoat, and level only after full curing. Complete the work in shade on a clean panel, and keep each layer inside the crater rather than brushing across undamaged paint.
Step 1: Wash and dry the panel
Wash the entire panel with automotive soap, rinse thoroughly, and dry with a clean microfiber towel. Cleaning the whole panel prevents loose grit from entering the chip while your applicator moves around the repair.
Do not begin on a hot panel. Surface temperature above the product’s stated range can flash solvent too quickly and leave texture or weak adhesion.
Success checkpoint: The panel feels smooth and squeak-clean when lightly wiped with a clean towel.
Common mistake: Using a household dish detergent immediately before touch-up can strip protection unevenly and leave surfactant residue. Rinse more thoroughly and follow with panel cleaner.
Step 2: Degrease the crater
Place a small amount of 70-90% isopropyl alcohol or automotive wax-and-grease remover on a lint-free swab. Wipe the chip once, rotate to a clean section, and let the surface evaporate for several minutes.
Avoid flooding the area. Strong solvents can soften or haze an aged clearcoat, especially around a chip where the coating edge is thin. Never use acetone or lacquer thinner as a routine cleaner on a finished panel.
Success checkpoint: Water or cleaner no longer beads strongly inside the crater, and no waxy ring remains around its edge.
Common mistake: Touching the prepared area with bare fingers transfers skin oil and can cause fisheyes or poor adhesion.
Step 3: Remove rust and decide whether primer is needed
If steel is exposed, remove loose rust with the tip of a fiberglass pen or a small 2,000-grit abrasive wrapped around a pencil eraser. Work inside the crater and stop when the surface is firm, clean, and free of orange residue.
Apply a tiny amount of automotive metal primer when bare steel remains. If the factory primer is intact and the product is a compatible two-in-one formula, additional primer may be unnecessary. Plastic bumpers require a plastic adhesion promoter only when the product instructions call for it.
Do not sand a rusted chip outward into healthy paint. Rust under a paint edge can continue laterally, so bubbling, dark staining, or a soft perimeter requires professional preparation.
Success checkpoint: The substrate is dry and stable, with no loose flakes or active orange corrosion.
Common mistake: Painting over rust hides the color temporarily but traps moisture and allows corrosion to lift the new repair.
Step 4: Apply primer in a controlled dot
Shake the primer if directed, then place one microscopic drop in the deepest part of the chip using a 00 micro-applicator or sharpened wooden toothpick. Keep primer below the surrounding paint level and allow the labeled flash and cure time, commonly 20-30 minutes for a small touch-up product.
Primer should fill the exposed substrate, not cover a large ring of original clearcoat. A large primer halo creates a second color-matching problem and increases the amount of sanding needed later.
Success checkpoint: The primer covers bare metal or plastic without forming a raised bead.
Common mistake: Using the brush supplied in a bottle for a 1/16-inch chip often deposits too much material. Wipe excess from the applicator before touching the vehicle.
Step 5: Add two or three thin basecoat layers
Shake the color paint for at least 60 seconds, then stir it if the product permits. Dab the smallest possible amount into the center of the crater and allow the paint to spread toward the edges by capillary action.
Apply two or three thin layers rather than one thick blob. Follow the product’s recoat interval, often 10-30 minutes, and keep the final color layer level with or slightly below the surrounding finish. Metallic and pearl paints usually look more accurate when each layer remains thin.
For a crater smaller than 1/8 inch, a toothpick or micro-brush provides better control than a standard touch-up brush. For a long scratch, avoid drawing one continuous wet line because paint accumulates at the ends; use small overlapping dots instead.
Success checkpoint: The chip is covered, the surrounding paint remains clean, and no ridge extends beyond the original crater.
Common mistake: Correcting a light appearance by adding one heavy coat can make metallic paint darker. Let the layer dry before judging it under daylight.
Step 6: Apply clearcoat and let the repair cure
Apply one or two tiny clearcoat drops after the basecoat reaches the product’s stated recoat condition. Clearcoat should cover the color and may sit slightly proud of the factory surface if you plan to level it later.
Allow at least 24 hours before touching the repair with abrasive products; some solvent-based systems need 48 hours or longer. Temperature, humidity, film thickness, and product chemistry change the curing period, so the label overrides generic timing.
Success checkpoint: The clearcoat is firm, glossy, and no longer stringy or tacky when inspected without pressing on it.
Common mistake: Applying clearcoat while the basecoat is still soft can wrinkle, dissolve, or pull the color from the crater.
Step 7: Level and polish only when necessary
Do not wet-sand a tiny repair automatically. If the raised spot is barely visible, leaving a small high point preserves surrounding factory clearcoat and is often safer than chasing perfect flatness.
For a clearly raised clearcoat bead, soak 2,500- or 3,000-grit waterproof paper in clean water with a small amount of car-wash soap. Wrap the paper around a hard, narrow backing block, make two or three light passes over the bead, dry the area, and inspect before continuing.
Stop as soon as the high point matches the surrounding surface. Use a small amount of fine compound, followed by finishing polish, to remove the sanding haze. Never sand an entire panel to blend a single chip unless you understand paint-thickness risk.
Success checkpoint: The repaired spot is level under a fingertip, and polishing restores gloss without a dull halo.
Common mistake: Softly backing sandpaper with a finger creates a dish around the repair. A hard, small backing surface keeps pressure concentrated on the raised material.
Which Paint-Chip Repair Method Should You Choose?
Choose an OEM touch-up bottle for one to five isolated chips, a blending kit for many shallow stone impacts, mobile SMART repair for visible cosmetic work, and a body shop for widespread or corroded damage. Cost, chip count, substrate condition, and the expected viewing distance matter more than the brand name alone.
| Repair method | Best damage range | Typical cost | Typical time | Main limitation |
|---|---|---|---|---|
| OEM touch-up bottle | 1-5 chips under 1/8 inch | $15-$35 | 30-60 minutes plus cure | Brush control and visible edge |
| Dr. ColorChip or Langka kit | 10-50 shallow chips | $40-$80 | 1-3 hours | Thin coverage on deep craters |
| Mobile SMART repair | 5-30 visible chips | $150-$300 | 1-3 hours | Weather and technician quality |
| Local body-shop spot repair | Deep localized damage | $250-$600 | 1-3 days | Higher cost and color-blend limits |
| Full panel respray | Peeling, broad rash, severe mismatch | $500-$1,200 | 2-5 days | Expense and vehicle downtime |
When is a paint-chip blending kit better?
A blending kit is better when a hood or bumper has dozens of shallow chips that would make individual toothpick repairs impractical. Products such as Dr. ColorChip use a spread-and-wipe process, while Langka systems use a solution to reduce a raised touch-up blob after the paint has partially cured.
Blending kits are forgiving for road rash because excess paint can be removed from surrounding clearcoat before the final cure. They are less suitable for deep chips showing rust, holes, or broad lifting edges because the leveling solution does not remove underlying corrosion.
When should you hire a professional?
Hire a professional when rust extends under the paint, the panel is dented, the chip exceeds approximately 1/4 inch, paint is peeling, or several neighboring chips have become one damaged area. A technician can sand, treat corrosion, blend color, and apply a controlled clearcoat edge without sacrificing as much original finish.
A mobile repair is usually appropriate for cosmetic chips on an otherwise sound panel. A body shop is the better choice when the repair needs metalwork, plastic welding, panel refinishing, or corrosion treatment beneath the visible paint.
What Changes for Different Chip Situations?
Different substrates and repair goals require different procedures. A metal hood, a textured plastic bumper, a rusted door edge, and a lease-return panel should not receive identical preparation or finishing.
Plastic bumper chips
Clean a plastic bumper with the product recommended for flexible substrates, and use plastic adhesion promoter when the paint system requires it. Do not use metal primer on exposed polypropylene or similar bumper plastic unless the manufacturer specifically labels it for that substrate.
Bumper plastic flexes during minor impacts. A rigid repair system can crack or detach if the product lacks the required flexibility. Texture, stone damage, and the bumper’s broad curvature also make a near-invisible repair less realistic than on a flat hood.
Rusted chips on a hood or fender
Remove every loose corrosion particle, dry the crater fully, and use a corrosion-resistant automotive primer before applying color. If the rust returns after a short period, corrosion remains beneath the paint edge and needs panel-level repair.
A touch-up bottle is a sealing measure, not a substitute for cutting out perforated steel. Rust bubbles larger than a coin, recurring orange staining, and soft metal justify professional inspection.
Metallic and pearl paint
Use the exact factory code, test the formula, and apply thin coats at consistent thickness. A metallic basecoat can look darker in a deep crater because the surrounding clearcoat and light angle differ from the new film.
Avoid blending a small color repair far into the panel with a brush. The visible transition is usually less noticeable when the paint remains confined to the chip and the clearcoat is applied sparingly.
Lease return or resale preparation
For a lease return, repair multiple shallow chips with a matching blending kit when the goal is to reduce visible road rash quickly. For resale, prioritize rust prevention and consistent gloss over a perfectly invisible result that requires aggressive sanding.
Photograph the damage before repair if an insurance, warranty, or lease inspection could later question the panel condition. Keep the paint-code label and product receipt with the vehicle records.
How Do You Fix Common Touch-Up Failures?
Most failed touch-up repairs result from contamination, excess material, incorrect cure time, or an unsuitable solvent. Correct the failure according to its stage, because wiping a wet repair and sanding a cured repair require different responses.
| Failure | Likely cause | Corrective action | Prevention |
|---|---|---|---|
| Raised paint bump | Excess paint or clearcoat | Cure fully, then level with 3,000 grit | Use micro-drops |
| Dark or light color | Wrong code or thick film | Remove only with labeled remover, then retest | Confirm factory code |
| Paint pulls out | Wax contamination or early sanding | Clean and restart after full cure | Degrease and wait |
| Fisheyes or craters | Oil, silicone, or solvent reaction | Let cure, remove defect, clean, reapply | Use lint-free materials |
| Wrinkled surface | Recoating too soon | Allow complete cure and sand affected material | Follow recoat window |
| Dull halo | Aggressive wet-sanding | Compound and polish carefully; respray if clearcoat is breached | Sand only the bead |
| Rust returns | Corrosion remained underneath | Professional corrosion repair | Expose clean, stable metal |
What if the color looks wrong?
First verify the paint code and inspect the dried repair in indirect daylight. If the color is slightly off, a thinner film may reduce the difference, particularly with metallic paint. If the formula is clearly wrong, stop adding layers and contact the supplier.
Do not flood the area with acetone or lacquer thinner to erase cured paint. Those solvents can soften or haze surrounding clearcoat and enlarge the defect. A manufacturer-approved remover, careful localized abrasion, or professional correction is safer.
What if the repair is too high?
Leave the repair undisturbed until the product’s full cure time has passed, commonly 24-48 hours. Then use a tiny hard backing block and 3,000-grit paper with light pressure, checking after every few strokes.
A raised spot is usually recoverable. A sand-through that exposes basecoat or primer may require another clearcoat application or a body-shop blend.
What if the paint comes out during sanding?
The basecoat or clearcoat was probably not cured, the crater was contaminated, or the sanding pressure reached below the repair. Clean the cavity with a compatible panel cleaner, allow it to dry, and restart with thinner layers.
Do not keep sanding to make an unstable repair flat. More abrasion cannot compensate for weak adhesion.
How Much Time and Money Does Chip Repair Take?
A basic one-chip repair typically costs $20-$60 in materials and requires 30-60 minutes of active work, followed by 24-48 hours of cure time. Professional prices commonly range from $150-$300 for mobile spot repair and $500-$1,200 for a full-panel respray, although local labor and damage severity change the total.
| Scenario | DIY materials | Active labor | Waiting period | Practical choice |
|---|---|---|---|---|
| One shallow chip | $15-$35 | 20-40 minutes | 24 hours | OEM touch-up |
| Five metal chips | $25-$60 | 45-90 minutes | 24-48 hours | Touch-up bottle |
| Twenty shallow hood chips | $40-$80 | 1-3 hours | Product dependent | Blending kit |
| Rusted chip with stable metal | $35-$75 | 60-120 minutes | 48 hours | DIY only if corrosion is local |
| Peeling panel or broad rash | $500-$1,200 | Shop-controlled | 2-5 days | Respray or panel repair |
Do not apply wax, sealant, or ceramic coating until the touch-up system has cured and outgassed according to its instructions. A blanket 30-day waiting rule is not universal: some products specify shorter periods, while two-component or thicker solvent systems may need longer.
When Should You Stop DIY Repair?
Stop when the substrate is perforated, the corrosion extends beyond the visible crater, paint is lifting, or the repair needs a broad color blend. DIY touch-up is also a poor choice when the panel has a sharp crease, the finish is a complex tri-coat pearl, or the vehicle has a high-value restoration-quality finish.
An honest limitation matters here: a touch-up repair can prevent further exposure and make a small defect less visible, but it rarely becomes optically invisible at close range. Factory spray equipment controls atomization, film thickness, flash time, and blending far more precisely than a toothpick.
FAQ
Can I fix a paint chip without sanding?
Yes, most chips under 1/8 inch can be repaired without sanding by cleaning the crater, applying controlled color and clearcoat, and leaving the final surface slightly raised. A no-sanding finish is safer for beginners because it avoids removing surrounding factory clearcoat, although the repair may remain detectable at close range.
Should I use a paint pen or a small brush?
Use a paint pen only when its tip delivers a very small controlled dot and the paint matches your vehicle’s code. For most tiny chips, a 00 micro-applicator, toothpick, or fine detailing swab provides better control than the broad brush included in many bottles.
Can I repair a paint chip in cold weather?
Cold temperatures slow solvent evaporation and curing, so repair indoors only when ventilation, fire safety, and product instructions permit it. Most touch-up products work best around 60-80°F, but the label is authoritative. Condensation, high humidity, and a cold panel can cause clouding or poor adhesion.
How long does touch-up paint last on a car?
A properly cleaned, primed, and sealed repair can last for years on a stable panel, while paint applied over wax, rust, or moisture may fail within weeks or months. Durability depends on substrate preparation, coating compatibility, ultraviolet exposure, washing chemicals, and the thickness of the applied layers.
Can polishing remove a deep paint chip?
No. Polishing removes or refines microscopic clearcoat defects, but polishing compound cannot replace missing basecoat or primer. If a fingernail catches in a crater or the chip reveals a different layer, use color-matched touch-up paint or obtain a professional repair estimate.
Is touch-up paint worth it before selling a car?
Touch-up paint is worthwhile when it seals exposed metal and improves several small visible defects for $20-$80. It is not worthwhile when a rushed repair creates large blobs, mismatched color, or sanding halos. For a sale, clean and photograph the vehicle first, then repair only damage that can be controlled accurately.
The Bottom Line
To fix small paint chips on car paint, match the factory paint code, clean the crater completely, remove rust rather than covering it, and apply microscopic layers of primer, basecoat, and clearcoat. Leave wet-sanding optional, follow the product’s cure and recoat instructions, and choose professional repair when corrosion, peeling, dents, or broad damage exceeds a simple cosmetic touch-up.