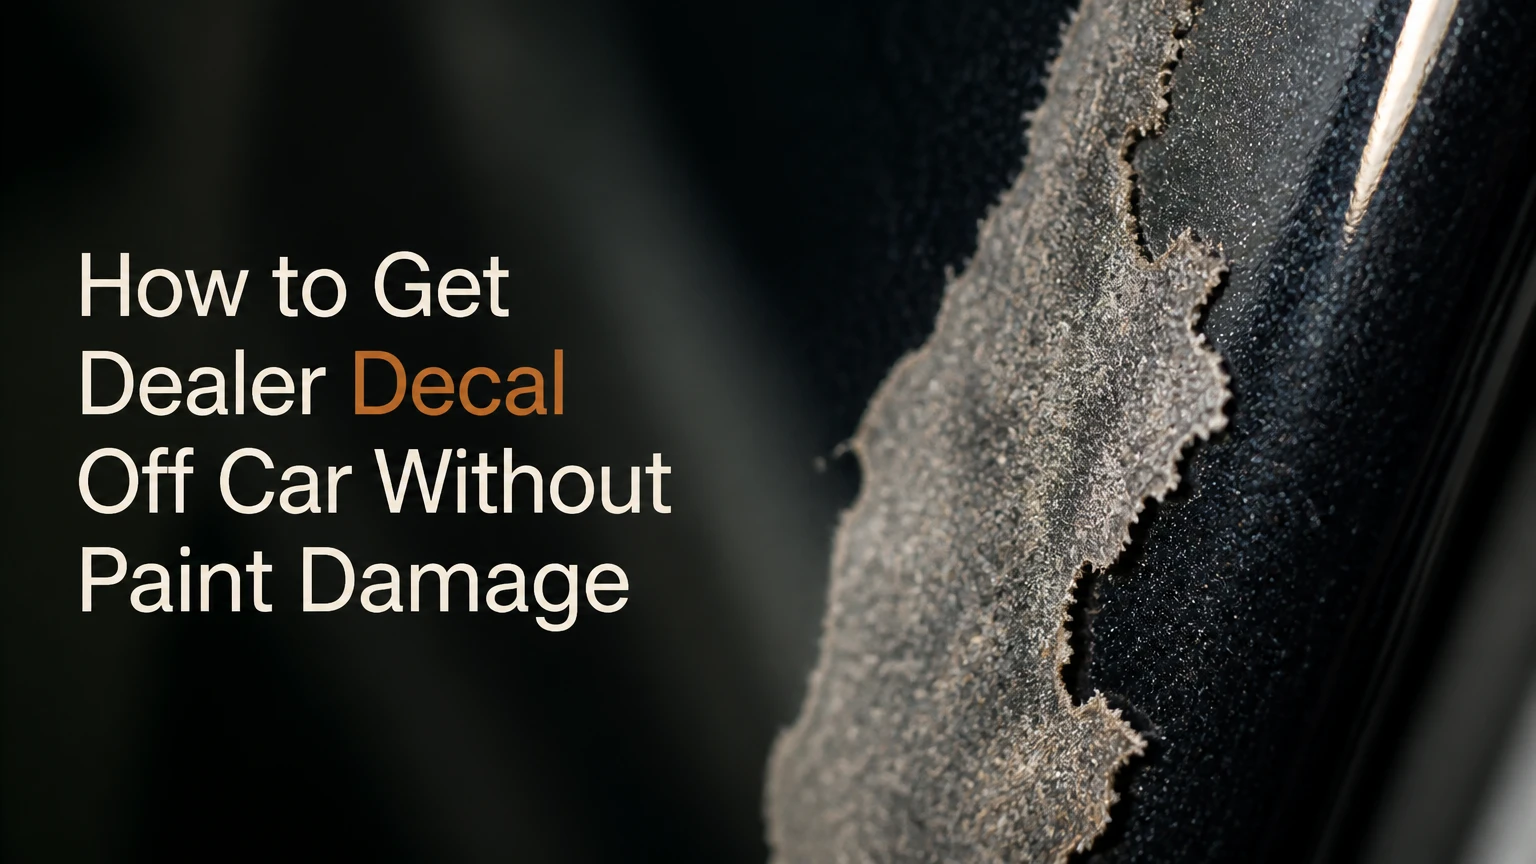
To get a dealer decal off a car, wash and dry the panel, soften the adhesive with controlled heat, then peel vinyl or cut badge tape with fishing line. Remove residue with automotive adhesive remover, clean the surface, lightly polish any outline, and protect the exposed clear coat. Most jobs take 10-30 minutes.
Key Facts at a Glance
A hair dryer is safer than a heat gun for most painted panels because it delivers lower, broader heat.
Thin vinyl decals usually take 5-15 minutes; raised emblems commonly take 15-30 minutes.
Plastic razor blades and nylon line reduce scratching risk compared with metal tools.
Automotive adhesive remover should dwell for about 2-3 minutes before wiping.
Acetone, lacquer thinner, brake cleaner, and metal razor blades can damage clear coat.
A remaining outline often indicates surrounding paint fade, not leftover adhesive.
How to Get Dealer Decal off Car: Identify the Surface
The safest removal method depends on the decal material and the surface beneath it. A thin vinyl sticker on painted metal peels differently from a raised ABS badge attached with acrylic foam tape, while glass, plastic trim, paint protection film, and ceramic coatings require separate precautions.
Inspect the part before applying heat. Look for flexible printed vinyl, a rigid three-dimensional emblem, chrome or metal lettering, a license-plate frame, or a decal on a window. Also check whether the part sits over a body crease, parking sensor, camera, washer nozzle, or trim seam.
| Decal type | Typical attachment | Typical removal time | Main risk |
|---|---|---|---|
| Thin vinyl sticker | Pressure-sensitive adhesive | 5-15 minutes | Brittle vinyl or adhesive smearing |
| Raised plastic emblem | Acrylic foam tape | 15-30 minutes | Scratching paint while cutting tape |
| Metal dealership badge | Foam tape, clips, or pins | 20-45 minutes | Paint damage or holes from pins |
| License-plate frame | Screws or bolts | 2-5 minutes | Lost hardware or damaged plate mount |
| Window decal | Vinyl adhesive on glass | 5-20 minutes | Scratching glass with grit or metal |
A badge may hide locating pins. Pins pass through holes in the body panel and cannot be removed by simply dissolving tape. A camera, sensor, or lighted emblem may also contain wiring, so inspect the vehicle-specific badge before pulling aggressively.
What should you check before removing a dealer badge?
Check the owner’s manual, a vehicle repair guide, or a model-specific service diagram when the emblem is large, illuminated, or located near electronics. A small trunk badge is usually tape-mounted, but some nameplates use alignment pins that leave permanent holes after removal.
Run a fingertip around the perimeter without pressing hard. A raised center, unusual gap, or visible rubber grommet can indicate pins or wiring. Photograph the badge and its position before removal if you may need to reinstall it.
Do not begin with a screwdriver. Mechanical force can chip the clear coat before you know how the emblem is attached.
What Tools Do You Need?
A basic dealer-decal removal kit costs about $0-$15 if you already own a hair dryer, microfiber towels, and dental floss. A more complete kit costs approximately $20-$45 and adds plastic razor blades, automotive adhesive remover, masking tape, and a polish.
| Tool or material | Quantity | Typical cost | Use |
|---|---|---|---|
| Hair dryer | 1 | $0-$30 | Softens vinyl and foam tape |
| Automotive adhesive remover | 1 bottle, 4-16 oz | $8-$18 | Dissolves remaining glue |
| Clean microfiber towels | 3-5 | $1-$4 each | Wiping solvent and residue |
| Plastic razor blades | 2-5 | $3-$8 | Lifting softened vinyl |
| Dental floss or fishing line | 30-60 cm | $0-$6 | Cutting emblem tape |
| Automotive soap and water | 1 wash solution | $1-$10 | Removes grit before removal |
| Cleaner polish or fine compound | 1 small bottle | $8-$20 | Reduces a faint decal outline |
| Wax or paint sealant | 1 application | $8-$25 | Protects exposed clear coat |
Use a dedicated automotive adhesive remover labeled for exterior painted surfaces. Goo Gone Automotive and 3M Adhesive Remover are common examples, but the product label remains the controlling instruction because formulas and approved surfaces vary.
A heat gun can work, but beginners usually have better control with a hair dryer. If a heat gun is necessary, use its low setting, keep it moving, and begin at least 15-20 cm from the panel.
Step 1: Wash and Dry the Area
Wash the decal and a surrounding area of at least 10 cm with automotive shampoo and clean water. Dry the panel completely with a clean microfiber towel, because grit trapped beneath a scraper or fingernail can create linear scratches across the clear coat.
Work in shade at approximately 21-32°C, or 70-90°F. Cold vinyl becomes stiff and tears easily, while a sun-heated panel can already be too hot for controlled adhesive removal. Avoid rain, freezing temperatures, and direct midday sunlight.
Mask nearby rubber trim, unpainted textured plastic, and porous badges with low-tack automotive masking tape. The tape does not make an unsafe solvent safe, but it limits accidental contact.
You will know the surface is ready when: the panel feels clean, dry, and close to ambient temperature.
Common mistake: rubbing a dusty decal before washing it. Dry wiping transfers abrasive particles across the paint.
Step 2: Warm a Thin Vinyl Sticker
Set a hair dryer to high heat and move it continuously across the sticker for 30-45 seconds. Keep the nozzle approximately 10-15 cm away and distribute the heat over the entire decal rather than concentrating on one letter or corner.
Test one edge with a fingernail or plastic razor blade. The vinyl should flex and begin to release when lifted. If the edge resists, apply another 15-20 seconds of moving heat instead of forcing the tool underneath.
A paint panel should remain comfortable to touch. Stop if the surface becomes too hot to hold your hand against, if trim begins to soften, or if the vinyl changes texture.
You will know the heat is sufficient when: the sticker edge lifts without cracking and the adhesive stretches slightly.
Common mistake: holding a heat gun stationary. Concentrated heat can blister clear coat, warp a plastic bumper, or soften surrounding trim.
Step 3: Peel the Vinyl at a Low Angle
Lift the softened vinyl with a fingernail or plastic blade, then pull it back slowly at roughly a 30-45-degree angle. Keep the peeling force parallel to the panel rather than pulling straight outward, because a low angle places less lifting stress on the paint and helps separate the adhesive evenly.
Rewarm the decal whenever it becomes stiff. For large stickers, peel in sections of 5-10 cm and keep the removed vinyl folded back on itself. Do not yank across a sharp body crease, where the adhesive may resist more strongly.
If the decal tears, stop pulling and warm the remaining section. Old ultraviolet-damaged vinyl often breaks into small flakes, so slow heat-assisted removal is safer than scraping the entire surface dry.
You will know the method is working when: the vinyl leaves a relatively continuous sheet and only a thin adhesive film remains.
Common mistake: using a metal razor to chase tiny fragments. A plastic blade or additional heat is slower but reduces the chance of a permanent scratch.
Step 4: Cut Foam Tape Behind a Raised Emblem
Warm a raised plastic or metal emblem for about 45-60 seconds with a moving hair dryer. Feed 30-60 cm of dental floss or 10-pound-test fishing line behind one upper corner, then use a gentle sawing motion to cut through the foam tape while pulling the line away from the paint.
Use a plastic trim wedge only to create the first small gap. Never twist the wedge against the painted panel. If the emblem has pins, clips, or wiring, the line may stop at the attachment point, which is a signal to inspect rather than apply more force.
Support the emblem with your free hand as the tape releases. A falling metal badge can strike the panel and leave a chip.
You will know the tape is cut when: the emblem separates with steady, light resistance and no paint fibers or body movement appear around its edge.
Common mistake: pulling the badge outward before cutting all foam tape. That action can lift clear coat or bend a thin body panel.
Step 5: Remove Adhesive Residue
Apply a small amount of automotive adhesive remover to a microfiber towel or directly to the residue if the product label permits direct application. Allow approximately 2-3 minutes of dwell time, then wipe with light pressure using a clean section of the towel.
Repeat short applications instead of scrubbing continuously. Adhesive remover works by softening the polymer, so aggressive dry friction often spreads the glue and increases the contaminated area.
Test the solvent first on an inconspicuous painted area. Avoid letting it run into door seals, textured plastic, fresh touch-up paint, or unsealed body seams. Keep the panel wet only for the labeled dwell period.
| Residue condition | Product approach | Dwell time | Removal action |
|---|---|---|---|
| Thin adhesive haze | Automotive adhesive remover | 1-2 minutes | Wipe with microfiber |
| Thick foam tape | Plastic blade plus remover | 2-5 minutes | Roll or lift softened tape |
| Sticky smear | Fresh solvent application | 2-3 minutes | Wipe with clean towel section |
| Dried adhesive spots | Repeated small applications | 3-5 minutes | Plastic blade at a shallow angle |
| Residue on glass | Glass-safe cleaner and scraper | 1-3 minutes | Use a lubricated glass tool |
WD-40 can loosen some pressure-sensitive adhesives, but it leaves an oily film and is less predictable than an automotive adhesive remover. If you use it in an emergency, apply a small amount to the towel, not the whole panel, and wash the area afterward.
You will know the residue is gone when: the surface feels smooth under a clean fingertip and no tacky transfer appears on a fresh towel.
Common mistake: using one saturated towel for the entire job. A contaminated towel redeposits softened glue.
Step 6: Clean, Polish, and Protect the Paint
Wipe the area with a 50:50 mixture of isopropyl alcohol and water only if the paint system and product guidance permit it. The IPA removes oily solvent residue, but it does not restore faded paint or remove deeper scratches.
Apply a small amount of automotive cleaner polish or fine finishing polish by hand with a foam applicator. Use moderate pressure for 30-60 seconds, then wipe the residue away and inspect the panel in indirect light.
Finish with wax or a compatible paint sealant after the surface is clean. Ceramic-coated vehicles require extra care because solvent, polishing, and abrasion can reduce or remove coating performance over the treated area.
You will know the restoration is complete when: the panel is smooth, the outline is reduced, and the protected surface sheets or beads water consistently.
Common mistake: using a medium cutting compound immediately. Stronger abrasives can create a visible bright spot or remove more clear coat than the decal itself required.
Which Removal Method Fits Each Decal?
The best method is heat plus controlled peeling for thin vinyl, heat plus fishing line for raised emblems, and screw removal for license-plate frames. An eraser wheel is a specialist option for stubborn residue, not the safest first choice for a novice working on original paint.
| Method | Best use | Typical time | Skill and risk |
|---|---|---|---|
| Hair dryer and fingernail | Thin vinyl on paint | 5-15 minutes | Low skill, low risk |
| Hair dryer and plastic blade | Brittle vinyl fragments | 10-25 minutes | Moderate control required |
| Heat and fishing line | Raised foam-tape badge | 15-30 minutes | Moderate, low scratch risk |
| Adhesive remover and towel | Glue residue | 5-15 minutes | Low, solvent compatibility required |
| Rubber eraser wheel | Large baked-on vinyl | 5-15 minutes | High, clear-coat burn risk |
| Professional trim tools | Pins, wiring, PPF, delicate trim | 20-60 minutes | Best for uncertain attachments |
A rubber adhesive eraser wheel mounted to a drill removes old vinyl and foam rapidly, but it can generate heat and friction faster than a clear coat can tolerate. Use low speed, light pressure, short passes, and frequent cooling if you already have experience with paint correction.
An eraser wheel is a poor choice for a small fresh decal, a thin bumper cover, soft repainted panels, or paint with unknown history. The time saved rarely justifies the risk on an easy sticker.
Is the decal on glass, plastic, or paint protection film?
Glass tolerates more mechanical scraping than clear coat, but the glass must be lubricated and free of grit before using a glass scraper. Use a new blade designed for glass, keep it nearly flat, and avoid rubber seals and ceramic tint film.
Paint protection film, or PPF, needs a different approach. Heat can help release a decal from PPF, but aggressive scraping, strong solvents, and adhesive eraser wheels can stain, stretch, or lift the film. Confirm whether the dealership sticker is on the film, and ask an installer to remove it if the film edge is nearby.
Textured plastic trim can permanently absorb solvent or show a shiny rubbed patch. Use a product specifically approved for that plastic, mask the boundary, and avoid polishing textured surfaces.
How Much Does Dealer Decal Removal Cost?
DIY removal typically costs $0-$45 and takes 10-30 minutes, while a professional detailer commonly charges about $30-$100 for a simple sticker or $75-$200 for a difficult badge, depending on access, paint condition, and local labor rates.
| Job type | DIY materials | Typical DIY time | Typical professional price |
|---|---|---|---|
| Fresh vinyl sticker | $0-$15 | 5-15 minutes | $25-$60 |
| Aged vinyl sticker | $10-$35 | 15-40 minutes | $50-$125 |
| Raised plastic badge | $5-$25 | 15-30 minutes | $50-$125 |
| Metal badge with pins | $5-$30 | 20-45 minutes | $75-$200 |
| Sticker plus polish | $10-$45 | 20-45 minutes | $75-$175 |
Prices are typical working ranges, not fixed industry rates. A detailer may charge more when paint correction, PPF inspection, adhesive buildup, or multiple dealership logos are involved.
Professional removal becomes more economical when the vehicle has expensive original paint, a ceramic coating, fresh repaint work, or a large brittle decal. One mistake with a metal tool can cost more to repair than the original service.
What Mistakes Damage Automotive Paint?
Metal blades, excessive heat, harsh solvents, and dry abrasive rubbing cause most dealer-decal removal damage. Clear coat can scratch or soften before the damage is obvious, particularly on repainted panels or plastic bumpers that retain heat differently from steel.
Avoid these failure modes:
- Metal scraper gouges the clear coat: Stop immediately, clean the area, and assess whether the scratch catches a fingernail. Deep scratches may require professional refinishing.
- Heat gun blisters or hazes paint: Move the vehicle into shade and let the panel cool naturally. Do not spray cold water onto a hot panel.
- Acetone or nail-polish remover dulls the finish: Wipe the chemical away, wash the area, and stop polishing until the damage is assessed.
- Old vinyl breaks into flakes: Rewarm small sections and use an approved adhesive remover. Do not dry-scrape the entire decal.
- Glue smears across the panel: Apply less product, allow it to dwell, and switch to a clean towel section.
- A ghost outline remains: Compare the outline with nearby paint. If the surface is smooth, the difference is likely UV fading rather than residue.
Acetone, lacquer thinner, paint thinner, and brake cleaner are poor choices for factory clear coat. These chemicals may soften, haze, stain, or strip coatings, and a successful test on one vehicle does not make them safe on another vehicle’s repaired paint.
A fingernail test provides a useful diagnostic. Adhesive residue feels raised or tacky; UV ghosting feels completely smooth and remains visible after solvent cleaning.
Why Does a Dealer Decal Leave a Ghost Outline?
A ghost outline appears when paint around the decal fades or oxidizes while the covered paint retains a different color and gloss. Cleaning cannot reverse that contrast because the difference is in the finish, not on top of it.
Use a fine polish by hand first. If the outline remains, a trained detailer may use a dual-action polisher and a measured finishing or medium-cut compound, but paint correction removes clear coat and cannot safely blend every severe color mismatch.
Older vehicles may have permanent contrast because the surrounding pigment has weathered for years. White paint can yellow unevenly, red paint can fade noticeably, and clear coat failure can create a boundary that polishing will not repair.
Do not chase a ghost outline with repeated aggressive polishing. The decal may be removable while the underlying color difference is permanent.
Can You Remove a Dealer Decal From a Leased Car?
You can usually remove a removable dealer decal from a leased vehicle, but inspect the lease return requirements before removing a badge, plate frame, or factory identification mark. A lease inspection may distinguish removable advertising from original equipment or damage caused during removal.
Photograph the vehicle before starting. Keep screws, clips, and the original badge if the part may be required at return, especially when the emblem includes a model designation or factory trim identifier.
A dealer’s advertising sticker is usually cosmetic, but a badge attached with pins may leave holes that exceed normal wear standards. Ask the leasing company or dealer for written guidance when the attachment method is uncertain.
When Should You Hire a Professional?
Hire a professional detailer when the decal is on PPF, the paint has been repainted, the emblem may contain wiring, the vinyl is severely brittle, or the panel becomes hot and difficult to control. Professional help is also appropriate when the decal sits beside a sensor, camera, rubber seal, or delicate textured trim.
A detailer should identify the surface, test the solvent, and explain whether polishing will remove clear coat. Ask for a removal-only estimate and a separate price for paint correction, because those are different services.
A professional cannot guarantee invisible results on neglected paint. UV fading, clear-coat failure, pin holes, and prior bodywork may remain after the adhesive is removed.
How Can You Fix a Failed Removal Attempt?
Fix a failed attempt by stopping the active damage, cooling the panel, cleaning away solvent, and identifying whether the problem is residue, scratching, heat damage, or paint fading. Each condition needs a different correction, and additional force can make the original defect permanent.
For smeared adhesive, reapply a compatible remover for 2-3 minutes and wipe with a clean towel. For light surface marring, use a fine polish by hand. For a scratch that catches a fingernail, peeling clear coat, blistering, or exposed metal, stop DIY work and obtain a paint-repair assessment.
If the decal tore into fragments, do not wet-scrub the dry pieces across the panel. Warm a small area, lift the softened material with plastic, and repeat until the surface is clear.
Frequently Asked Questions
Will a dealer sticker damage car paint if left on?
A dealer sticker can protect the paint underneath while ultraviolet exposure fades the surrounding finish, creating a visible outline after removal. The adhesive itself may also harden over time and become more difficult to clean. A properly applied decal usually does not damage healthy clear coat immediately, but prolonged exposure increases removal difficulty.
Is Goo Gone safe for a car’s clear coat?
Goo Gone Automotive is formulated for vehicle-related adhesive removal, but compatibility still depends on the paint, coating, and surrounding trim. Test a hidden area, follow the label, limit dwell time, and wash the panel afterward. Do not assume household Goo Gone has identical surface instructions to the automotive formula.
Can dental floss scratch the paint?
Clean dental floss or smooth fishing line normally does not scratch paint because it cuts through the foam tape without dragging a hard edge across the panel. Grit trapped behind the emblem can still mark the surface, so wash the area first and pull the line away from the paint rather than pressing it into the panel.
How do you remove a dealership sticker from a car window?
Warm the window decal with a hair dryer, apply glass cleaner or soapy water, and lift it with a plastic scraper or a new glass-safe razor held nearly flat. Keep the surface lubricated and avoid the rubber seal. Check for window tint, because a blade can scratch or lift tint even when the glass remains unharmed.
Does removing a dealer badge reduce resale value?
Removing an advertising badge generally does not reduce resale value, while removing a factory emblem can change the vehicle’s original appearance. Reversible tape-mounted badges are easier to justify than badges with locating pins or wiring. Keep removed parts and hardware if the vehicle is leased or may be sold to a brand-focused buyer.
What is the safest first step for an old decal?
The safest first step for an old decal is a small heat test with a hair dryer on a clean, shaded panel. Warm a corner for 30-45 seconds, then test whether the vinyl flexes. If it cracks, flakes, or reveals damaged paint, stop and use a controlled adhesive-removal process or consult a detailer.
The Bottom Line
The safest answer to how to get dealer decal off car is controlled heat, low-angle peeling, plastic tools, and an automotive adhesive remover used with short dwell times. Identify whether the item is vinyl, foam-tape badge, metal emblem, glass decal, or PPF first, because the attachment method determines the risk.
Wash the panel, keep the surface cool enough to touch, and never substitute metal blades or aggressive household solvents for the correct tool. Finish with light polishing only when necessary, then protect the exposed paint with wax or sealant.