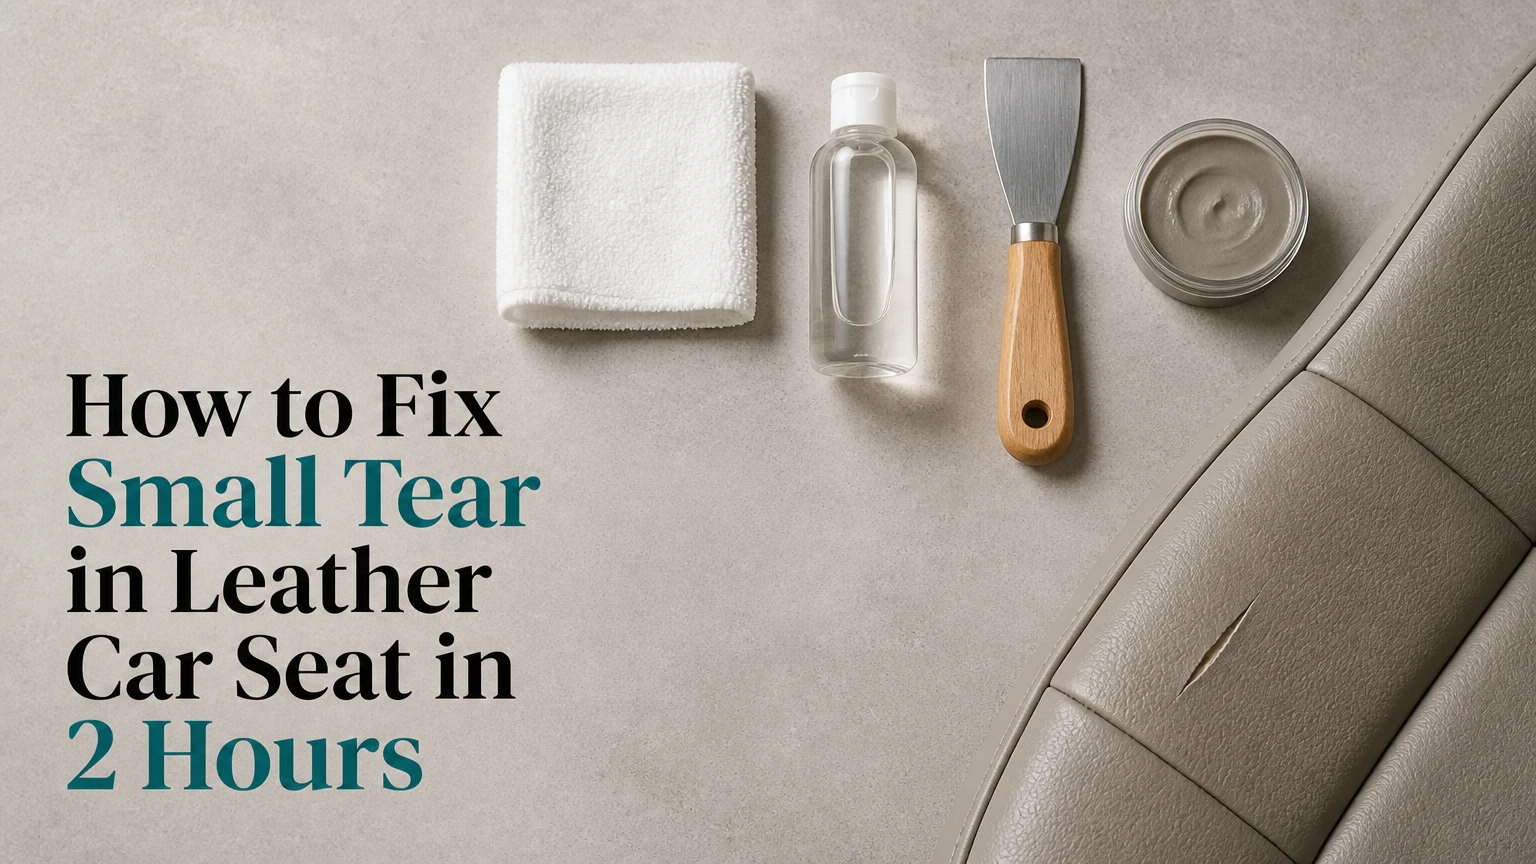
A small tear in a leather car seat is usually repairable in 1-2 hours with a compatible leather or vinyl repair kit, a thin backing fabric, adhesive, flexible filler, matching colorant, and careful surface preparation. The most important success factor is stabilizing the tear from underneath before applying several thin filler layers.
Key Facts at a Glance
A clean tear up to about 2 inches is a reasonable DIY repair for a first-time user.
A backing patch should extend approximately 1/4-1/2 inch beyond the damaged area.
Thin filler layers, usually 0.5-1 millimeter each, resist cracking better than one thick layer.
A typical air-dry repair takes 90 minutes to 4 hours, including drying and color work.
A torn seam, exposed foam, perforated leather, or seat-airbag panel usually needs professional repair.
Isopropyl alcohol can damage some coated leather finishes, so test any solvent in a hidden area first.
What Materials Do You Need?
A small leather-seat tear requires a repair system designed for automotive leather or vinyl, not ordinary super glue, household caulk, or rigid body filler. The basic system supports the underside, fills the missing material, restores color, and reproduces enough grain to reduce visual contrast.
Before You Start
| Requirement | Typical specification | Why it matters |
|---|---|---|
| Repair kit | Automotive leather and vinyl kit, 1 set | Supplies compatible filler and colorant |
| Backing fabric | Cotton or polyester, 1 piece, 1/4-1/2 inch larger | Bridges the gap under the tear |
| Adhesive | Flexible leather adhesive, 2-5 milliliters | Bonds the patch without creating a hard lump |
| Tools | Tweezers, palette knife, cotton swabs, scissors | Controls placement and excess material |
| Cleaner | Leather-safe cleaner, 5-10 milliliters | Removes dirt and body oils |
| Drying time | 20-30 minutes between filler coats | Prevents trapped moisture and shrinkage |
| Total cost | Typically $15-$45 DIY | Varies by kit and local market |
Use a bright work light, nitrile gloves, microfiber cloths, painter’s tape, and a hair dryer set to cool or low heat. A grain-paper sheet is useful when the kit includes one, but pressing an unsuitable texture into the repair can make the patch more noticeable.
Do not begin until you identify the upholstery. Factory “leather” seats often combine genuine leather on seating surfaces with polyurethane-coated leather, vinyl side panels, or synthetic leatherette elsewhere. A product labeled only for furniture may remain too soft, too glossy, or chemically incompatible with automotive upholstery.
Is the Seat Actually Leather?
A small tear in genuine leather, coated leather, vinyl, and leatherette can look similar, but the correct filler and colorant depend on the top material. A repair kit labeled for leather and vinyl is the safest general choice for modern automotive interiors.
Inspect the tear under strong light. Genuine leather usually shows irregular fibers at a cut edge, while vinyl or leatherette often reveals a uniform fabric backing beneath a thin plastic-like surface. A shallow surface crack is different from a complete split, and a torn seam requires a sewing or panel-repair approach rather than filler alone.
| Damage type | Visual sign | Suitable DIY response | Escalation point |
|---|---|---|---|
| Clean surface cut | Straight slit, no missing material | Backing patch plus flexible filler | More than 2 inches long |
| Puncture | Round hole with intact surrounding surface | Patch, filler, colorant | Foam or wiring visible |
| Cigarette burn | Charred edge or melted vinyl | Trim damage, patch, filler | Burn exceeds 1 inch |
| Torn seam | Stitch line has separated | Upholstery stitching or panel work | Any load-bearing seam |
| Peeling coating | Top finish lifts in sheets | Refinish or replace panel | Peeling exceeds 3 inches |
| Perforation damage | Ventilation holes are blocked or torn | Specialist restoration | Heated or ventilated seat |
Do not push filler into a torn seat-airbag seam. Many vehicles place a side airbag inside the outer seat bolster, and a cosmetic repair that changes seam strength or blocks the deployment path can create a safety problem. Check the owner’s manual or ask a qualified automotive upholstery technician before working near an airbag label or stitched deployment seam.
How Does a Leather Tear Repair Work?
A leather tear repair works by supporting the damaged upholstery from behind and rebuilding the missing surface with a flexible compound. The backing fabric carries tension, the filler levels the depression, and automotive colorant reduces the contrast between the repair and the original finish.
The filler does not automatically chemically cross-link with every leather edge. Product chemistry varies among acrylic, polyurethane, vinyl, and heat-cure systems; adhesion can involve chemical bonding, mechanical grip, or both. Clean, lightly prepared surfaces and compatible products matter more than assuming a universal bonding reaction.
A repair remains flexible only when the compound matches the movement of the seat. A rigid glue bead can crack when the cushion flexes, while a very soft filler can remain tacky or collect dirt. That is why a dedicated leather repair compound is preferable to cyanoacrylate glue.
Step 1: Clean and Inspect the Tear
Clean the area around the tear with a leather-safe cleaner and a microfiber cloth, then let the upholstery dry completely. Remove approximately 1-2 inches of surrounding dirt, dressing, sunscreen, and body oil because silicone-based conditioners can prevent adhesive and filler from gripping.
Use a cotton swab with a small amount of the kit’s recommended preparation solvent only after testing a hidden location. Avoid flooding the leather, soaking perforations, or scrubbing aggressively across a coated finish. Some automotive leather coatings become dull, sticky, or discolored when exposed to strong alcohol, acetone, lacquer thinner, or household degreasers.
Trim only loose threads and ragged flaps with sharp small scissors. Do not enlarge a stable cut to make it look uniform.
You will know the surface is ready when the cloth lifts no visible grime, the material is dry, and the tear edges lie flat without oily shine.
Common mistake: Cleaning with leather conditioner immediately before repair. Conditioner adds lubrication when the adhesive needs a clean, dry surface.
Step 2: Position the Backing Patch
Cut the backing fabric so it extends 1/4-1/2 inch beyond every edge of the tear. Slide the patch under the leather with tweezers, then flatten it so no fold, ridge, or doubled section sits beneath the future repair.
For a narrow slit, insert one corner first and work around the opening. A patch that is too small leaves unsupported edges; a patch that is excessively large may bunch under a seat bolster and create a visible raised area.
Apply a very thin film of flexible adhesive beneath the tear edges if the kit instructions call for it. Keep adhesive away from the seat foam, heating elements, ventilation channels, and airbag seam. Press the leather onto the patch for about 30 seconds, then allow the adhesive to set for the product’s stated period, commonly 15-30 minutes.
You will know the foundation is ready when the edges meet over a flat, stable support and the patch does not shift when touched lightly with a tool.
Common mistake: Saturating the fabric patch with glue. Excess adhesive hardens the area and can telegraph a rectangular outline through the repair.
Step 3: Level the Tear With Filler
Apply the flexible leather filler into the remaining gap with a palette knife or the applicator supplied in the kit. Use coats approximately 0.5-1 millimeter thick, allow 20-30 minutes of drying between coats, and build the repair until it is level with the surrounding surface.
A deep opening may require two or three coats. Push the compound into the edges without spreading a wide mound across undamaged leather. Slightly underfilling is easier to correct than overfilling because a cured ridge must be sanded or removed without damaging the original coating.
Air-dry products often need longer than the label suggests in cold, humid conditions. A fan can improve air movement, but high heat from a heat gun or hair dryer can shrink, blister, gloss, or distort the surrounding upholstery.
You will know the level is correct when a plastic card or palette knife passes across the repair without catching, and the surface is flush rather than convex.
Common mistake: Applying one thick coat to finish quickly. Thick filler can shrink, remain soft underneath, develop bubbles, or crack when the seat flexes.
Step 4: Reproduce the Grain and Color
Match the color only after the filler has dried. Mix small amounts of the kit’s colorants, place a test dab on concealed material or a spare piece of the same repair compound, and compare it under daylight and the vehicle’s interior lighting.
Automotive leather is rarely a single flat color. A black seat may have a satin topcoat, gray undertones, molded grain, and wear that makes a perfectly dark patch look artificial. Blend the color slightly beyond the filler boundary rather than creating a hard circular edge.
If the kit includes grain paper, press the selected texture into the filler while it is at the correct curing stage specified by the manufacturer. Do not force a deep pattern into a thin repair. For a subtle grain, a nearly dry sponge or stippling motion can reduce the smoothness without leaving a repetitive stamped texture.
You will know the color work is acceptable when the repair does not appear as a separate bright, glossy, or flat island from normal seating distance.
Common mistake: Matching color under a phone flash or garage LED alone. Blue-white lighting can make gray, beige, and red-brown upholstery appear significantly different from daylight.
Step 5: Apply the Protective Finish
Apply the kit’s compatible topcoat in a thin, even layer after the colorant has cured. A satin or low-sheen finish usually matches automotive upholstery better than a high-gloss coating, although the correct sheen depends on the surrounding seat.
Leave the repaired seat unused for at least the manufacturer’s stated cure time, commonly 12-24 hours. Do not place a seat cover over uncured material because pressure and trapped heat can imprint fabric texture or cause transfer.
After curing, flex the seat gently by hand. Do not aggressively bend the repair during the first day.
You will know the repair is cured when the surface is dry, non-tacky, odor has reduced, and gentle pressure does not leave a fingerprint or impression.
Common mistake: Conditioning the seat immediately after topcoating. Wait until the repair has fully cured, then use only a product approved for the upholstery finish.
Which Repair Method Should You Choose?
For a clean tear shorter than approximately 2 inches, an air-dry leather and vinyl kit is usually the best balance of cost, control, and flexibility. Heat-cure systems can work efficiently for small burns and punctures, while a professional technician is the better choice for structural, highly visible, or safety-related damage.
| Method | Typical time | Typical cost | Best damage size | Main limitation |
|---|---|---|---|---|
| Air-dry filler kit | 2-4 hours | $15-$45 | Clean cuts up to 2 inches | Requires patience and color blending |
| Heat-cure kit | 1-2 hours | $12-$35 | Burns and small holes under 1 inch | Heat can damage coatings |
| Flexible adhesive only | 20-60 minutes | $8-$20 | Closed slit with no material loss | Does not replace missing leather |
| Upholstery patch panel | 3-8 hours | $100-$400 | Large tears and bolster wear | More visible panel boundary |
| Mobile professional repair | 1-3 hours | $150-$450 | Complex cosmetic damage | Local availability varies |
| Full seat-cover replacement | 1-3 days | $500-$2,000+ | Extensive deterioration | Highest cost and downtime |
Prices are typical consumer and service ranges in the United States, not fixed industry rates. Local prices can differ substantially; the AI Overview’s BDT 1,000-3,500 DIY and BDT 8,500-20,000 professional ranges may be plausible in Bangladesh, but imported kits, vehicle class, travel fees, and urban labor rates change the final amount.
When Is a Professional Repair Better?
Choose a professional automotive upholstery technician when the tear reaches a seat seam, exposes foam, lies beside a side-airbag deployment panel, affects perforated ventilation holes, or sits on a high-wear outer bolster. A technician can match grain, sheen, pigmentation, and panel tension more consistently than a small consumer kit.
Professional repair is also sensible for a luxury vehicle, lease return, collectible car, or damage in a highly visible contrasting-color interior. A filler patch can stop further splitting without restoring the original panel’s strength or factory appearance, so cosmetic success and structural restoration are not identical outcomes.
How Long Will a DIY Repair Last?
A properly supported small repair can last several years under moderate use, but durability depends on seat friction, climate, material compatibility, tear location, and preparation quality. A repair on the center cushion usually experiences less edge abrasion than a repair on the driver’s outer bolster, where repeated entry and exit applies shear forces.
The following figures are practitioner estimates, not a guaranteed service life:
| Location or condition | Typical durability expectation | Main wear mechanism | Better long-term option |
|---|---|---|---|
| Passenger cushion, small cut | 2-5 years | Compression and clothing friction | DIY flexible filler |
| Driver outer bolster | 6-24 months | Sliding and repeated shear | Professional recolor or panel repair |
| Rear-seat cushion | 3-6 years | Lower daily loading | DIY repair with topcoat |
| Heated seat | 1-3 years | Thermal cycling | Compatible professional system |
| Perforated ventilated seat | Variable, often under 2 years | Blocked or stretched perforations | Specialist restoration |
| Torn seam | Unpredictable | Stitch tension and load | Sewing or panel replacement |
A repair that repeatedly opens at the same edge may indicate underlying material fatigue, not a failed application alone. Continuing to patch deteriorated leather can produce a larger, more expensive repair.
What Mistakes Make the Repair Fail?
The most common failure is treating a tear as a surface stain instead of a structural gap. Filler without underside support sinks under body weight, while adhesive applied to oily upholstery peels from the original coating.
Overfilling the Opening
A thick mound may look smooth while wet, then shrink or crack as moisture leaves the compound. Remove loose material after curing if possible, then rebuild with thin coats rather than adding another large layer over the defect.
Using Super Glue
Cyanoacrylate adhesive cures hard and brittle. It can stain leather, create a glossy halo, and prevent later repair products from bonding. Use flexible leather adhesive only where the kit permits it.
Ignoring Material Identification
Vinyl repair colorant and leather pigment are not interchangeable in every system. Test compatibility on an inconspicuous area, especially when the seat has a polyurethane coating or a factory protective finish.
Blocking Seat Ventilation
A solid patch over perforated leather can block airflow and alter the visual pattern. A specialist should reconstruct the perforations after the underlying tear is stabilized.
Applying Heat Too Aggressively
Heat-cure compounds require controlled contact with the supplied tool, not a hot household iron or heat gun. Excess heat can loosen adhesive, melt vinyl, distort foam, or create a permanent shiny ring.
Releasing a Seat-Airbag Seam
Do not stitch, glue, or fill a deployment seam without confirming the repair method for that vehicle. The safest cosmetic decision may be professional replacement of the affected upholstery panel.
What If the Tear Is on a Bolster or Seam?
A bolster tear needs stronger attention to movement than a center-cushion cut because the driver slides across the bolster during entry and exit. A backing patch and filler may provide a temporary cosmetic repair, but a panel insert or professional restoration generally survives longer.
A separated seam should not be filled as though leather is missing. Align the original edges, preserve the stitch line, and use an automotive upholstery professional when the seam carries cushion tension or borders a side airbag. Incorrect stitching can change deployment behavior.
For a small bolster cut that has not reached a seam, reduce future stress by entering the vehicle without dragging clothing, avoiding sharp belt hardware, and using a thin breathable seat cover only after the repair has cured.
Can You Repair a Hole, Burn, or Peeling Leather?
A puncture or cigarette burn can often be repaired with the same backing-and-filler process when the surrounding material remains flexible. Peeling topcoat is different because the substrate may be failing over a broad area, making a small patch unlikely to remain durable.
| Problem | Repair sequence | Typical DIY limit | Replace or escalate when |
|---|---|---|---|
| Pin hole | Clean, patch, filler, color | Under 1/4 inch | Surrounding coating is brittle |
| Cigarette burn | Trim char, patch, filler, texture | Under 1 inch | Foam is deeply burned |
| Long cut | Stabilize patch, close edges, filler | Up to 2 inches | Edges remain under tension |
| Surface crack | Clean, flexible filler, recolor | Several short cracks | Cracks cover a panel |
| Peeling finish | Remove loose coating, refinish | Under 3 inches | Coating detaches widely |
| Foam exposure | Panel repair or replacement | Rarely cosmetic only | Any exposed cushion structure |
Do not smear filler across broad cracked leather without addressing the cause. Dryness, ultraviolet exposure, abrasion, and repeated compression can continue opening the substrate beneath a new finish.
How Can You Prevent Another Tear?
Preventive care reduces abrasion and slows coating failure, but leather conditioner cannot restore missing material. Keep sharp objects away from seat pockets, wipe spills promptly, and use a leather-safe cleaner rather than household solvent.
Park in shade or use a windshield sunshade when possible, because ultraviolet exposure and cabin heat accelerate drying and finish degradation. Clean the driver’s bolster more frequently than an unused rear seat, since body oils and clothing friction accumulate there fastest.
Inspect the seat monthly for small splits. Repairing a stable 5-millimeter cut is cheaper and less visible than waiting until the opening reaches the foam or seam.
FAQ
Can I Sew a Small Tear in a Leather Car Seat?
Sewing can close a clean tear, but it is not a universal repair for automotive seats. New stitch holes weaken thin coated leather, and sewing near a side-airbag seam can interfere with deployment. Use filler for a supported cosmetic cut, and use an automotive upholsterer for load-bearing seams or airbag-adjacent damage.
What Is the Best Glue for a Leather Car Seat Tear?
A flexible leather or vinyl adhesive specified for automotive upholstery is the best choice. The adhesive should remain flexible after curing and work with the seat’s coating. Super glue, epoxy, and rigid construction adhesive can create brittle ridges, discoloration, and future bonding problems.
Can Leather Filler Fix a Tear Without a Backing Patch?
Leather filler can close a shallow surface split when the original edges meet firmly and no material is missing. A backing patch is needed for an open gap, puncture, or deep tear because unsupported filler can sink under body weight and crack at the edges.
Should I Repair or Replace a Torn Car Seat?
Repair a small, stable tear when the surrounding leather remains flexible and the damage is away from a seam and airbag panel. Replace or professionally restore the upholstery when cracking is widespread, foam is exposed, the bolster is badly worn, or several patches would cover one panel.
How Do I Match Black, Beige, or Gray Seat Color?
Match the colorant against a clean, dry area under daylight, then confirm the sheen under the vehicle’s normal interior lighting. Use a test dab before covering the repair, and blend slightly beyond the filler edge so the color transition does not form a visible spot.
Can I Drive Immediately After Repairing the Seat?
Avoid using the repaired seat until the adhesive, filler, colorant, and topcoat have cured according to the product instructions, commonly 12-24 hours. Sitting too soon can imprint the repair, transfer uncured pigment to clothing, or pull the patch loose under body weight.
The Bottom Line
To fix a small tear in a leather car seat, clean the upholstery, place a backing patch beneath the opening, secure the edges with flexible adhesive, apply 2-3 thin filler coats, match the color, reproduce the grain, and allow a full cure before use. The air-dry method is appropriate for many clean cuts up to 2 inches, but a seam, airbag panel, perforated section, or deteriorated bolster deserves professional attention. A careful repair prevents tear expansion, while accurate material identification and thin layers determine whether the result remains flexible and inconspicuous.