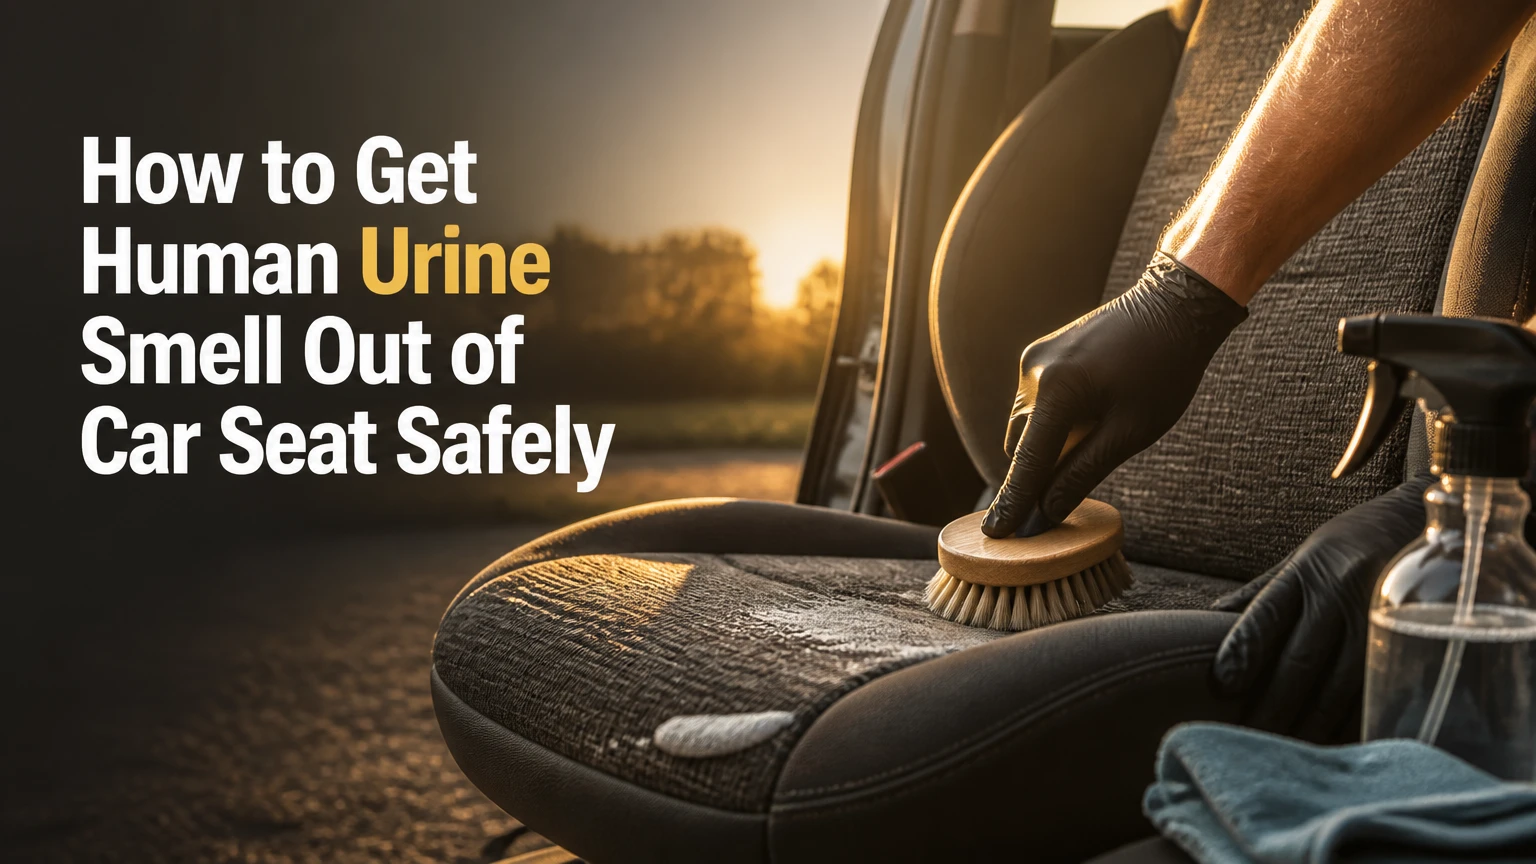
To get human urine smell out of a car seat, blot the liquid, apply a compatible enzyme upholstery cleaner deep enough to reach the foam, extract the residue, and dry the seat completely. Fabric usually needs the deepest treatment; leather, vinyl, perforations, seat belts, and powered-seat components require less liquid and more material-specific caution.
Key facts at a glance
A urine odor returns when dissolved residue remains in upholstery foam, seams, carpet, or nearby absorbent trim.
Enzyme upholstery cleaners are the best first choice for fabric because they target organic residues rather than masking the smell.
The cleaner should reach the contaminated depth, but soaking a powered, heated, or ventilated seat can damage wiring and electronics.
Never mix bleach with urine, ammonia cleaners, vinegar, hydrogen peroxide, or other chemicals.
A car seat may require 12-48 hours of drying, depending on foam thickness, weather, airflow, and extraction strength.
If odor remains after two complete treatments, the contamination may be in the seat belt, carpet under the seat, padding, or ventilation system.
How to Get Human Urine Smell Out of Car Seat
The most dependable sequence is blotting, controlled enzyme treatment, extraction, and complete drying. Start with an upholstery-safe enzyme product for cloth, use a leather-safe product on finished leather, and avoid applying a large volume of liquid near seat controls, airbags, heating elements, or ventilation fans.
What causes the urine smell to return?
Human urine odor develops from several residues, including urea, salts, creatinine, and uric compounds. Microbial activity can convert urea into ammonia-like compounds, while dried salts and organic residue remain in the seat material and become noticeable again when humidity dissolves or mobilizes them.
The commonly repeated claim that uric acid crystals are completely insoluble and permanently bonded to fibers is too absolute. Dried urine residue can be difficult to remove from foam, but water, detergent chemistry, extraction, and repeated treatment can mobilize much of it. The practical problem is depth, not an impossible chemical bond.
Odor can also come from a location that was never treated. A wet seat may transfer urine into the seat belt webbing, carpet edge, center-console trim, child-seat padding, or the floor beneath the seat. Mapping the smell with the car cold and warm helps identify the actual source.
What should you prepare before cleaning?
Prepare 30-90 minutes for active cleaning, 12-48 hours for drying, and approximately $10-$35 for a suitable cleaner and disposable supplies. You need absorbent towels, gloves, a soft brush, an upholstery-safe enzyme cleaner, and preferably a wet-dry vacuum or portable extractor.
| Item | Typical quantity or specification | Purpose |
|---|---|---|
| Microfiber or paper towels | 8-15 towels | Blotting fresh liquid and residue |
| Nitrile gloves | 1 pair | Skin protection during cleanup |
| Enzyme upholstery cleaner | 250-750 milliliters | Breaking down organic odor residue |
| Wet-dry vacuum | 1 unit, extraction mode | Removing cleaner and dissolved residue |
| Soft upholstery brush | 1 brush, nylon bristles | Agitating cloth without damaging fibers |
| Fan | 1 household or air-mover fan | Moving air across the wet seat |
| Plastic sheeting | Optional, 1 piece | Keeping an enzyme treatment damp when label permits |
| Leather conditioner | 30-60 milliliters | Replenishing finish-safe conditioner after drying |
Read the cleaner’s label before use. Some biological products need several hours of contact, while others specify a shorter dwell period. Do not assume that a product labeled for pet urine is automatically suitable for leather, alcantara, vinyl, or automotive foam.
Step 1: Blot the fresh urine
Press dry towels vertically into the affected seat for 30-60 seconds at a time, replacing saturated towels until they come away nearly dry. Do not rub, because rubbing spreads contamination across a larger surface and can drive liquid farther into the cushion.
For a fresh spill, begin with the center and work outward. Pressing from the outer edge toward the center can spread the wet boundary. If the urine has reached a seam, open the seam slightly with your fingers and blot along the stitching rather than forcing liquid through it.
You will know this step worked when a fresh towel remains mostly dry after firm pressure.
The common mistake is stopping after one towel, even though the seat foam still feels cool or damp.
Blotting alone rarely removes odor from a padded seat. It reduces the load that the cleaner must process and limits the amount of liquid that enters the foam.
Step 2: Apply the right cleaner
Apply an upholstery enzyme cleaner evenly across the contaminated area and slightly beyond its visible boundary. Use enough product to reach the same depth as the urine, but do not flood a seat containing electrical controls, seat heaters, fans, occupancy sensors, or side-airbag components.
A useful starting quantity for cloth is approximately 100-250 milliliters for a palm-sized area, adjusted for absorbency and the product label. A large cushion may require 300-750 milliliters in several controlled applications rather than one heavy flood.
| Seat material | Preferred cleaner | Starting application | Main risk |
|---|---|---|---|
| Woven cloth | Upholstery enzyme cleaner | 100-250 mL per palm-sized area | Foam remains wet too long |
| Synthetic fabric | Upholstery enzyme cleaner | 100-200 mL per palm-sized area | Water marks or dye transfer |
| Smooth finished leather | Leather-safe cleaner | 10-30 mL on a cloth | Finish dulling or discoloration |
| Perforated leather | Low-moisture leather-safe product | 5-15 mL per section | Liquid entering perforations |
| Vinyl or leatherette | Vinyl-safe cleaner | 10-30 mL per section | Surface staining or tackiness |
| Alcantara or suede-like trim | Manufacturer-approved product | Label quantity only | Nap damage and permanent marks |
Test the product on a hidden area for color transfer, swelling, tackiness, or finish change. Automotive upholstery varies by dye, coating, foam, and protective treatment, so a cleaner that works on one vehicle can damage another.
You will know this step worked when the cleaner reaches the affected cloth without pooling underneath the cushion.
The common mistake is spraying fragrance or disinfectant over the urine before removing the organic residue.
Step 3: Allow the cleaner to dwell
Leave the enzyme cleaner undisturbed for the time stated on its label, commonly 15-30 minutes for a fresh accident and several hours for dried contamination. Enzymes need moisture and contact time; wiping them off immediately can leave residue untreated in the foam.
For an old odor, a longer damp dwell can help, but only when the product instructions and seat construction allow it. Plastic sheeting can reduce evaporation on removable cloth upholstery, yet sealing a wet built-in seat for 24 hours can trap moisture against wiring, metal frames, and dense foam.
Do not combine enzyme cleaner with vinegar, bleach, ammonia, peroxide, or a strongly alkaline degreaser. Chemical residues can deactivate biological products, create irritating vapors, or damage upholstery.
You will know this step worked when the treated area remains evenly damp for the specified dwell period.
The common mistake is interpreting a temporary reduction in odor as proof that the seat is clean before extraction and drying.
Step 4: Extract the dissolved residue
Use a wet-dry vacuum or portable upholstery extractor to remove cleaner, moisture, and dissolved urine residue. Make several slow extraction passes, then use dry towels to press out remaining moisture from seams and cushion edges.
A practical extraction pattern is two slow wet passes followed by three to five dry passes, with the nozzle held flat against cloth but never forced into a seam. Empty the machine when its recovery tank becomes dirty, because contaminated water left in the tank can produce a strong odor.
If you have no extractor, press folded towels into the seat with firm body weight, change them frequently, and repeat until the seat feels only slightly cool rather than wet. A household vacuum that is not rated for liquids must not be used for this step.
You will know this step worked when the seat stops releasing visibly wet moisture under firm towel pressure.
The common mistake is adding more cleaner because the odor is still present while the foam remains damp.
Step 5: Dry the vehicle completely
Park in a secure, ventilated location and open the doors or windows, provided weather and security permit. Aim a fan across the seat surface rather than directly downward, because crossflow removes moisture from both the cover and the surrounding cabin air.
Typical drying times are 12-24 hours for lightly treated cloth in dry weather, 24-48 hours for dense foam or humid conditions, and longer when the seat was heavily saturated without extraction. Do not reinstall a removable cover or place a child restraint on a damp cushion.
Check the seat in several places, including the seam, front edge, and underside if accessible. A seat can feel dry on top while the foam below remains wet. Residual moisture can create mildew odor, stain rings, or corrosion around seat hardware.
You will know this step worked when the seat matches the surrounding temperature and produces no cool, damp sensation after several minutes of pressure.
The common mistake is closing the car overnight while the upholstery is still damp.
Which cleaner works best for a car seat?
An upholstery enzyme cleaner is usually the best first option for fabric, while a leather-safe cleaner is safer for finished leather and vinyl. Vinegar, baking soda, and peroxide can help with limited surface odor, but they are less predictable in foam and carry greater risks when mixed or used on coated automotive materials.
| Method | Typical cost | Active time | Best application | Main limitation |
|---|---|---|---|---|
| Enzyme upholstery cleaner | $10-$35 | 30-90 minutes | Cloth and organic residue | Requires correct dwell and drying |
| Portable extractor rental | $25-$60 per day | 20-45 minutes | Deep cloth contamination | Poor technique can over-wet foam |
| Vinegar solution | $2-$5 | 20-40 minutes | Limited hard-surface cleanup | Odor, finish, and residue concerns |
| Baking soda | $2-$8 | 4-12 hours | Dry surface odor absorption | Does not extract foam residue |
| Professional detailing | $100-$350 typical | 3-8 hours | Deep or multi-area contamination | Cost and drying logistics |
| Ozone treatment | $50-$150 as an add-on | 1-4 hours | Residual cabin odor after cleaning | Does not remove urine source |
Are vinegar, baking soda, or peroxide good alternatives?
Vinegar may reduce the perception of ammonia odor on some hard, finished surfaces, but vinegar does not substitute for extraction from foam. Baking soda can absorb some surface moisture and odor, yet it cannot pull dissolved residue out of a cushion. Hydrogen peroxide may bleach fabric, alter dyes, or damage leather finishes.
Never mix peroxide with vinegar. The combination can form irritating peracetic acid, and mixing products in a vehicle creates avoidable exposure in a poorly ventilated cabin. If a household remedy is the only available option, use one compatible product at a time, test first, apply sparingly, extract, and dry.
The practical ranking is:
- Enzyme upholstery cleaner for cloth.
- Material-approved leather or vinyl cleaner for coated surfaces.
- Professional extraction for deep or widespread contamination.
- Baking soda only as a dry, supplementary odor absorber.
- Fragrance sprays only after source removal, never as the treatment.
How should you clean cloth, leather, and vinyl seats?
Cloth seats tolerate more controlled moisture than leather or vinyl, but every material needs a different application depth. Woven fabric can carry urine into foam, whereas finished leather and vinyl usually require surface cleaning with minimal liquid, especially around perforations and stitching.
Cloth and woven fabric
Vacuum loose debris before applying liquid, then clean the whole affected panel or a deliberately blended area to reduce water rings. Do not clean only a sharply defined circle unless the upholstery manufacturer permits spot treatment.
Use a soft nylon brush with short strokes after applying the cleaner. Aggressive scrubbing can fuzz fabric, spread dye, or force contamination deeper. Extract thoroughly, particularly at the front edge where liquid often collects.
Smooth leather
Wipe fresh urine immediately with a barely damp microfiber cloth, then use a leather-safe cleaner approved for automotive finishes. Keep the product on the surface and away from seams, seat controls, and exposed edges.
After the leather dries naturally, apply a small amount of compatible conditioner if the manufacturer permits it. Do not use baking soda as an abrasive paste, household bleach, undiluted vinegar, or a soaking wet cloth.
Perforated leather and vinyl
Perforated leather needs the least liquid because holes can lead directly to foam, heating pads, fans, or occupancy sensors. Spray onto a cloth rather than directly onto the seat, work in small sections, and dry the perforations with clean absorbent material.
Vinyl and leatherette can tolerate a damp wipe but may become cloudy or tacky after solvent-heavy cleaners. Use a product labeled for vinyl or synthetic leather, and avoid silicone-heavy dressings on the seating surface because they can increase slipperiness.
What if the seat is heated, ventilated, or electrically adjustable?
A heated, ventilated, or powered car seat should be treated as an electrical component as well as upholstery. Avoid saturating control panels, seat gaps, fan perforations, wiring channels, seat rails, and the area around occupancy sensors.
Before cleaning, move the seat to inspect the floor and underside, but do not disconnect wiring unless the vehicle service procedure permits it. Modern seats can contain side-airbag connectors and occupant-classification sensors; disturbing them can trigger warning lights or affect restraint-system diagnostics.
For liquid that reached a seat control, harness, or airbag area, stop using large-volume cleaner and arrange an inspection by a qualified automotive technician. Drying the surface does not prove that internal connectors are dry.
Can a child car seat be cleaned the same way?
A child car seat should not automatically be cleaned like vehicle upholstery. Remove only the cover sections that the child-restraint manufacturer identifies as machine-washable, and follow the specified water temperature, detergent, drying, and reassembly instructions.
Never use bleach, harsh disinfectant, solvents, steam, or an unapproved enzyme product on harness webbing unless the manufacturer explicitly allows it. Do not immerse harness straps, cut, sew, iron, or aggressively scrub them. Webbing damage can be invisible.
If urine reached the foam shell, harness, buckle, or padding that cannot be removed and washed according to the manual, contact the manufacturer for a replacement part or replacement-seat decision. A clean-looking restraint is not necessarily a safe restraint.
Why does the smell return on a hot or humid day?
A returning odor usually means residue remains in foam, seams, carpet, a seat belt, or an adjacent trim panel. Heat increases evaporation from contaminated material, while humidity can make dried salts and organic residue perceptible again.
Use an odor map rather than repeatedly treating the original spot. Smell the seat, belt, floor carpet, door panel, child-seat cover, and air vents separately after the cabin reaches normal operating temperature. Mark each source with removable tape.
Repeat the enzyme-and-extraction process once if the source is clearly the cushion. If the smell returns after two complete treatments, inspect below the seat and under the carpet. A professional may need to remove the seat, lift carpet, clean padding, or replace a contaminated cushion insert.
Do not seal a wet seat under plastic for a full day as a default method. Occlusion can extend contact time, but it also raises the chance of trapped moisture and mildew when extraction is weak.
Should you use steam or ozone for urine odor?
Steam should not be the first treatment for a urine-contaminated seat, but the claim that heat always permanently “cooks” urine into fabric is inaccurate. Steam can drive moisture deeper, spread contamination, damage leather finishes, and make drying harder; use it only after residue removal and only when the material manufacturer permits it.
Ozone can oxidize some residual odor compounds in the cabin air and exposed surfaces, but ozone does not extract urine from foam or carpet. The vehicle must be unoccupied, ventilated thoroughly afterward, and treated by a professional who controls concentration and exposure.
The Centers for Disease Control and Prevention gives the direct chemical-safety instruction, “Never mix bleach with ammonia or any other cleanser.” Urine can release ammonia-like compounds, so chlorine bleach has no place in this cleanup.
Air fresheners, charcoal, and open baking soda boxes can reduce perceived cabin odor after cleaning. They cannot replace source removal.
When should you hire a professional detailer?
Hire a professional when urine covers multiple seats, entered thick foam or carpet, contaminated a child restraint, reached electrical components, or remains after two correctly executed treatments. Typical interior odor-removal pricing is $100-$350, with higher costs when seats must be removed or upholstery replaced.
Ask the detailer which process is included. A useful service includes inspection, controlled chemical treatment, hot-water extraction where appropriate, drying, and a source check. An ozone-only service is incomplete when the urine source remains.
| Situation | DIY expectation | Professional response | Typical cost |
|---|---|---|---|
| Fresh palm-sized cloth spot | Often removable in one treatment | Optional extraction | $10-$35 DIY |
| Dried odor in one cushion | One or two treatments | Deep extraction if odor persists | $35-$150 |
| Urine in carpet and seat | Moderate success | Seat removal and carpet extraction | $150-$350 |
| Contaminated child restraint | Follow manufacturer only | Replacement guidance | Part-dependent |
| Liquid near electronics | Do not flood further | Electrical and trim inspection | $100-$500+ |
| Used vehicle with cabin-wide odor | Low DIY reliability | Full interior decontamination | $200-$600+ |
Professional cleaning is not automatically better. A detailer who promises permanent removal with fragrance or ozone alone is treating the symptom rather than the contaminated material.
Common mistakes and how to fix them
| Mistake | Why it fails | Recovery |
|---|---|---|
| Rubbing a fresh spot | Spreads liquid and enlarges the wet boundary | Blot from the outside toward the center |
| Using fragrance first | Masks odor without removing residue | Clean and extract before deodorizing |
| Flooding a powered seat | Can wet wiring, sensors, and fans | Stop, ventilate, and seek inspection if liquid entered gaps |
| Mixing cleaners | Can deactivate products or create vapors | Rinse only when material permits, then dry |
| Using bleach | Can damage color and react with ammonia | Wipe residue safely and ventilate the vehicle |
| Closing the car while damp | Encourages mildew and persistent odor | Reopen, extract, and run cross-ventilation |
An expert rule of thumb is to match cleaner depth to contamination depth, then use extraction to control water. More liquid is not automatically more effective; unextracted liquid can move the odor into a larger section of foam.
How much time and money should you expect?
A fresh cloth accident usually takes 30-90 minutes of active work and 12-24 hours of drying. A dried or deep contamination can require two treatment cycles, 24-48 hours of drying per cycle, and $20-$60 in supplies or equipment rental.
| Cleaning scenario | Active work | Drying | Typical total cost |
|---|---|---|---|
| Fresh cloth spot, towels only | 20-40 minutes | 12-24 hours | $5-$15 |
| Fresh cloth spot, enzyme plus extractor | 30-60 minutes | 12-24 hours | $20-$60 |
| Dried single-seat odor | 60-120 minutes | 24-48 hours | $20-$75 |
| Leather or vinyl surface contamination | 20-45 minutes | 2-8 hours | $15-$45 |
| Professional single-area treatment | 3-8 service hours | Overnight | $100-$350 |
Drying time depends more on extraction, airflow, temperature, and humidity than on the calendar. A fan and strong extraction often outperform leaving the car in direct sun with the windows closed.
FAQ
Will urine smell disappear by itself from a car seat?
A small fresh amount may become less noticeable as it dries, but drying does not remove dissolved salts and organic residue from foam. Odor often returns during warm or humid conditions. Blotting, compatible cleaner, extraction, and complete drying provide a more reliable result than waiting.
How do you remove dried urine smell without an extractor?
Apply a material-safe enzyme cleaner in a controlled amount, allow the label-specified dwell time, then press repeatedly with clean towels. Use airflow for at least 12-48 hours. Without extraction, limit liquid volume and expect a second treatment or professional cleaning if the odor remains.
Can human urine damage leather car seats?
Human urine can stain or dull finished leather, dry the surface, and penetrate stitching or perforations. Promptly wipe the area, use a leather-safe cleaner, dry it naturally, and condition only after the finish is dry. Prolonged wetness and abrasive powders create more damage than the original surface spot.
How can you tell whether the odor is in the seat or carpet?
Smell each area separately after the cabin warms: cushion, seams, seat belt, carpet, floor under the seat, door trim, and vents. A removable strip of clean plastic can temporarily isolate a surface for comparison. If the odor is strongest below the seat, treating the cushion alone will not solve it.
Does activated charcoal remove urine odor from a car?
Activated charcoal can adsorb some airborne odor compounds after the contaminated material has been cleaned and dried. It cannot remove urine residue from foam, carpet, or seat-belt webbing. Use charcoal as a finishing aid for 24-72 hours, not as the primary cleaning method.
How do you prevent the smell from returning?
Treat urine while it is fresh, clean the full contamination path rather than only the visible spot, extract excess moisture, and dry the vehicle before closing it. Keep absorbent towels and a compatible enzyme cleaner available, and inspect child-seat covers, belts, and floor mats after every accident.
The Bottom Line
To get human urine smell out of a car seat, remove the source instead of covering it: blot fresh liquid, use a material-compatible cleaner at the correct depth, allow sufficient dwell time, extract the residue, and dry the foam completely. Cloth usually responds best to enzyme treatment; leather, vinyl, perforations, child restraints, and powered seats require controlled low-moisture methods. If odor survives two complete treatments, inspect hidden surfaces or hire a detailer for extraction and disassembly.