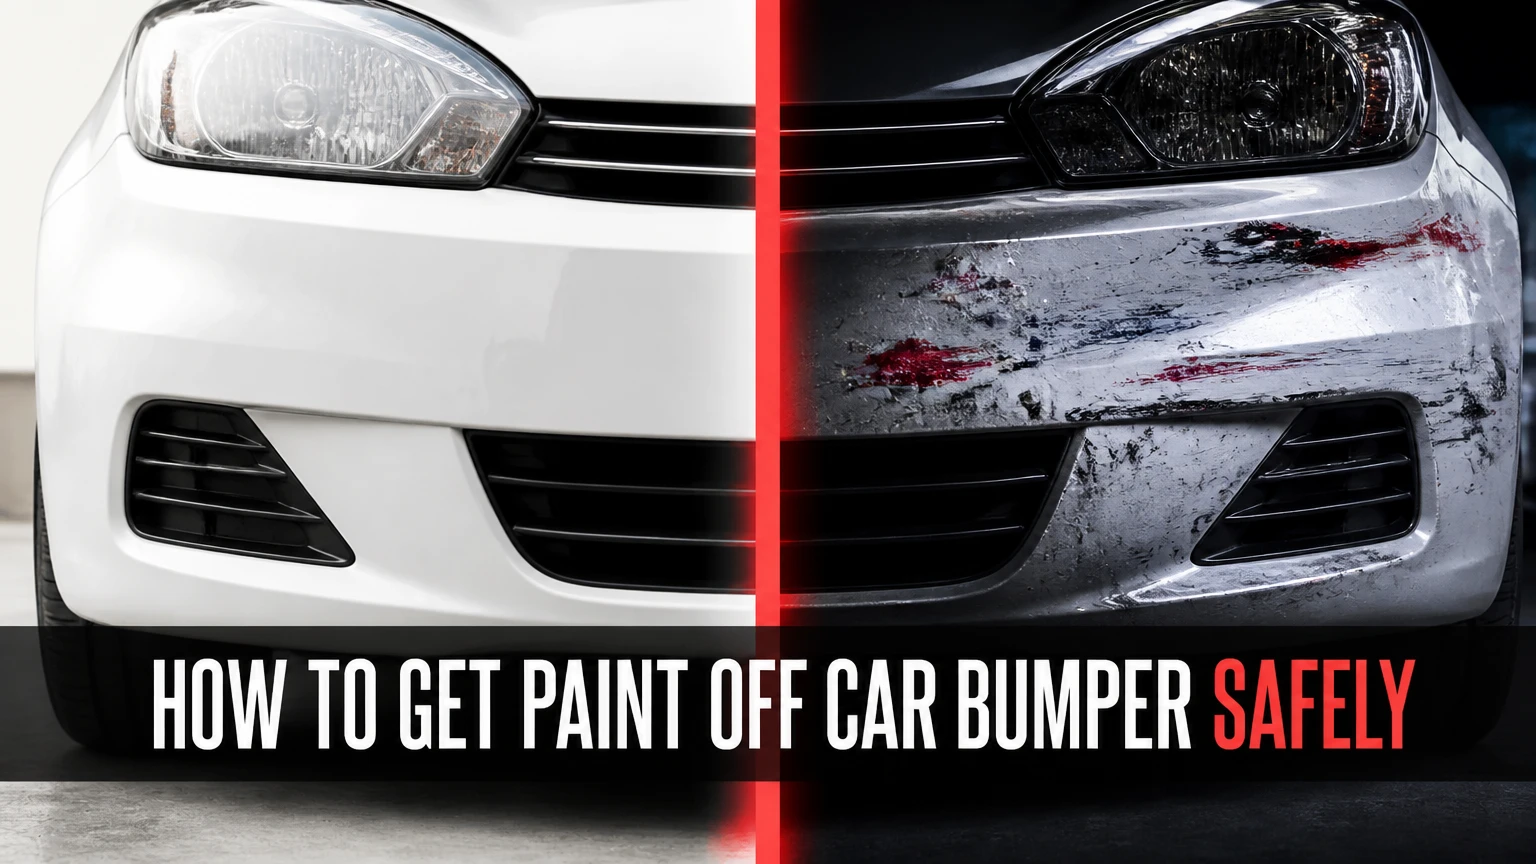
To get paint off a car bumper, first wash and identify whether the mark is transferred paint, overspray, or damage through your clear coat. On a painted bumper, start with automotive soap, a microfiber towel, and a small amount of diluted isopropyl alcohol or a vehicle-safe tar-and-adhesive remover. Escalate to clay and polish only when the gentlest method fails.
Key Facts at a Glance
- Fresh paint transfer usually responds to a lubricated microfiber towel and a vehicle-safe solvent within 5-15 minutes.
- A fingernail that catches in a groove indicates damage to the original paint, not removable surface transfer.
- Acetone and lacquer thinner can soften automotive coatings, plastic, trim, PPF, and bumper-repair materials.
- Clay removes bonded contamination but does not repair scratches or reliably dissolve thick paint.
- Polishing compound removes a small amount of clear coat, so short work cycles and light pressure matter.
- Bare textured black plastic requires different treatment from a glossy, painted bumper.
What Kind of Paint Is on the Bumper?
Paint transfer is a layer of foreign coating deposited onto the bumper during contact with another painted object. Overspray consists of fine droplets distributed across a wider area, while a scratch is a cut through one or more layers of the original bumper finish.
The distinction determines the safe method. A low-speed scrape can leave paint from a parking post, another vehicle, a garage door, or road equipment on top of the clear coat. Friction also creates heat and pressure, which can flatten the foreign paint against the original finish.
How can you tell whether paint transfer is removable?
Run a clean fingernail across the mark after washing. If the nail glides over a smooth surface and the mark changes when rubbed with a damp microfiber towel, the foreign paint is probably sitting above the clear coat. If the nail catches, the original coating may be gouged.
Use bright, indirect light rather than a phone flashlight held close to the panel. Look for these signs:
- Transfer: a contrasting smear with no exposed primer or plastic.
- Overspray: many tiny dots that feel rough across a broad area.
- Clear-coat scuff: gray, white, or hazy abrasion with no foreign color.
- Deep scratch: a sharp channel, exposed primer, exposed plastic, or cracked surrounding paint.
- Bumper deformation: misaligned panel gaps, broken tabs, or a bumper that no longer sits flush.
A solvent cannot rebuild missing paint. More rubbing only enlarges the damaged area.
What Should You Prepare Before Removing Paint?
Prepare automotive soap, two or three clean microfiber towels, a bucket of water, nitrile gloves, bright lighting, and a vehicle-safe paint-transfer or tar remover. Add 70% or 91% isopropyl alcohol, detailing clay with lubricant, and a fine automotive polish only if the first treatment does not work.
Before You Start
| Requirement | Typical specification | Why it matters |
|---|---|---|
| Working time | 20-45 minutes | Includes washing, testing, removal, and protection |
| Surface temperature | 60-80°F, or 16-27°C | Reduces rapid solvent evaporation and plastic stress |
| DIY material cost | $10-$45 USD | Depends on whether clay and polish are already available |
| Microfiber towels | 3-5, 300-500 GSM | Prevents reusing contaminated fabric |
| Solvent quantity | 5-15 mL per test area | Limits chemical exposure to the finish |
| Clay lubricant | 30-60 mL for one bumper area | Keeps abrasive particles suspended |
| Polishing compound | 1-3 pea-sized drops | Enough for small hand-polishing sections |
Do not work on a hot bumper, in direct sunlight, or while the surface is wet with grit. Test every chemical on an inconspicuous painted section, especially when the bumper has been repainted.
How to Get Paint Off Car Bumper Step by Step
The safest sequence is wash, test a mild chemical, use clay if necessary, polish the remaining haze, and protect the finish. Most light transfer takes 10-30 minutes; thick cured paint may require professional correction because the original clear coat can be thinner near an impact.
Step 1: Wash and Inspect the Bumper
Wash the bumper with automotive shampoo and clean water. Dry it with a fresh microfiber towel, then inspect the area from several angles before applying any solvent.
Use a separate towel for the initial wash and the removal work. A towel that picks up colored paint or grit should go into the laundry pile rather than back onto the panel.
You will know this step worked when: the bumper feels smooth, loose dirt is gone, and the mark has a defined boundary.
Common mistake: wiping a dry, dusty bumper. Dry rubbing drags mineral particles across the clear coat and creates additional swirls.
Step 2: Mask Adjacent Materials
Apply low-tack automotive masking tape around rubber seals, textured trim, parking sensors, badges, PPF edges, and unpainted plastic. Masking is especially important when the transfer sits beside a grille or a black lower bumper insert.
A painted bumper normally has a clear coat over color coat and primer. Textured black plastic may have no clear coat at all, so a solvent that is tolerated briefly by painted panels can stain, soften, or gloss the texture.
You will know this step worked when: only the contaminated painted area remains exposed and nearby trim is protected.
Common mistake: assuming every bumper is painted. Check the repair history and compare the marked area with the surrounding gloss and texture.
Step 3: Test a Mild Solvent
Apply a small amount of 70% or 91% isopropyl alcohol or a product labeled for automotive paint transfer to a folded microfiber towel. Press the damp section against a 2-by-2-inch test area for 10-20 seconds, then wipe lightly in one direction.
Do not flood the panel. Reapply small amounts and change to a clean towel face as color transfers. A vehicle-safe tar remover may work better than IPA on adhesive-like road paint, but follow the product label because formulas differ.
You will know this step worked when: the foreign color transfers to the towel, the original gloss remains uniform, and the mark becomes smaller after each pass.
Common mistake: leaving solvent on the panel for several minutes. Short contact followed by a water-based wash is safer than assuming longer dwell improves removal.
Step 4: Lift Bonded Residue With Clay
Use a fine or medium automotive detailing clay with dedicated clay lubricant. Knead a piece approximately 20-30 grams into a flat pad, spray the surface generously, and glide the clay with almost no downward pressure.
Work a 6-by-6-inch section at a time. Fold the clay as soon as its working face shows visible debris. If the clay falls onto the ground, discard it because embedded grit can produce severe scratches.
You will know this step worked when: the surface becomes smooth under your fingertips and the remaining dots or roughness decrease without visible new marks.
Common mistake: using household soap solution as a substitute without checking the clay instructions. Some mixtures provide inadequate lubrication and allow the clay to drag contamination.
Clay is useful for overspray and small raised particles. It is not a substitute for polishing when the clear coat is already scuffed, and it may not remove a thick, rubbery layer of industrial paint.
Step 5: Polish the Remaining Scuff
Choose a fine or medium automotive polishing compound, not household cleanser or abrasive kitchen cream. Place one or two pea-sized drops on a clean foam or microfiber applicator and work a 12-by-12-inch area using moderate crosshatch passes for 30-45 seconds.
Wipe the residue away and inspect the finish before repeating. Hand polishing removes less material than machine polishing, but repeated hard rubbing can still thin the clear coat. A flexible bumper also heats and flexes more readily than a metal panel.
You will know this step worked when: the haze decreases, gloss returns, and the original color looks consistent in direct and angled light.
Common mistake: continuing after the defect stops improving. If two or three short cycles do not change the mark, the damage may be below the clear coat.
Step 6: Clean and Protect the Finish
Wash the treated area with automotive shampoo, rinse thoroughly, and dry it with a fresh towel. Apply a compatible wax, paint sealant, or the protection product recommended for the vehicle’s existing coating.
A wax or sealant does not repair a scratch, but it restores temporary surface protection after solvent and polishing work. If the bumper has a ceramic coating, use the coating manufacturer’s maintenance product rather than automatically applying a solvent or abrasive.
You will know this step worked when: the surface is clean, glossy, smooth, and no oily solvent residue remains.
Common mistake: judging the result before the panel is washed. Solvent residue can temporarily hide haze or make a partially removed transfer look finished.
Which Paint-Removal Method Should You Choose?
For painted bumpers, use the least aggressive method that removes the foreign coating: mild automotive cleaner or IPA first, clay for raised contamination, and polish for residual scuffing. Acetone belongs in the professional-risk category, not the standard home process.
| Method | Best use | Typical time | Main risk | Typical cost |
|---|---|---|---|---|
| Automotive paint-transfer remover | Fresh or moderate transfer | 5-15 minutes | Staining sensitive trim | $8-$18 |
| 70%-91% IPA | Small fresh marks | 5-10 minutes | Drying or dulling repainted surfaces | $3-$8 |
| Detailing clay and lubricant | Rough overspray or bonded dots | 15-30 minutes | Marring from dirty clay | $12-$30 |
| Fine polishing compound | Haze and shallow scuffing | 10-25 minutes | Clear-coat thinning | $10-$25 |
| Acetone | Only controlled professional spot testing | 1-5 minutes | Coating or plastic damage | $5-$12 |
| Lacquer thinner | Industrial coating under controlled repair conditions | 1-5 minutes | Rapid finish failure | $8-$20 |
Is WD-40 safe for a painted bumper?
WD-40 can loosen some fresh transfer and is generally less aggressive than lacquer thinner, but “safe” depends on the bumper’s coating and the product’s exposure time. Apply a small amount to a towel, wipe the transfer, then wash the panel with automotive shampoo to remove the oily film.
WD-40 is not a polish and will not restore a scratched clear coat. It also may leave residue around parking sensors, textured trim, or porous bumper inserts. A dedicated automotive remover gives more predictable results because its instructions address vehicle finishes.
Should you use acetone or nail-polish remover?
Do not use acetone as the default treatment on a car bumper. Pure acetone can soften or stain some automotive paints, flexible bumper coatings, plastics, adhesives, and PPF, while nail-polish remover often contains conditioners, fragrance, water, or other additives that leave residue.
The frequently repeated instruction to use “100% pure acetone” for a fixed 30-second dwell is not a universal automotive specification. Coating age, repaint quality, plastic type, temperature, and previous repair products change the result. A professional may spot-test a hidden area with a compatible solvent, but a home user should normally stop at a vehicle-safe remover, clay, or polish.
Can a Magic Eraser remove bumper paint?
A Magic Eraser can remove some surface marks, but its melamine foam is an abrasive material and can create a dull patch in clear coat or glossy plastic. It also tends to make damage look uniform rather than remove only the foreign paint.
Avoid abrasive household sponges, scouring pads, powdered cleanser, and dry microfiber rubbing. These products do not distinguish between the transferred paint and the vehicle’s original finish.
What Changes for Black Plastic, PPF, or a Repainted Bumper?
Unpainted textured plastic, PPF, vinyl wrap, and repainted bumpers need separate treatment because their surfaces have different chemical resistance and repair limits. Confirm the substrate before using solvent, clay, heat, or abrasive polish.
| Surface condition | Safe first action | Avoid first | Escalation point |
|---|---|---|---|
| Glossy factory-painted bumper | Shampoo, mild remover, microfiber | Acetone, dry rubbing | Polish after solvent fails |
| Textured black plastic | Soap, soft towel, plastic-safe cleaner | IPA soaking, thinner, compound | Plastic restorer or trim repair |
| PPF-covered bumper | PPF-maker cleaner and soft towel | Clay without approval, acetone, polishing film | PPF installer inspection |
| Vinyl-wrapped bumper | Wrap-safe cleaner | Solvents, machine polish, heat gun | Wrap repair or replacement |
| Repainted bumper | Hidden-area test with mild cleaner | Strong solvent and long dwell | Body-shop evaluation |
| Cracked or exposed bumper | Clean only, photograph damage | Aggressive rubbing | Collision or bumper repair shop |
How do you remove paint from textured black plastic?
Wash textured black plastic with car shampoo and a soft microfiber towel, then use a cleaner explicitly labeled safe for exterior plastics. If the mark remains but the plastic is not gouged, a plastic or trim restorer may reduce the contrast without dissolving the stain.
Do not polish textured plastic. Abrasive compound can flatten the texture and create a shiny irregular patch. Acetone and lacquer thinner can alter the plastic surface, producing a permanent glossy or melted-looking area.
How do you treat a bumper with PPF or vinyl wrap?
Use only the film manufacturer’s approved cleaner and a soft towel on PPF or vinyl wrap. Do not assume that a product safe for automotive clear coat is safe for film adhesive or the film’s top layer.
If paint has bonded to a wrapped surface, a PPF installer or vehicle-wrap specialist can test a film-safe remover. A small damaged film section is often replaceable; aggressive DIY solvent can enlarge the repair area and expose the original bumper.
What Are the Signs the Bumper Needs Repair?
A bumper needs paint or body repair when the original finish is missing, the substrate is exposed, the paint edge is lifting, or the plastic is cracked or distorted. Surface cleaning cannot correct a gouge that catches a fingernail or a bumper that has lost its alignment.
Stop DIY removal when you see:
- Black plastic, gray primer, or bare substrate under the mark.
- A crack, split, dent, torn mounting tab, or uneven panel gap.
- Paint lifting around the impact rather than simply transferring onto a towel.
- Cloudiness that remains after washing and a light finishing polish.
- A solvent changing the bumper’s texture, color, or gloss.
- No improvement after two or three controlled removal cycles.
A body shop can sand, prime, color-match, and clear-coat a localized bumper repair. A mobile detailer may correct transfer and shallow clear-coat scuffing, but a detailer cannot replace broken plastic or restore missing color without refinishing.
Common Mistakes and How to Fix Them
Rubbing harder when the mark does not change
Heavy pressure increases friction and heat while flexing the bumper. Stop, wash the area, and inspect whether the defect is a scratch rather than transfer.
Using a razor blade on a curved bumper
A razor can cut clear coat and gouge soft plastic when its edge catches a curve. Use a chemical remover, clay, or professional plastic-safe scraping method instead.
Keeping contaminated clay
Dirty clay turns bonded grit into an abrasive block. Fold the clay frequently, and discard it after ground contact or when contamination cannot be kneaded into the interior.
Applying compound before removing grit
Compound can grind dust and paint particles into the finish. Wash first, use a clean applicator, and polish only a small test section.
Using a heat gun to soften the paint
Heat may soften the foreign coating, but it can also distort bumper plastic, damage PPF adhesive, or soften the factory finish. Professional plastic repair technicians control heat with measured tools and surface monitoring.
Sealing over solvent residue
Wax or sealant applied over oil can bond unevenly and create streaks. Wash the bumper, dry it, and follow the protection product’s preparation instructions.
How Much Does Paint-Transfer Removal Cost?
DIY removal typically costs $10-$45 for consumables and takes 20-45 minutes, while professional detailing commonly costs $50-$200 for a localized transfer. Refinishing a scratched or cracked bumper usually costs several hundred dollars, with location, paint color, sensor removal, and damage depth affecting the estimate.
| Repair level | Typical price, USD | Typical time | Suitable result |
|---|---|---|---|
| DIY mild solvent treatment | $3-$18 | 10-20 minutes | Fresh, thin transfer |
| DIY clay and hand polish | $20-$55 | 25-60 minutes | Overspray and shallow scuff |
| Professional detail correction | $50-$200 | 1-3 hours | Transfer plus clear-coat haze |
| Local bumper spot repair | $250-$600 | 1-2 days | Exposed color or primer |
| Full bumper refinish | $500-$1,200 | 2-5 days | Broad paint loss or poor repaint |
| Bumper replacement | $700-$2,000 or more | 1-3 days | Cracked structure or mounting damage |
These are typical consumer ranges, not fixed quotations. Urban labor rates, metallic or pearl paint, ADAS sensors, and insurance procedures can change the final price.
Expert Rules That Prevent Expensive Damage
Paint transfer is often easier to remove after a short solvent dwell, not after harder rubbing. A damp towel held briefly against the mark can soften the foreign layer, reducing the mechanical force needed on the clear coat.
The clean towel is part of the tool. Once a microfiber towel contains visible colored paint or grit, its next pass can scratch the panel. Detailers rotate towel faces constantly because contamination control matters as much as chemical choice.
A bumper impact can create two separate defects. Foreign paint may sit above the clear coat while the impact simultaneously fractures or abrades the original finish underneath. Removing the transfer can reveal the true repair requirement, which is why photographs before and after cleaning are useful for insurance or a body-shop estimate.
3M automotive finishing guidance commonly expresses the practitioner rule as, “Use the least aggressive method that will achieve the desired result.” The rule matters here because every abrasive pass removes some clear coat, while a solvent test may remove only the foreign material.
Frequently Asked Questions
Can car wax remove paint transfer from a bumper?
Car wax generally cannot remove thick paint transfer because wax is a protective product rather than a solvent or abrasive correction product. Wax may hide very fine haze temporarily, but use a vehicle-safe remover, clay, or polish first, then apply wax or sealant after the surface is clean.
Will rubbing alcohol damage car paint?
70% or 91% isopropyl alcohol usually works for brief, controlled cleaning on cured factory paint, but it can affect fresh repairs, soft coatings, wax, sealants, and some aftermarket finishes. Use a small test spot, avoid soaking edges and trim, and rinse or wash the area after removal.
Can I remove spray paint from a plastic bumper?
You can often remove spray paint from a glossy painted bumper with a vehicle-safe remover followed by clay or polish. Raw textured plastic is more difficult because solvents can stain or soften it. If the spray paint covers a large area, a body shop should test the coating before removal.
How do I remove paint transfer from a bumper sensor?
Clean around a parking sensor with a damp microfiber towel and a small amount of sensor-safe automotive cleaner, keeping liquid away from gaps and electrical edges. Do not use compound, clay, acetone, or a razor directly on the sensor face because these can affect its surface or surrounding finish.
Does insurance cover paint transfer on a bumper?
Insurance coverage depends on the cause, policy, deductible, and whether another driver was identified. Photograph the bumper before extensive cleaning, record the incident details, and ask the insurer whether a cosmetic transfer falls below the deductible or requires a collision claim.
The Bottom Line
To get paint off a car bumper safely, wash the surface, identify the substrate, and begin with a short test using a vehicle-safe remover or 70%-91% IPA. Use lubricated clay for raised overspray and a small amount of automotive polish for leftover haze. Stop when the fingernail catches, plastic shows, paint lifts, or the bumper is cracked, because those signs indicate repair rather than removable transfer.