To keep rodents out of your car, remove food and nesting material, clean contamination safely, inspect for entry routes, protect vulnerable wiring, and change the parking environment. The most reliable solution is layered prevention: physical exclusion and habitat control first, with repellents used only as supporting measures.
Key Facts
Mice can pass through openings about 1/4 inch wide, so chicken wire is usually too coarse for vehicle exclusion.
Peppermint oil and ultrasonic devices may discourage some rodents temporarily, but neither seals an entry point.
Rodent droppings should be wetted with disinfectant before cleanup; dry sweeping or vacuuming can aerosolize contaminated dust.
A cabin air filter, blower housing, wiring harness, and airbox are priority inspection locations.
Typical DIY prevention costs $10-$60, while wiring repairs commonly range from $200 to more than $2,000.
Poison inside a vehicle can create a concealed carcass, odor, contamination, and further repair work.
What Attracts Rodents to Cars?
Rodents enter vehicles for protected nesting space, stable temperatures, and nearby food or cover. A parked car beside tall grass, woodpiles, birdseed, pet food, or stored equipment presents a safer shelter than exposed ground, especially during cold or wet weather.
Modern vehicles contain many enclosed cavities. Rodents may reach the engine bay from underneath, travel through the cowl area near the windshield, or enter through body openings and HVAC pathways. Chewed wiring insulation is common because the material is accessible and easy to damage, not because a proven universal “soy insulation” food response exists. Some automakers use plant-based materials, but the claim that rodents specifically mistake soy insulation for food is too broad.
Rodent damage can affect ignition wires, oxygen-sensor wiring, fuel-line coverings, washer hoses, air filters, cabin filters, and insulation. Nest material near exhaust components creates a fire risk, while a blocked air filter can reduce engine performance.
How can you tell whether rodents have entered?
Look for fresh droppings, shredded paper or insulation, leaves, seed shells, nesting fibers, greasy rub marks, and tooth marks on plastic or wire coverings. A strong musky odor, intermittent warning lights, unexplained electrical faults, or a new HVAC smell also warrants inspection.
Fresh droppings are usually darker and softer than old, dusty pellets, but appearance alone cannot establish age reliably. Photograph evidence before cleaning, then inspect the engine bay, airbox, battery tray, cowl, cabin filter, glove box, trunk corners, and spare-tire well.
What Should You Do Before Starting?
Plan 30-90 minutes for a first inspection and basic prevention, with a typical DIY cost of $10-$60. You need nitrile or rubber gloves, a well-fitting respirator or mask, a flashlight, a vacuum with a suitable filter for uncontaminated debris, disinfectant, paper towels, a trash bag, a screwdriver set, and 1/4-inch galvanized hardware cloth if an intake screen is appropriate.
| Task | Typical time | Typical cost | Main materials |
|---|---|---|---|
| Cabin cleaning | 30-60 minutes | $0-$20 | Gloves, disinfectant, bags, towels |
| Engine-bay inspection | 15-30 minutes | $0 | Flashlight, gloves, camera |
| Intake screening | 30-90 minutes | $10-$30 | 1/4-inch hardware cloth, fasteners |
| Repellent support | 5-20 minutes | $10-$50 | Capsaicin tape, spray, or device |
| Professional inspection | 1-2 hours | $100-$300 | Wildlife or automotive technician |
Do not begin by starting the engine if nesting material is close to belts, pulleys, exhaust components, or the air intake. Do not reach into a dark cavity where an animal may be present. Use a mechanic or licensed wildlife-control professional when live animals, extensive contamination, damaged fuel lines, or high-voltage hybrid components are involved.
Step 1: Remove Food, Trash, and Nesting Material
Empty the cabin, trunk, center console, door pockets, and glove box completely. Remove wrappers, crumbs, pet treats, grocery bags, tissues, cardboard, and any cloth that could become nesting material, then clean surfaces and vacuum accessible carpet seams.
Food odor can remain after visible debris disappears. Wash drink-holding areas, wipe plastic trim, and clean under child seats or floor mats. If a spill reached upholstery, use an automotive upholstery cleaner that matches the fabric and allow the interior to dry fully.
Safety checkpoint
You will know Step 1 is complete when no food, paper, fabric scraps, or loose debris remains in the passenger compartment or cargo area.
Common mistake
Do not store birdseed, livestock feed, or pet food beside the vehicle. Cleaning the car while leaving a food source two feet from a tire often changes little.
Step 2: Inspect the Vehicle Before Cleaning Evidence
Open the hood and inspect with a flashlight before disturbing droppings or nests. Check the battery tray, fuse box, wiring looms, firewall, cowl, engine airbox, cabin-filter housing, and spaces above splash shields.
Use a mirror or phone camera for blind areas. Look for chewed insulation, disconnected clips, nesting material, and feces. Check the ground beneath the car for droppings and shredded material, because repeated evidence can reveal the vehicle’s most active side.
| Inspection location | Rodent evidence | Possible consequence | Recommended response |
|---|---|---|---|
| Cabin air-filter housing | Leaves, fur, droppings | Restricted airflow, odor | Replace filter and inspect blower |
| Engine airbox | Nest, torn filter | Reduced airflow, engine damage | Stop driving until cleared |
| Wiring harnesses | Tooth marks, exposed copper | Short circuits, warning lights | Electrical inspection |
| Battery tray and fuse box | Seed shells, nesting | Corrosion, electrical faults | Clean and test connections |
| Exhaust and heat shields | Dry nesting fiber | Smoke or fire risk | Remove professionally if hot |
Why should you avoid immediately starting the car?
A rodent nest near a belt, fan, exhaust manifold, or air intake can be pulled into moving equipment or ignite. A technician should inspect suspected nests in hazardous locations, particularly when the car has been parked for weeks.
Step 3: Clean Droppings and Contaminated Areas Safely
Wear gloves and respiratory protection, ventilate the area, and wet droppings or nesting material thoroughly with an appropriate disinfectant before removal. The U.S. Centers for Disease Control and Prevention advises people not to sweep or vacuum rodent urine, droppings, or nesting material while dry because contaminated particles can become airborne.
For vehicle cleanup, follow the disinfectant label and the vehicle manufacturer’s material guidance. A commonly used household bleach dilution for general hard-surface disinfection is 1 part household bleach to 9 parts water, but bleach can corrode metals, discolor fabrics, and damage vehicle finishes. Never mix bleach with ammonia, acids, or other cleaners.
Spray until material is wet, allow the label-specified contact time, lift debris with paper towels, seal it in a bag, and wash gloved hands before removing gloves. Avoid pressure-washing the engine bay, spraying alternators or electrical connectors, or flooding the HVAC system. A professional detailer can clean porous insulation and blower housings more safely.
Safety checkpoint
The area is ready for inspection when contaminated debris has been removed, surfaces have dried, and no loose nesting material remains near heat or moving components.
Common mistake
Dry vacuuming is the wrong first action for droppings. Wet cleanup reduces airborne dust and protects the vacuum from becoming contaminated.
Step 4: Install Physical Exclusion Where the Vehicle Allows It
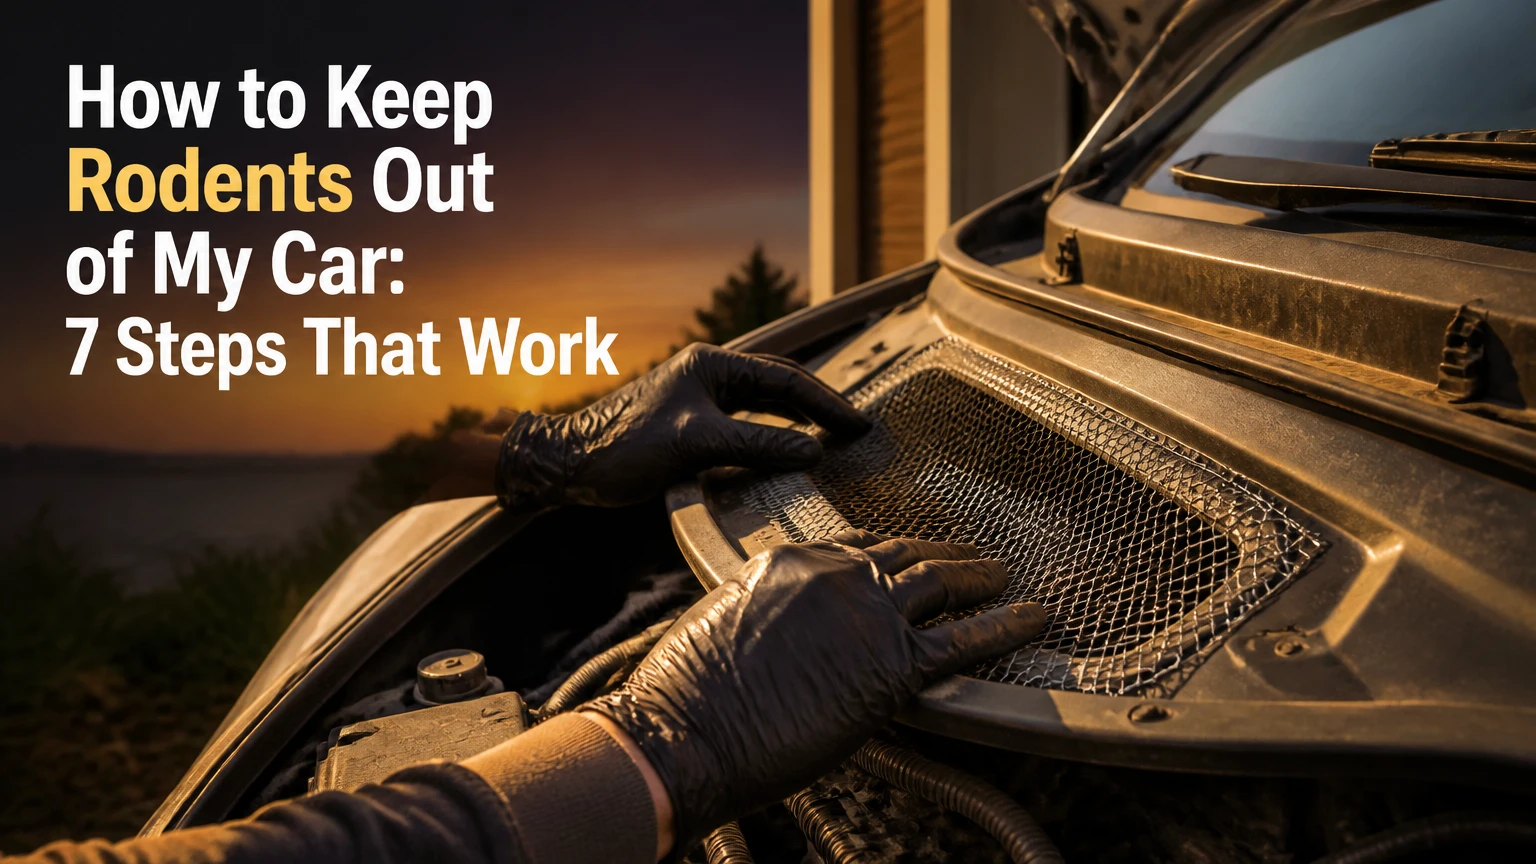
Block accessible openings with corrosion-resistant 1/4-inch galvanized hardware cloth only after confirming that the screen will not restrict airflow, trap heat, contact moving parts, or interfere with service. The cabin air intake near the windshield cowl and selected body openings may be screenable, but each vehicle design requires a different attachment method.
Do not cover the engine air intake with improvised mesh unless the screen is engineered for that intake and installed downstream of the correct filter location. A loose screen can be ingested by the engine. A fine screen can increase restriction, collect debris, or trigger drivability problems.
Use mechanical fasteners or vehicle-specific kits where possible. Avoid zip ties near exhaust heat, fan blades, steering components, and drive belts. Do not drill into sealed body cavities, fuel lines, wiring harnesses, airbags, or structural members.
What mesh size keeps mice out?
A 1/4-inch opening is a practical maximum for many mouse-exclusion applications, but the complete installation matters more than the nominal mesh size. Mice can exploit gaps, folded corners, and unsealed edges, while rats can deform lightweight material.
Checkpoint: the screen remains rigid, leaves the original air path open, and cannot touch a hot or moving part during operation.
Common mistake: chicken wire commonly has openings larger than 1/4 inch and is unsuitable for small-mouse exclusion. Steel wool can rust, shed fibers, and create an unreliable long-term seal in wet engine compartments.
Step 5: Add a Deterrent as Backup, Not as the Main Barrier
Use a rodent-repellent product only after cleaning and exclusion. Capsaicin-infused tape can discourage chewing on accessible wiring harnesses, while labeled engine-bay sprays provide temporary odor or taste deterrence. Keep every product away from belts, pulleys, exhaust surfaces, sensors, air filters, and electrical connectors unless the label specifically permits that application.
Ultrasonic units and flashing lights have mixed real-world results. Rodents may avoid a new stimulus, but habituation, blocked sound paths, competing shelter, and battery drain reduce reliability. Peppermint oil on cotton balls evaporates rapidly in warm engine bays and can become ineffective within days.
| Deterrent | Typical price | Refresh or power need | Best role | Main limitation |
|---|---|---|---|---|
| Capsaicin tape | $20-$50 per roll | Replace when damaged | Protecting exposed harnesses | Slow to install, limited coverage |
| Engine-bay repellent spray | $10-$30 per can | Reapply per label, often 1-4 weeks | Temporary support | Heat and rain reduce persistence |
| Ultrasonic or strobe unit | $25-$80 | 12-volt power or batteries | Dark, stationary parking | Possible habituation and battery draw |
| Peppermint oil | $8-$20 | Refresh every few days to weekly | Short-term odor support | Weak persistence in heat |
| Perimeter barrier | $50-$400 | Set up at each parking event | Long-term storage | Inconvenient for daily use |
Which rodent deterrent works best?
Physical exclusion and removal of food and cover work better as foundational controls than scent or sound alone. Capsaicin tape is the most targeted supplemental option for wiring, while a perimeter barrier is more practical than under-hood scent products for a vehicle stored in one place.
No deterrent reliably removes an established nest. A live infestation requires removal, decontamination, repairs, and correction of the access route.
Step 6: Change the Parking Environment
Park on a hard, open surface when possible, and move the vehicle away from tall grass, brush, woodpiles, compost, stored vehicles, bird feeders, and outdoor pet-food bowls. Trim vegetation several feet from the parking area, seal nearby sheds, and store feed in rodent-resistant containers.
A clean car can still attract rodents if the surrounding property supports a population. For garages, seal wall penetrations and door gaps, keep cardboard off the floor, and place legally permitted traps along walls outside the vehicle rather than inside the cabin or engine bay.
Do not relocate wildlife traps or use rodenticides without checking local rules and label directions. Poison placed near a car can expose pets and wildlife, and a poisoned rodent may die inside the dashboard or behind interior panels.
Step 7: Monitor and Recheck the Car
Inspect a frequently targeted vehicle every three to seven days at first, then weekly during storage or high-activity seasons. Look for new droppings, displaced screens, fresh chewing, nesting material, and changes in HVAC odor.
Place a dated piece of cardboard or a clean inspection sheet beneath the engine bay to reveal fresh debris, but keep it away from hot components and moving parts. Photograph the engine bay after cleaning so new damage is easier to identify.
Electronic repellents should be checked with a multimeter or vehicle battery monitor. A device that draws 10 milliamps consumes approximately 0.24 amp-hours per day, but an aging battery can still fail after prolonged parking. Choose a unit with a documented low-voltage cutoff, or power it from a separate approved battery system.
How do you know prevention is working?
Success means no fresh droppings or nesting material appear over several inspection cycles, the exclusion remains secure, and the vehicle starts without new warning lights or electrical symptoms. One rodent sighting does not prove failure, but repeated fresh evidence means the access route or surrounding habitat remains unresolved.
What If Rodents Are Already Inside?
Stop using the vehicle until you inspect the air intake, filters, wiring, hoses, and heat sources. Replace a contaminated cabin air filter, inspect the blower motor housing, and arrange professional diagnosis when droppings are widespread or copper conductors are visible.
| Symptom | Likely area | Driving risk | Next action |
|---|---|---|---|
| Musty or dead-animal odor from vents | Cabin filter or blower housing | Low to moderate | HVAC inspection and filter replacement |
| Battery warning or intermittent lights | Wiring harness | Moderate to high | Electrical diagnosis before continued use |
| Engine misfire or no-start condition | Ignition or sensor wiring | High | Tow to a mechanic |
| Smoke near the hood | Nest near exhaust or short circuit | Very high | Stop, switch off, and call emergency assistance if needed |
| Reduced engine power | Engine airbox or chewed sensor wiring | High | Do not continue until inspected |
Never use poison inside the passenger compartment, engine bay, airbox, or dashboard. Snap traps or live traps belong in the surrounding parking area only when legal and when a responsible person can check them frequently. A wildlife professional can identify whether the animal is a mouse, rat, squirrel, or protected species and select a lawful removal method.
Common Mistakes and How to Fix Them
Relying on peppermint oil alone
Failure: the odor fades under-hood and rodents continue using the same route.
Fix: clean the area, install safe exclusion, and treat peppermint oil as temporary support.
Covering an intake with unsuitable mesh
Failure: restricted airflow, heat buildup, or loose material reaches a fan or engine.
Fix: use a vehicle-specific screen design and verify clearance with the hood open and engine off.
Washing the engine bay with high pressure
Failure: water enters connectors, sensors, alternators, or fuse boxes.
Fix: use localized damp cleaning and professional engine-bay decontamination where needed.
Leaving the battery-connected device unattended
Failure: parasitic draw discharges the battery during storage.
Fix: measure current draw, install a low-voltage cutoff, use a maintainer approved for the vehicle, or use an external power source.
Sealing evidence before finding the route
Failure: a rodent remains inside, or a blocked route forces access through a new opening.
Fix: inspect first, remove animals lawfully, clean contamination, then exclude entry points.
Using mothballs in the vehicle
Failure: toxic vapors accumulate in a poorly ventilated cabin and the product does not create a dependable engine-bay barrier.
Fix: remove mothballs and use exclusion, environmental control, and labeled products instead.
How Much Does Rodent Prevention Cost?
Basic prevention typically costs $10-$60 for cleaning materials, hardware cloth, and one supplemental deterrent. Professional inspection commonly costs $100-$300, while repairs depend on the location and extent of chewing.
| Repair or service | Typical price range | Typical time | When needed |
|---|---|---|---|
| Cabin-filter replacement | $30-$120 | 20-60 minutes | Droppings or odor at HVAC intake |
| Engine-bay cleaning | $100-$300 | 1-3 hours | Nesting or widespread contamination |
| Minor wire repair | $150-$500 | 1-4 hours | Localized insulation or conductor damage |
| Harness replacement | $500-$2,500+ | 4-20 hours | Multiple damaged circuits |
| Wildlife exclusion service | $200-$800 | 1-3 visits | Repeated access around parking site |
Prices vary by vehicle layout, labor rates, region, and whether diagnostic scanning is required. Hybrid and electric vehicles may cost more to inspect because high-voltage systems require trained technicians and manufacturer procedures.
What Changes for Outdoor Parking or Long-Term Storage?
Outdoor parking requires stronger habitat control and more frequent inspection than a clean enclosed garage. Long-term storage benefits from a sealed, drive-in vehicle enclosure or perimeter barrier, protected wiring, an emptied cabin, and checks at least weekly.
| Situation | Priority control | Check interval | Recommended add-on |
|---|---|---|---|
| Daily commuter outdoors | Remove food and inspect cowl | Weekly | Labeled spray or harness tape |
| Rural property | Exclusion and vegetation control | Every 3-7 days | Professional wildlife assessment |
| Winter storage | Enclosure and external traps | Weekly | Battery maintainer or cutoff device |
| Classic car storage | Full perimeter barrier | Weekly | Capsaicin tape on accessible harnesses |
| Garage parking | Seal garage gaps and remove cardboard | Weekly | Wall-adjacent traps where lawful |
For a collector vehicle, leave windows closed, remove all food and nesting materials, and avoid storing it beside hay, firewood, or feed. A breathable car cover protects paint but does not prevent rodents from entering the vehicle, so it cannot replace exclusion.
The Bottom Line
The most dependable way to keep rodents out of a car is to combine sanitation, safe inspection, physical exclusion, parking-site control, and regular monitoring. Peppermint oil, ultrasonic devices, strobe lights, and repellent sprays can support the plan, but none replaces a sealed access route.
If fresh droppings continue after cleaning, inspect the cowl, airbox, cabin filter, wiring, and surrounding property again. If the car has chewed wires, a nest near exhaust components, smoke, a no-start condition, or widespread contamination, stop driving and use a qualified automotive or wildlife professional.
Frequently Asked Questions
Can mice get into a car through the air vents?
Mice can reach the HVAC system through the cowl air intake or gaps around the cabin filter housing, depending on vehicle design. A correctly fitted cabin filter and vehicle-specific intake screen can reduce access, but blocking interior vents with improvised material can restrict airflow and damage the blower.
Should I leave my hood open to deter mice?
Leaving the hood open may make the engine bay less dark, but it is unreliable and can expose the vehicle to rain, debris, and tampering. A clean parking area, secured intake openings, and monitoring provide more consistent protection than changing hood position.
Does driving the car every day prevent rodents?
Regular driving reduces the time available for nesting, but it does not eliminate rodent risk. Animals can enter overnight, particularly when the vehicle is parked beside food, vegetation, or structural cover. Daily use should be combined with weekly checks and removal of attractants.
Will car insurance cover rodent damage?
Comprehensive auto insurance often covers animal-related damage, subject to the policy deductible and exclusions, while collision coverage usually does not. Coverage varies by insurer and jurisdiction, so document the damage and ask the insurer before authorizing extensive repairs.
How often should I replace a cabin air filter after a rodent problem?
Replace a cabin air filter immediately if it contains droppings, urine, nesting material, or a persistent odor. Have the filter housing and blower inspected at the same time, because replacing the filter alone will not remove contamination deeper in the HVAC system.
Are dryer sheets effective against rodents in cars?
Dryer sheets may provide a short-lived odor that some people find discouraging, but they do not form a physical barrier and lack dependable evidence as a standalone vehicle-control method. Use them only as a temporary supplement after cleaning and exclusion, never as protection for an active infestation.