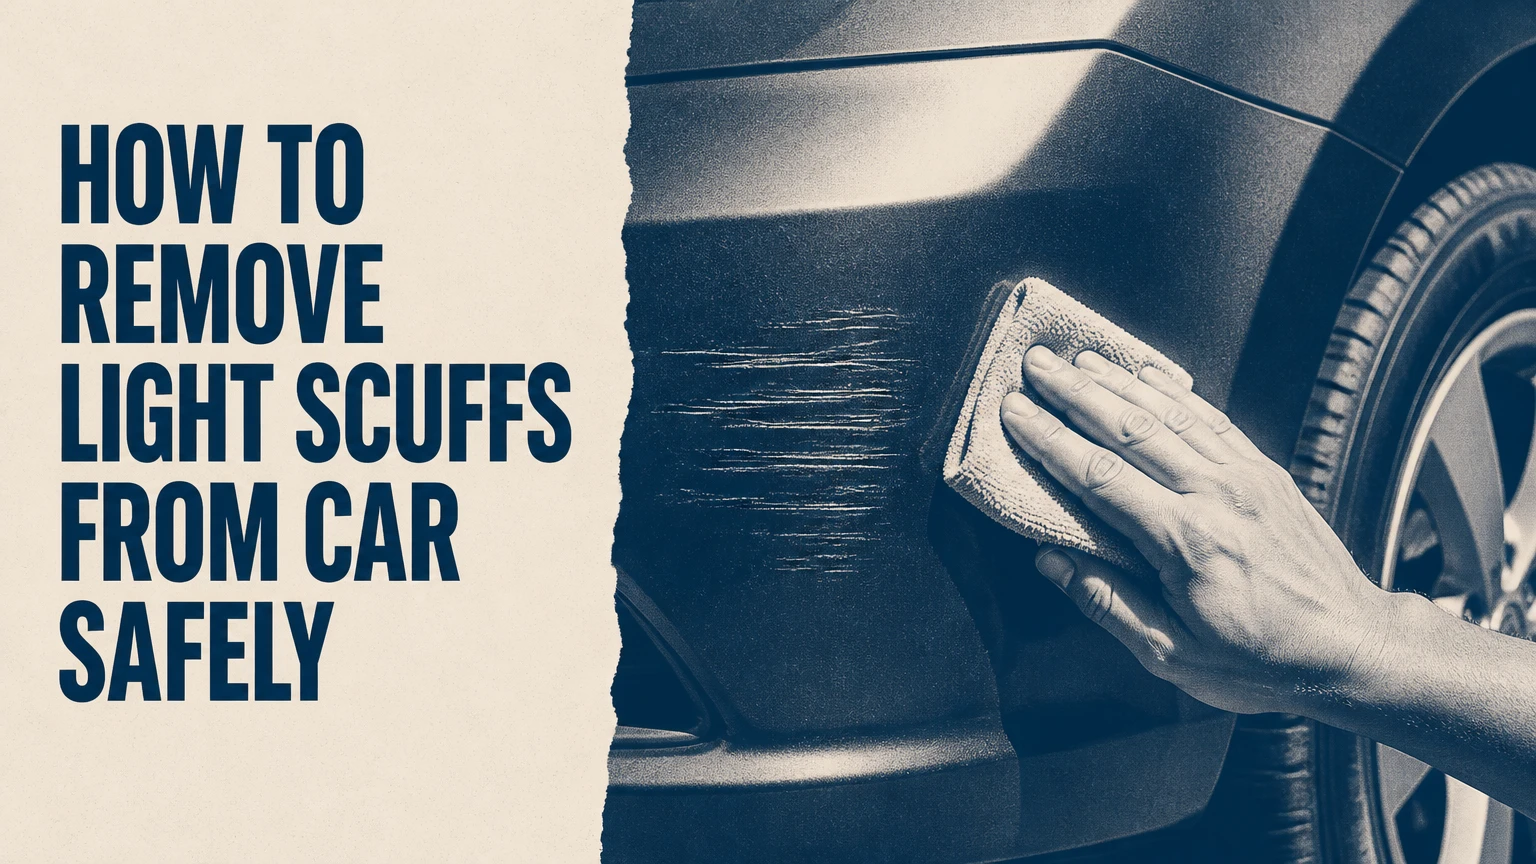
To remove light scuffs from a car, wash and dry the panel, confirm the damage is limited to the clear coat, then polish a small test area with a fine automotive compound and microfiber or foam applicator. Most isolated scuffs take 15-30 minutes by hand; deeper marks, paint transfer, and exposed primer require a different repair.
Key facts
A light scuff usually affects only the clear coat and does not expose color coat, primer, metal, or plastic.
If the mark disappears when wet and your fingernail does not catch, polishing often improves or removes it.
Polishing removes a very small amount of clear coat, so repeated aggressive passes can create permanent damage.
A dual-action polisher is faster than hand polishing, but a test spot remains necessary on every vehicle.
Paint transfer may sit on top of undamaged clear coat and can sometimes be removed with a mild solvent or clay treatment.
Toothpaste, kitchen scouring pads, and melamine foam create uncontrolled abrasion and are poor substitutes for automotive polish.
Is the Mark Really a Light Scuff?
A light scuff is a shallow surface defect in automotive clear coat, the transparent layer over the colored basecoat. A mark that vanishes when wet, feels smooth under a clean fingertip, and does not catch a fingernail is a strong candidate for polishing, although those tests cannot measure exact depth.
Start with diagnosis rather than compound. A gray, white, or colored streak may be paint transfer from another vehicle, rubber, a shopping cart, a wall, or a parking post. Transfer can look worse than a scratch while remaining largely above the clear coat. Conversely, a narrow line that remains visible when wet may have entered the basecoat.
Use these depth checks
| Observation | Likely condition | Recommended response | DIY risk |
|---|---|---|---|
| Mark disappears when wet | Shallow clear-coat defect | Fine polish by hand | Low |
| Fingernail slides across mark | Very shallow scuff or transfer | Clean, clay, then polish | Low |
| Fingernail catches slightly | Deeper clear-coat scratch | Limited correction or detailer | Moderate |
| White, gray, or colored base shows | Primer or basecoat exposure | Touch-up or body repair | High |
| Bare metal or black plastic shows | Through-paint damage | Body-shop assessment | High |
| Rough, chalky, faded surface | Oxidation or damaged clear coat | Paint correction assessment | Moderate |
The wet test changes how light reflects from the panel, so it is useful but not definitive. Water can temporarily darken exposed primer or hide a defect at one viewing angle. Inspect the clean, dry panel under diffuse daylight and a focused LED light.
Do not test with a dry household cloth. Embedded grit can create new scratches that obscure the original diagnosis.
Why Does Polishing Remove a Scuff?
Automotive polishing removes a shallow scuff by leveling microscopic clear-coat irregularities with controlled abrasive particles. The process reduces the sharp edges and raised area around a defect, so the surface reflects light more evenly and the mark becomes invisible.
A scratch is better understood as a valley with visible edges than as a colored line. Removing the entire valley would require removing clear coat down to its lowest point, which is unnecessary when the defect is extremely shallow. A compound instead rounds or lowers the surrounding high points until reflected light no longer emphasizes the damage.
Paint correction is therefore a subtractive process. A glaze or colored wax fills and disguises a defect; a polish changes the surface itself. Neither method can restore clear coat that has already been removed.
Factory clear-coat thickness varies by manufacturer, repair history, panel, and measurement location. Typical total clear-coat thickness is often roughly 30-50 microns, but owners should not treat that range as a safe DIY removal allowance. Without a paint-depth gauge, use the least aggressive method and stop when improvement plateaus.
Which Scuff-Removal Method Should You Choose?
Hand polishing is the safest starting point for one small mark, while a dual-action polisher is more efficient for several panels or broad damage. A glaze is appropriate only when temporary concealment matters more than permanent correction.
| Method | Typical cost | Typical time | Best application | Main limitation |
|---|---|---|---|---|
| Glaze or colored wax | $10-$30 | 5-10 minutes | Sale photos or short-term concealment | Usually lasts 2-4 washes |
| Hand polish | $15-$35 | 15-30 minutes | One isolated scuff | Slow on hard clear coat |
| Dual-action polish | $80-$250 | 5-15 minutes | Several scuffs or large panels | Requires machine control |
| Professional spot correction | $75-$200 per panel | 30-90 minutes | Valuable, dark, or uncertain paint | Higher labor cost |
| Touch-up paint | $15-$60 | 1-3 hours plus curing | Exposed basecoat or primer | Color and texture may mismatch |
A rotary buffer is not the preferred first machine for a beginner. Rotary tools can correct quickly, but concentrated heat and direct rotation increase the chance of burning edges, producing holograms, or striking through thin paint.
What should a beginner buy?
For one isolated clear-coat scuff, use a dedicated automotive scratch remover or fine polish, a clean microfiber applicator or soft foam pad, two or more high-quality microfiber towels, car shampoo, and automotive masking tape. A complete hand kit commonly costs $15-$35.
For repeated correction, a dual-action machine with a soft polishing pad and a mild compound gives better consistency than repeated hand rubbing. Buy a finishing polish as well, because a medium compound can leave a faint haze on soft or dark paint.
What Do You Need Before Starting?
Plan on 30-45 minutes for washing, drying, diagnosis, correction, and protection, with a typical hand-correction cost of $15-$35 if the required towels and wash supplies are already available. Work in shade on a cool panel, and avoid polishing outdoors during strong midday sun.
Before you start
| Requirement | Practical specification | Why it matters |
|---|---|---|
| Work area | Shade, 15-30°C panel temperature | Prevents polish from drying too quickly |
| Wash solution | Automotive shampoo diluted by label | Removes grit without household detergents |
| Applicator | 1 microfiber or soft foam pad | Controls abrasive contact |
| Towels | 2-4 clean, edgeless microfiber towels | Separates wipe-off from dirty work |
| Polish | Fine compound or scratch remover, 5-10 ml | Limits unnecessary clear-coat removal |
| Tape | Automotive masking tape, 1-2 metres | Protects rubber and textured trim |
| Inspection light | LED flashlight or strong daylight | Reveals haze and remaining edges |
A clay bar is optional, not automatic. Use clay lubricant and a clean clay surface only when the panel feels gritty after washing. Clay can create light marring on soft paint, so a subsequent polish may be necessary.
How to Remove Light Scuffs From Car Paint by Hand
Hand correction removes a small clear-coat scuff through repeated, controlled polishing rather than forceful rubbing. The complete sequence is wash, inspect, decontaminate if needed, mask, test, polish, wipe, reinspect, and protect.
Step 1: Wash the panel
Rinse the panel, wash it with automotive shampoo and a clean wash mitt, then rinse again. Dry with a clean microfiber towel using light pressure, and do not drag a towel across visible sand or road grit.
You will know the wash worked when the panel has no loose dirt, oily film, or gritty particles. The common mistake is polishing immediately after a quick rinse, which traps abrasive contamination beneath the applicator.
Step 2: Inspect and perform a test spot
Clean a 30-by-30-centimetre area beside the scuff and place a small amount of polish on the applicator. Work that test spot for 30-60 seconds, wipe it clean, and inspect it under an LED light.
A successful test spot shows reduced scuff visibility without dullness, pigtails, or a cloudy halo. The test spot is the most important control in the process because clear-coat hardness and paint condition differ between vehicles, even across panels on the same car.
Step 3: Remove surface transfer carefully
If the mark feels raised, try a fresh microfiber towel with automotive shampoo first. For stubborn paint transfer, use a manufacturer-approved tar, adhesive, or paint-transfer remover on a towel, test it in an inconspicuous area, and wipe gently before polishing.
Never begin with a razor blade, aggressive solvent, or abrasive pad. Solvents can soften fresh refinishing paint, stain porous trim, or affect uncured coatings. If the transferred material does not soften or release, stop and treat the area as a possible scratch.
Step 4: Apply a small amount of polish
Use two or three pea-sized drops on a microfiber or foam applicator for a 30-by-30-centimetre area. Spread the polish with moderate pressure using overlapping horizontal and vertical passes, keeping the pad flat against the paint.
Work for approximately 60-90 seconds, or follow the product label if it specifies a different cycle. Excess product does not create more correction; it mainly increases wipe-off time and can make inspection difficult.
Step 5: Wipe and inspect
Remove residue with a clean microfiber towel, turning to a fresh side after each few wipes. View the panel from several angles in daylight and with an LED light, because a scuff can disappear straight-on while remaining visible under angled reflection.
You will know the pass worked when the mark is materially reduced and the surrounding gloss matches the panel. If the defect is smaller but still visible, repeat once or twice rather than applying heavy pressure continuously.
Step 6: Refine haze if necessary
A medium compound can leave a dull film, especially on black, red, or soft clear coat. Switch to a fine finishing polish on a clean soft foam or microfiber pad, using lighter pressure and a shorter work cycle.
The finishing pass should increase clarity, not deepen correction. If haze remains after a suitable finishing polish, the issue may be residue, towel marring, or an underlying damaged clear coat rather than insufficient rubbing.
Step 7: Protect the corrected area
Wipe the panel with the product-recommended panel wipe if needed, then apply a compatible spray sealant, wax, or ceramic spray according to its label. Polishing can reduce local wax or sealant protection, but it does not automatically remove every existing coating from the entire panel.
Allow the protectant to cure for the stated time and avoid washing immediately if the label specifies a waiting period. Protection reduces contamination and ultraviolet exposure, but it cannot prevent future physical scuffs.
How Do You Remove a Scuff With a Dual-Action Polisher?
A dual-action polisher corrects a light scuff faster by combining rotation with orbital movement, which spreads heat and abrasive action over a wider area. Use a soft or medium foam polishing pad, moderate machine speed, light pressure, and a 30-by-30-centimetre test section before correcting the whole panel.
Tape adjacent rubber seals, textured plastic, badges, and sharp edges. Prime the pad with a thin film of polish, add two or three small drops, and place the pad flat on the paint before starting the machine.
Work a slow overlapping grid at approximately speed 3-4 on a typical consumer DA polisher, using only enough pressure to keep the pad stable. Make two horizontal passes and two vertical passes, then stop and inspect. Product labels and machine models vary, so their instructions override these typical settings.
Keep the pad moving. Check the panel with the back of your hand between cycles; if the paint becomes uncomfortably hot, stop and allow it to cool. Clean or change the pad when it becomes saturated, because a loaded pad reduces correction consistency and can create haze.
Do not run a machine over a sharp body crease as though it were a flat panel. Edges have less available paint, and a polishing pad can concentrate pressure there. A machine saves time, not judgment.
What Are the Cost, Time, and Risk Differences?
Typical DIY hand correction costs $15-$35 and takes 15-30 minutes per isolated scuff, while a dual-action setup costs $80-$250 initially and can reduce active correction time to 5-15 minutes per area. Professional spot correction commonly costs $75-$200 per panel, depending on access, paint condition, and local labor rates.
| Scenario | Likely method | Active time | Typical spend | Expected result |
|---|---|---|---|---|
| One shallow door-handle scuff | Hand polish | 15-30 minutes | $15-$35 | Permanent improvement if clear coat remains |
| Paint transfer on a bumper | Clean and mild remover, then polish | 20-45 minutes | $15-$50 | Transfer may disappear without heavy polishing |
| Four door scuffs | DA polishing | 30-60 minutes | $80-$250 setup | Consistent correction with practice |
| Fingernail-catching line | Professional assessment | 30-90 minutes | $75-$300+ | May need sanding, paint, or clear coat |
| Exposed metal or plastic | Body repair | Several hours to days | $150-$1,000+ | Repaired coating rather than polishing |
The numbers are typical consumer and detailing ranges, not fixed industry prices. Location, vehicle size, paint type, previous repairs, and whether a panel needs blending can change the quote substantially.
Common Mistakes and How to Fix Them
Using toothpaste or a Magic Eraser
Toothpaste and melamine foam have no automotive paint-correction standard for cut, lubrication, or finish. They can create a larger dull patch than the original scuff, particularly on soft clear coat.
Stop using them, wash the area, and inspect the new haze. A fine automotive polish on a clean soft pad may refine light marring, but deeper damage may require professional correction.
Polishing a dirty or hot panel
Dirt acts as loose abrasive, while heat accelerates residue drying and increases paint stress. Move the car into shade, let the panel cool, wash again, and use fresh towels.
Using one towel for every job
A towel that touched the ground, wheel, trim dressing, or compound residue should not return to clear coat. Separate wash, polish-removal, and final-buff towels, and discard any towel that retains hard contamination.
Over-polishing a stubborn mark
A defect that does not improve after two or three controlled cycles may be too deep, may be paint transfer requiring a different cleaner, or may be below the clear coat. Continued polishing removes usable protection without guaranteeing a result.
Polishing plastic trim
Unpainted textured black plastic can become shiny, stained, or permanently discolored from automotive compound. Mask it before polishing and use a trim-specific cleaner for transfer on plastic, following the product label.
Skipping the finishing step on dark paint
Dark colors reveal micro-marring and compound haze more readily than silver or white paint. Use a finishing polish and inspect under multiple light sources before applying protection.
How Does the Process Change for Different Situations?
Black or very dark paint
Use a soft finishing pad after the correction pass and inspect with a focused LED light. Dark paint does not necessarily scratch more easily, but it makes haze, towel marring, and polishing trails easier to see.
White or silver paint
Paint transfer can be harder to see before washing because the contrast is lower. Use angled daylight and feel for raised contamination; do not increase abrasive strength merely because the mark seems visually faint.
Plastic bumper
Painted bumper covers can be polished like painted metal when the defect is in the clear coat, but their contours and flexible surfaces require smaller pad movements. Unpainted plastic needs trim-safe cleaning, not paint compound.
Ceramic-coated vehicle
A polish can remove or weaken the coating in the corrected area. Confirm the coating manufacturer’s maintenance instructions first, and expect to reapply the approved coating or a compatible protective product after correction.
Lease return or vehicle sale
A glaze can conceal a shallow defect temporarily, often for several washes, but it does not prevent inspection from revealing the damage later. Use temporary filling only when short-term appearance is the stated goal and accurate disclosure remains part of the transaction.
When Should You Stop and Use Touch-Up Paint?
Use touch-up paint when the scuff exposes a different color, primer, bare metal, or plastic, or when a clean fingernail catches firmly in a narrow groove. Polishing cannot replace missing basecoat or rebuild a clear-coat layer that has been cut through.
Stop DIY correction when the defect lies on an edge, spans multiple panels, follows a collision crease, or remains unchanged after a conservative test. A paint-depth gauge can help a professional assess risk, but it cannot restore missing paint.
Wet sanding is not the automatic next step for a beginner. Sandpaper removes material faster than hand polish, and incorrect grit, pressure, or finishing can expand the repair area. Deep scratches usually need color-matched touch-up, clear coat, blending, or panel refinishing.
How Do You Fix a Hazy Finish After Polishing?
A hazy finish usually comes from an overly aggressive compound, a dirty or loaded pad, insufficient finishing, or towel-induced marring. Clean the area, let the panel cool, then test a fine finishing polish with a clean soft pad before attempting more correction.
If the haze clears with finishing polish, the original clear coat is likely intact. If the haze remains, inspect for permanent coating damage, oxidation, or sanding marks. A professional detailer can distinguish those conditions with controlled lighting, paint measurement, and a broader panel assessment.
FAQ
Can I remove a car scuff without polishing?
You can remove some raised paint transfer with washing, clay lubricant, or a paint-safe chemical remover, but a true clear-coat scuff usually needs controlled polishing. A filler or glaze can hide the mark temporarily without changing the damaged surface.
Will wax remove light scratches?
Wax does not remove clear-coat scratches because wax contains little or no corrective abrasive. Some colored waxes and glazes fill optical defects for a limited period, commonly several washes, after which the scuff becomes visible again.
Is hand polishing safer than using a buffer?
Hand polishing is generally safer for a single small scuff because it generates less heat and removes material slowly. A dual-action polisher is efficient and comparatively controlled, but poor pad cleaning, excessive pressure, or work on sharp edges can still damage paint.
Can rain or car washing make a scuff worse?
Normal rain does not deepen a clean clear-coat scuff, but automatic brushes, dirty wash mitts, and contaminated drying towels can add scratches. Rinse loose grit first, use clean microfiber tools, and avoid dragging debris across the panel.
How long will the repair last?
A genuine polish correction lasts until the surface receives new physical damage, although environmental contamination can reduce gloss over time. A glaze or filler typically lasts only through several washes, depending on detergent strength, weather, and maintenance frequency.
Should I report a light scuff to my insurer?
Report the damage when it resulted from a collision, vandalism, another identifiable vehicle, or a policy condition requiring prompt notice. For minor cosmetic damage, compare the repair estimate with your deductible and consider whether an insurance claim could affect future premiums.