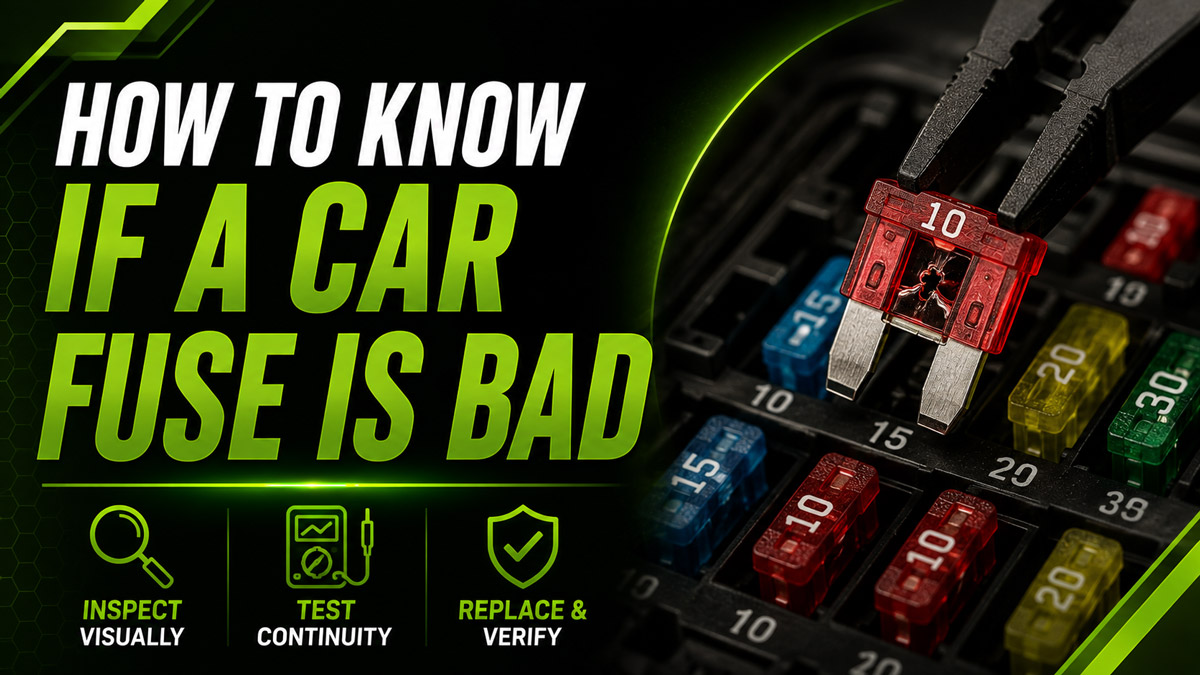
To learn how to know if a car fuse is bad, identify the correct circuit, switch the vehicle off, inspect the fuse, test it for continuity, install an exact replacement, and verify the affected device in nine steps. Most checks take 5–15 minutes and require beginner-level skill. Correctly identifying the fuse and matching its amperage are the keys to a safe repair.
Before You Start
Time required: 5–15 minutes for one circuit; 30–60 minutes if troubleshooting repeated failures
Difficulty: Beginner for fuse testing; intermediate for short-circuit diagnosis
Typical cost: $1–$10 for replacement fuses; $15–$60 for a basic digital multimeterTools and materials
- Vehicle owner’s manual or fuse-box diagram — 1
- Digital multimeter with continuity and resistance modes — 1
- Plastic fuse puller — 1
- Flashlight — 1
- Replacement fuse of the same style and amperage — as needed
- Test light — optional, 1
- Safety glasses — 1 pair
- Insulated gloves — optional, 1 pair
Prerequisites
Park on level ground, select Park or first gear, apply the parking brake, and keep the ignition off. You should be able to identify amperage numbers such as 10, 15, 20, or 30 printed on the fuse.
Phase 1: Identify and Access the Fuse
Step 1: Confirm Which Electrical Device Failed
Operate the affected device once and note exactly what does not work.
Test the horn, power outlet, interior light, radio, wiper, seat motor, or other failed equipment under its normal operating conditions. Some circuits only receive power when the ignition is in ACC or ON, so verify that you are using the device correctly before assuming its fuse has blown.
Check whether related devices also stopped working. One fuse may protect several power outlets, lamps, or control circuits.
You’ll know it worked when you can name the exact failed function and whether other devices on the same circuit are also inoperative.
Common mistake: Replacing a fuse when the component is simply switched off, locked out, or disabled by a vehicle setting. Check the owner’s manual first.
Step 2: Switch Off and Secure the Vehicle
Turn off the engine, remove the key, and switch off every electrical accessory.
Place a conventional ignition key in the OFF position and remove it. For push-button vehicles, shut the car down completely and move the key fob at least 2–3 metres away so proximity systems do not wake the electronics.
Wait 2–5 minutes before opening an interior fuse panel. This allows retained accessory circuits and control modules to enter sleep mode.
Routine blade-fuse testing normally does not require battery disconnection. Disconnecting the battery may erase radio presets, clock settings, window calibration, and diagnostic information.
You’ll know it worked when the instrument cluster, radio, lights, blower motor, and accessory sockets are all off.
Warning: Do not remove or install a fuse while the engine is running.
Step 3: Locate the Correct Fuse Box and Fuse
Use the vehicle’s fuse diagram to identify the fuse assigned to the failed circuit.
Most vehicles have two or more fuse panels:
- An interior panel under the dashboard, behind a side trim cover, or inside the glove box
- An engine-compartment panel near the battery
- Occasionally, a rear panel in the luggage compartment
Read the diagram inside the fuse-box cover or consult the owner’s manual. Look for abbreviations such as CIG, P/OUTLET, HORN, WIPER, RADIO, ACC, ECU, or HVAC.
Record the fuse position, amperage, and physical type before removing it. Common types include Micro2, Micro3, low-profile mini, mini, standard ATO/ATC blade, Maxi blade, cartridge, and glass tube fuses.
You’ll know it worked when the fuse-box label and owner’s manual both point to the same circuit position.
Common mistake: Pulling a nearby fuse because its label sounds similar. Vehicles may have separate fuses for front and rear outlets, left and right lights, or control and power sides of one system.
Phase 2: Inspect and Test the Fuse
Step 4: Remove the Fuse Without Damaging the Socket
Grip the fuse with a plastic puller and pull it straight out.
Place the fuse puller over the plastic body, not the exposed test points. Squeeze gently and rock the fuse no more than 1–2 mm side to side while pulling upward.
If access is tight, improve lighting rather than forcing the fuse. Note its orientation before removal, although most two-blade automotive fuses are not polarity-sensitive.
Inspect the socket for melting, corrosion, looseness, or darkened terminals.
You’ll know it worked when the fuse comes out intact and both socket terminals remain straight and firmly housed.
Warning: Do not pry between terminals with a screwdriver or uninsulated metal pliers. Bridging two live terminals can damage wiring or control modules.
Step 5: Inspect the Fuse Visually
Hold the fuse against a bright light and inspect the internal metal link.
A good translucent blade fuse normally has a continuous U-shaped or S-shaped metal strip connecting both blades. A blown fuse may show:
- A visible break in the metal strip
- A melted or vaporized section
- Black or brown deposits inside the casing
- Warped, cracked, or scorched plastic
- Heat damage on one or both blades
For glass fuses, inspect the wire from end cap to end cap. For cartridge or opaque high-current fuses, rely on electrical testing because the link may not be visible.
You’ll know it worked when you can clearly classify the link as continuous, visibly broken, or uncertain.
Common mistake: Declaring a fuse good because it looks intact. Hairline fractures can be almost invisible, especially near the blade connection. Test uncertain fuses electrically.
Step 6: Test the Removed Fuse for Continuity
Set a digital multimeter to continuity mode and touch one probe to each fuse terminal.
Insert the black probe into COM and the red probe into the V/Ω socket. Select the continuity symbol, often shown as sound waves, a diode, or a combined diode/continuity setting.
Touch the probes together first. The meter should beep and usually display approximately 0–1 Ω. If it does not, check the meter setting, probe sockets, and battery.
Then touch one probe to each blade of the removed fuse:
- Good fuse: Continuous beep and approximately 0–1 Ω
- Bad fuse: No beep and “OL,” “1,” or infinite resistance
- Questionable fuse: Intermittent reading when lightly moved
Probe polarity does not matter for a simple fuse.
You’ll know it worked when the reading remains stable for 2–3 seconds.
Common mistake: Holding the metal probe tips with both hands. Skin resistance can influence some measurements. Hold the insulated probe bodies.
Step 7: Test an Installed Fuse When Appropriate
Test both exposed points on top of the installed fuse with a powered test light or voltmeter.
This method checks whether power reaches and passes through the fuse. It is useful when you do not want to remove several fuses.
Turn the ignition to the position required by that circuit. Connect a test light’s ground clip to clean body metal, then touch each fuse test point:
- Light or battery voltage on both sides: Fuse is conducting
- Power on one side only: Fuse is blown
- No power on either side: Circuit is inactive, the ignition position is wrong, or power is missing upstream
With a multimeter, select DC volts, place the black probe on a good ground, and touch the red probe to each test point. A 12-volt system commonly reads about 12.2–12.8 volts with the engine off.
You’ll know it worked when both fuse test points show the same powered or unpowered state expected for that circuit.
Warning: Continuity mode must not be used on an energized circuit. Use DC-voltage mode or a test light for powered testing.
Phase 3: Replace and Verify the Fuse
Step 8: Install the Exact Replacement Fuse
Insert a new fuse with the same type and amperage as the original.
Match all three characteristics:
- Physical fuse style
- Voltage compatibility
- Amperage number
For example, replace a 10A mini fuse only with another 10A mini fuse. Standard blade-fuse colors commonly include red for 10A, blue for 15A, yellow for 20A, clear or white for 25A, and green for 30A. Read the printed number because colors can fade or vary by fuse family.
Align the blades with the socket and press evenly on the plastic body until the fuse sits at the same depth as adjacent fuses.
You’ll know it worked when the fuse is fully seated, straight, and does not move under light fingertip pressure.
Warning: Never replace a fuse with a higher rating, foil, wire, or another metal object. The wiring may overheat before the substitute opens, creating a fire risk.
Step 9: Operate the Circuit and Monitor the Repair
Restore power and operate the repaired component for 30–60 seconds.
Replace the fuse-box cover first when practical. Turn the ignition to the required position and operate the affected device through its normal range.
For a blower, test several fan speeds. For a power outlet, plug in a known-good low-current device. For lights, inspect all lamps in the protected circuit. For wipers, wet the windshield before running them.
Switch everything off and recheck the fuse if the device still fails or stops again.
You’ll know it worked when the component functions normally, the fuse remains intact, and there is no burning smell, heat, smoke, or flickering.
Common mistake: Assuming the fuse was the only fault. A good replacement fuse with a still-inoperative device points toward a relay, switch, ground, connector, motor, module, or wiring problem.
Common Mistakes and How to Fix Them
Installing a Higher-Amperage Fuse
Remove it immediately and install the manufacturer-specified rating. A higher-amperage fuse does not make the circuit stronger; it reduces wiring protection. Inspect the socket and harness for heat damage if the oversized fuse was used for any length of time.
Testing the Wrong Fuse
Recheck the cover diagram and owner’s manual. Search for alternate labels and additional fuse panels. Some devices have one fuse for the switch or control module and another for the high-current motor.
Misreading an Inactive Circuit
A fuse with no voltage on either side is not automatically bad. Turn the ignition to ACC or ON, activate the device, open the relevant door, or switch on the lights as required. Some module-controlled circuits remain asleep until commanded.
Getting “OL” on Every Fuse
Touch the meter probes together. If the display still shows OL, the meter is in the wrong mode, the leads are in the wrong sockets, a probe is damaged, or the meter battery is depleted.
Replacing a Fuse That Immediately Blows
Switch the circuit off and do not keep installing fuses. Disconnect aftermarket accessories and inspect wiring near hinges, seat tracks, sharp brackets, hot exhaust areas, and recently repaired components. Repeated failure indicates excessive current or a short circuit.
Finding a Melted Fuse Socket
Do not insert another fuse into a loose, burned, or distorted socket. High resistance at the terminal can generate heat without exceeding the fuse rating. The damaged terminal and fuse-box section must be repaired or replaced.
What to Do If the Fuse Keeps Blowing
A replacement fuse that blows immediately is evidence of a fault, not normal fuse wear.
First, unplug every removable device on the circuit, including phone chargers, dash cameras, trailer adapters, and accessories connected to a 12-volt outlet. Install one correctly rated fuse and retest.
If the fuse survives, reconnect devices one at a time. The device that causes the fuse to open is probably defective.
If the fuse still blows with the loads disconnected, inspect the harness for crushed, rubbed, melted, or exposed wiring. Common damage points include door hinges, trunk hinges, seat rails, trailer connectors, and areas where aftermarket equipment was installed.
Checking for a Short to Ground
Disconnect the battery’s negative terminal and wait the manufacturer-specified time before testing a de-energized circuit. Remove the blown fuse and unplug the protected component.
Set the multimeter to resistance. Identify the load-side fuse terminal using a wiring diagram or prior voltage test. Touch one probe to the load-side terminal and the other to a clean chassis ground.
A very low reading may indicate a short, but motors, bulbs, modules, and capacitors can also create temporary or normal low-resistance paths. Disconnect circuit branches one at a time until the reading changes.
Because airbags, hybrid systems, engine computers, and networked modules require special procedures, stop and seek professional diagnosis when the circuit is safety-critical or the wiring diagram is unclear.
Testing Variations
Testing Without a Multimeter
Remove the fuse and inspect it under bright light. Replace a clearly broken fuse with the exact same rating. This method works for visible blade fuses but can miss microscopic cracks and hidden cartridge-fuse failures.
A 12-volt test light provides a more reliable installed-fuse check when the circuit is energized.
Testing Several Fuses Quickly
Leave the fuses installed and use a grounded test light on both top test points. Test only circuits that should be powered in the current ignition state. Mark any fuse with power on just one side for removal and confirmation.
Testing High-Current or Bolted Fuses
Main, alternator, battery, ABS, cooling-fan, and electric-power-steering fuses may be bolted into a power-distribution box. Disconnect the battery according to the repair manual before removal. Do not force or bypass these fuses; they can carry 40–200 amperes.
How Long Does Fuse Testing Take?
Testing one known fuse usually takes 5–10 minutes:
- Vehicle shutdown and fuse-box access: 2–5 minutes
- Fuse identification: 1–5 minutes
- Visual check: about 1 minute
- Continuity test: about 30 seconds
- Replacement and functional test: 2–5 minutes
Testing an entire fuse panel may take 15–30 minutes. Diagnosing a repeated failure can take 30 minutes to several hours, depending on wiring access and circuit complexity.
How Much Does It Cost?
Individual automotive blade fuses usually cost less than $1, while assorted fuse kits commonly cost $5–$15. A basic digital multimeter generally costs $15–$60, and a test light costs approximately $5–$20.
Professional electrical diagnosis commonly costs one diagnostic labour charge before repairs. The final price depends on whether the cause is a damaged socket, failed component, aftermarket accessory, or hidden wiring short.
Frequently Asked Questions
Can a car fuse be bad without looking blown?
Yes. The internal link can develop a hairline fracture near a blade while still appearing continuous through the plastic. Oxidized or heat-damaged terminals can also interrupt current. Test the fuse with a multimeter or compare voltage at both top test points instead of relying solely on appearance.
Does a multimeter beep when a fuse is good?
A multimeter in continuity mode normally beeps when a good fuse connects both probes. It may also show approximately 0–1 Ω. A blown fuse usually produces no beep and displays OL or infinite resistance. Confirm the meter works by touching the probes together before testing.
Can I pull a fuse while the car is running?
Do not pull ordinary vehicle fuses while the engine is running. Removing one can create an arc, interrupt module communication, set diagnostic codes, or cause a voltage spike. Shut the vehicle down first unless a manufacturer-approved diagnostic procedure specifically requires powered testing.
Can a bad relay look like a bad fuse?
Yes. A failed relay can prevent a horn, fuel pump, fan, light, or compressor from operating even when its fuse is good. After confirming power on both sides of the fuse, inspect the circuit’s relay, control signal, ground, switch, wiring, and load component.
Why does the new fuse blow immediately?
The protected circuit is drawing more current than its fuse rating, usually because of shorted wiring, a seized motor, a failed component, water intrusion, or an incorrectly installed accessory. Do not install a larger fuse. Disconnect loads and diagnose the circuit before replacing it again.
Do car fuses have polarity?
Most two-terminal blade, glass, cartridge, and high-current fuses are not polarity-sensitive. They can conduct current in either direction. Their position and orientation may still matter physically, especially with Micro3 fuses, fuse taps, or assemblies containing multiple protected circuits.
Conclusion
The most reliable way to determine how to know if a car fuse is bad is to confirm the correct circuit, inspect the internal link, and measure continuity across the fuse. A good fuse beeps or reads near 0 Ω; a blown fuse shows OL or no continuity. Always use an exact amperage replacement, and investigate the circuit when a new fuse blows again.